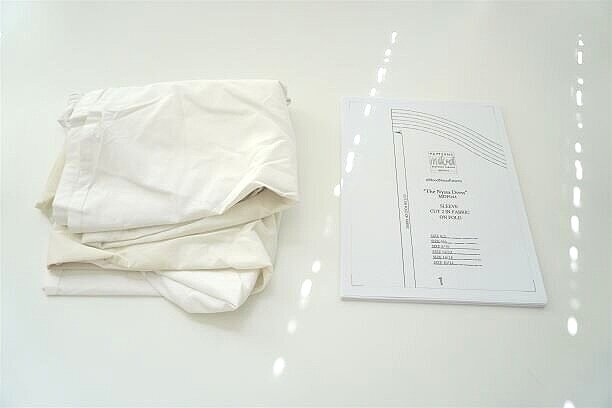
If you have an old sheet laying around that needs a new lease on life, consider turning it into a wrap dress. All it takes is a sewing machine, some basic sewing skills and a wrap dress sewing pattern. There are lots of wrap dress patterns out there, including free ones like Mood Fabrics’ Nyssa Dress, a free downloadable PDF pattern for a wrap dress with a full skirt and high-low hem.
I had an old fitted sheet that was a bit stained and yellowed from years of use, so I thought I would repurpose the sheet into a cute wrap dress using the Nyssa Dress pattern.
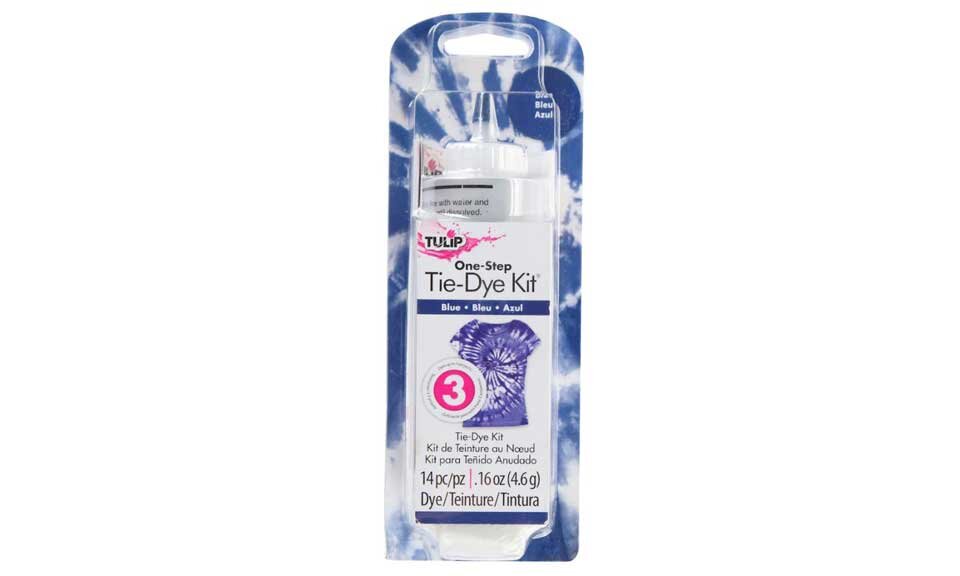
Also, to freshen up the yellowed sheet fabric, I decided to tie-dye my dress blue, so it looks like Japanese shibori. I used this blue tie-dye kit from Tulip. I love how simple this kit is – you simply add water to the squeeze bottle with the dye, then apply the dye directly to the garment. This one-step kit is much less messy than dyeing in a bucket, and the squeeze bottle makes it easy to control where the dye goes.
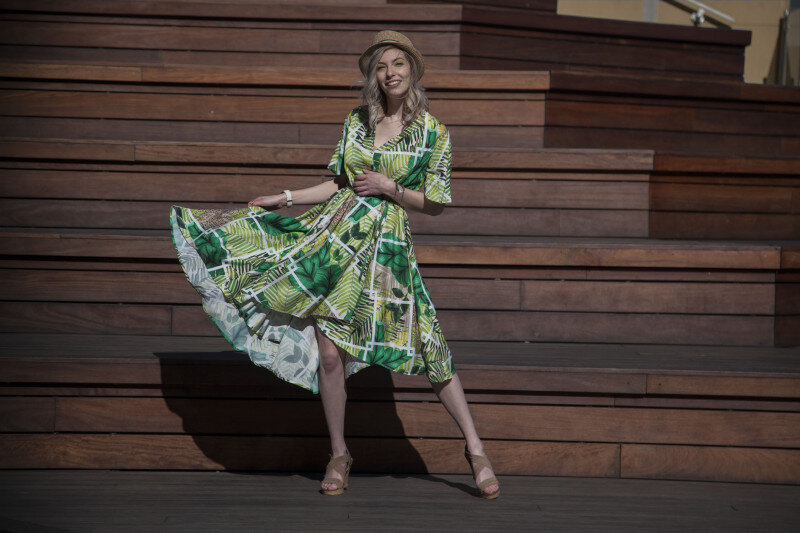
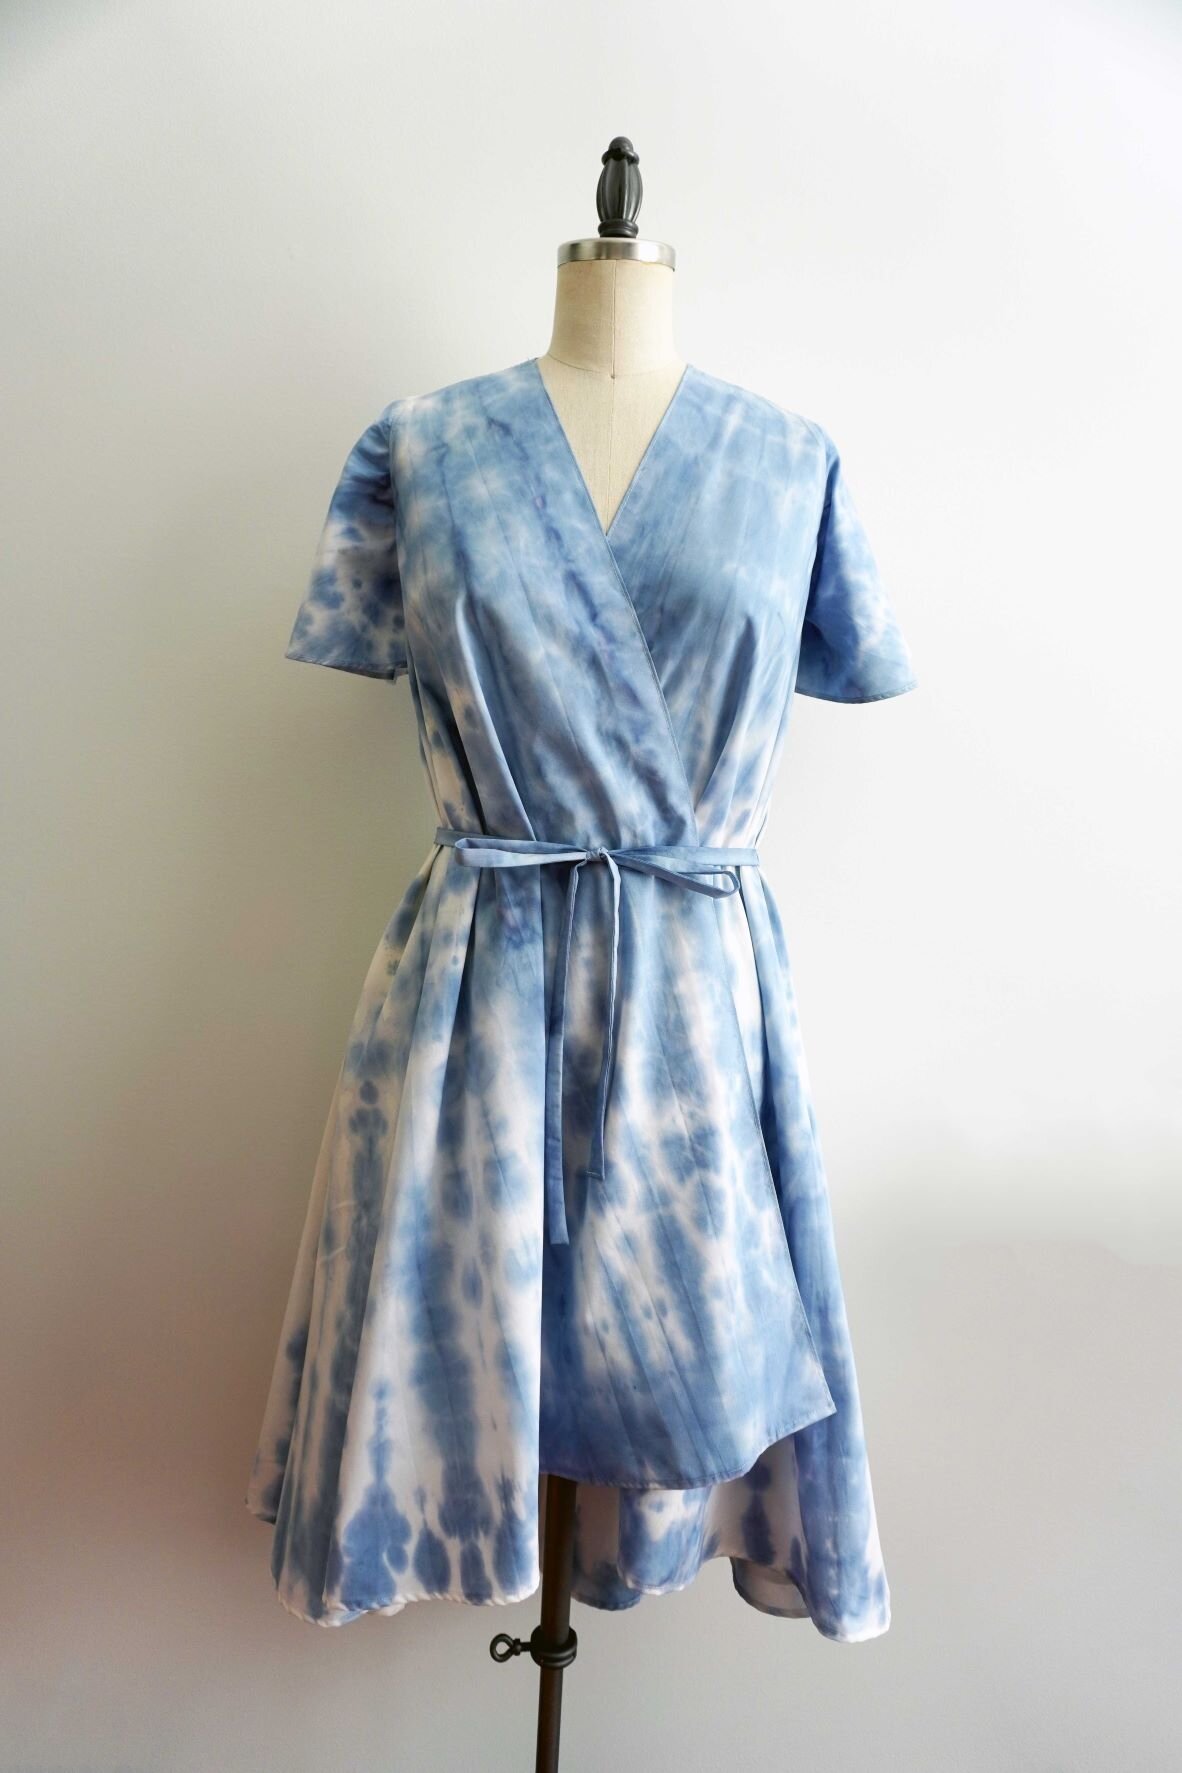
The result is a flirty blue print wrap dress, perfect for lounging by the pool.
Want to make your own wrap dress from an old sheet? Read on below for my notes on cutting, constructing and dyeing the dress.
Cutting the Dress
This dress is cute, but a bit of a fabric hog. The front and back pieces are cut as one piece (rather than separate bodice and skirt pieces), so it is difficult to find an efficient layout on the sheet. The full circle skirt also eats up a ton of fabric. In general, I would recommend using this dress pattern only if you have a loose sheet for a queen or king-sized bed, or a fitted sheet for a king-sized bed. For example, I cut the dress out of a fitted sheet for a queen-sized bed, and I had to cut the back bodice and skirt out separately and piece them together to get everything to fit.
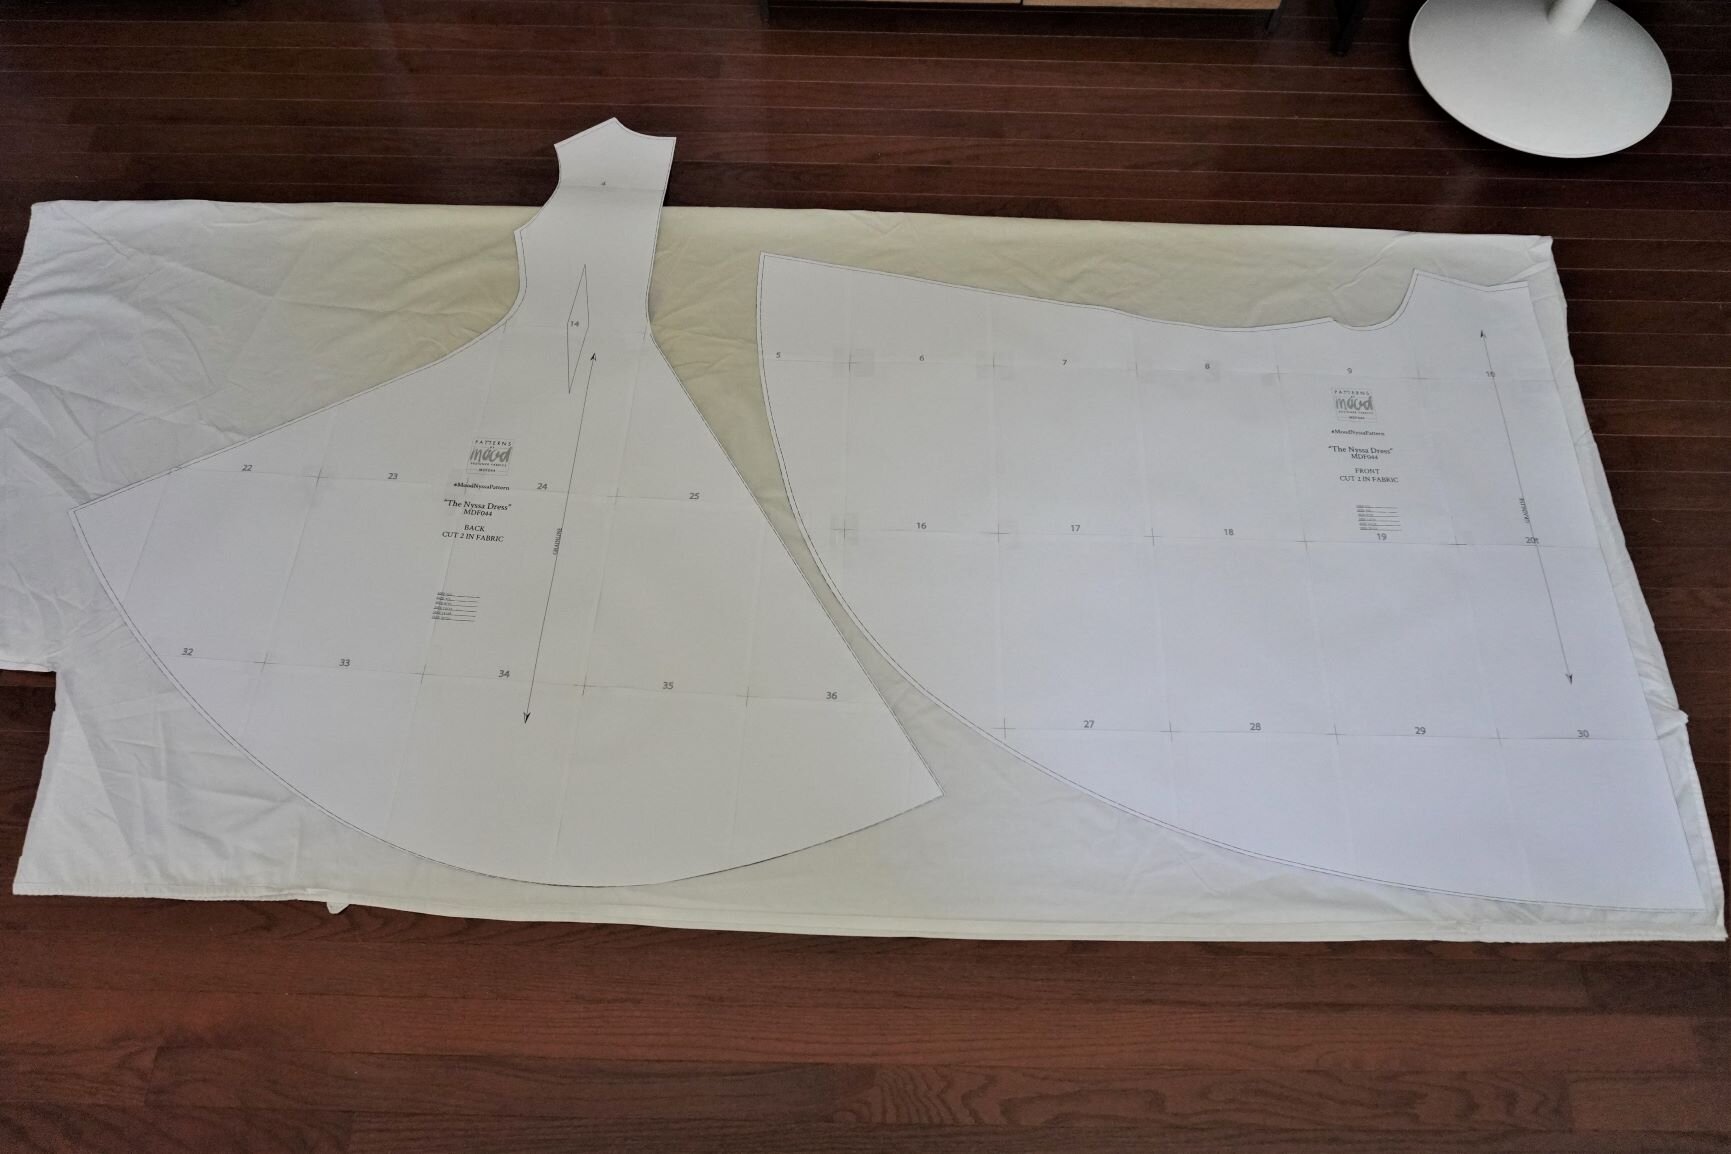
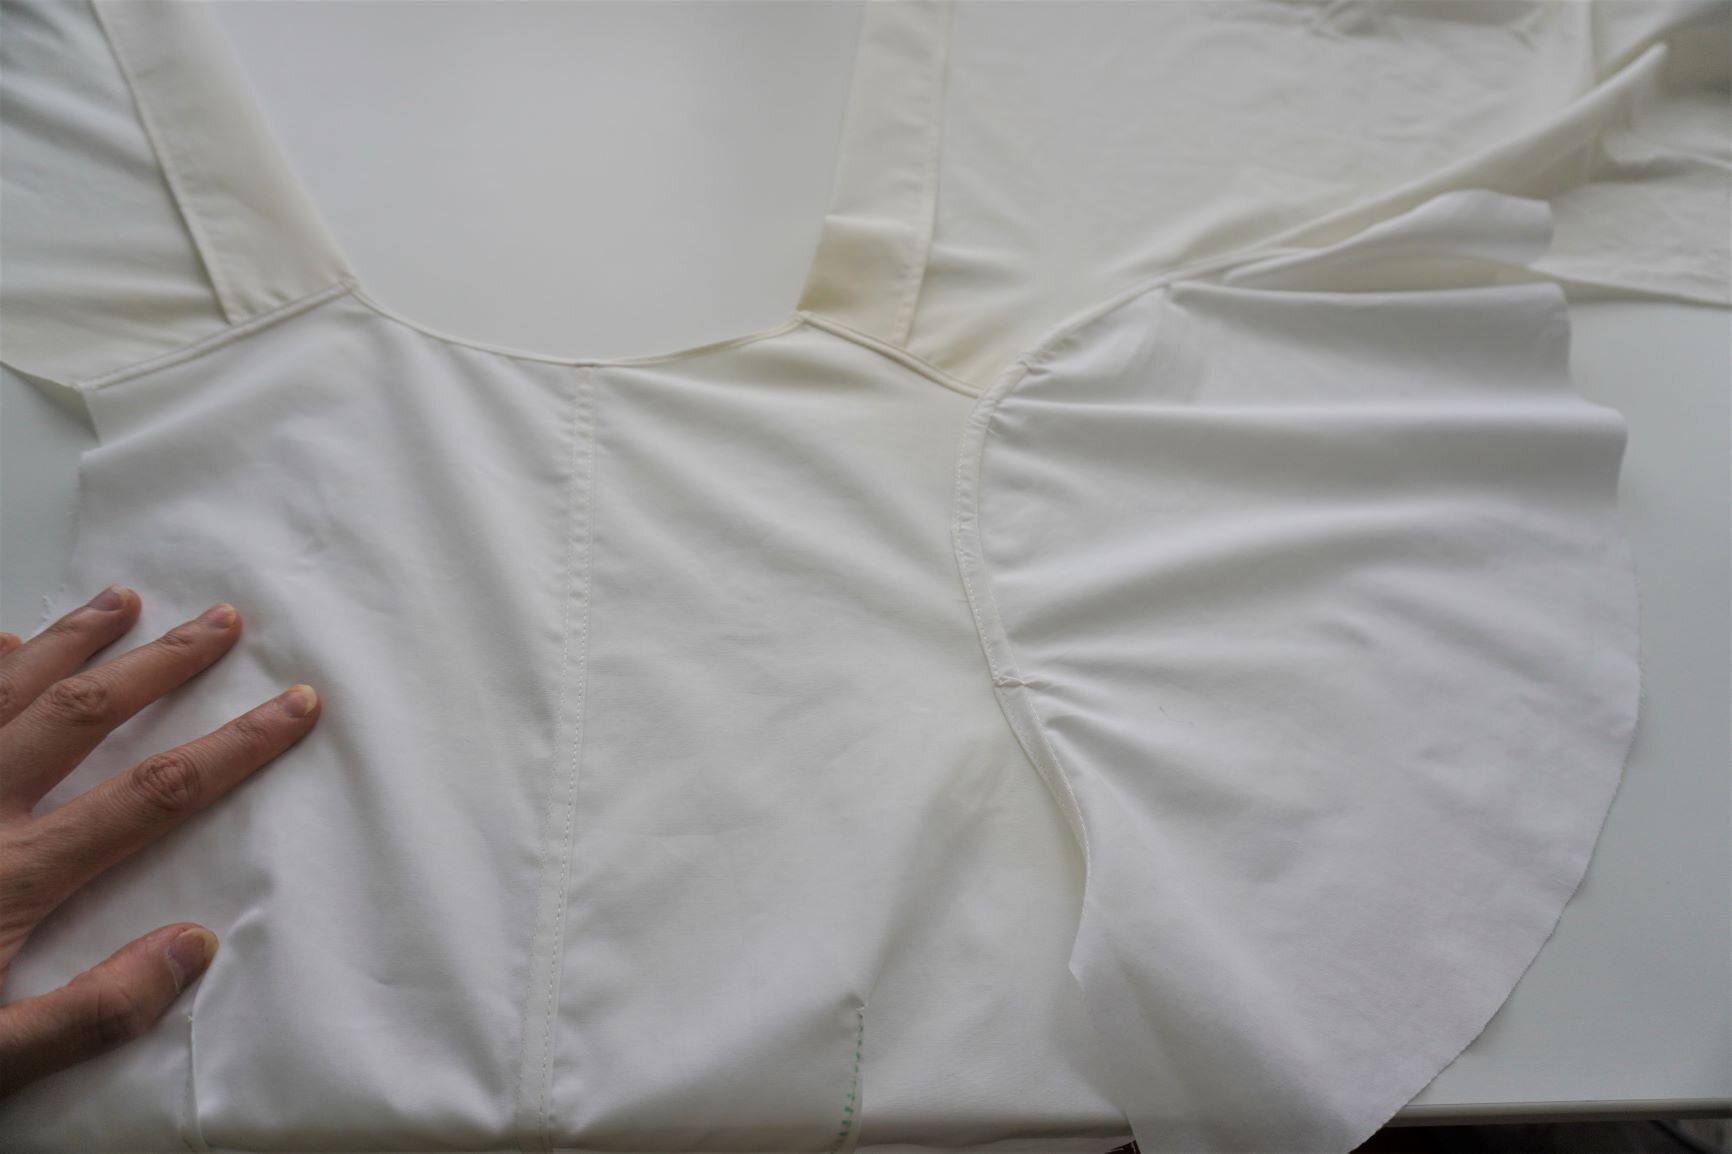
I could not get the front piece to fit on my queen-sized fitted sheet, so I cut the bodice section separately using the leftover fabric in the upper left-hand corner of the sheet.
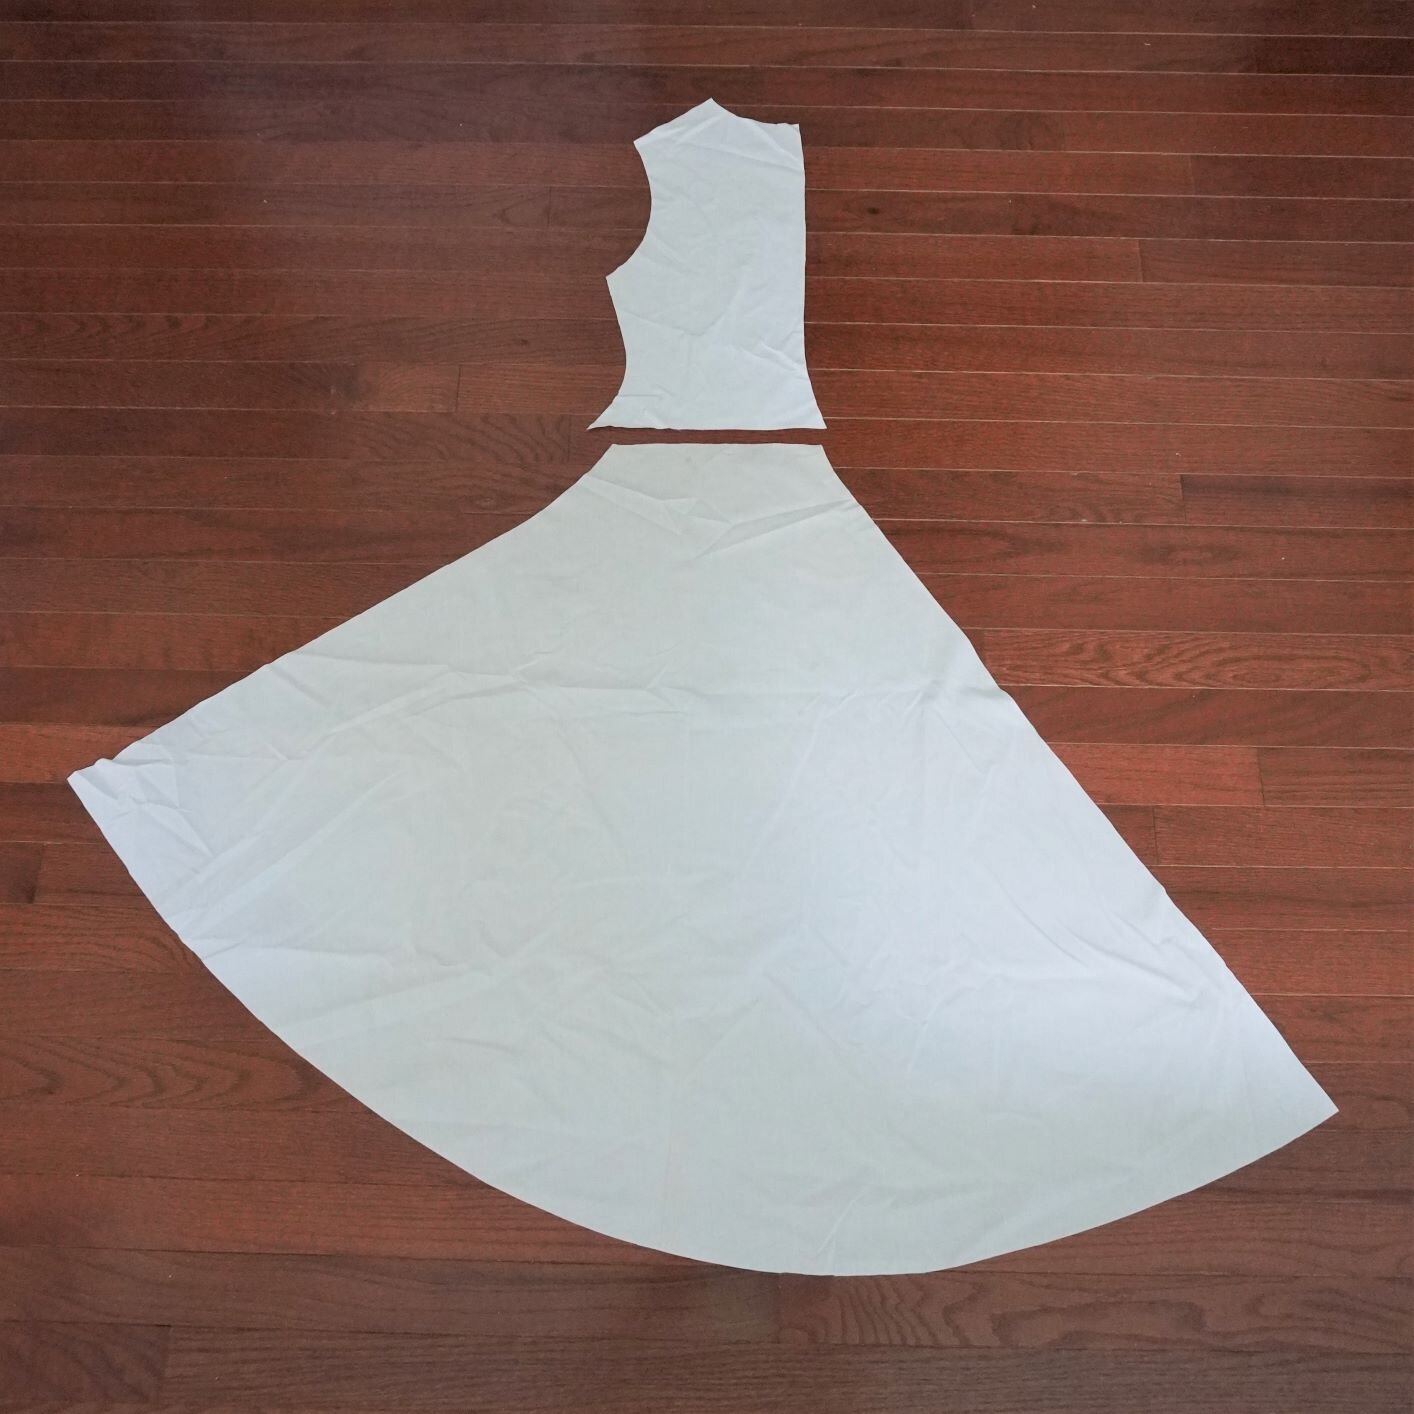
I cut the front bodice and skirt pieces separately and pieced them together.
Constructing the Dress
The Nyssa Dress pattern does not come with written instructions, but there is a blog post that provides a few basic instructions along with photos. I generally followed these instructions, but I made a few slight tweaks along the way, so here is my set of instructions for the Nyssa Dress:
1. Sew the drawstring pieces together. Fold each piece in half and sew down the long edge and one short edge of drawstring piece. Trim the seam allowance down to 1/8 inch and clip off the corners at the short edge. Turn the drawstring inside and out (you can use this handy loop turner to make it easier). Note: this differs from the original instructions provided by Mood, which call for you to fold the drawstring pieces in half, turn in the edges, then stitch down the length of the drawstring. To me, turning in the edges and ensuring that this is down evenly is much harder than sewing the drawstring and then turning it inside out.
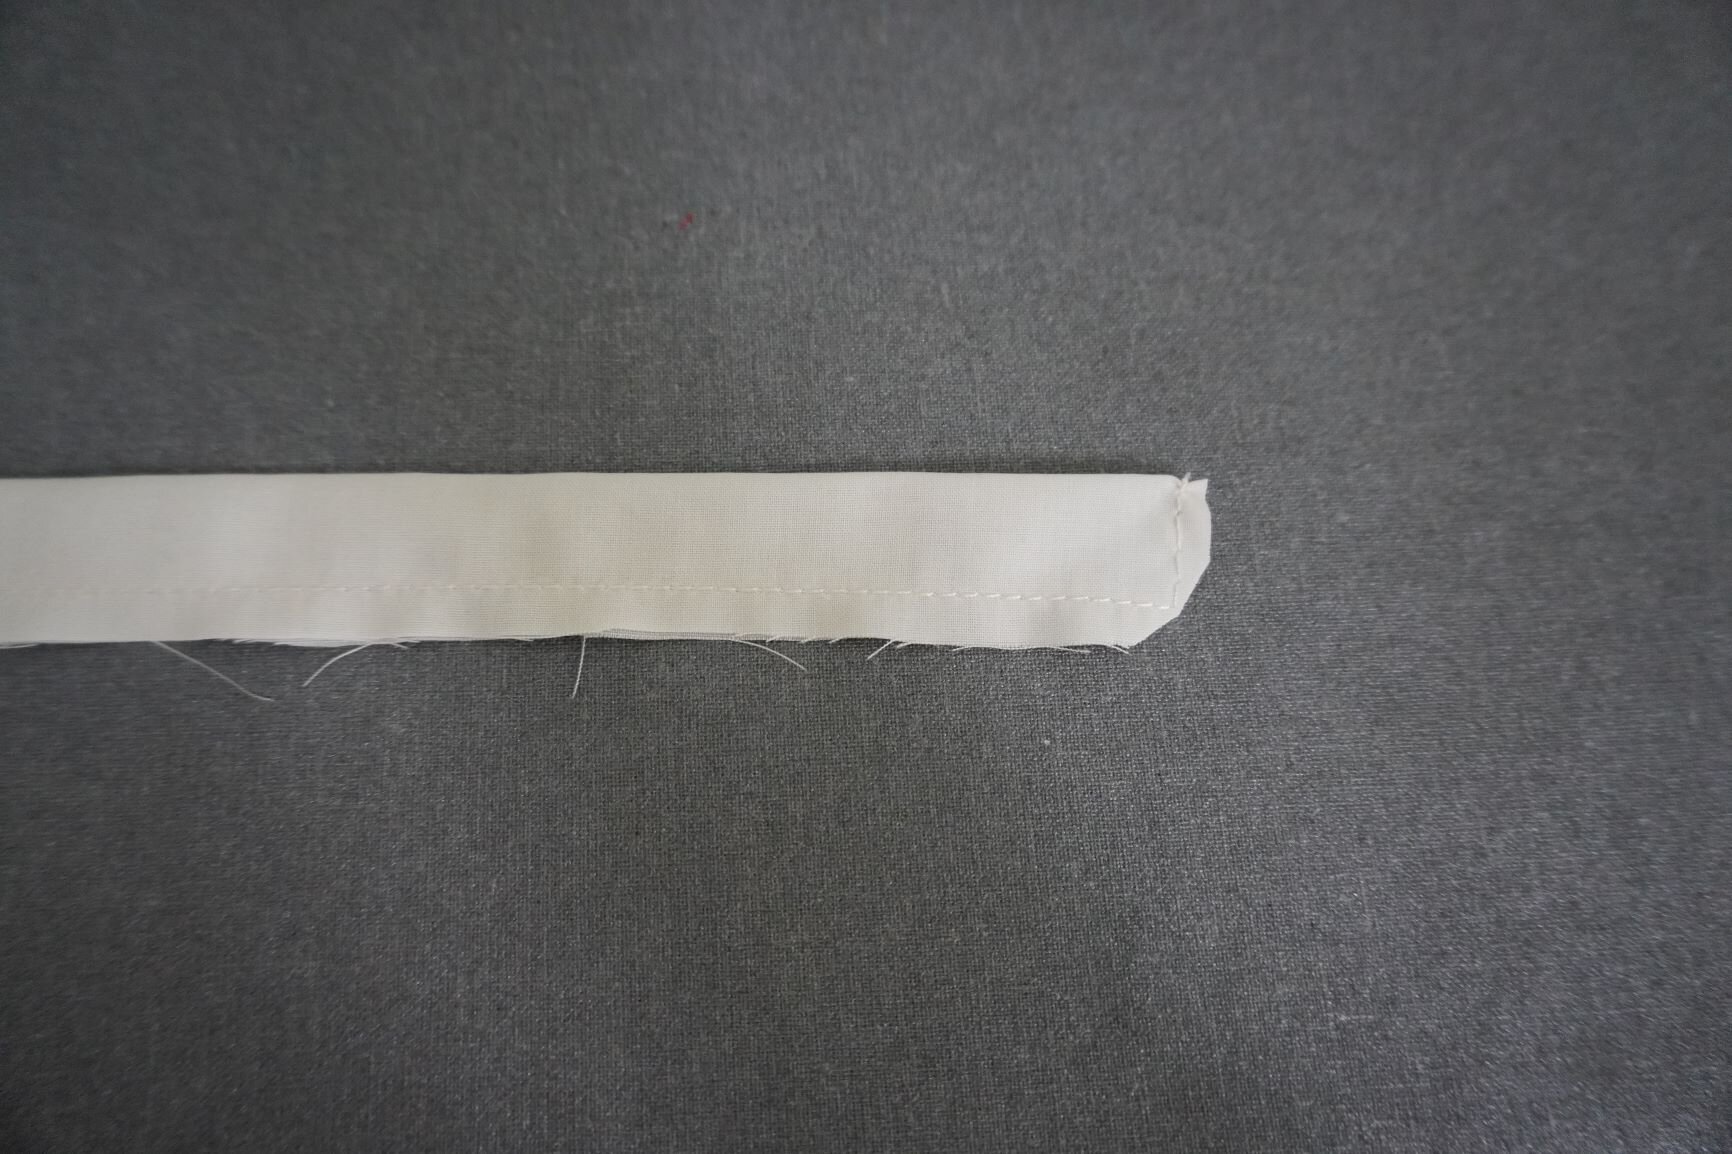
It is important to trim the seam allowances at the corners of the drawstring piece. If you don’t, the corners will not be sharp once you turn the drawstring piece right-side out.
2. Sew the darts in the back of the dress, following the markings given on the pattern. Tip: don’t backstitch at the apex of the dart – this will cause an unsightly clump at the tip of your dart. Instead, leave long tails at the beginning and end of your stitching, then tie those tails into a double knot and trim the tails. This will secure your stitching without causing a big clump at the tip of your darts.
3. Sew the back pieces together at the center back seam. Because I was using a relatively lightweight cotton, I decided to use flat fell seams on all seams in the dress. To make a flat fell seam, simply sew the pieces together, right side to right side, then trim one seam allowance down to ¼ inch and fold the other seam allowance around the trimmed seam allowance. Press the seam allowance down and topstitch in place. Here’s a link to a helpful video tutorial on sewing flat fell seams if you need more detail.
4. Make a narrow hem at the straight edge of your front panel. I had a hard time figuring out which edge was the straight edge when I was sewing the dress, so here’s a picture of the pattern with the straight edge marked, in case it is useful:

To make the narrow hem, fold the edge in 1/8 inch (or even narrower if you can manage it) and press, then fold again 1/8 inch and press again. Topstitch the hem in place.

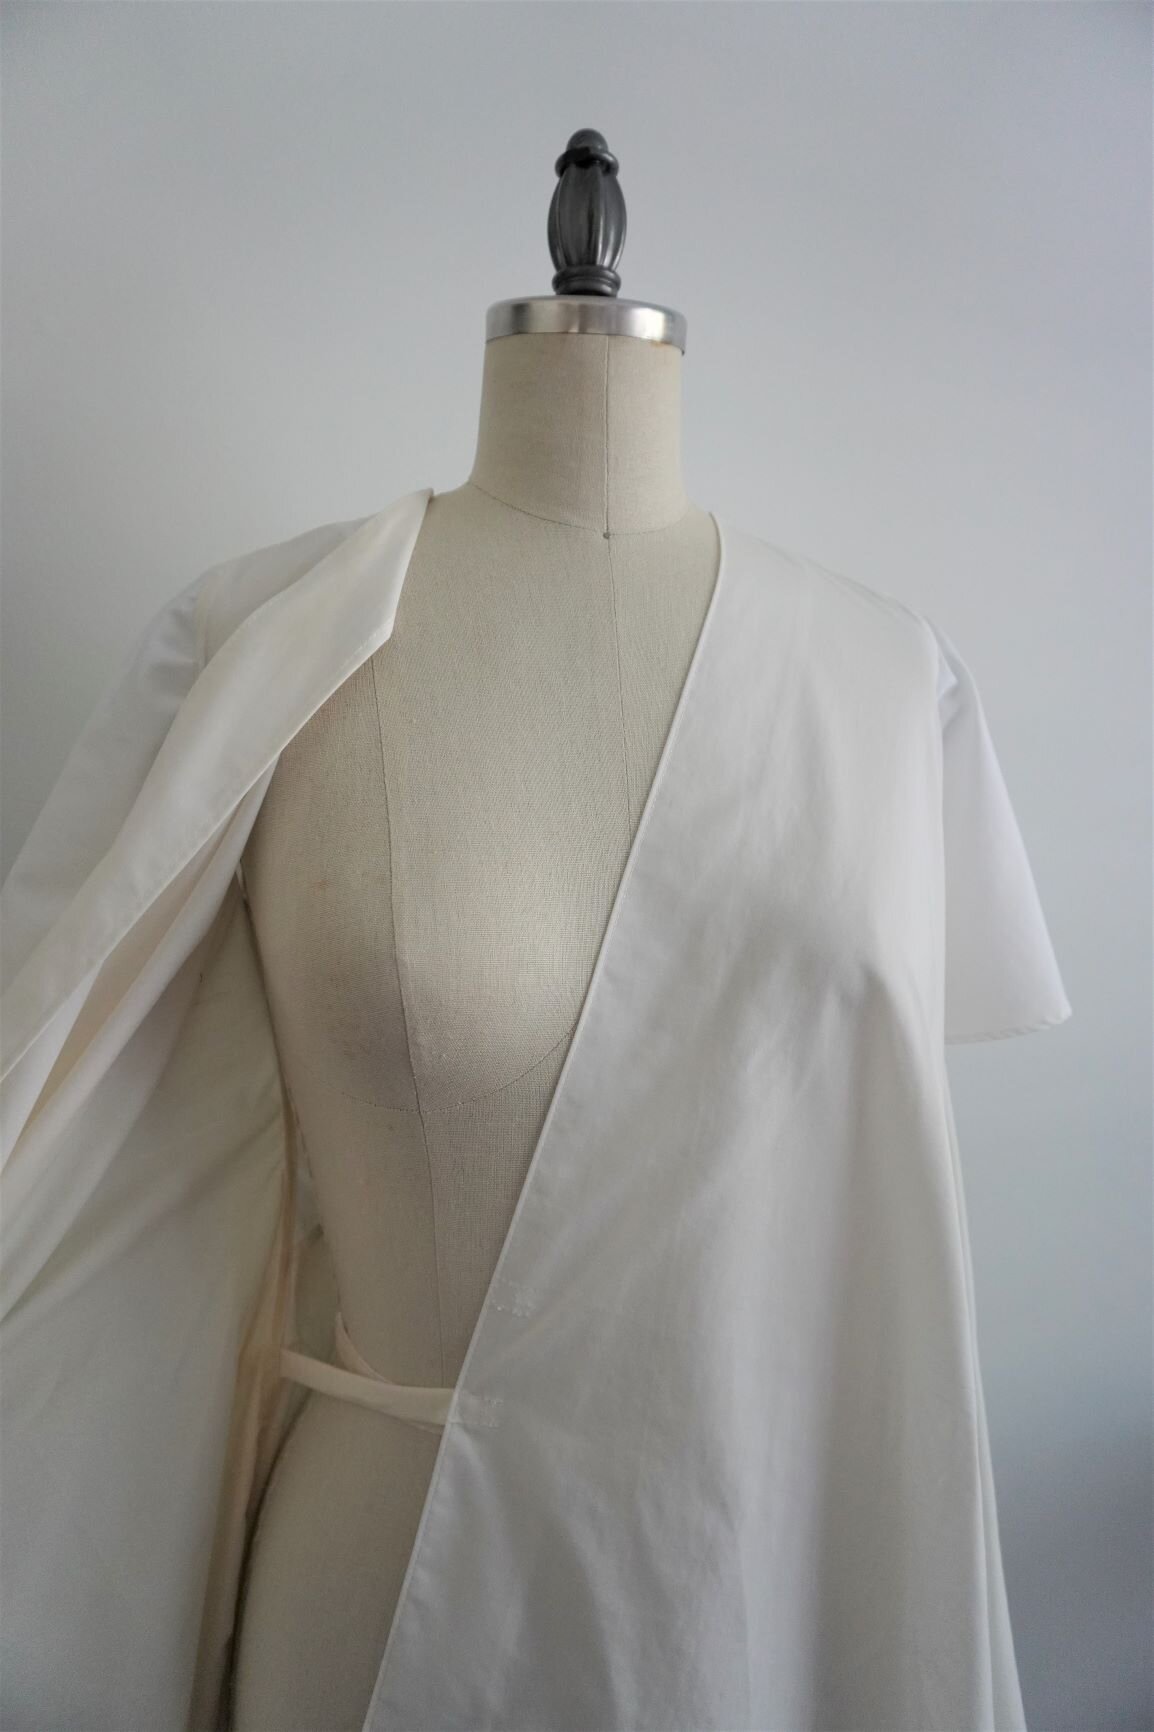
5. Fold the straight edge of the front panel in 2 inches to form the front facing of the dress. Press. Topstitch down the edge (this will keep the fold nice and crisp). Note: the original instructions from Mood don’t call for topstitching down the fold of the facing, but I found that the fold would not stay crisp otherwise. If you are using a crisp fabric with a lot of body, you may not need to do this topstitching, but I personally prefer to secure the fold with topstitching and I don’t mind the visible line of stitching down the front.
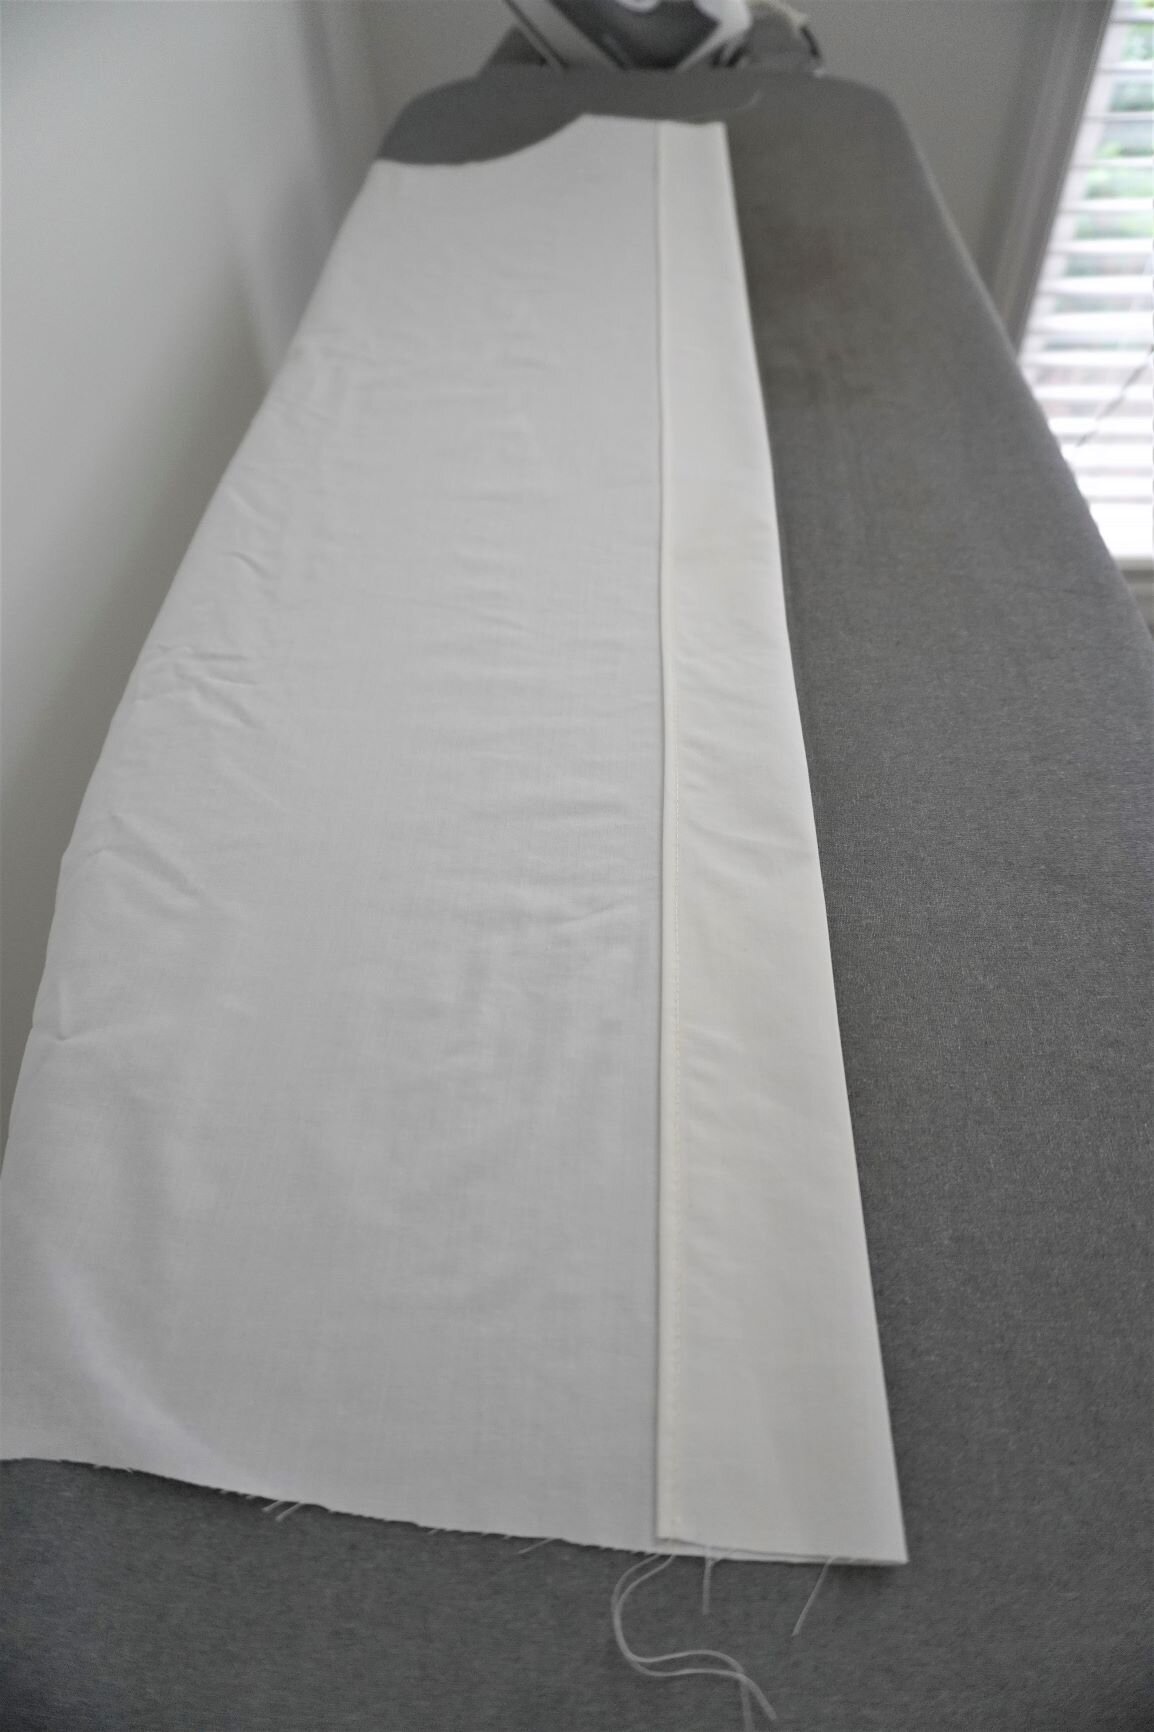
Fold the front edge in two inches to the wrong side to form the front facing.
Topstitch down the fold of the facing.
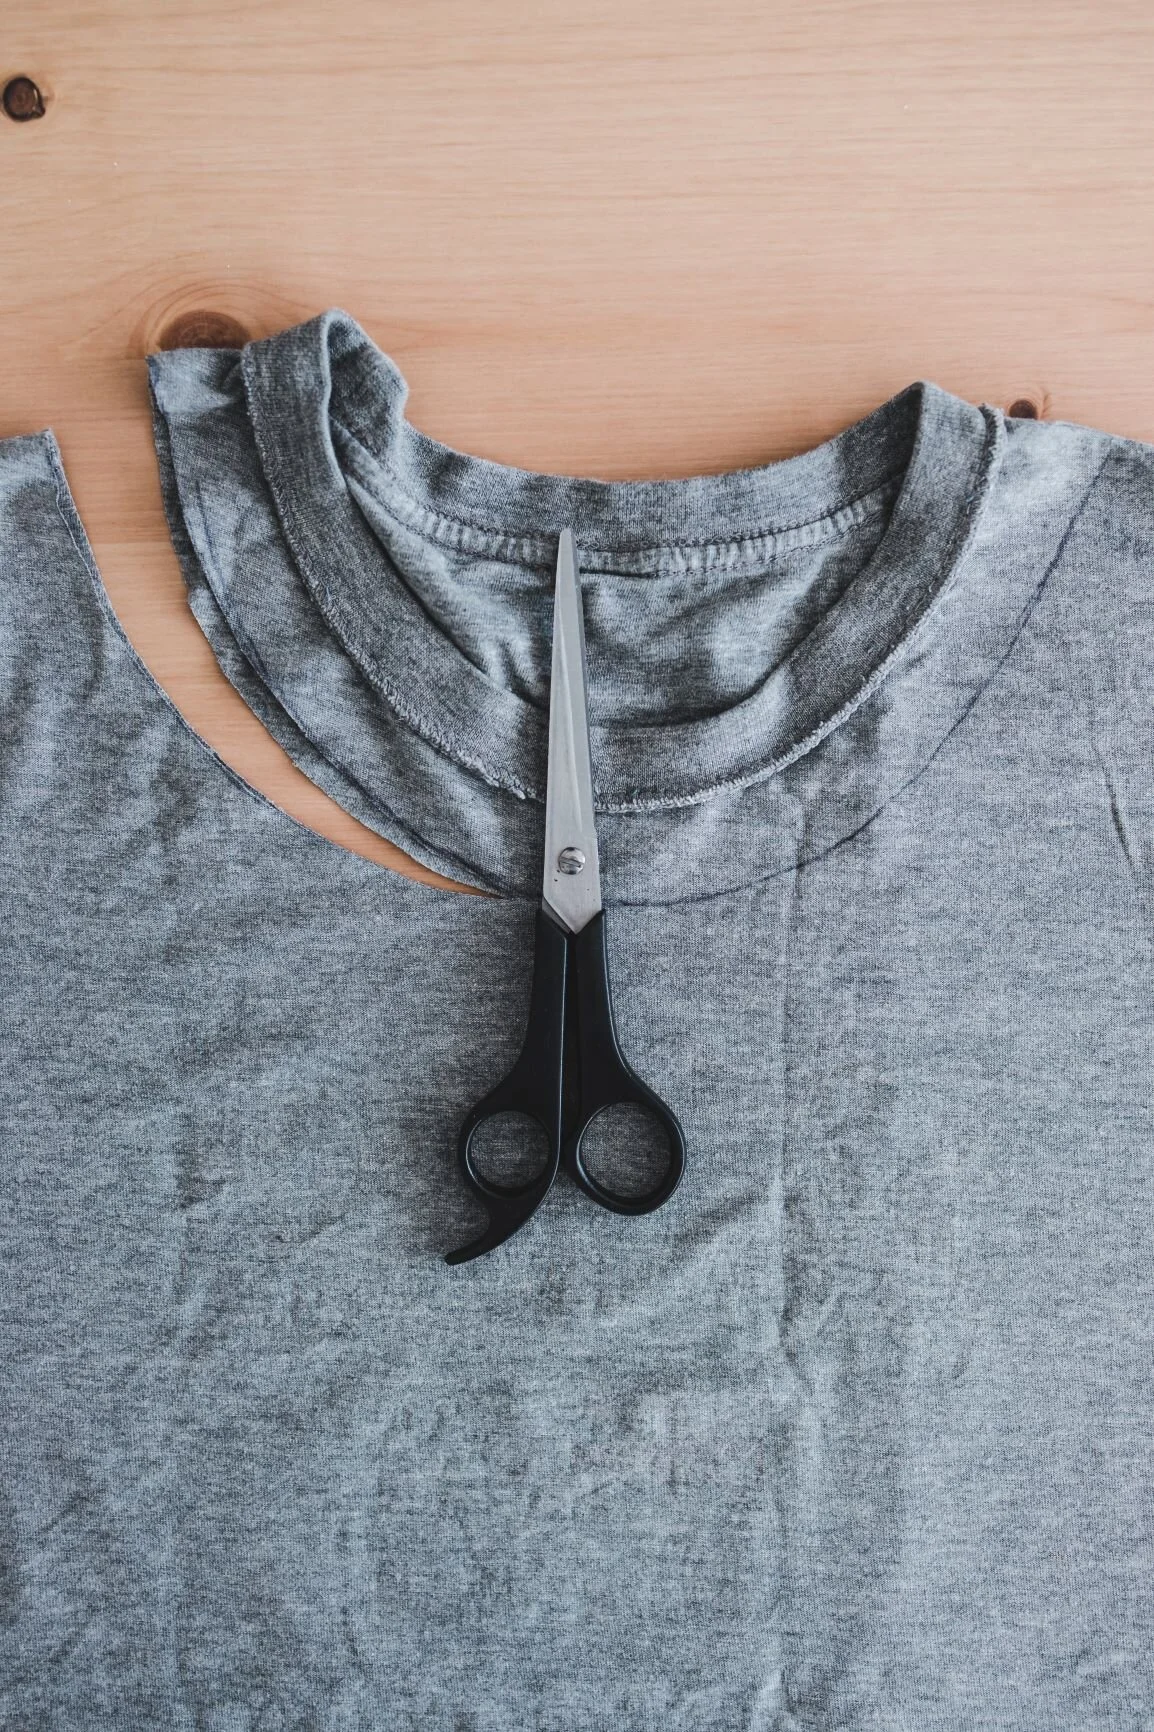
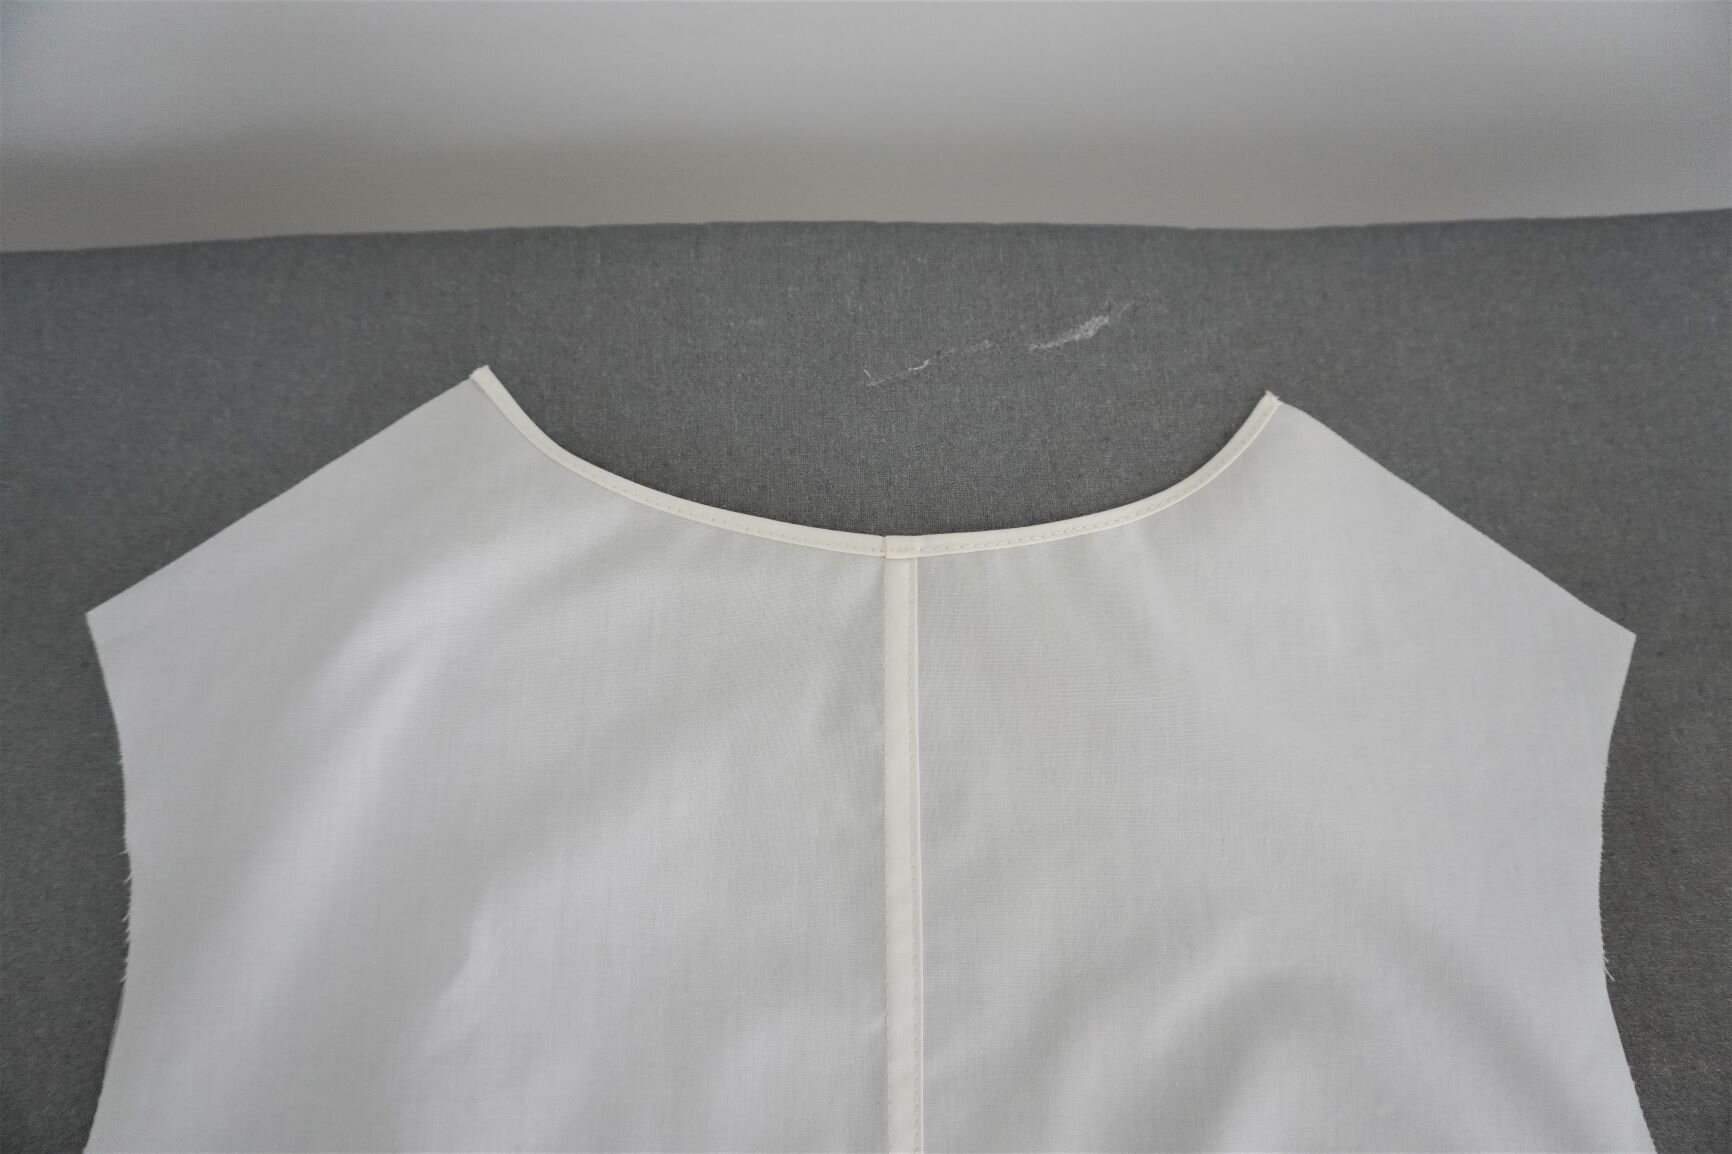
6. Make a narrow hem at the neckline of the back piece.
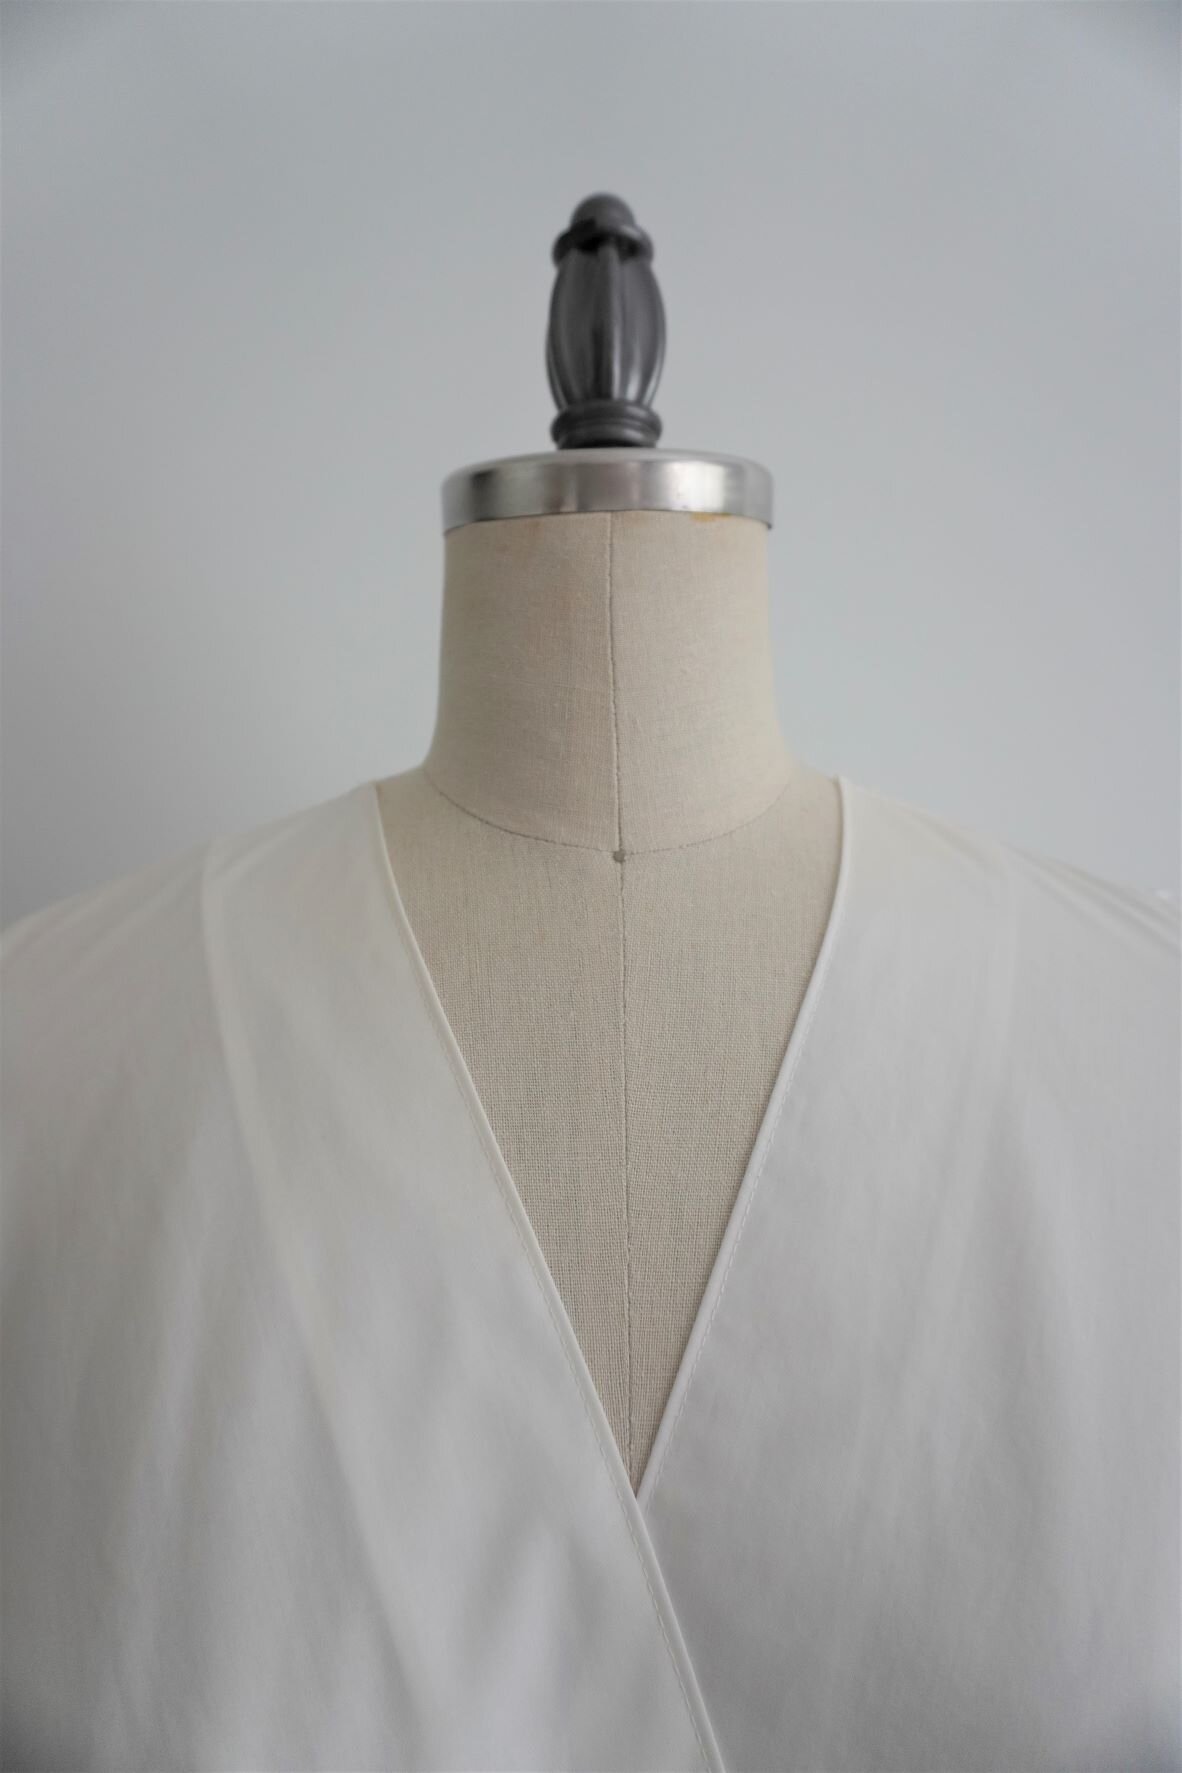
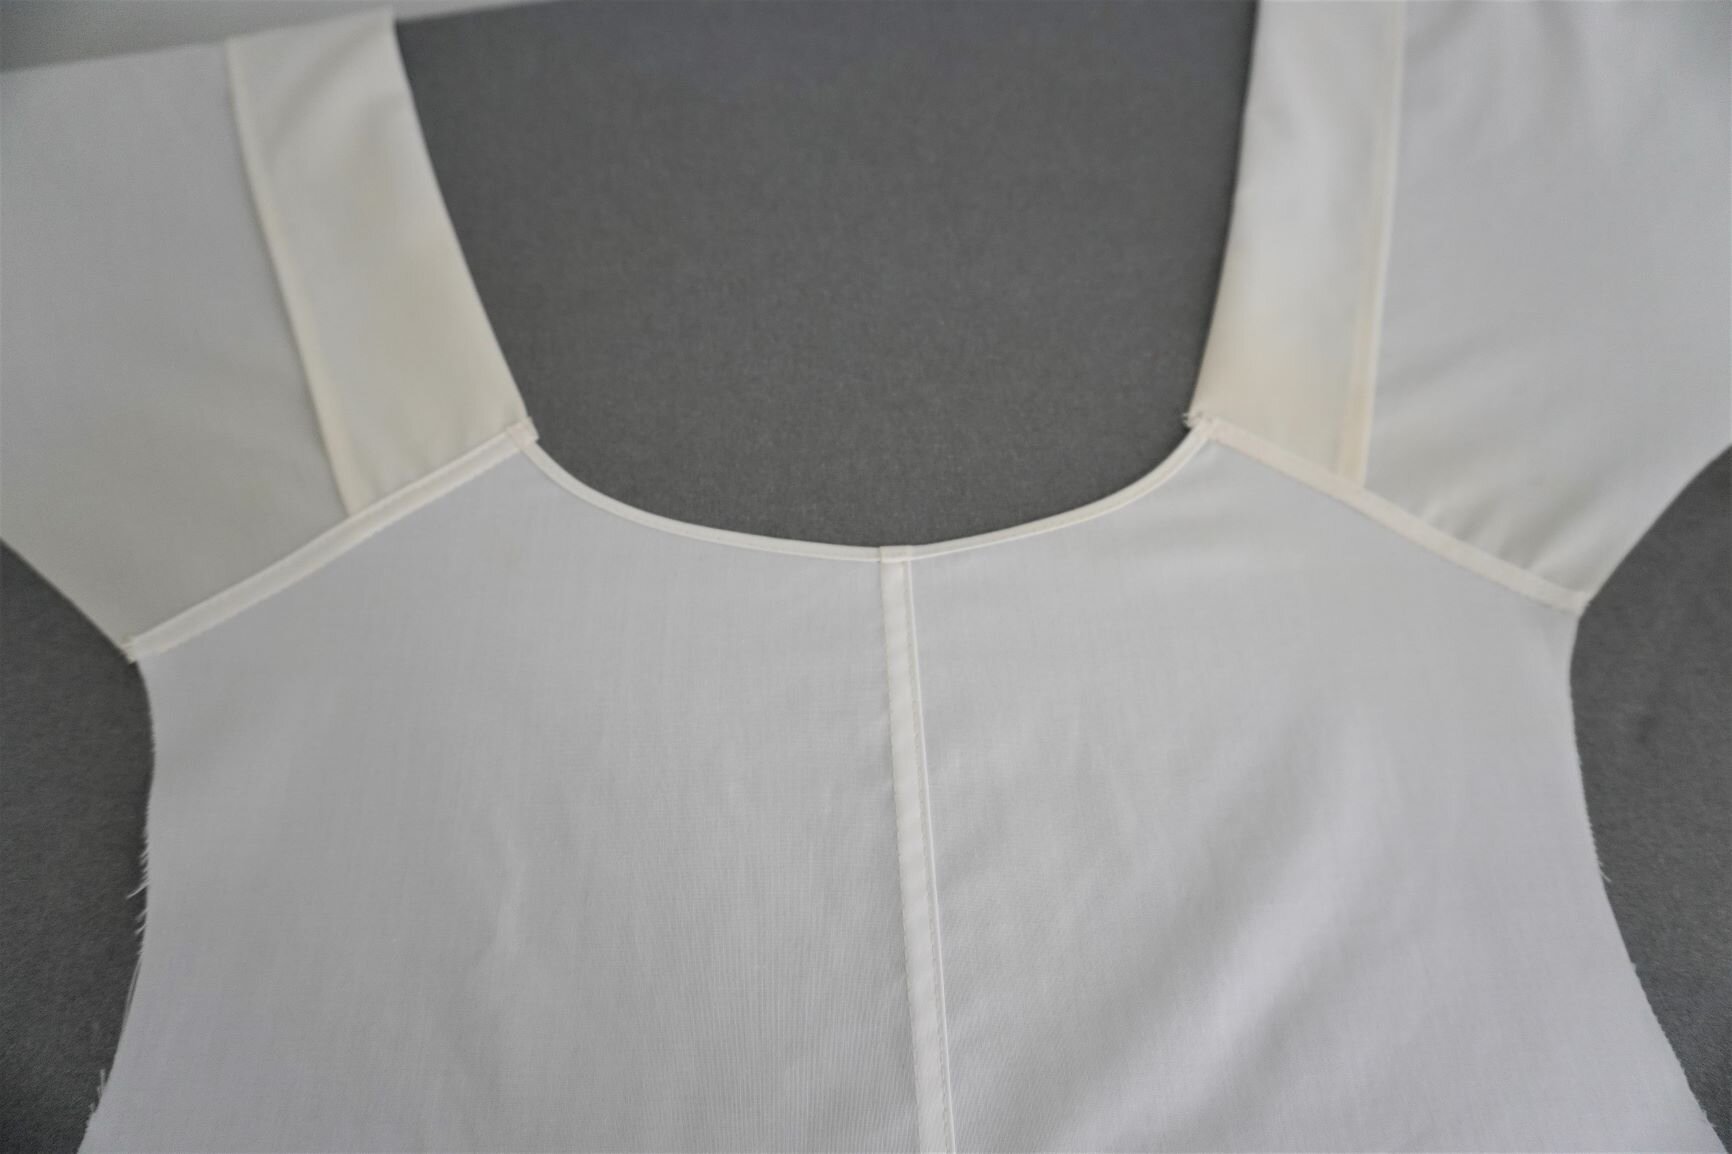
7. Sew the front and back pieces together at the shoulders. Don’t be shaken by the fact that the front has a facing but the back does not – I spent a lot of time wondering if I had done something wrong, but it turns out this is just how the dress is designed. It is perfectly fine and normal for the narrow hem of the neckline to align with the folded edge of the front facing, as shown here:
8. Make a narrow hem at the edge of your sleeves. It is easier to hem the sleeves first, while they are still unattached to the bodice of the dress, because there is less fabric to maneuver at your sewing machine, but you can hem them after attaching to the bodice if you prefer.
9. Pin the sleeve cap into the armhole and sew.
10. Sew up the side seams of the dress. Leave a hole in the right side of the dress that is large enough for the drawstring to pass through. On the left side of the dress, sew the drawstring into the seam, so the drawstring comes out on the right side of the dress.
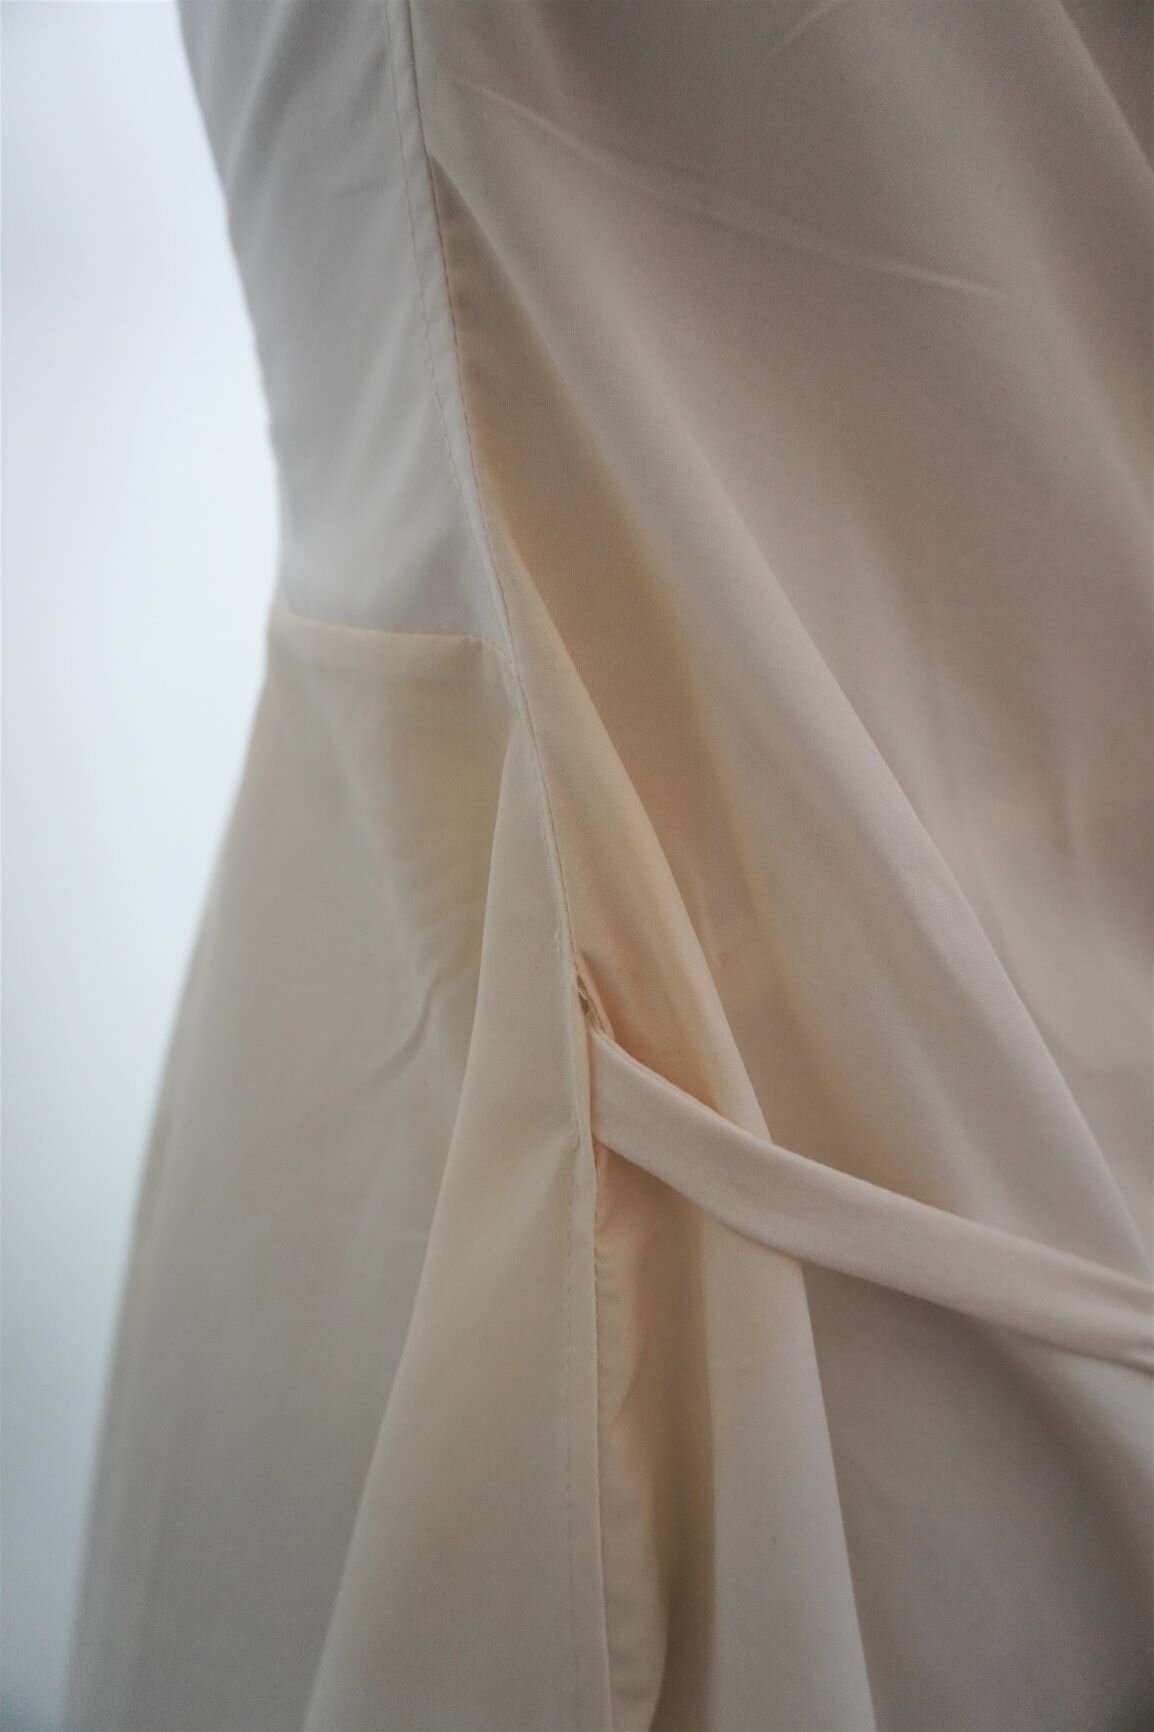
11. Try on the dress and thread the drawstring through the hole in the right side of the dress. Pin the drawstring to the left front of the dress so it is at the right level for the drawstring to go horizontally across the body. Once you are happy with the placement, stitch the drawstring in place.
12. Hem the skirt with a narrow hem. Note: this hem is LONG and really tedious to sew by folding the edge, folding again and then topstitching. I recommend using a rolled hem foot if you have one, to save on time.
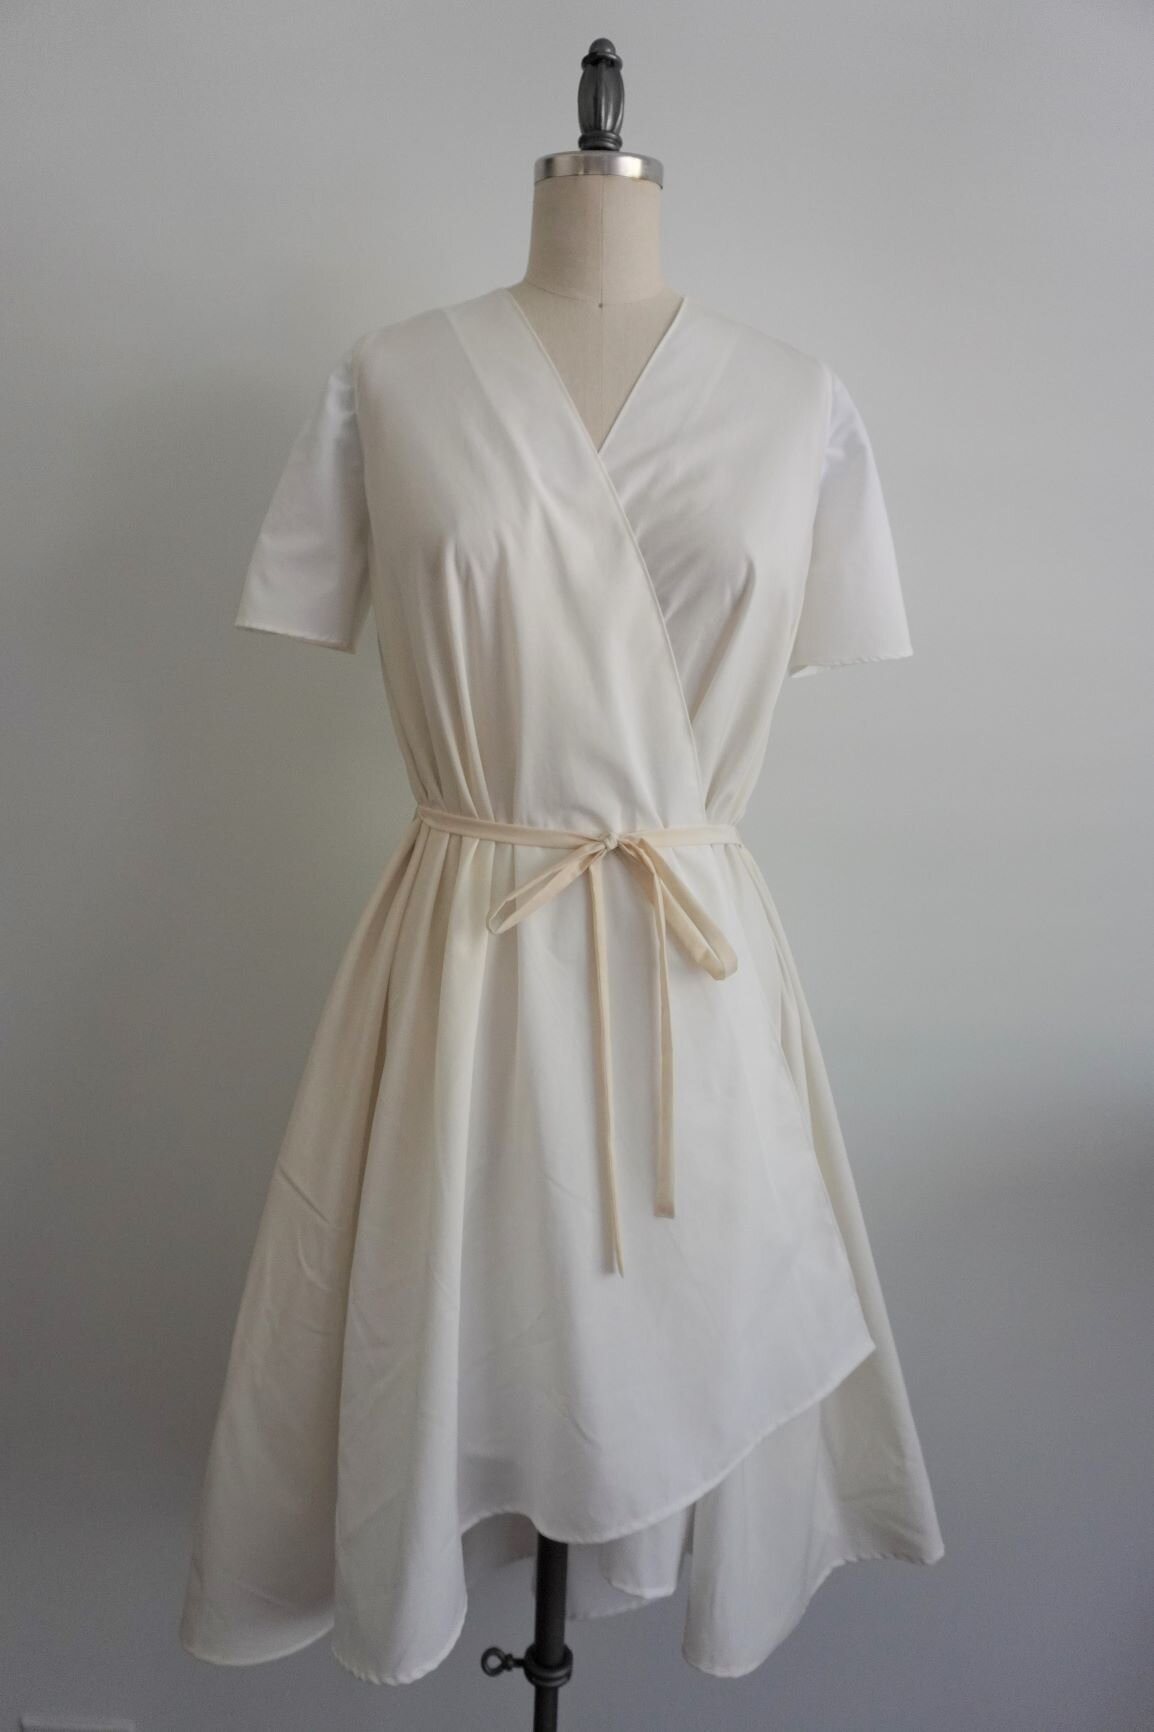
And here is the fully constructed dress, ready for dyeing. It needs to be bleached to lighten the yellowish tinge, and then it is ready for dyeing!
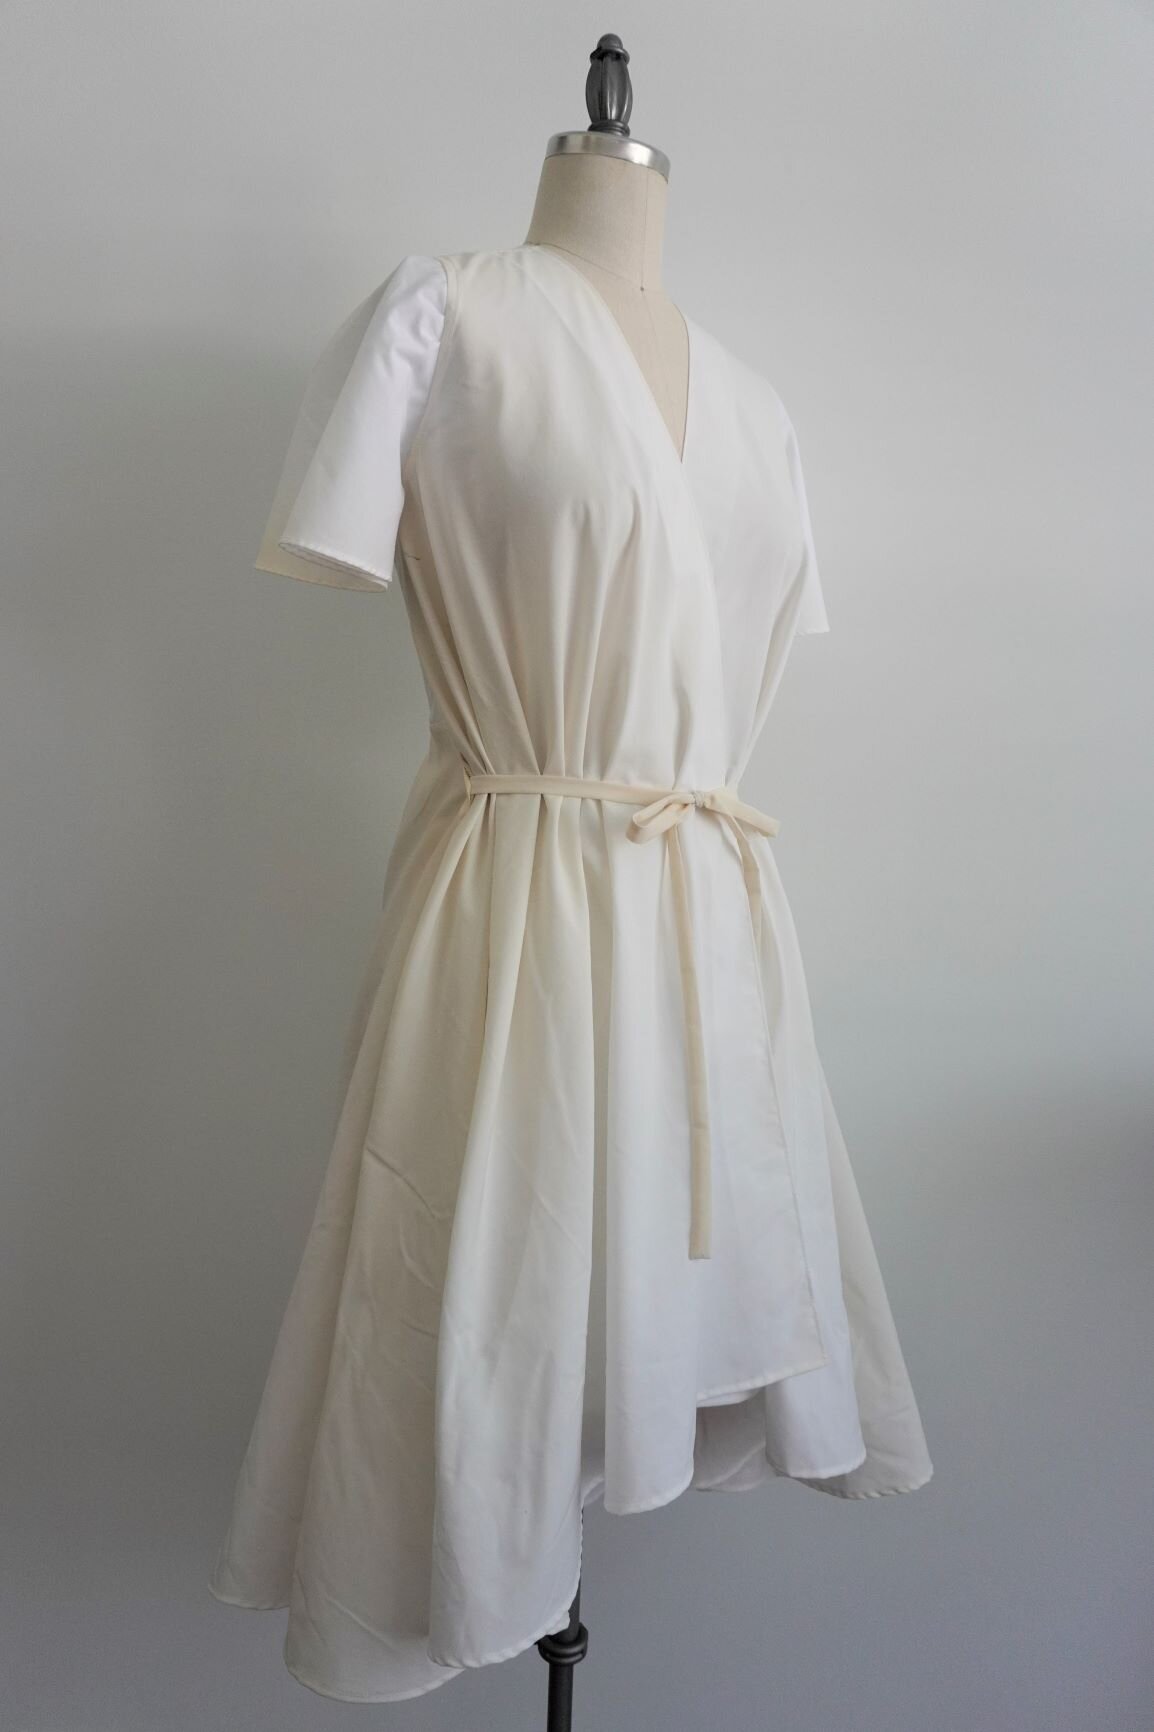
Dyeing the Dress
I wanted to go for a striped look, so I accordion-folded the dress (so the pleats run vertically up and down the dress). I wanted the stripes to radiate out from the waist, so I made the pleats narrower at the waist and wider at the skirt. I then wrapped rubber bands around the entire thing (you can also use twine to wrap).

Next, I applied the dye to the dress using the squeeze bottle and then left the dress to dry for several hours.

That was it! I’ve never tried tie dyeing before but I found this whole process very quick and easy to do. The hardest part by far was folding the dress into a million tiny accordion pleats. Because the skirt is so full (it’s basically a full circle skirt), it took me about an hour to pleat up the entire dress, whereas it took me only about 10 minutes to dye the dress.
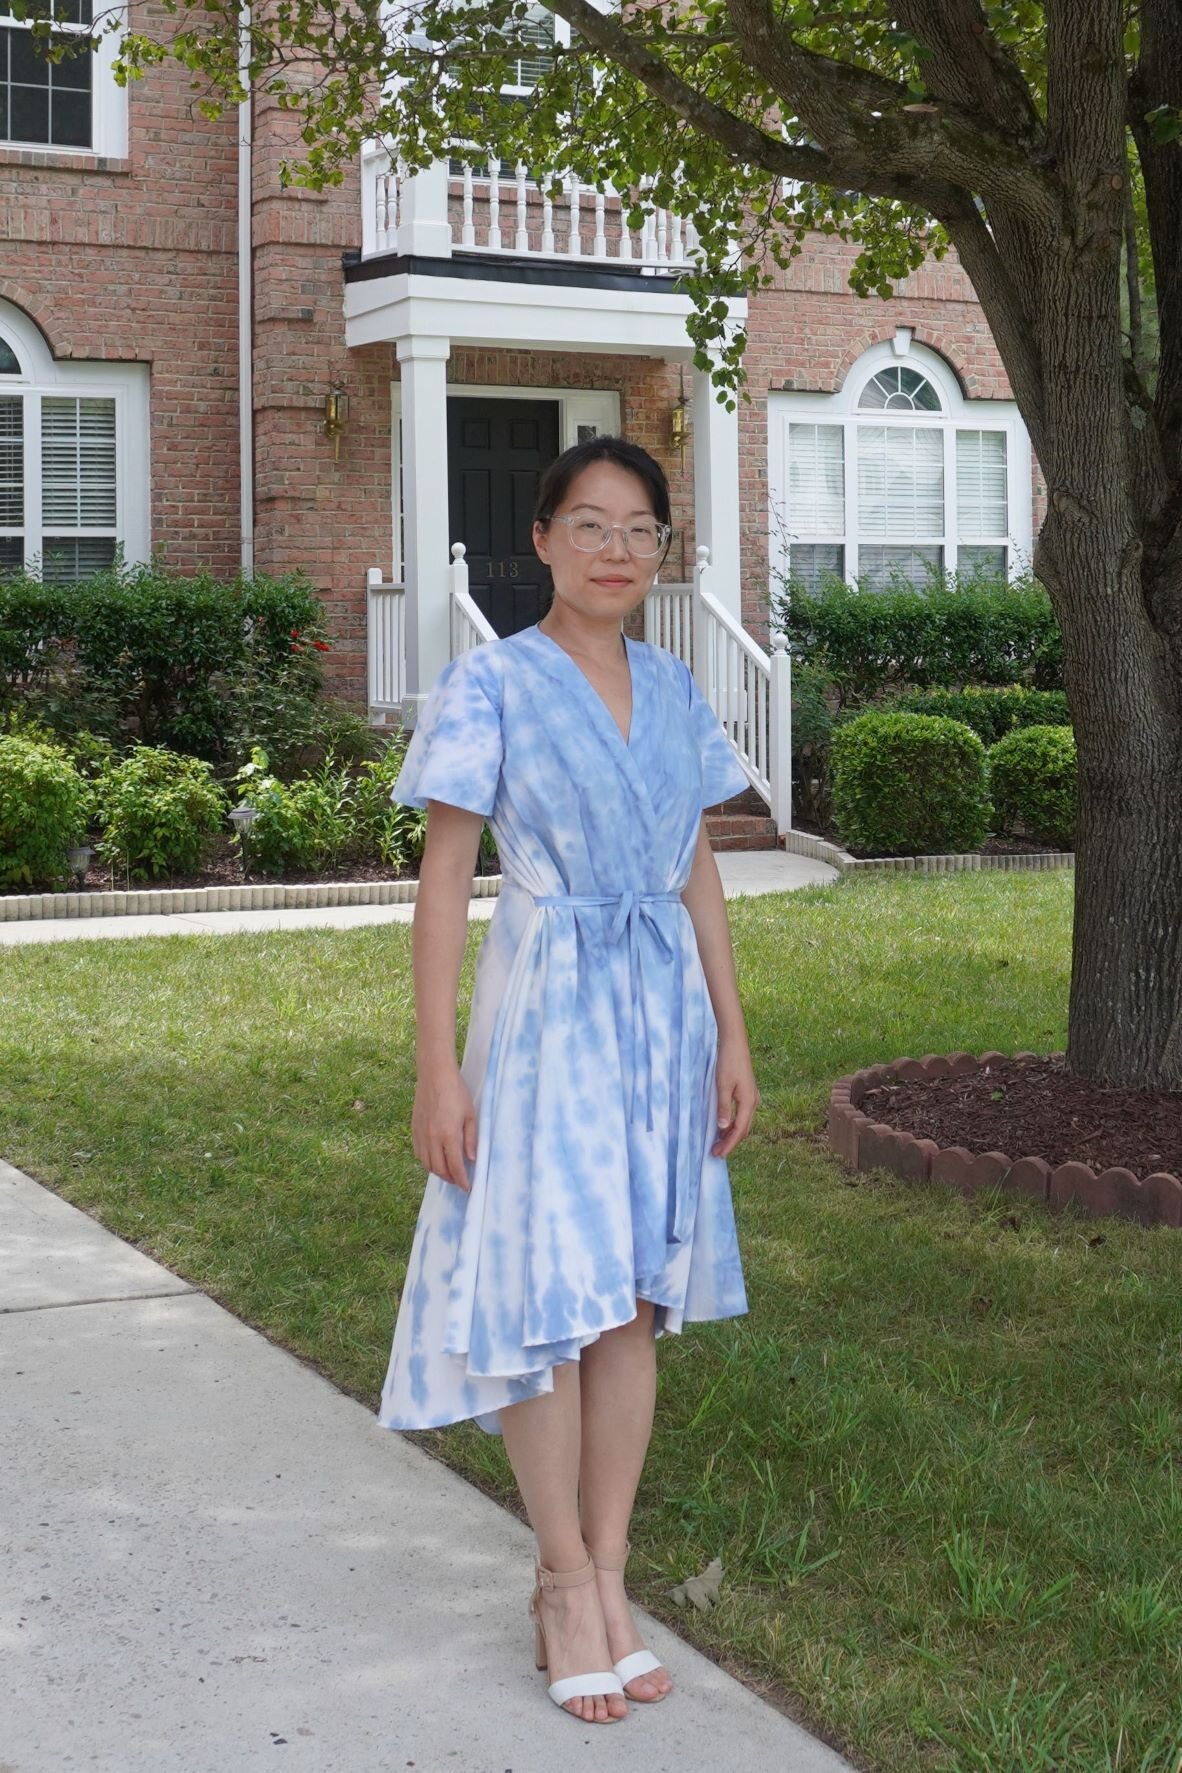
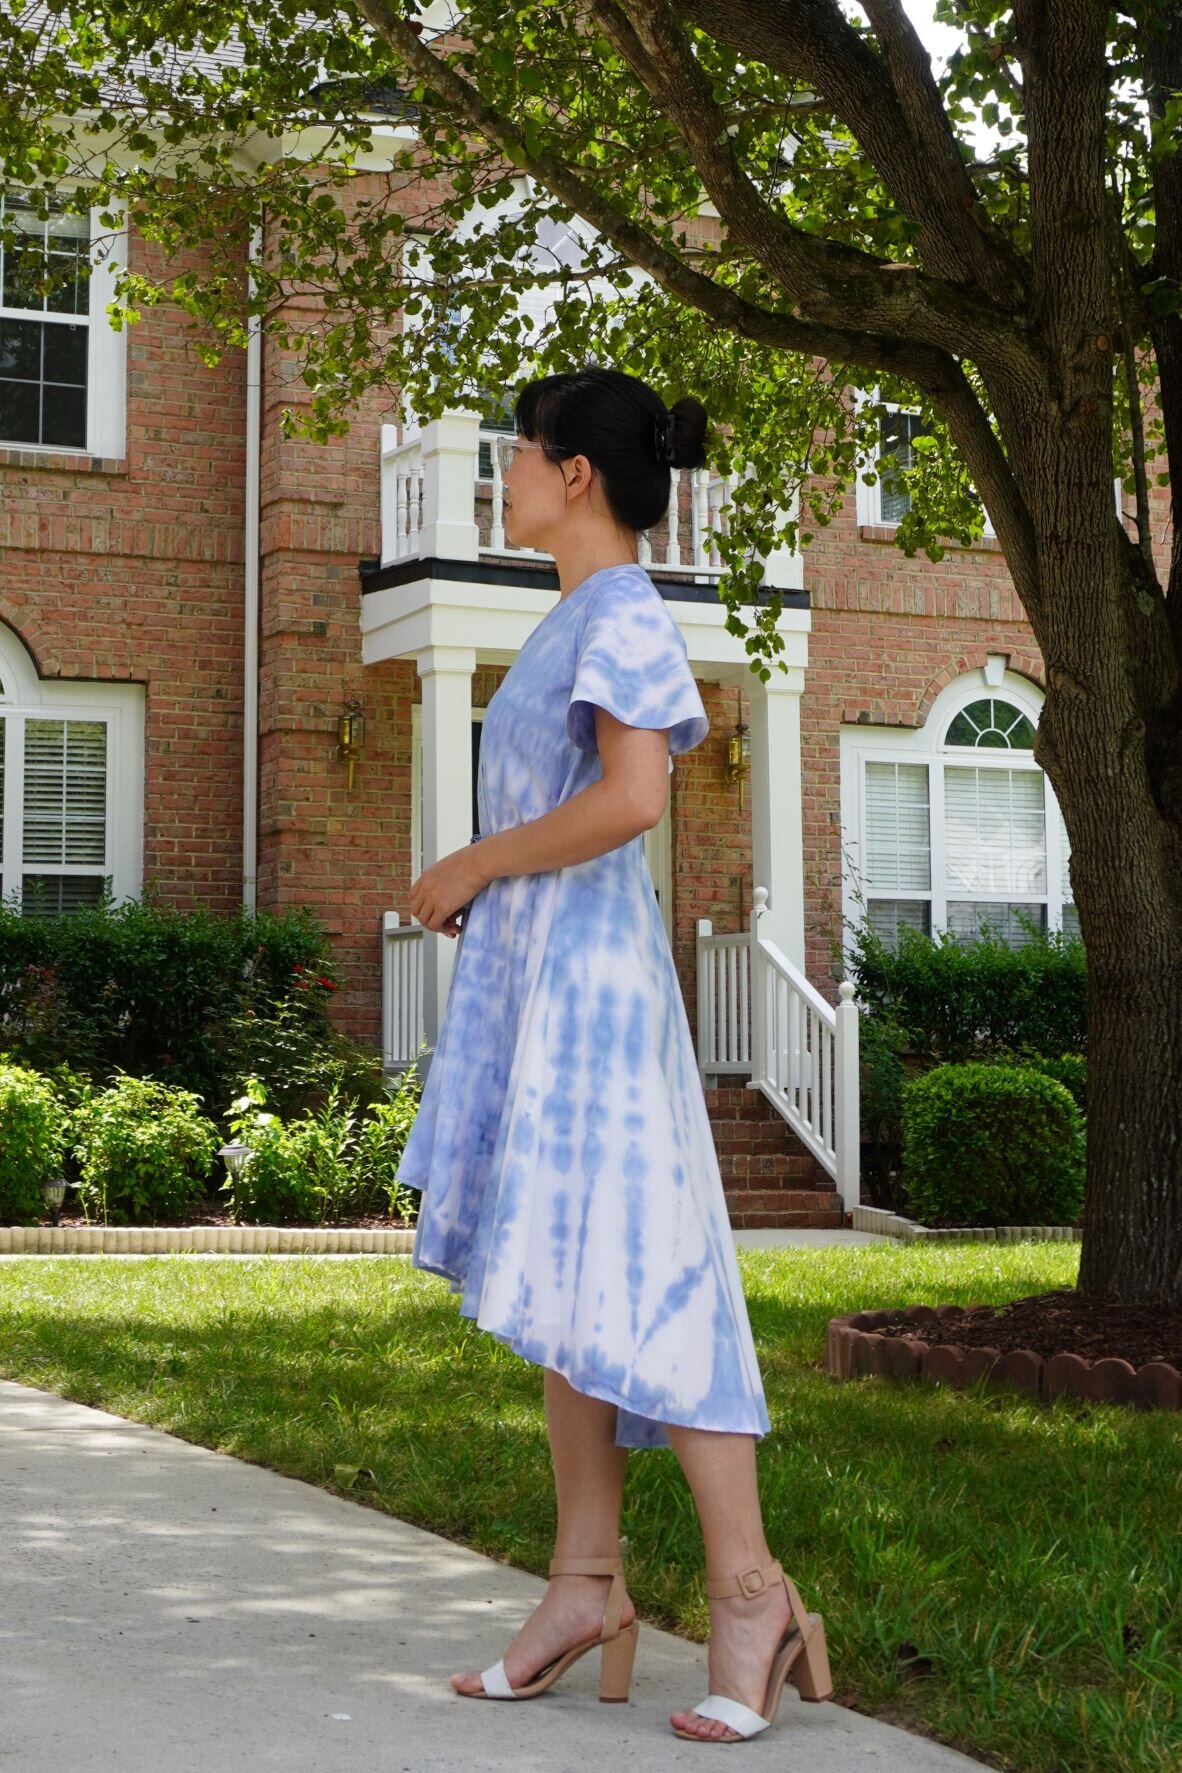
The Finished Dress
Here are some pics of the finished dress. I love how the tie-dyed stripes came out, although I had hoped for a darker, more indigo color. The dress is very voluminous so I plan to wear it as a coverup for the beach or pool.


Have you ever made a dress from an old sheet? Let me know in the comments!