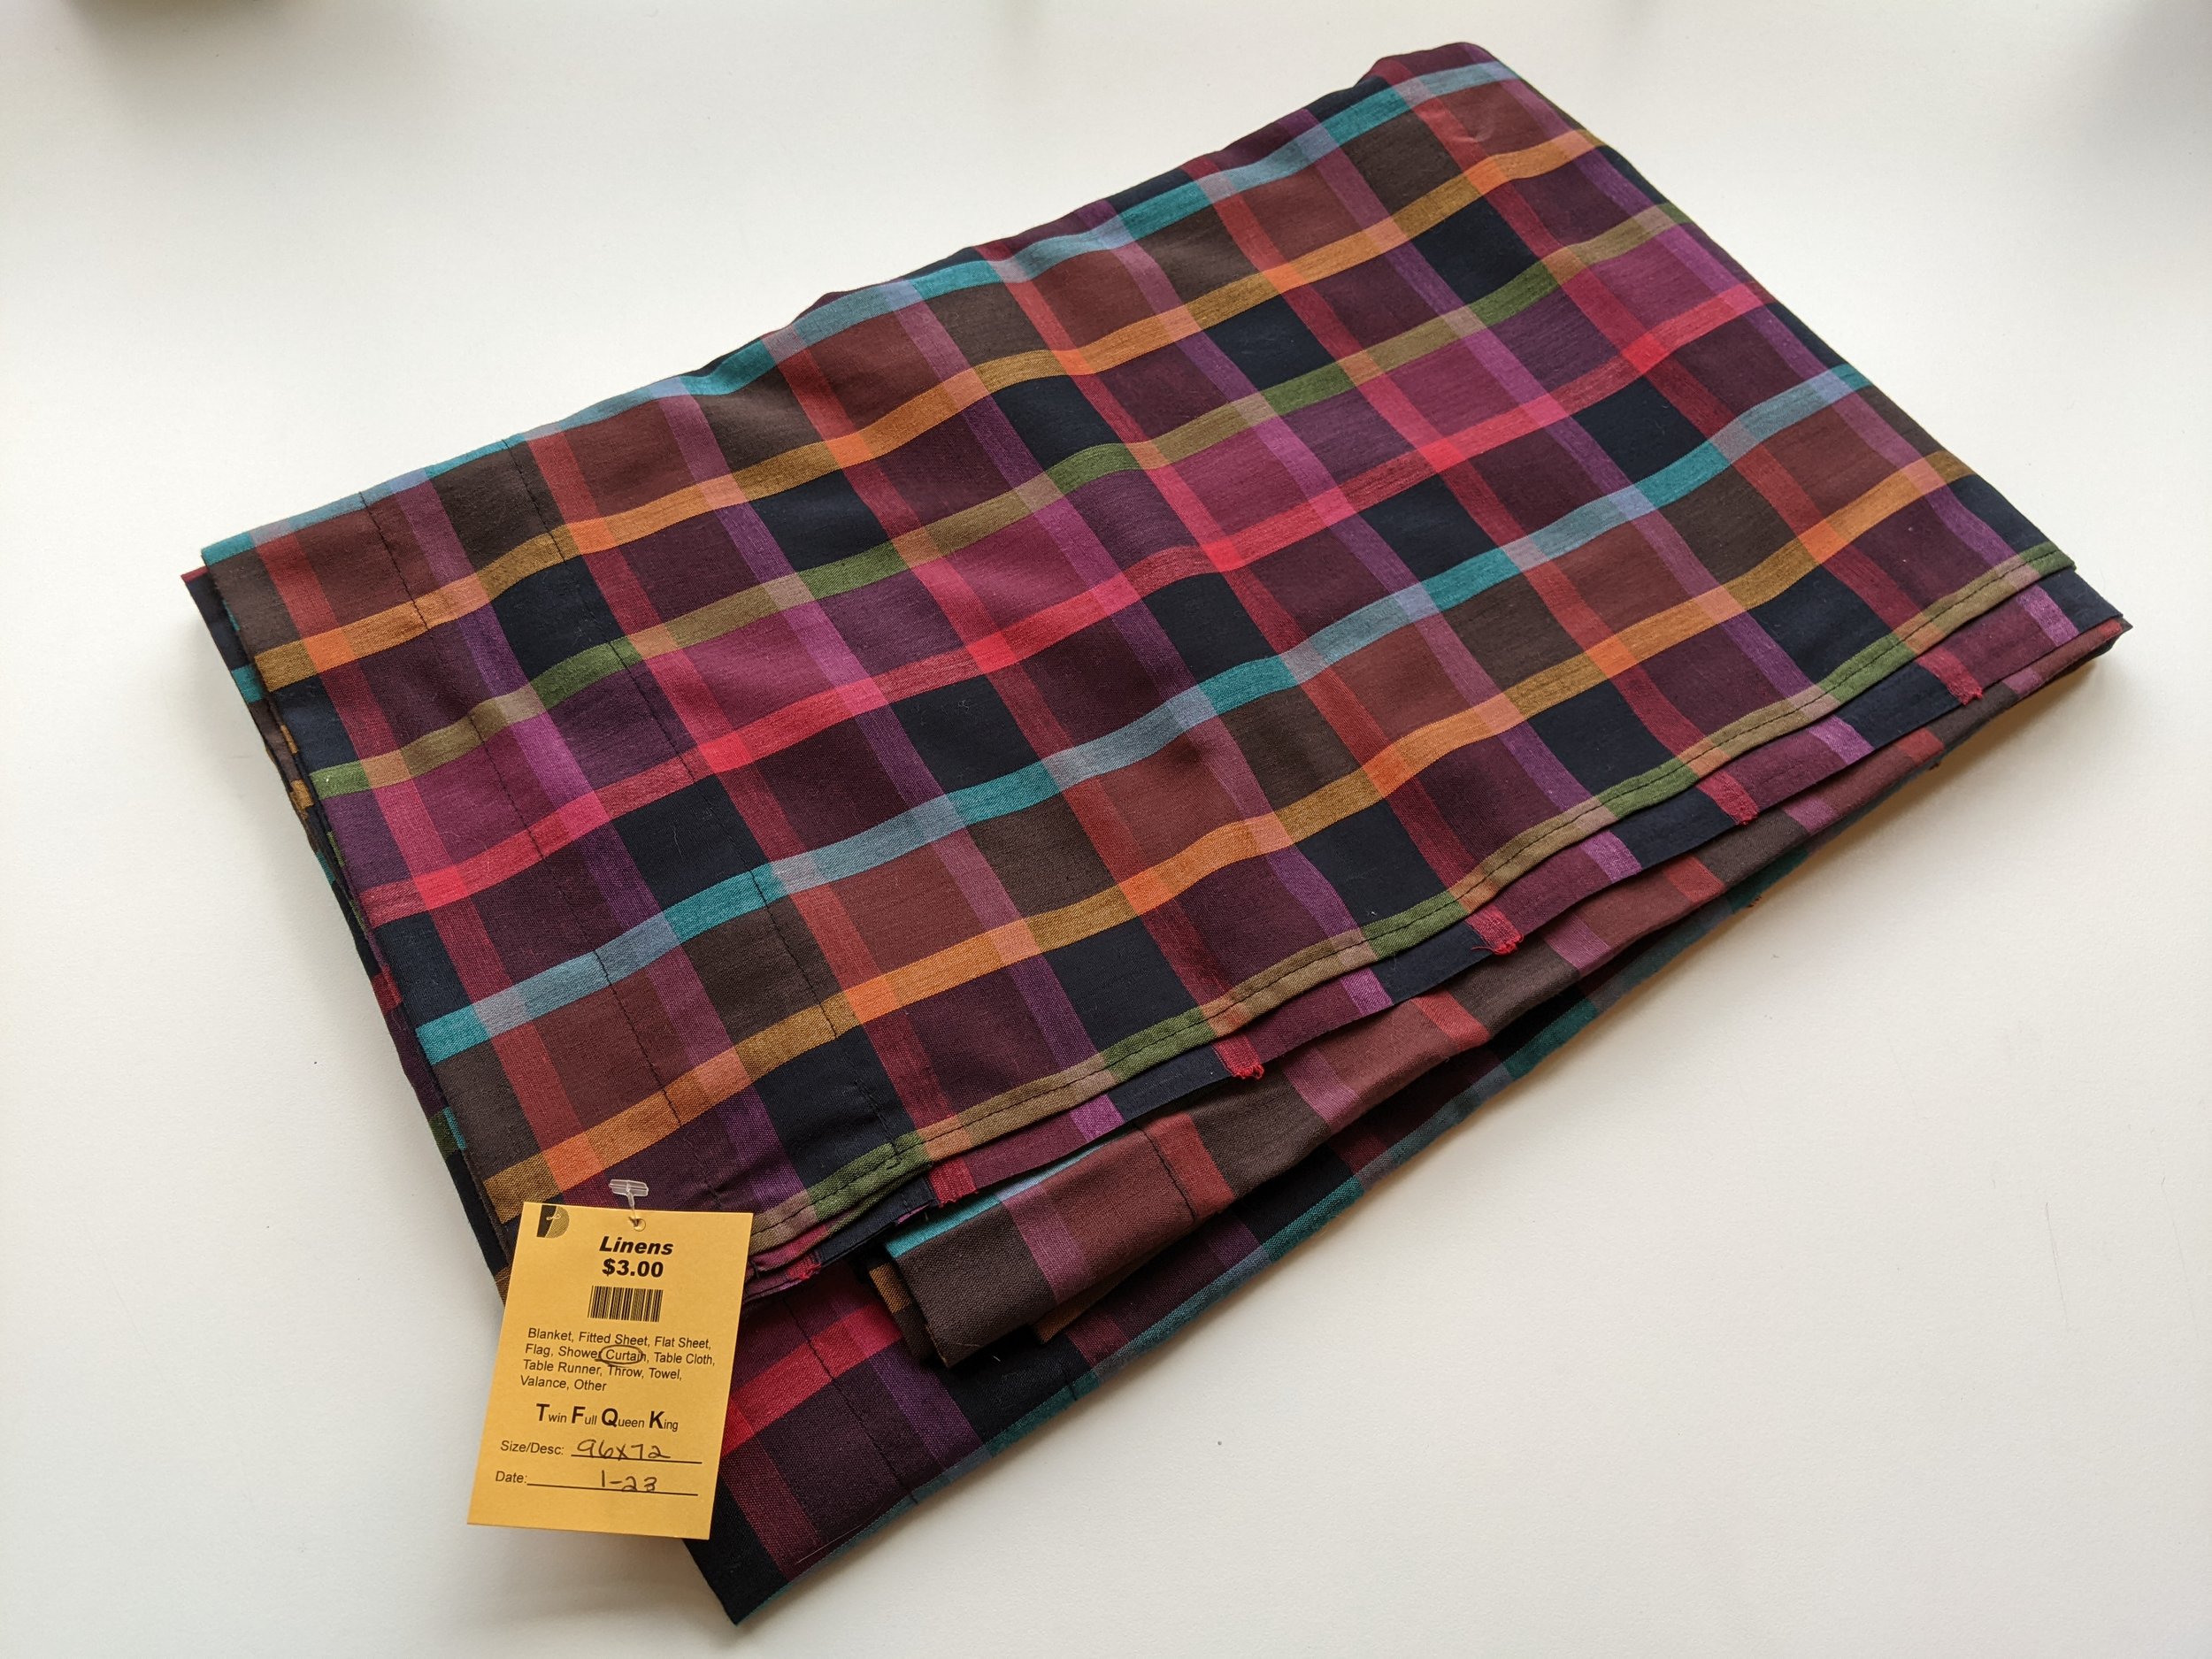
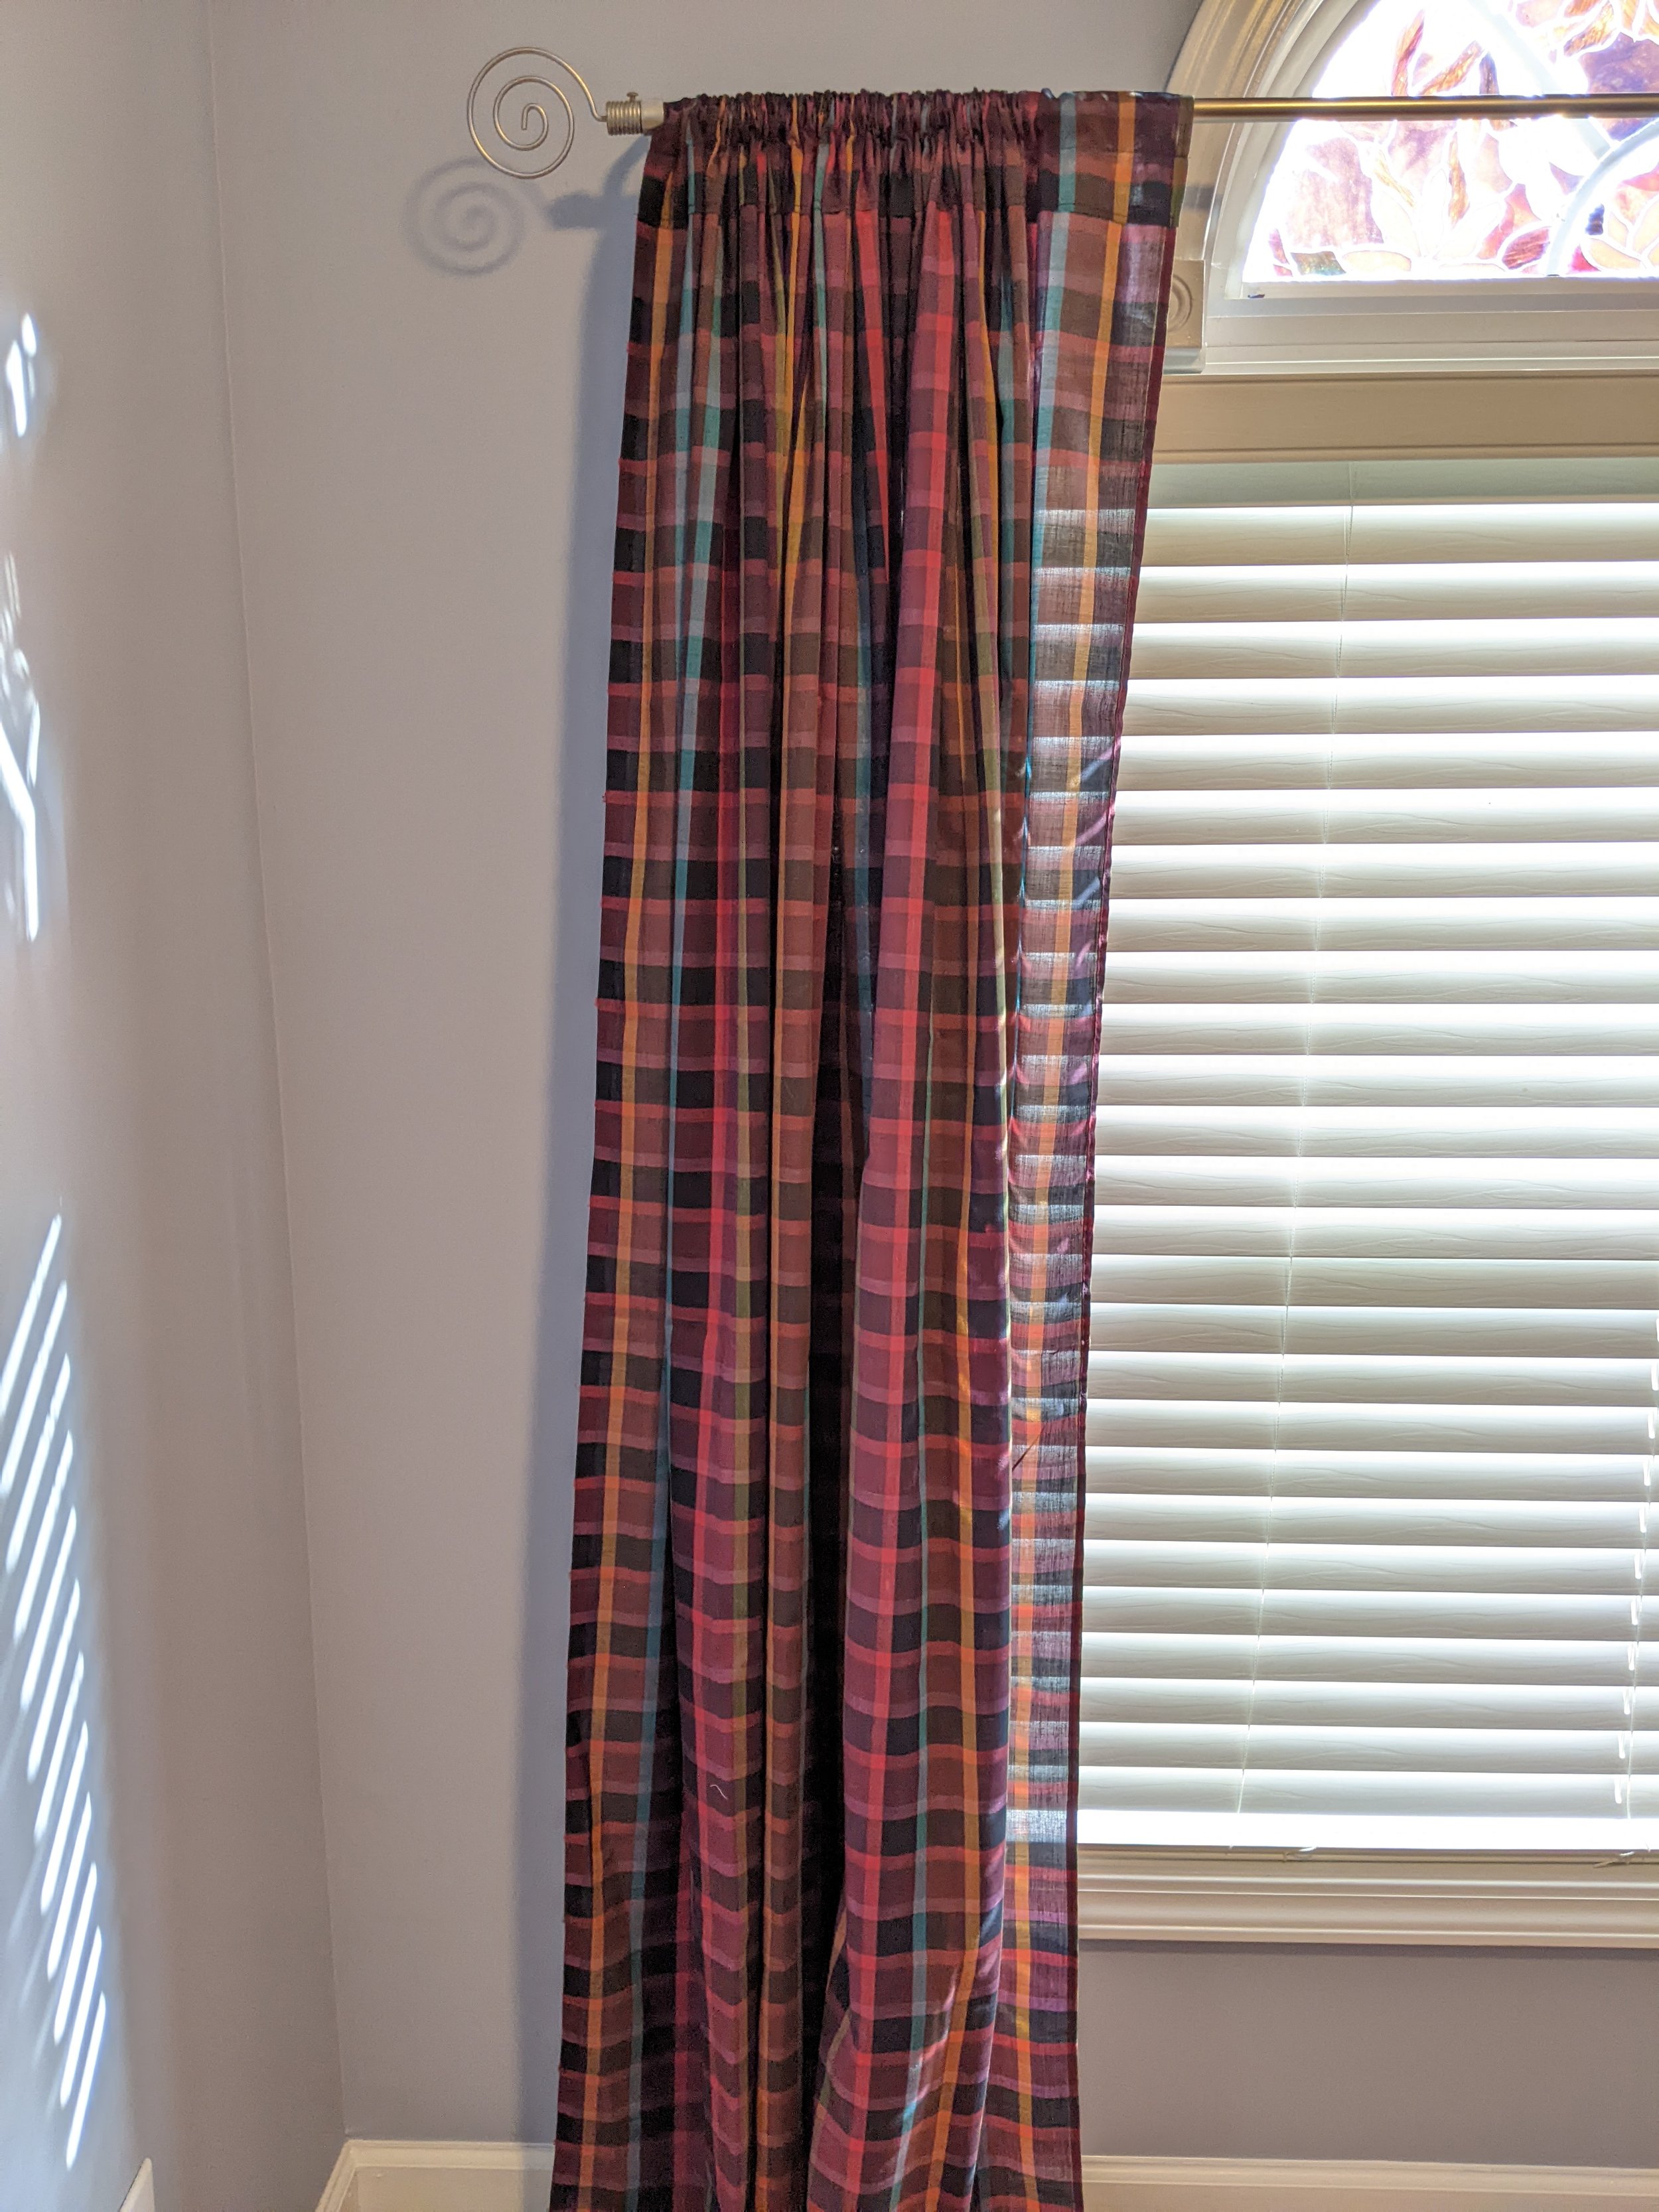
If you’ve visited my blog before, you probably know that I’m a huge fan of transforming used home textiles into fabulous handmade garments (see some examples here). This time around, I decided to try to transform a lightweight, semi-sheer purple plaid curtain that I found at my local thrift store for $3. The fabric was very drapey and soft, and the curtain panel was quite big – 96 by 72 inches – so I had a lot of fabric to work with. I thought this fabric would be perfect for making a glamorous Vivienne Westwood-style dress with a fitted corset top and full skirt.

I’ve made a video tutorial showing how I made the dress, step-by-step, which you can check out below. The tutorial is broken out into three parts: (1) materials, pattern selection, prepping the muslin and cutting the pieces, (2) constructing the dress bodice, and (3) constructing the dress skirt (plus pics of the finished dress!).


If you’re not a fan of video, check out my written notes on the design process below.
Pattern Selection
The first step was picking the right pattern for the dress. I couldn’t find any ready-made patterns for a Vivienne Westwood-style corset dress, so I decided to use Vogue 8385 for the bodice pattern, then drape the skirt myself. Vogue 8385 is unfortunately now out of print, but I was able to track down a copy of it from a shop on Amazon called “Patterns from the Past.” (Shoutout to the folks at patternreview.com, who helped me find the pattern online!)

As originally drafted, Vogue 8385 calls for the bodice to be closed with buttons down the front. However, I wanted this dress to have a corset that cinched in at the waist, so I decided to add some hook and eye tape, and also add some boning to the corset. (I used ¼ inch spiral steel boning purchased from a seller on Etsy.)
The skirt was pretty easy to drape. I knew that I wanted the skirt to have a handkerchief hem, so I started with a large square of fabric, then cut out a circle in the middle for the waist and started pleating it on the dress form until I got to something that I thought was visually pleasing. I then cut away an additional point on one side of the circle, to make the skirt fit better along the V-shape at the center front of the bodice.

If you’re interested in making your own version of this dress, I’ve made a pattern that shows the shape of the circular hole + the location of the pleats. You can download it here.
Note that my skirt pattern is for a finished bodice with a waist circumference of 28 inches, but you can easily adapt the pattern to fit a wider or smaller waist simply by adjusting the sizes of the pleats or removing a few pleats altogether.
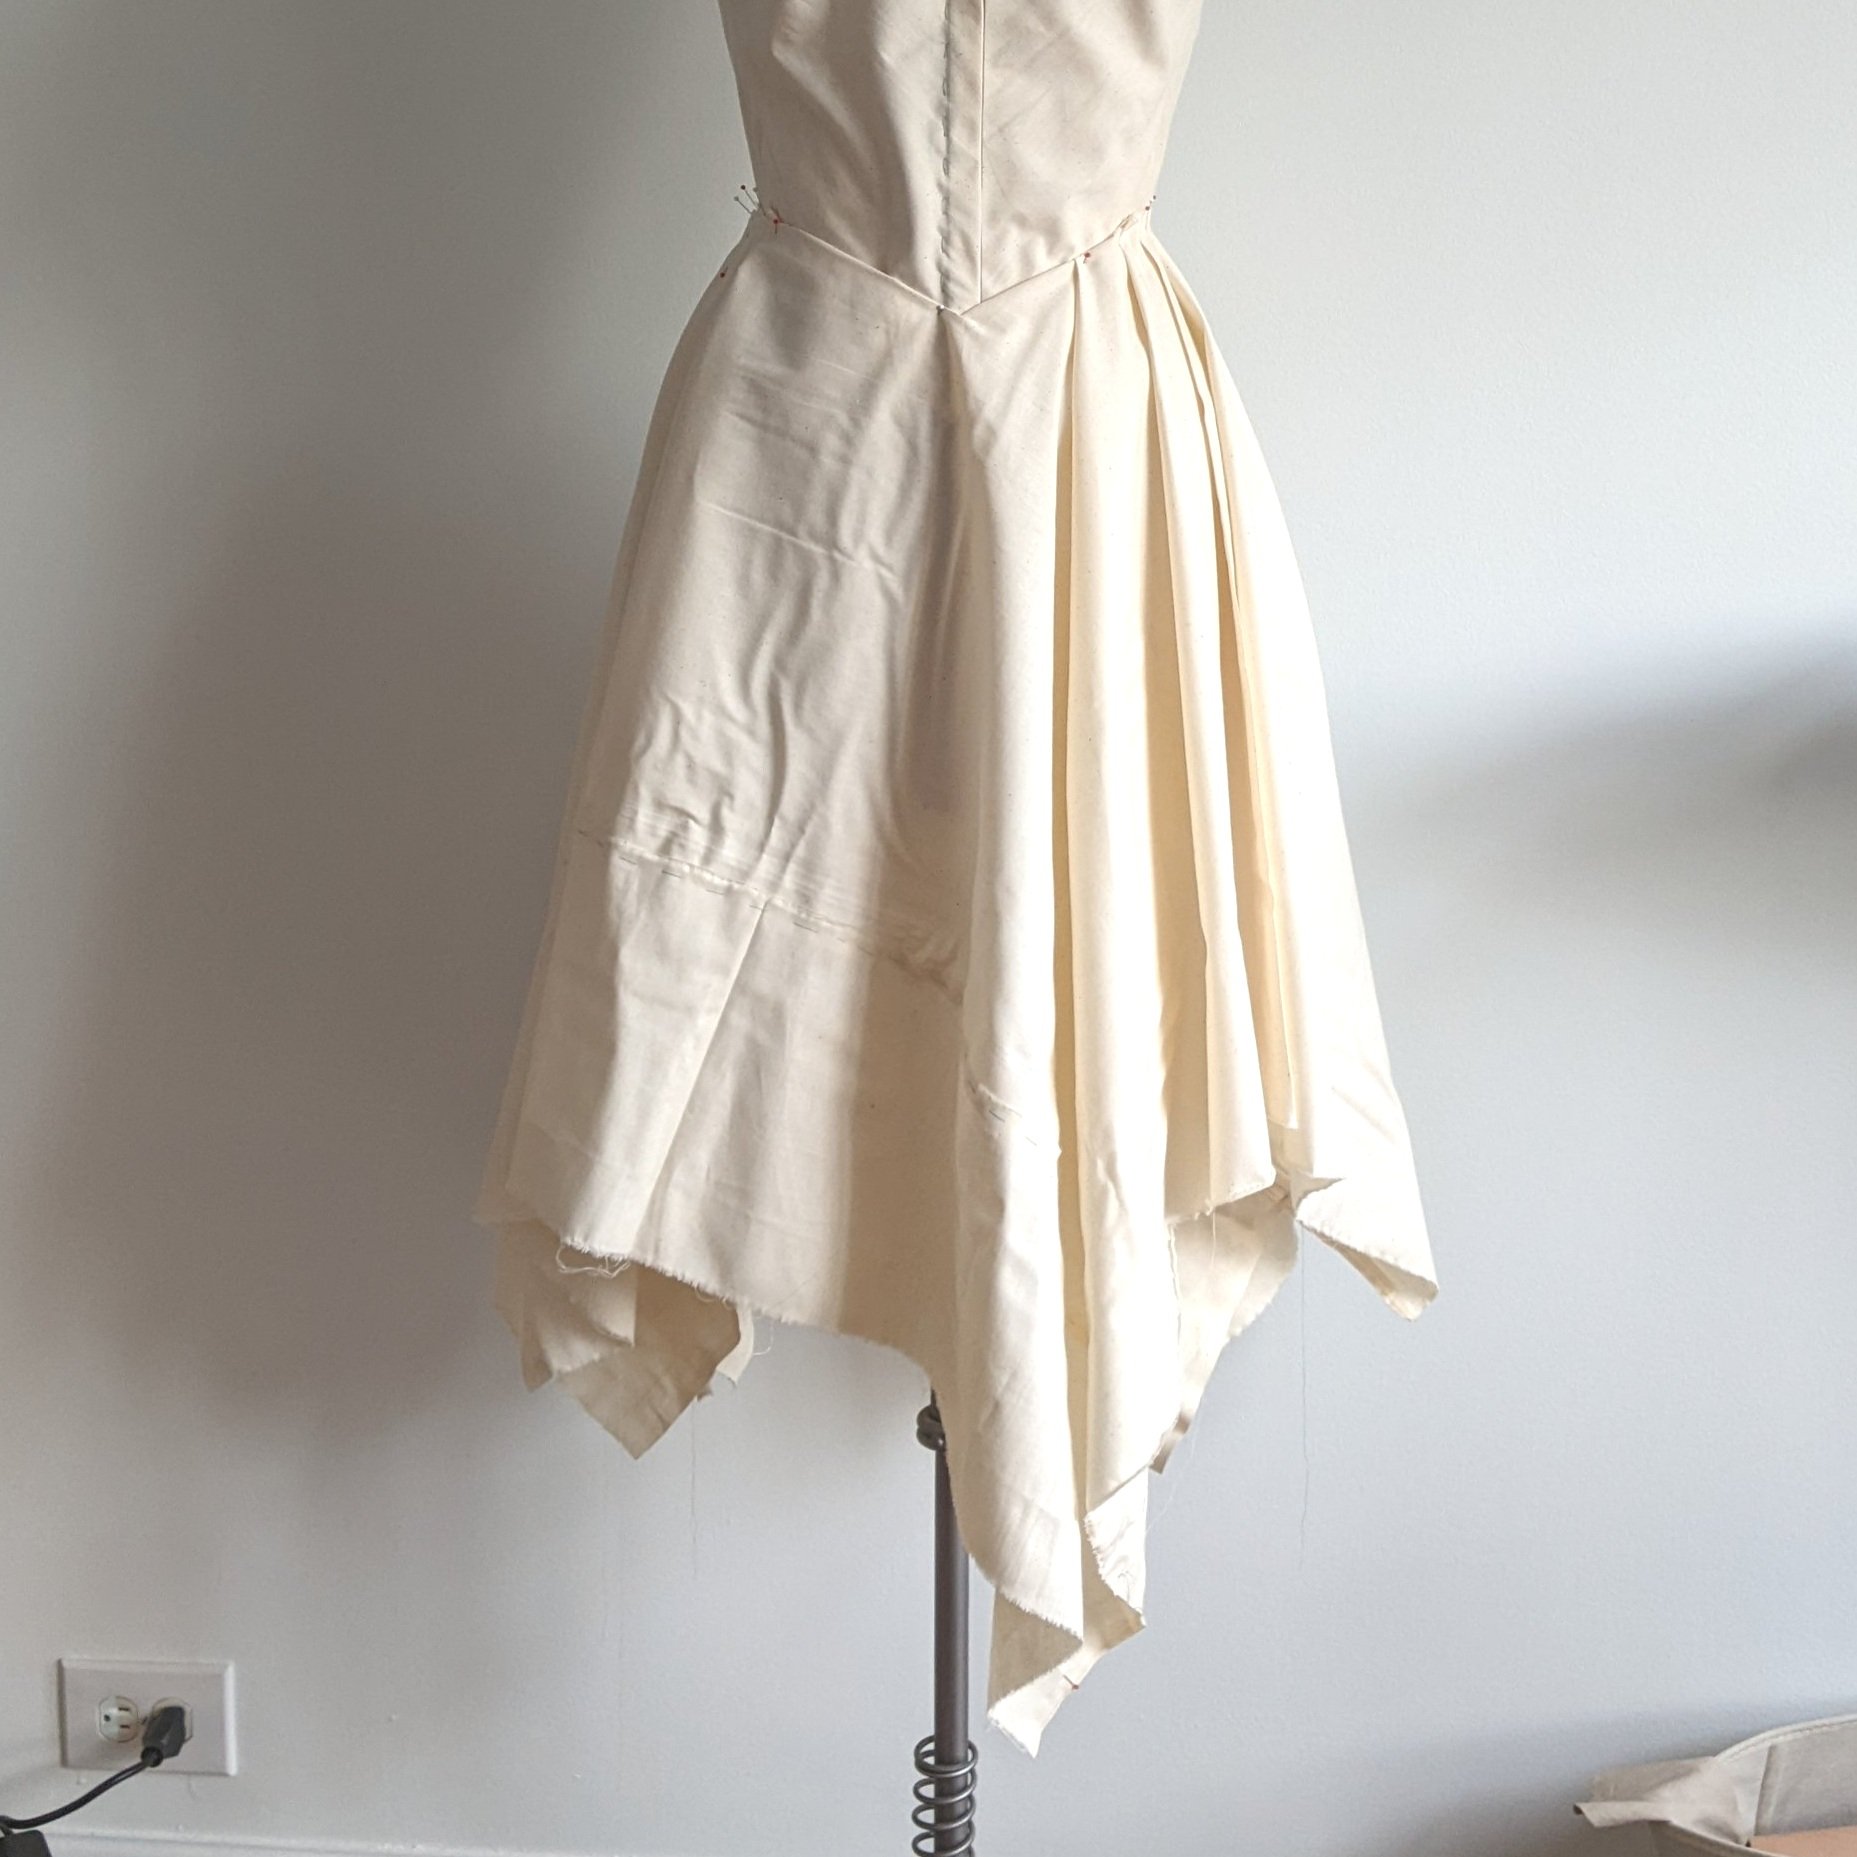
Making the Muslin
Ordinarily, I don’t make muslins, especially when I’m working with Vogue/McCalls/Butterick patterns, because I have a standard set of adjustments that almost always work with their patterns. However, with this dress, I knew that I wanted the bodice to be very fitted and cinched in at the waist, so my usual set of adjustments wasn’t necessarily going to work. I therefore took the time to make a muslin, of both the exterior and the lining (this is important because the neckline of this bodice is unusually constructed, and you need the lining pieces for the bodice to drape as it is intended). I ended up making a number of fitting adjustments, many of which were the exact opposite of what I normally do with Big Four patterns:
Cut a size 12 in the bust, tapering down to a size 10 at the waist. This is the opposite of what I would normally do with Vogue patterns -- normally, I would cut a size 10 in the bust, tapering to a size 12 at the waist.
Lowered the armholes by 1 inch (the original armholes were uncomfortably high, pretty much right up into my armpit).
Lengthened the bodice by ½ inch, so the waistline of the dress sat at my natural waist.
Made a straight back adjustment of ½ inch.
After making these adjustments, I was generally pretty happy with the fit on my muslin:

There was just one issue: there wasn’t enough ease in the waist area to comfortably pull the dress up over my hips. To solve that problem, I decided to detach the skirt from the bodice at part of the center front area – just enough so that some of the pleats in the skirt could be released. I then added a few snaps to hold the pleat closed and then secure that portion of the skirt to the bodice. This way, the skirt can be released when the dress is being pulled on, then snapped in place once the dress is on the body. (If you don’t understand what I mean, check out part 3 of the video tutorial, here, to see a video demonstration.)
Now I know this is a slightly unconventional way to make the dress wearable – for example a more conventional way to do it would have been to convert the front to one piece and added a zipper to the back or the side seam. But I really liked the way that the bodice was designed to open in the front, so instead of changing that I came up with this little trick with the snaps to make the dress wearable. Is this a mistake? Possibly, we’ll see how the dress holds up over time…
Cutting and Print Placement
With the muslin finished, it was time to cut into my curtain. This was probably the most time-consuming part of the entire project; pattern placement with this curtain was really challenging because there were so many factors to take into account. First, there was the fact that the front bodice pieces are cut on the bias, which eats up a ton of fabric. Second, the bold colored stripes are directional (i.e., orange, blue, red, green, orange, blue, red, green), not symmetrical (i.e., orange, blue, red, green, red, blue, orange), which limited my options in terms of the orientation of the pattern piece. After many hours of experimentation, I was eventually able to cut out the bodice pieces with the print mirrored and matched along the side seam, plus piece together the 60-inch fabric square required for the skirt, but the cutting process frankly made me want to tear my hair out.

Constructing the Dress
Once the pieces were cut out, the actual construction of the dress was relatively easy. For the bodice, I followed the steps shown in the instructions for Vogue 8385, with a few tweaks:
I didn’t sew the peplum to the bodice, as directed in step 15. Instead, I jumped to step 23, where the instructions walk you through sewing the lining of the bodice.
I didn’t sew the lower edge of the bodice, as directed in step 24. I left that lower edge free so I could sew the skirt to the bodice.
Once the bodice was fully constructed, I sewed some boning channels into the back bodice -- two about two inches on either side of the center back, then another two channels closer to the side seam. I stitched through both the exterior and lining layers of the bodice to create the channels.
I sewed hook and eye tape at the center front of the bodice, making sure that the hooks were on the side of the bodice that laps over the other side.
I hand-sewed on some red buttons down the center front. These buttons don’t serve any function; they are purely decorative because the bodice is now being held closed by the hook and eye tape.
I formed the pleats in the skirt and basted them in place, then sewed the skirt to the exterior bodice, making sure to leave the lining free. (I also left part of the center front of the skirt free, so that part could be detached when the dress is pulled on.) I then folded under the edge of the bodice lining and slipstitched that in place, to give a clean finish on the inside of the garment.
I finished the hem of the skirt by folding up ½ inch at the skirt edge, then folding it again and topstitching in place.
I sewed two sets of snaps to the bodice and skirt, so that the skirt can be secured to the bodice once the dress is pulled onto the body.
I added strap holders to ensure that my bra strap doesn’t show while wearing this dress. To make these, I used 2-inch pieces of twill tape and sewed small snaps to each end. I then hand-sewed the holders to the underside of the straps of the dress.
The Finished Dress
And without further ado, here are some pics of the finished dress!
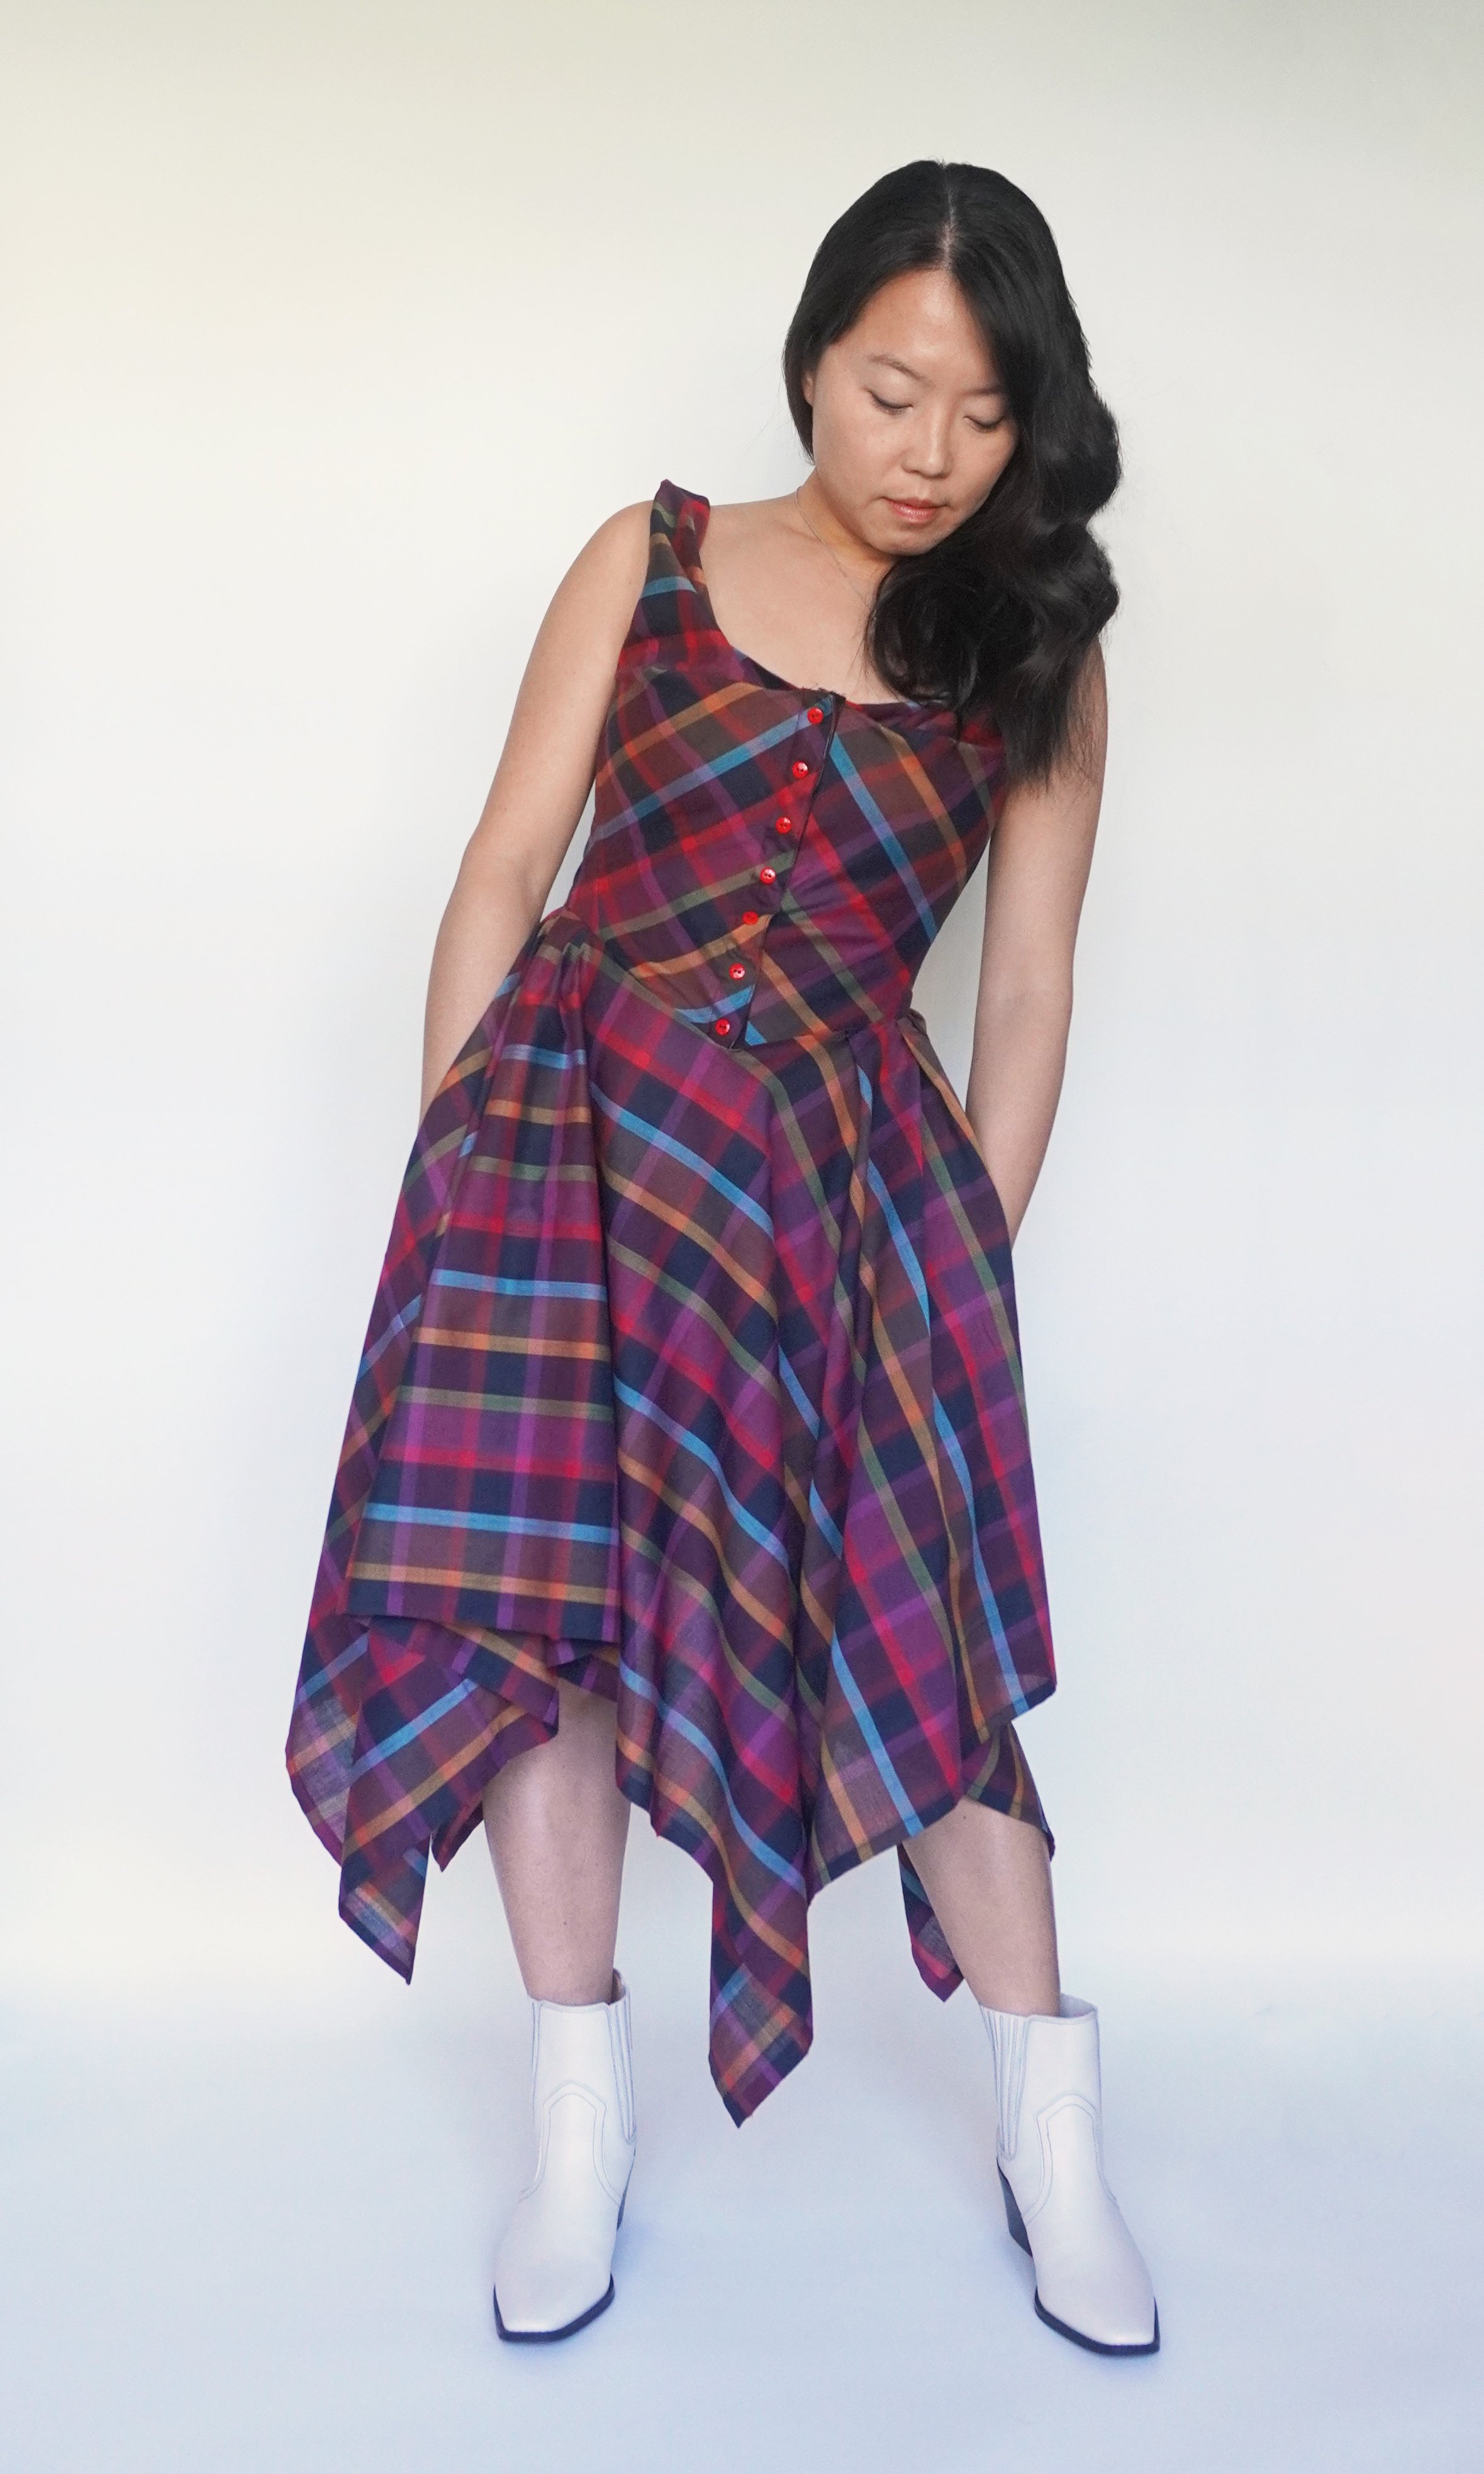
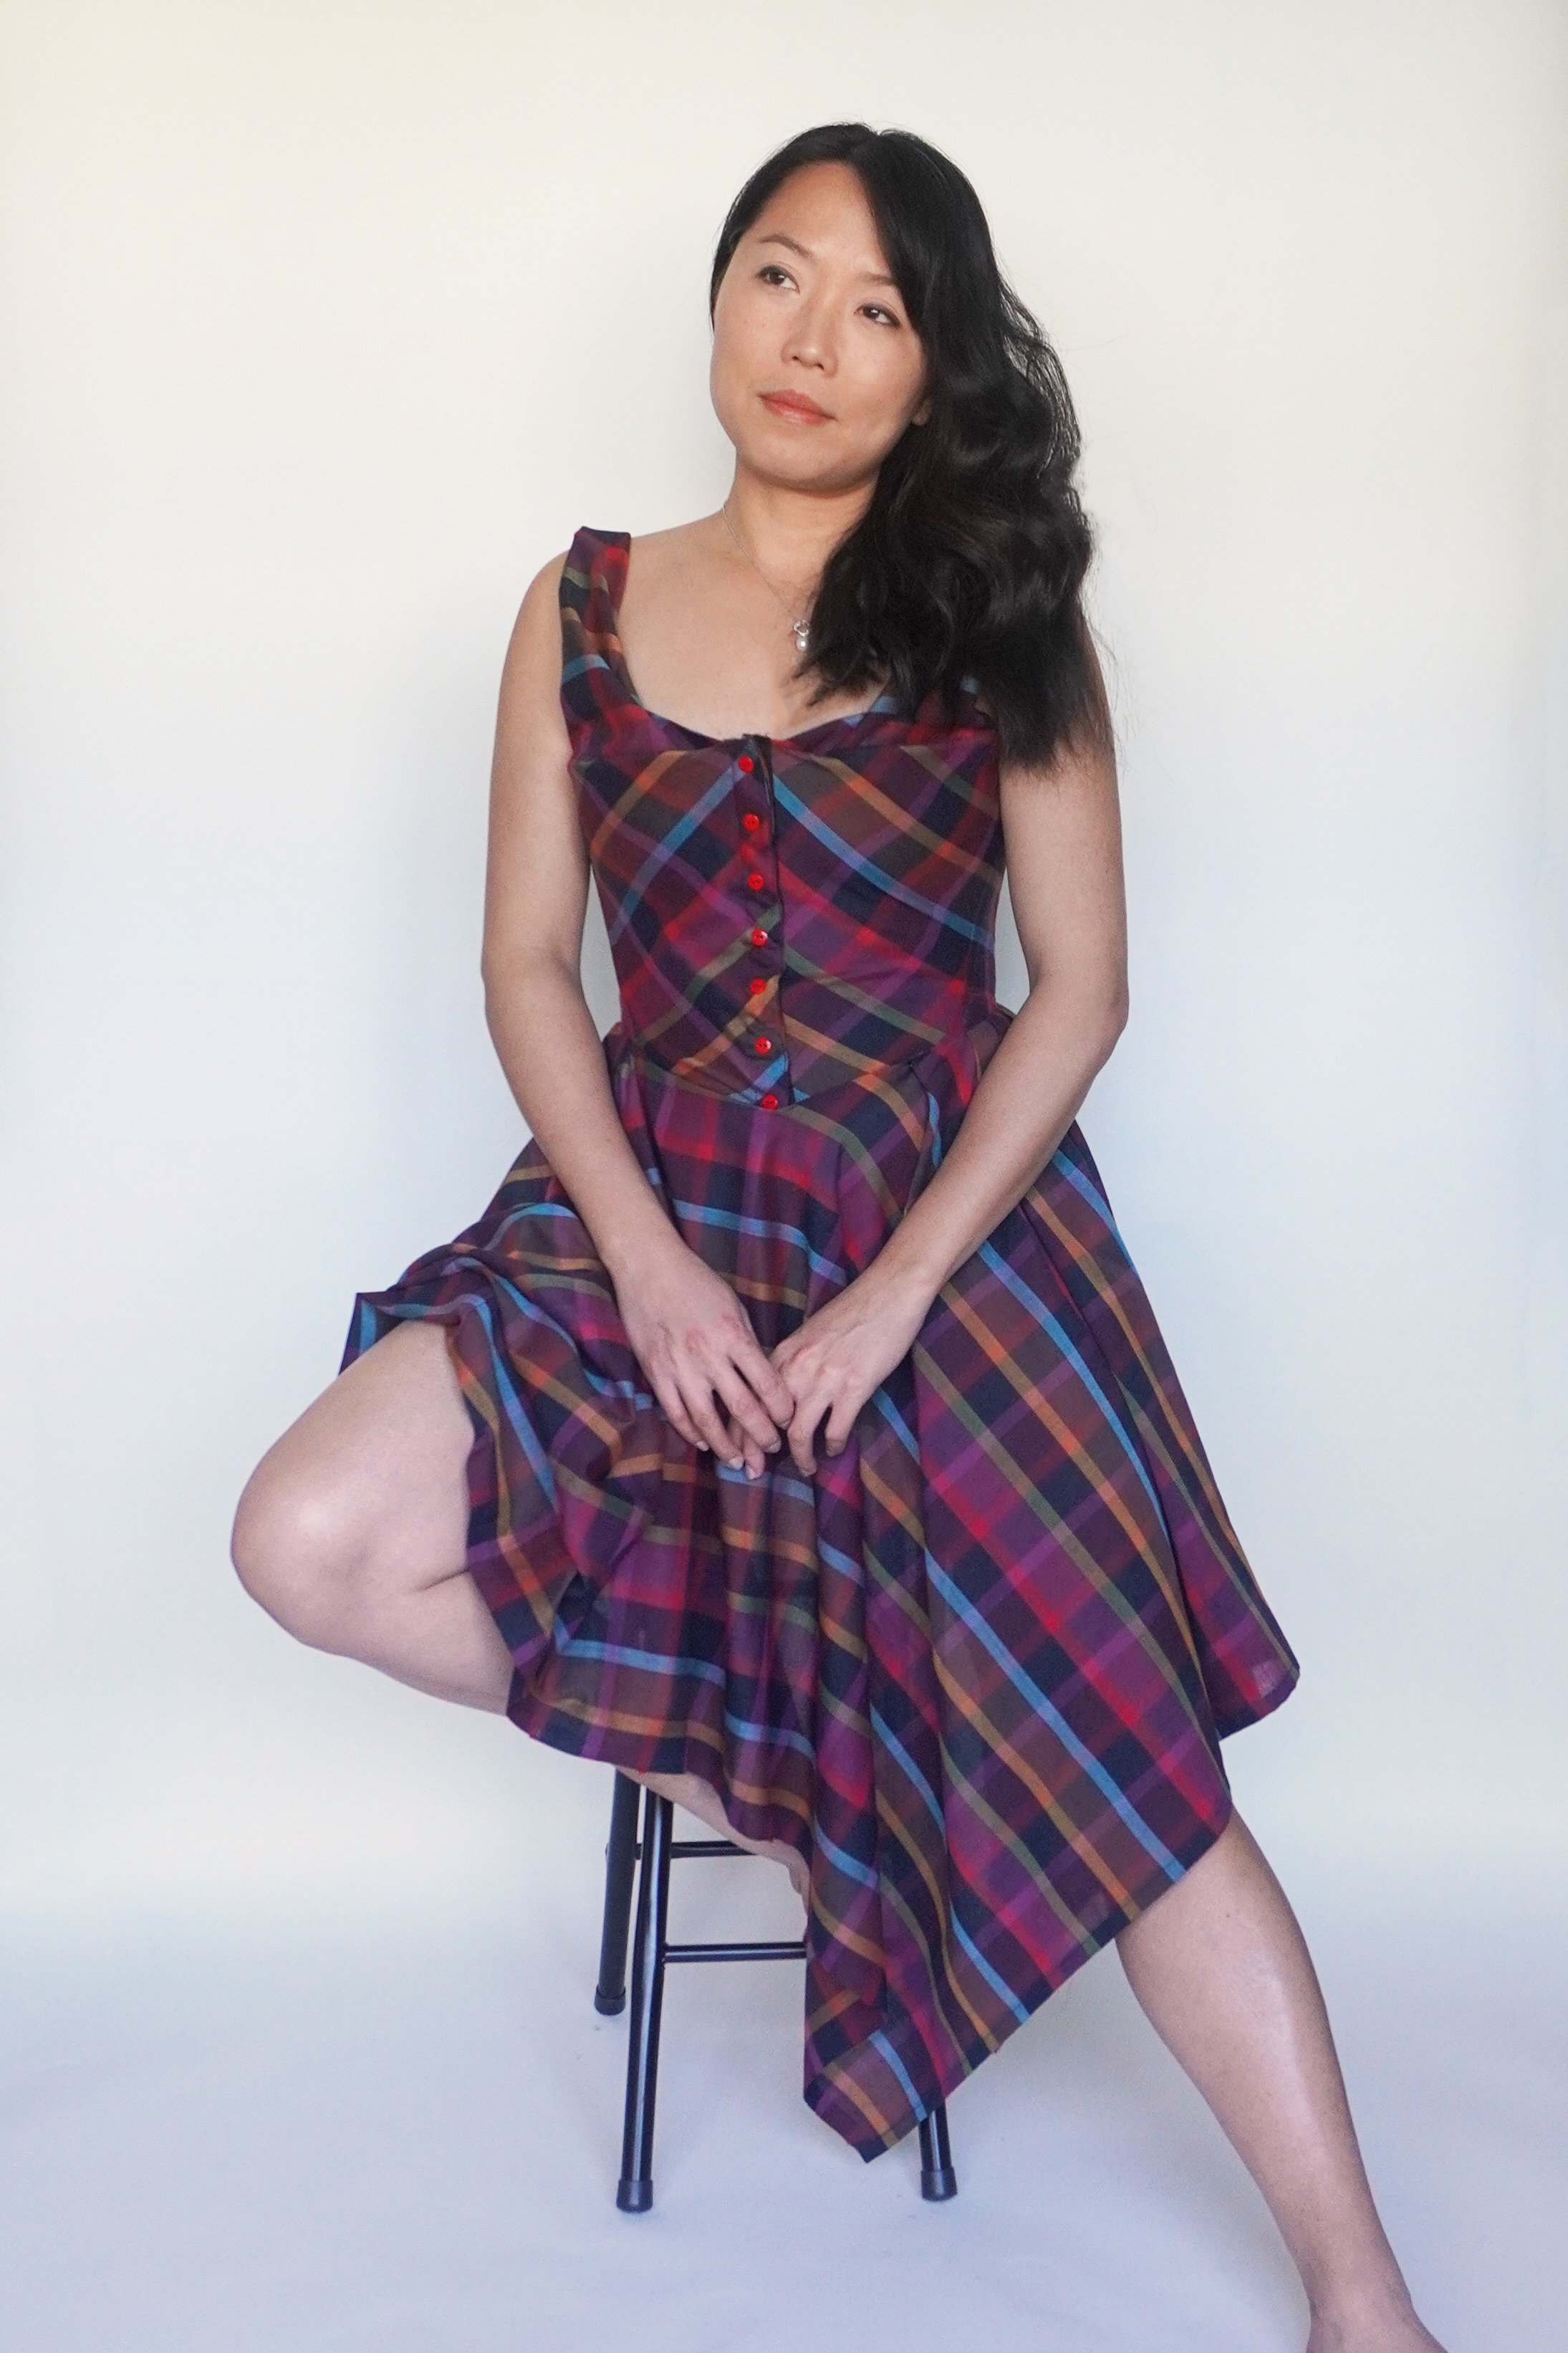
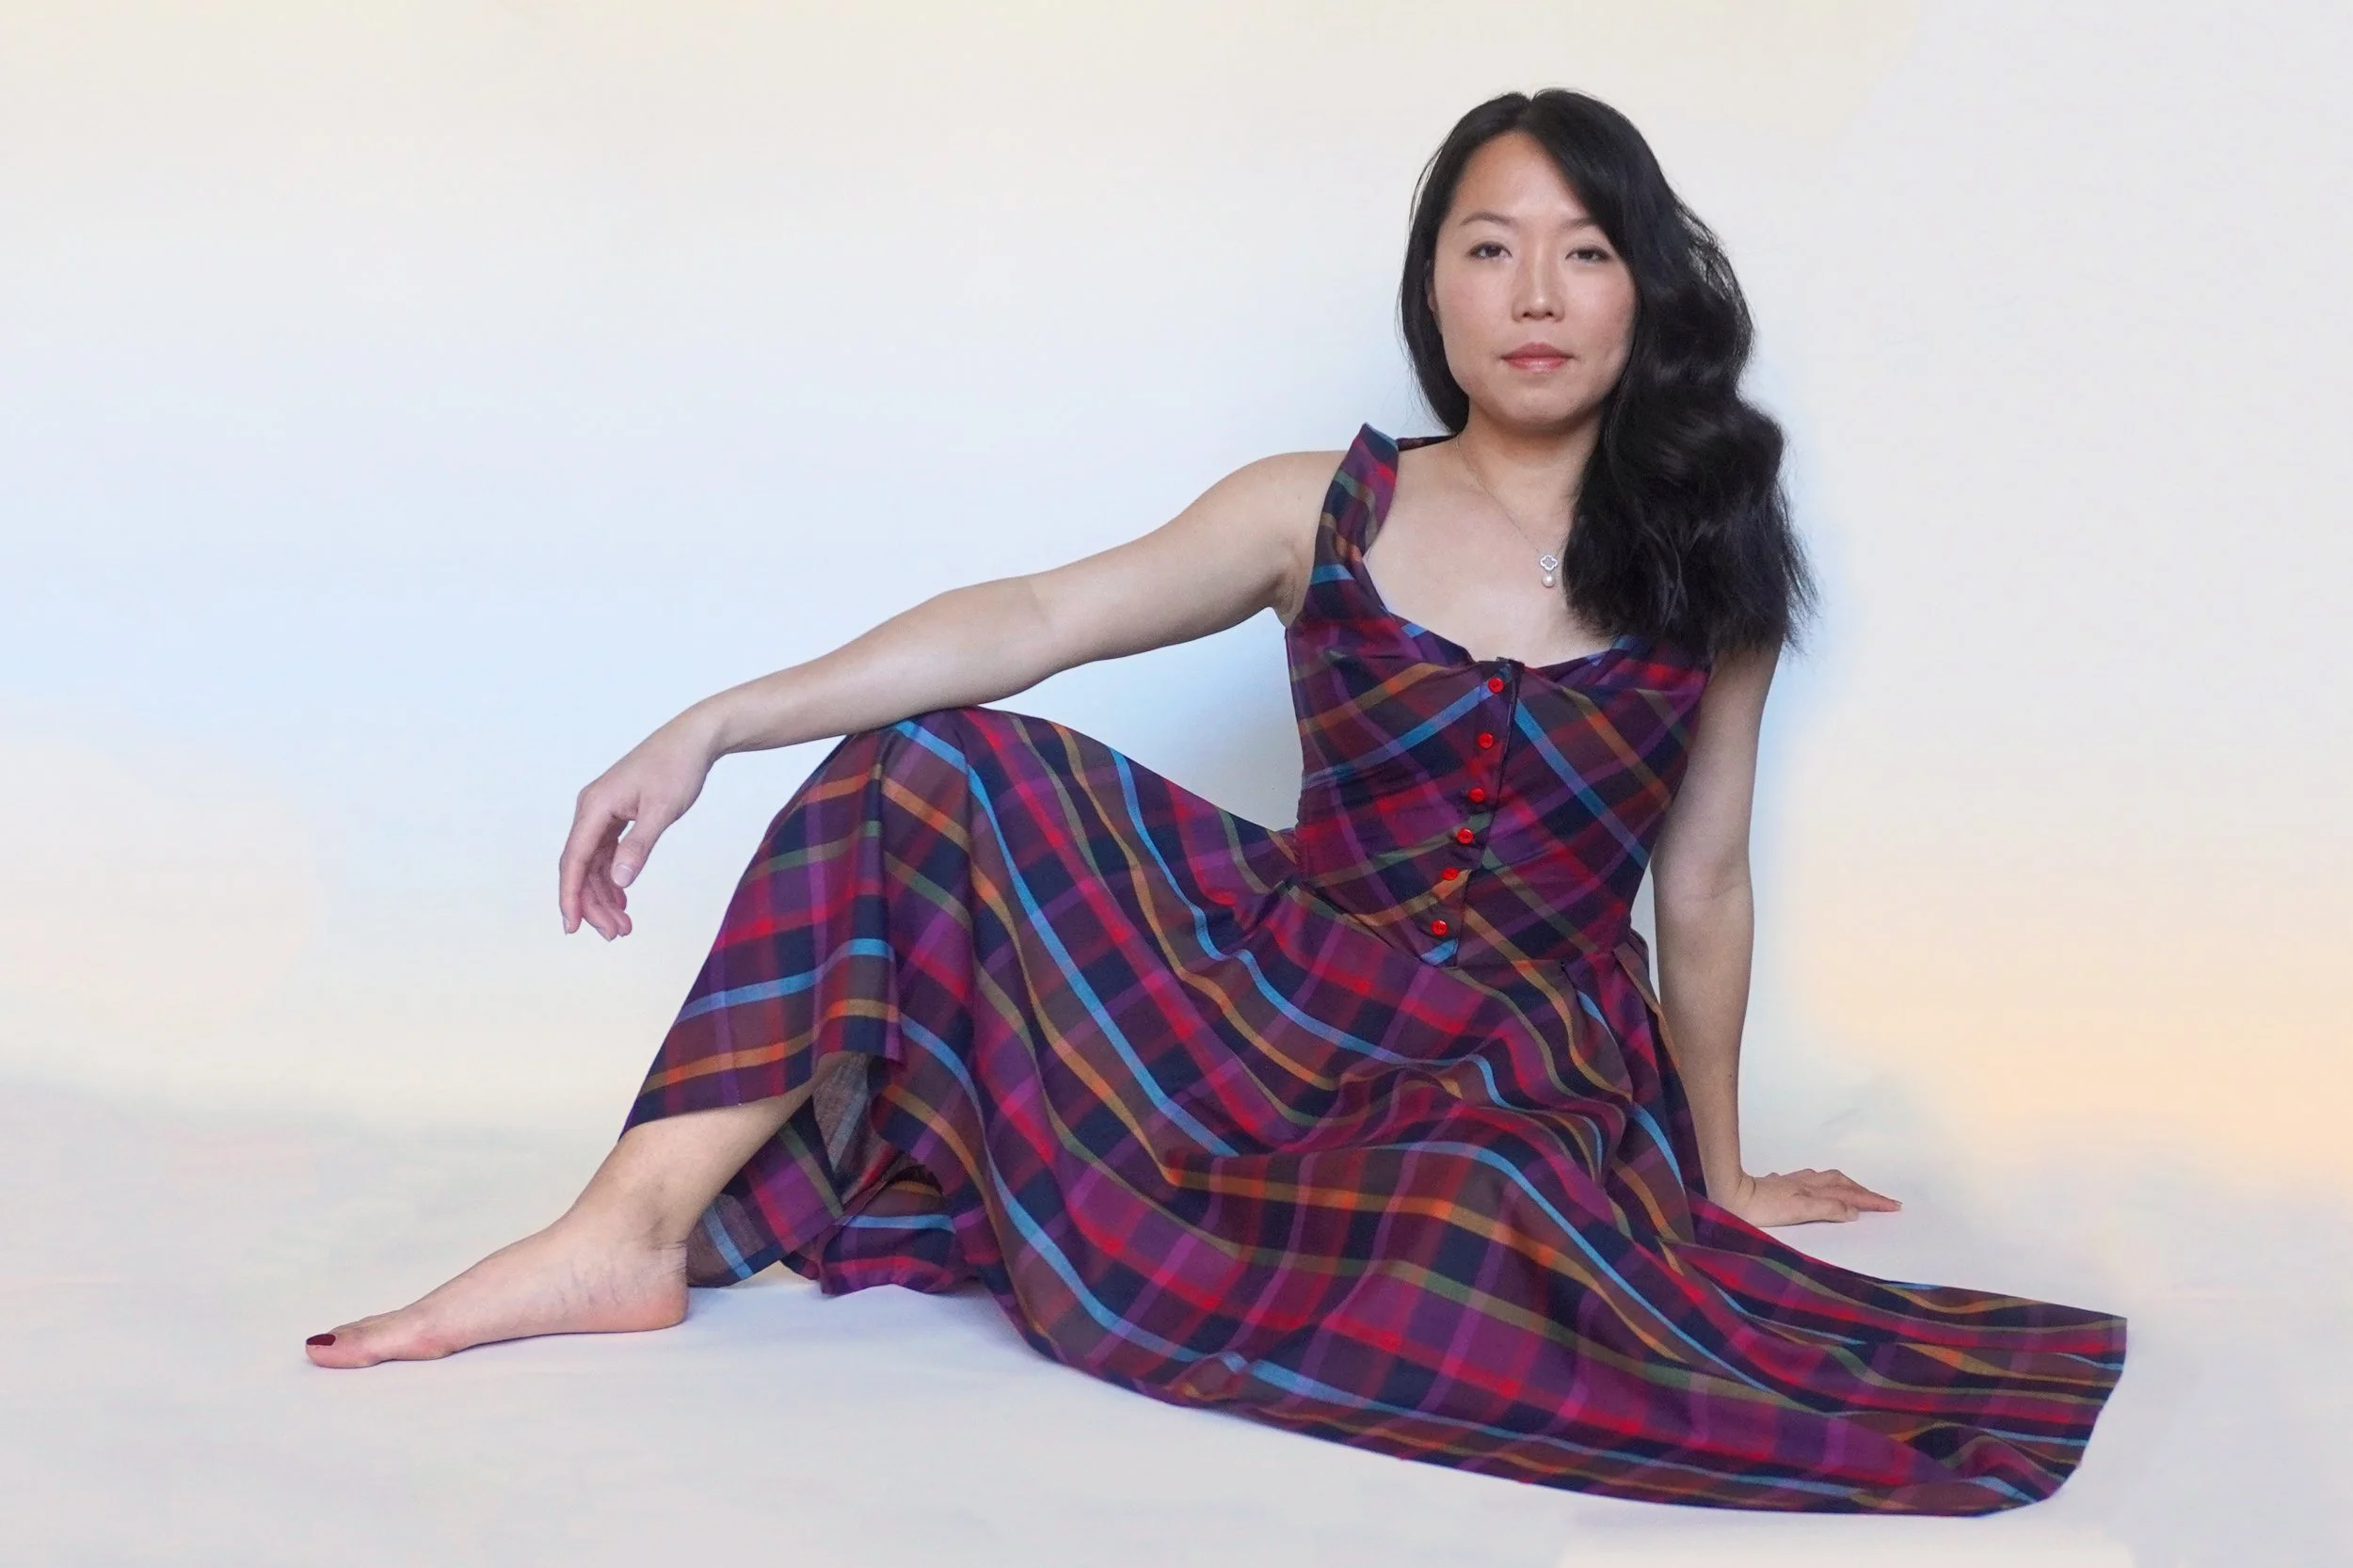

I love how the draped neckline accentuates the bust, and I also love the nipped-in waist created by all the boning that we added to the bodice. (The spiral steel boning is also surprisingly comfortable, much more comfortable than if I had used plastic boning.) The full pleated skirt with the handkerchief hem is really fun, and it moves beautifully.
After such a labor-intensive project, my next make is going to have to be a simple palate cleanser (though: I have a knack for over-complicating even the simplest of projects). In the meantime, I’ll be looking to wear this dress out to a fancy picnic or outdoor concert, complete with my new pair of kicky white boots. =)