
Looking for the perfect gift for a sewing lover in your life? Check out this list of sewing gifts that your loved one will actually want (no mugs with cheesy messages here!).
Read MoreSewing Pet Peeves and How to Address Them
Got sewing pet peeves? Learn how to address some of the most common sewing pet peeves in this post.
Read MoreBest Fabrics For Beginners
Wondering what is the easiest fabric to sew? Looking for the best fabrics to practice sewing with? Check out this guide to buying fabric for beginners.
Read MoreSerger Lower Looper Problems
Having problems with your serger? More often than not, the source of the problem is the lower looper. Learn how to fix common lower looper problems in this blog post.
Read MoreWhat A Serger Does
Have you ever wondered what exactly a serger does, and whether you need one in addition to your regular sewing machine? The answer is: quite a lot! It can quickly sew a seam, trim the seam allowance and overcast the edge, all in one step. It can also be used to make rolled hems, do flatlock stitching, make mock band hems, make blind hems and gather fabric, among other things. Learn more about these functions in this post.
Read MoreMaking Curtains From Muslin
Want to dress up your space without spending much money? Make some fresh white curtains using some inexpensive cotton muslin. Check out my tutorial to learn how.
Read MoreHow to Sew Knit Fabric Without Puckering
I love the comfort of a knit garment, but let’s be honest, knit fabric can be a real pain to sew because it is often hard to sew knit fabric without creating wavy seams. Over the years I learned to take three simple steps to sew knit fabrics without puckering: (1) use a walking foot to help ease the fabric into the sewing machine, (2) stabilize the fabric with tissue paper, and (3) press the seam after stitching. Read on to learn more about each step.
Read MoreSeam Ripper Uses
One of my biggest sewing pet peeves used to be unpicking my stitches whenever I made a mistake. Luckily, I have learned ways to quickly and easily unpick stitches, and along the way I’ve also learned some other uses for my trusty little seam ripper. Check out this post to learn more about both.
Read MoreAll About Backstitching
Most sewists have been taught to backstitch, but is backstitching necessary all the time, and is it always the best method of stopping stitches from unravelling? The answer is no — backstitching is not always necessary and there are other more polished alternatives. Read this post to learn all about backstitching and the alternatives.
Read MoreHow to Cut Fabric On the Bias
Want to make dresses that are effortlessly elegant and figure-flattering? Try cutting the dress on the bias. Read this post to learn how to adapt a sewing pattern designed to be cut on the straight grain and use it to cut a garment on the bias.
Read MoreLining Garments With Muslin Fabric
Have you ever started a sewing project, only to realize that you forgot to buy lining fabric? If so, you might have wondered whether you can use the muslin fabric you already have in your stash for the lining. The answer, fortunately, is yes, for some types of garments. Muslin can be used to line casual dresses and skirts made out of cotton or linen. However, muslin is not appropriate for lining more formal garments, such as suit jackets and pants. Always use soft, light- to medium-weight muslin (such as mull fabric) to line garments and remember to pre-wash the fabric before cutting to avoid shrinkage.
Read MoreRecommended Equipment for Sewing
If you are just getting started in the sewing world, it can be a bit daunting to figure out what equipment you need to get and which brands to buy. Here is my list of recommended equipment for both beginners and more advanced sewists, including sewing machines, cutting equipment, interfacing, lining and notions.
Read MoreSewing Machine Settings for Stretchy Fabrics
If you’re just beginning to get into sewing, you might be wondering whether you can sew stretchy fabrics using a sewing machine. You definitely can successfully sew stretchy fabrics using a basic home sewing machine. Click here for my recommended machine settings.
Read MoreHow to Experiment with Print Placement Using Photoshop
Whenever I work with printed fabric, I often wish that there was a way to visualize the pattern placement in the final garment before cutting into my precious fabric. Turns out, there is! If you have Photoshop and a good picture of your fabric, you can use Photoshop to experiment with the pattern placement in your garment. Learn how in this video tutorial.
Read MoreSewing Clothes With Upholstery Fabric
You’ve probably been in this situation: you’re browsing the offerings at the fabric store (whether virtual or real) and you fall in love with one very special fabric, only to find out that it is categorized as “upholstery fabric.” I couldn’t help but wonder: can you sew clothes out of upholstery fabric? You can use upholstery fabrics to sew garments that call for structured, mid- to heavy-weight fabrics. Indeed, upholstery fabrics can be a really wonderful choice for coats and jackets because they often have stain-resistant properties that you want to have in outwear.
Read MoreHow to Clean Gunk Off Your Iron (I Tested 6 Different Methods)
I hate it when gunk collects on my iron. Read on for my tips on how to quickly remove the disgusting gunk so you can get back to sewing…
Read More15 Questions Beginner Sewers Frequently Ask
Disclosure: This post may contain affiliate links and I may earn a small commission when you click on the links at no additional cost to you. I only recommend products I would use myself and all opinions expressed here are my own.
Over the years, I have answered a lot of the same questions over and over from beginners who are just starting their sewing journeys, so I thought I would write a post summarizing my answers to 15 of those frequently-asked questions. Note that my answers are not tips on how to sew perfect garments - the idea here is to balance what you really need to do with what you realistically have the time and energy to do (especially as a beginner).
Please let me know in the comments if you have other questions that you’d like answered - I plan to keep updating this post periodically with new Q&As.
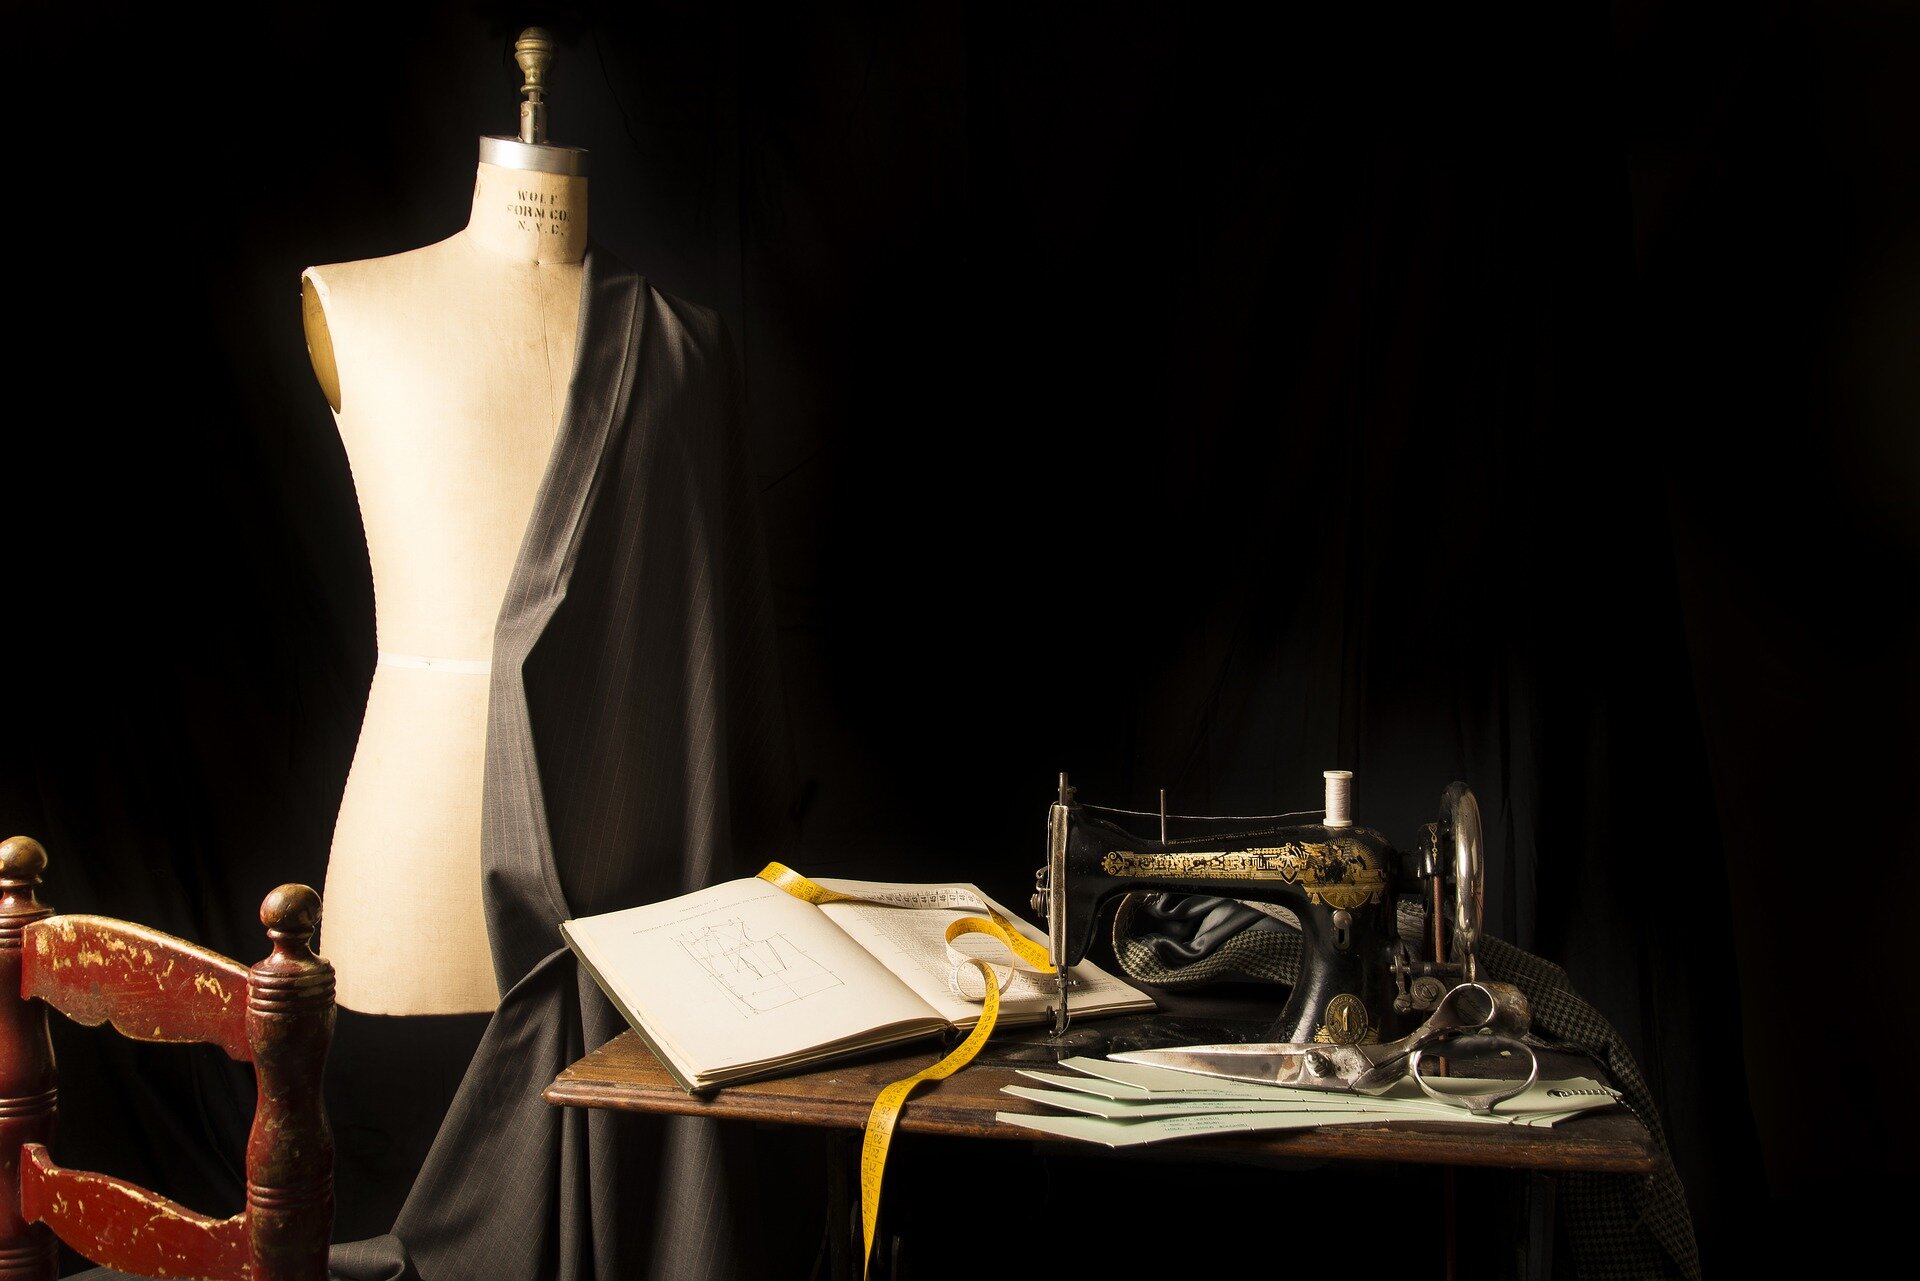
Equipment
One thing I love about sewing is how easy it is to get started - unlike some of my other hobbies, it doesn’t demand that you buy a ton of expensive gear just to take your first few steps. Below are my thoughts on the bare minimum you need to get started.
Q. Do I need a fancy/expensive sewing machine?
A. No. For beginners, all you need is a sewing machine that has a straight stitch and a zig zag stitch. Everything else is totally unnecessary - you don’t need a million different decorative stitches, you don’t need a computerized machine, you don’t need an automatic needle threader, and you don’t need a dozen different presser feet.
I bought my first sewing machine (a Janome 11543) for about $60, and it was a refurbished machine from overstock.com. It didn’t have any special bells and whistles but it served me very well when I was first starting out. About three years into my sewing obsession, I bought a new machine because I had moved to London and needed a machine with UK voltage. Since I was already buying a new machine, I thought that I would upgrade slightly and look for a machine that made nice buttonholes and had a longer stitch length that I could use for basting. None of that was necessary though - I could have easily continued on with my old machine had I stayed in the US.
Q. What tools do I need to get started?
A. You only need a few tools when you first start:
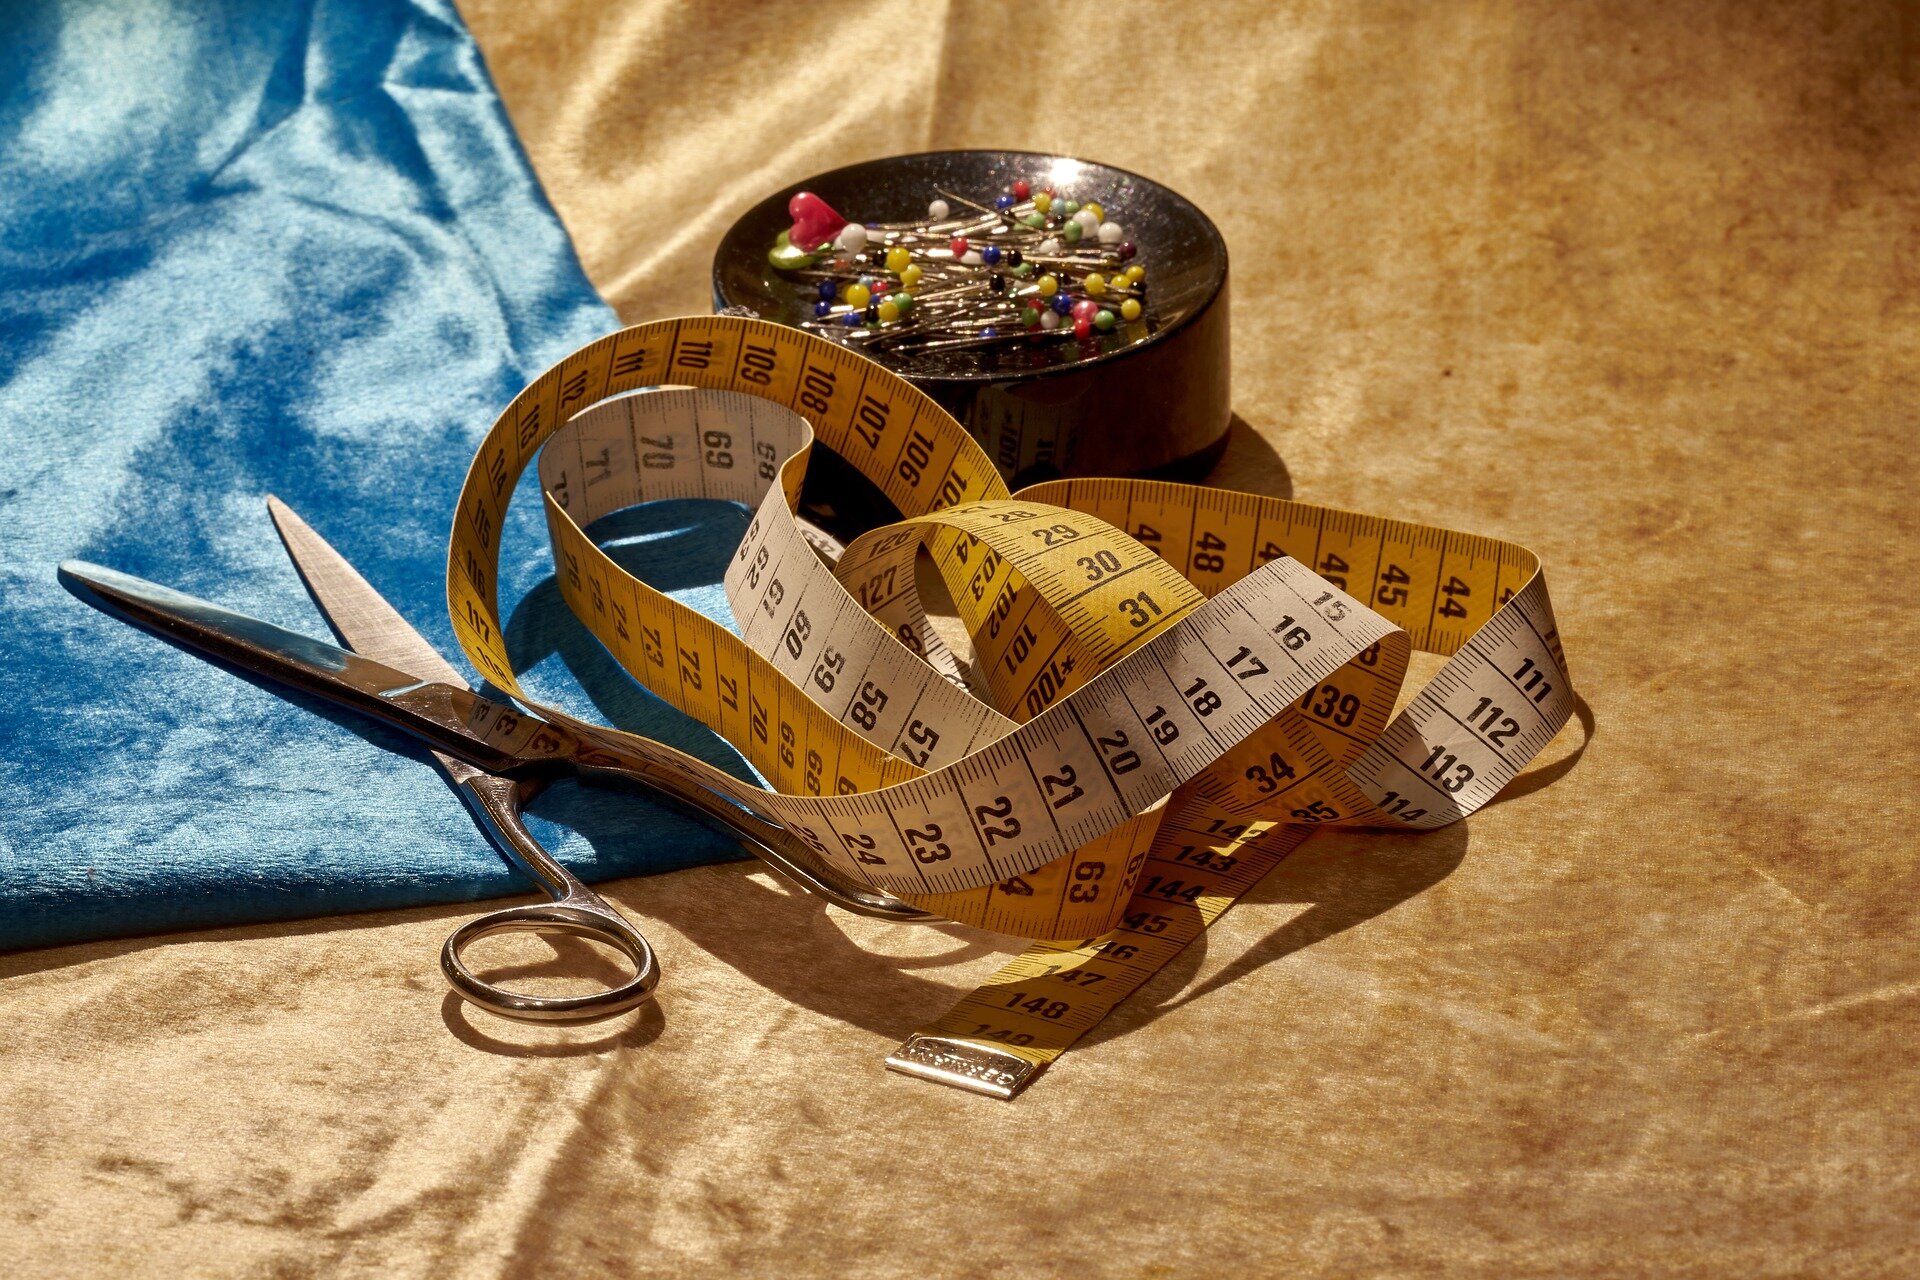
Dressmaker’s shears. You don’t want to cut fabric with ordinary paper scissors, and you don’t want to cut paper with fabric scissors. Invest in a nice pair and take care of them; they will love you back. I have a pair of Gingher shears that I get sharpened every year, and I consider it one of my most treasured possessions.
Measuring tape. Nothing special here - just use whatever you have lying around.
Pins. I like to use these glass head dressmaker’s pins because they are thin enough to use with delicate fabrics. But honestly, any pins will work - just use whatever you can get when you first start.
Tracing paper and tracing wheel. Use these to transfer markings on the sewing pattern to your fabric.
Seam ripper. Because you will mess up, and when you do, you’ll need this to undo your stitching. This usually comes with your sewing machine, so there’s no need to buy this separately.
If you’re a little further into your sewing journey and you want to invest in a few more tools, here is a list of the tools that I use the most every day:
Rotary cutter and cutting mat. It’s much faster and easier to use a rotary cutter to cut slippery fabrics like silk. I recommend splurging and buying the biggest cutting mat you can afford and have space for - it makes cutting large pieces of fabric much, much easier (which you’ll need to do to make full length skirts and pants).
Large clear plastic ruler. This simple tool makes so many things easier - you can use the grid lines to add seam allowances to patterns, or use the lip on the plastic ruler against the edge of your cutting mat to cut perfect horizontal lines across your fabric.
Walking foot. This makes it much easier to sew delicate fabrics or leather that would shift around if you used an ordinary presser foot. Nowadays my walking foot is my default foot (that I only switch out if I need to use a specialty foot, like my buttonhole foot).
Magnetic pincushion. The old-fashioned stuffed pincushions are cute but impractical - who has time to spend poking pins into the pincushion one by one? Instead, this magnetic pincushion makes it easy to pick up and store pins - you can wave this magnetic pincushion over a pile of pins or simply throw a pin in the general direction of the magnetic pincushion and it will magically stick to the pincushion.
That’s it - you really don’t need a lot of gear to sew. Over the years, I’ve tried lots of little sewing tools but haven’t ended up using most of them on a regular basis.
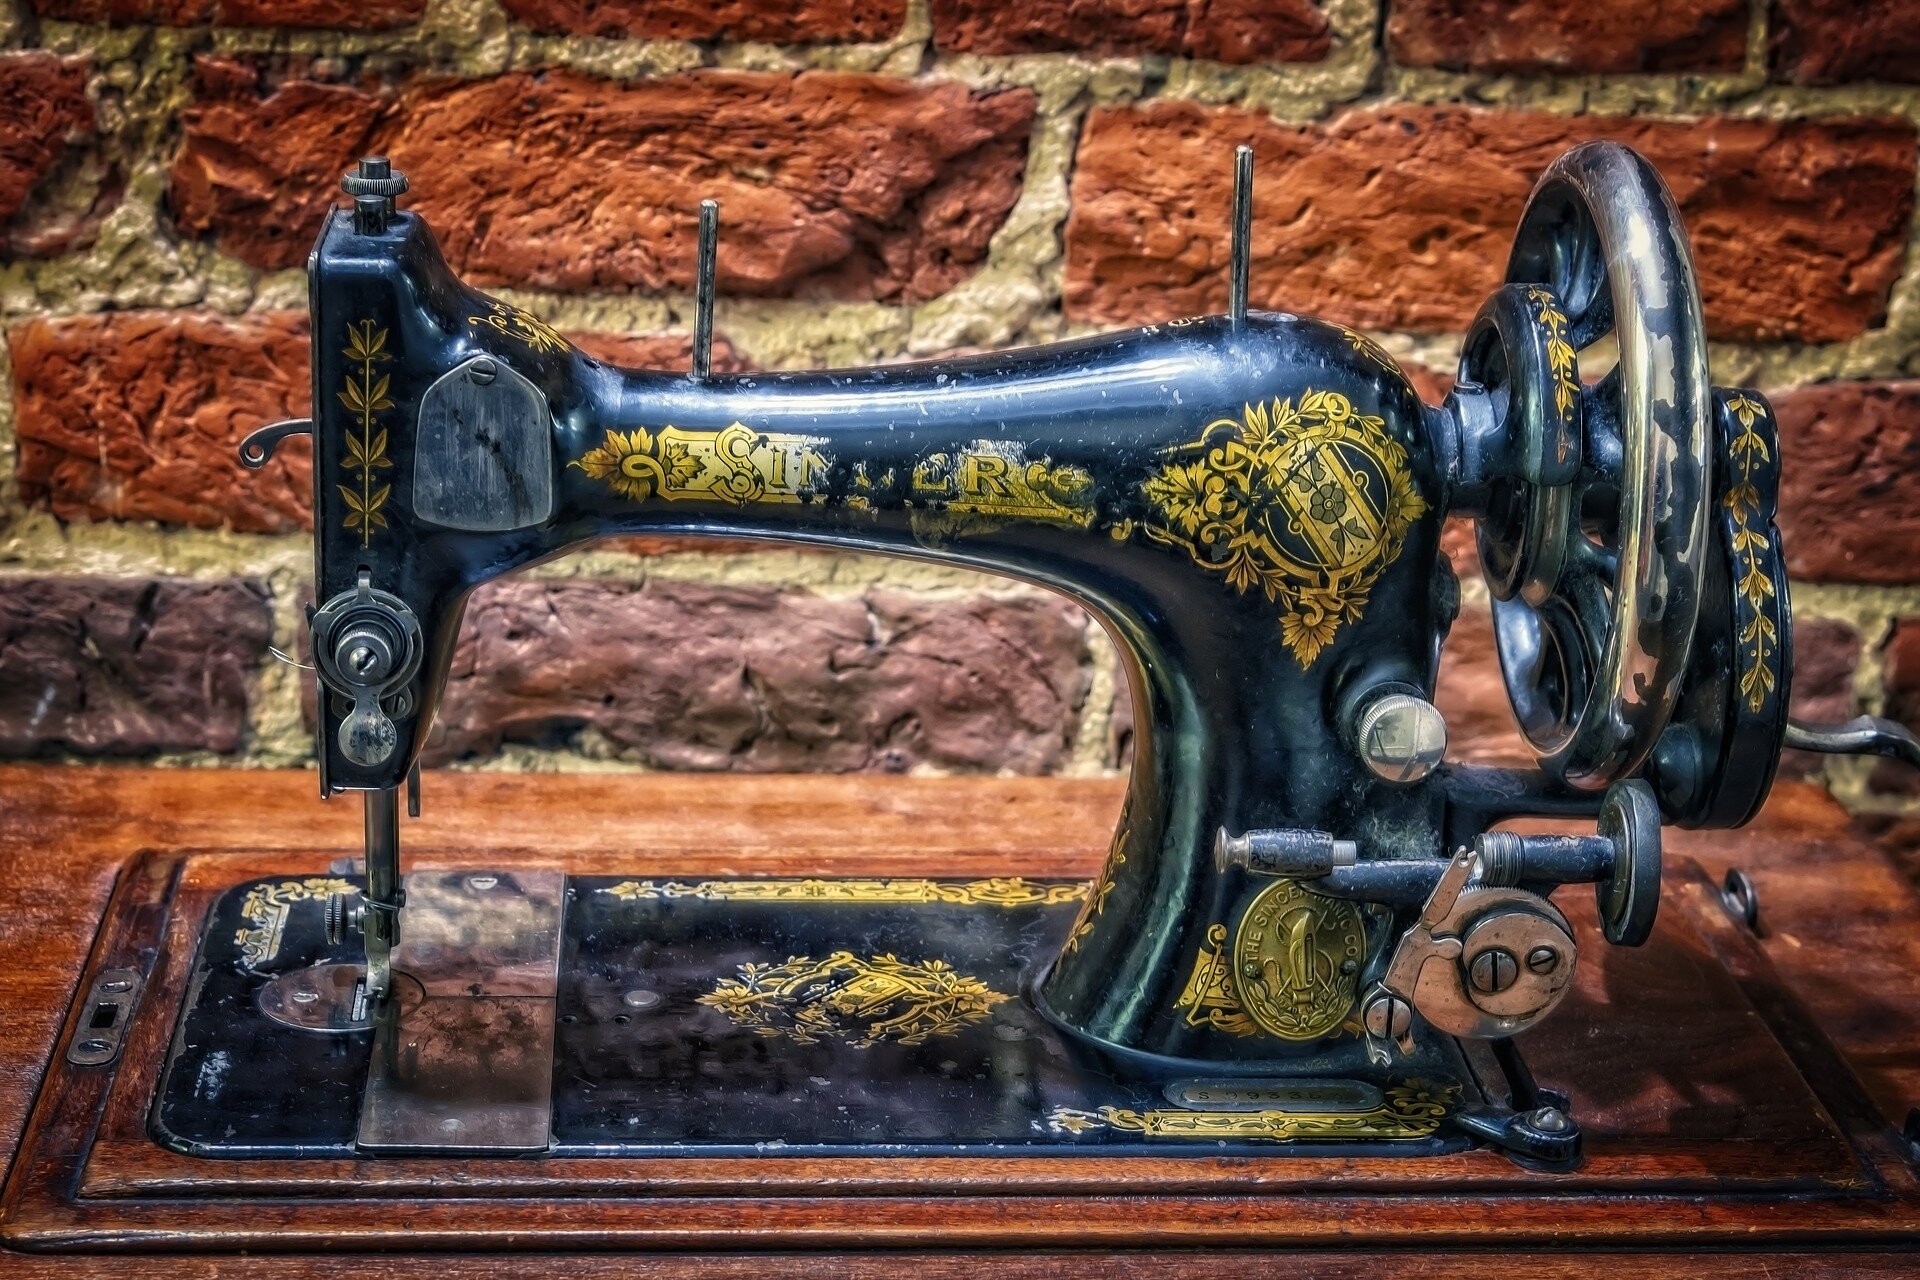
Q. Do I need a serger?
A. No. It’s nice to have one because it can quickly sew seams and finish the edge at the same time, but you definitely don’t need one to sew knits - instead, you can use the zig zag stitch or the triple stretch stitch on your regular sewing machine. (And if you do want to buy one, it’s not that expensive - I love my Brother 1034D, which costs less than $250.)
Fabric
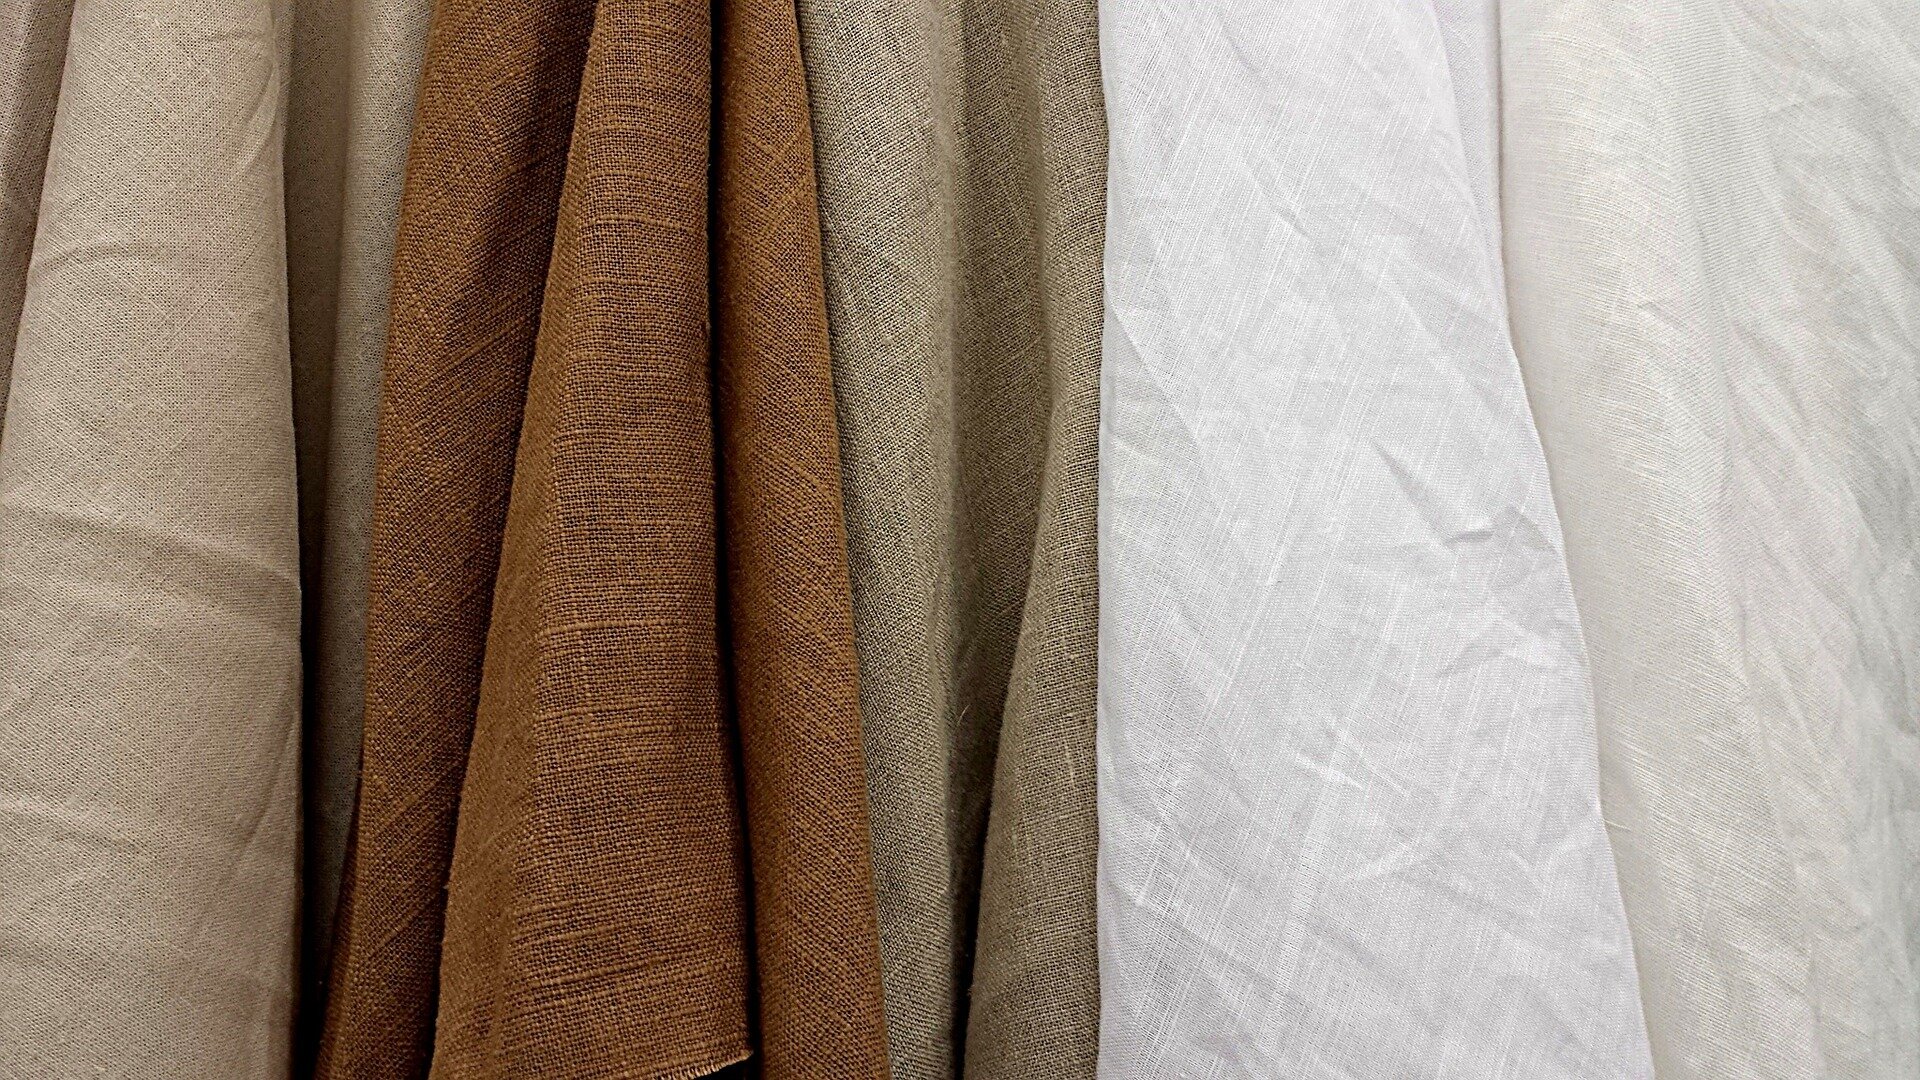
It’s an old adage but it’s true - fabric choice will make or break your project. When I first started sewing and began going to fabric stores, I was completely overwhelmed by the incredible number of fabric types out there, to the point of paralysis. Below are some thoughts on places to buy fabrics and what types of fabrics to buy when you’re first starting out.
Q. Where can I buy fabric, buttons, zippers and other trimmings?
A. When you are first starting out, I strongly recommend buying fabric and trimmings in person, so you can feel different fabrics and start learning about them.
Fabric stores in New York
I recommend going to the Garment District near Times Square, where there are dozens of fabric and trim stores all clustered together. Below are some of my favorites:
B&J Fabrics (7th Ave between 38th and 39th St). Well-organized and well-lit fabric store with really helpful sales staff. Definitely on the higher end but you get what you pay for.
Mood Fabrics (37th St between 7th and 8th Ave). You probably already know about this store from their partnership with Project Runway. It’s not at the top of my list because it can be a bit messy at times and overrun by tourists, but there is no denying that you can find just about every kind of fabric you can possibly imagine, at a variety of price points.
Pacific Trimming (38th St between 7th and 8th Ave). Huge store that carries pretty much every kind of trim, button, elastic, hardware, etc. you can imagine.
Botani Trimming (36th St between 7th and 8th Ave). Same as above - another store that carries a wide variety of trims.
Fabric stores in London
If you’re in London and you’re a beginner, I recommend going to Goldhawk Road, where there are about a dozen stores selling affordable fabrics. I would not recommend going to the fabric stores in Brick Lane, where you’ll get incredibly cheap fabrics that are mostly polyester and difficult to work with.
If you are a bit more experienced and willing to spend a little more cash, head down to Soho in Central London, which has some lovely shops selling high-end fabrics. I like them all, but I probably went to MacCulloch and Wallis the most, just because they were closest to my flat in London and they offered the widest range of fabrics and trims/notions. One place I don’t recommend going is Liberty’s (the department store). You can buy Liberty fabrics at other stores for lower prices, including here.
The shops in Soho are already pricey, but if you are planning a high-end evening or wedding gown of a lifetime, then head to Joel & Son Fabrics near Marble Arch for truly gorgeous (but eye-poppingly expensive) fabrics. I used to live near this store in London so I would stop in to pet the fabrics (but never buy anything).
Online fabric stores
Most of the fabric stores I’ve listed above have online shops, although the selection is much smaller than the in-store selection. In terms of purely online fabric stores, if you live in the US, I highly recommend Emma One Sock because her fabrics are always high quality and she really helpfully organizes them by color family and use, which I think helps make the fabric buying process less overwhelming for beginners. Her descriptions are also really detailed - for example, she tells you the fiber content, weight, and Pantone color (which tells you the true color of the fabric, as all computer monitors are slightly different and they display colors in slightly different ways). Finally, she offers free swatches so you can (and should!) always get a sample before you commit to buying. The swatches are shipped very quickly and they will send you coordinating fabrics (e.g. lining fabric or ribbing) upon request.
For the biggest selection of fabrics, you can always go to fabric.com, and they can be a good choice if you already know exactly what you want and you just want to see it in a million different colorways or prints. However, they aren’t great for browsing and I don’t recommend it for beginners - think of fabric.com as a giant fabric warehouse where you have to find what you’re looking for with little organization or guidance. One warning: the colors in their fabric photos is often REALLY far off from the actual fabric, so always read the reviews and order a swatch before you buy. Their swatches are kind of expensive (usually a few dollars a pop), but what can you do - with this store it’s really essential to swatch before you buy.
Q. What kind of fabric should I use in my first project?
A. It obviously depends a lot on the project, but here are a few general rules of thumb:
Pick a stable woven fabric that doesn’t fray too much, such as cotton poplin, midweight wool coating or even neoprene. Don’t choose something slippery like silk charmeuse or chiffon, which is tricky to handle. Don’t choose a stretchy knit fabric, like a jersey with a high degree of stretch (a stable double knit is fine because it acts more like a stable woven fabric).
Pick something with some subtle texture (e.g. tweed or wool crepe). This will help hide imperfections in your stitching, as your stitches will simply ‘disappear’ into the fabric. By contrast, don’t pick something shiny (like satin) as that will show every bump and imperfection in your stitching.
Stay away from stripes and large-scale prints, which can be tricky because you need to worry about print placement and matching up stripes. To begin with, use solids or small scale prints like polka dots.
In general, avoid using quilting cotton if you’re making a dress. Quilting cottons are usually fairly stiff and they don’t drape against the body in a flattering way.
Fitting
Learning to fit garments to your body is one of the trickiest things to get right for beginner sewists (and even more advanced sewists). Below are some of my tidbits of advice on fit:
Q. What size should I cut?
A. Most pattern companies will advise you to measure your chest, waist and hips and then compare your measurements to their size chart to determine which size to cut. That’s probably fine for your first project or two, but sooner rather than later you’ll want to move beyond that because blindly following the size charts is often a recipe for a disappointment, especially if you are using a Vogue / McCall’s / Butterick pattern because they often incorporate a ton of ease into their patterns.
A much better way to decide what size to cut is to look at the finished garment dimensions that are printed on the pattern (see example below) and compare them to my measurements at any point where the garment is fairly fitted. You will want to cut the size that will accommodate your measurements plus your desired amount of ease (for me, that’s usually between 1-2 inches), anywhere the garment is supposed to be fitted to the body. For example, for a fit-and-flare style dress, I would compare the finished garment dimensions at the waist and bust area against my measurements (plus 1 or 2 inches of ease). I don’t need to compare the dimensions for the hip area because I know that the skirt in a fit-and-flare dress is pretty loose around the hips. If, on the other hand, I was making a column dress which was pretty fitted at the bust, waist and hips, then I would want to compare my measurements to the finished garment dimensions at the bust, waist and hip area.
Keep in mind that most people will be different sizes in their chest, waist and hips. That is perfectly fine - just cut each part to the right size and blend them together. For example, I have a thicker waist so I usually need to cut the waist portion of the pattern one size bigger than my chest and hips.
Q. How do I fit my garment?
A. There are an endless variety of fit issues so it is impossible to address fit issues for everyone in an FAQ. My best advice on fit is to (1) buy a reference book like Fit for Real People that includes pictures that can help you diagnose and fix common fit issues; and (2) get to know one pattern company by using several of their patterns and learning what alterations you need to make to their patterns, rather than jumping around and using patterns from many different companies. For example, I’ve sewn a ton of Vogue / McCall’s / Butterick patterns over the years, and by now I have a standard set of adjustments that I always make to their patterns (namely, I’ll cut a size 10 in the chest and hips, grading to a size 12 in the waist; cut a size 6 in the sleeve; remove 1/2 inch at the center back to account for my straight back; and add an inch to the bodice length to account for my long waist.
Q. Can I fit myself?
A. It’s difficult and time consuming, but it can be done. If it is a dress or a fitted top with a back closure, I usually pin or baste a zipper in, then try on the garment inside out, so the seam allowances face to the outside. That makes it easier to pinch out the excess fabric and put a pin in where the new seam should be. I’ll roughly pin or otherwise note where the alteration should be, take the garment off and adjust the pins, then try it on again and make further adjustments. It usually takes several iterations of this before I get the fit just right.
Construction
Especially in my first few years of sewing, I often wondered if I really needed to do every step shown in the pattern instructions, or if I could just skip some of the steps and finish my project faster (what can I say, I was and am impatient). Below, I answer this age-old question for some of the most common steps in garment construction.
Q. Do I really need to make a muslin/toile?
A. It depends, but I often think the answer is no. (By the way, a muslin or a toile is a test version of the garment, usually made out of a cheap unbleached cotton.) In my opinion, you can skip making a muslin if:
It’s a tried-and-true pattern that you’ve used before and you have already worked out all of the kinks.
It’s a pattern company that you’re very familiar with (for example, as I noted above I sew a lot of Vogue patterns and by this point, I know what adjustments I always need to make to their patterns to adapt them for my body).
It’s a loose-fitting garment (e.g. an oversized coat or a loose dress) or it is made of knit or stretch fabric (e.g. a sweater). In these cases, I would just look at the finished garment dimensions on the pattern, check that it seems like the right amount of ease for me, and move on.
On the other hand, I would make a muslin if:
It’s a pattern company that is new to you and that drafts to a body that is very different from yours. For example, when I first started sewing, I was totally enamored of Hot Patterns’ kimono wrap dress (this was back in the day when Kara Saun would rock them on Project Runway), but I knew from reading reviews on the internet that they draft for curvier women, which is not my body shape at all. That’s exactly what happened when I tried making a muslin - I ended up having to take out so much fabric in the bust area that I essentially ended up re-drafting the pattern. Lesson learned.
You’re not sure if the style will be flattering and/or you suspect that you might need to make some changes to make the style suit your body type. Last year, I fell in love with a pattern for an off-the-shoulder jacket, but I feared that the off-the-shoulder detail would make me look like a linebacker. I made a muslin and, sure enough, it turned out to be hideously unflattering on me.
There are some construction details that you aren’t familiar with and you want to try out beforehand so you don’t mess up the real thing. I did this with the Rachel Comey jumpsuit last year - reading the pattern instructions, I could tell that the construction of the pocket was a bit unusual, so I wanted to make a muslin first so I could get used to the unusual construction technique.
You’re planning to make the garment in a really expensive fabric. Obviously, you don’t want to waste your expensive fabric, so it’s worth making a muslin to practice first.
Q. Do I really need to pre-wash my fabric?
A. You rarely need to pre-wash fabric, in my opinion. There is obviously no need to pre-wash fabrics that are going to be sewn into garments that you will dry clean (e.g., silk). I also think you don’t really need to pre-wash fabrics made from manmade fibers (e.g. polyester and nylon). However, if you are using a fabric that will shrink in the wash (e.g., cotton), then it is important to pre-wash. I’ve learned this through bitter experience - a few years ago, I made some wrap dresses out of this gorgeous printed cotton jersey, but they shrank and became child-sized clothes after the first wash.
Q. Do I really need to notch my seams?
A. Yes, if your seam is curved, like around the bust area. (If you don’t know, notching refers to literally cutting notches into your seam allowance.) If you skip this step, your curved seam will not press flat and you won’t get that polished finish (usually in the bust area it results in an unflattering pucker in the nipple area).
Q. Do I really need to grade my seams?
A. Yes, if your fabric is bulky. (If you don’t know, grading seams refers to trimming seam allowances down to different widths. Why different widths? Because if both seam allowances are the same width, that creates a lot of thickness in the same place, which will result in a visible ridge on the outside of the garment. You can avoid that by trimming the seam allowances down to different widths.)
It is also essential to trim your seam allowances if you have a corner seam. If you don’t trim your seam allowances, you won’t get that nice crisp point at your corner. You’ll need to do this even if your fabric isn’t that bulky.
Q. Do I really need to finish my edges?
A. Yes, if you are working with a woven fabric. You don’t if you’re working with knit fabrics or other fabrics that don’t fray (e.g. faux leather or neoprene). It doesn’t have to be a fancy finish - if you’re a beginner, you can just pink the edge using pinking shears or stitch a zigzag stitch and then trim down your seam allowance close to the zigzag.
Q. Do I really need to interface?
A. Yes. Interfacing (i.e., extra fabric added to the inside of your garment to make a part of your garment more rigid) will instantly make your garment look crisper and more professional. It’s the difference between crisp vs. limp collars, lapels and cuffs, and it’s especially important when making coats and jackets. It doesn’t take much time to properly interface your garments if you use fusible interfacing (i.e., interfacing that has glue on one side so it sticks to your fabric when you iron it).
Quick aside: I have experimented with sew-in interfacing over the years (especially when tailoring) and I just don’t think it’s necessary in most cases. I understand that if you want to make a coat that will last for 10 years, you’ll want to use sew-in interfacing and hand pad-stitch the lapel. But these days, I don’t have that kind of time, and I’m probably not going to be wearing the same coat in 10 years, so I just don’t think it’s worth it. I find the fusible tailoring methods shown in Tailoring: The Classic Guide to Sewing the Perfect Jacket to be enough to make a crisp tailored jacket or coat.
Q. Do I really need to staystitch?
A. Personally, I don’t think so. (I’m sure some of you will tell me I’m wrong.) I’ve often skipped this step and I’ve never had a neckline stretch out on me.
(For those who don’t already know, staystitching is when you stitch a straight line to prevent distortion of the fabric, usually around curved edges like necklines. It is usually done when the piece is still flat, before the pieces are sewn together.)


