
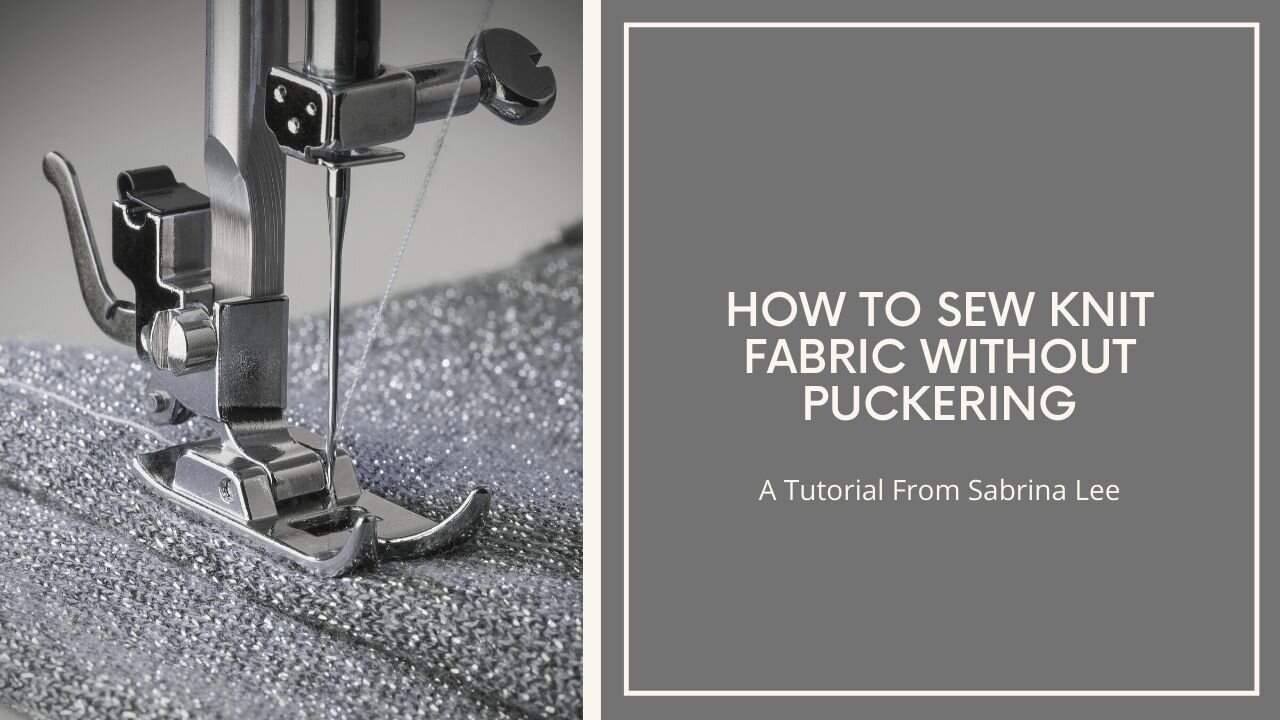
I love the comfort of a knit garment, but let’s be honest, knit fabric can be a real pain to sew. For example, my first knit t-shirt was a hopeless mess of wavy, puckered seams, and that project put me off sewing stretch fabrics for a long time. Eventually, however, the siren call of knit fabric got to me again, and over the years I learned a few tips to sew knit fabrics without puckering.
In essence, knit fabric puckers when sewn because the fabric gets stretched and distorted in the process of feeding it through the machine. Reducing the pucker therefore requires controlling the stretch in the fabric. To reduce the puckering, I take the following three simple steps when sewing seams: (1) use a walking foot to help ease the fabric into the sewing machine, (2) stabilize the fabric with tissue paper, and (3) press the seam after stitching. If I am hemming fabric, I will take the same three steps, and I will also stabilize the hem with fusible interfacing. The result is a nice flat seam, every time.
Read on to learn more about each step below, or watch the video to see a demonstration of these steps.
Step 1: Use a Walking Foot
Part of the reason that knit fabric stretches during sewing is because the presser foot and feed dogs stretch the fabric out as it is fed into the machine. To avoid this happening, I like to use a walking foot, which helps feed the fabric through the machine more smoothly. (Here’s a link to walking feet for several different brands of sewing machine.) The walking foot basically makes the presser foot on top of the fabric move, just like the feed dogs underneath the fabric. This means that both layers of the fabric should feed through evenly, which should in turn reduce the stretching. The walking foot does not solve the puckering problem entirely on its own, but it is an essential part of the multi-pronged solution.
Step 2: Stabilize With Tissue Paper
In addition to using a walking foot, I also use tissue paper to stabilize the fabric when sewing seams. I lay a strip of the tissue paper on top of the seam, so the tissue paper lies between the presser foot and the fabric. This helps stop the fabric from being ‘eaten’ by the sewing machine and helps prevent the fabric from stretching out. After the seam is stitched, I rip away the tissue paper, leaving a beautiful flat seam. You can see this process in the video.
One downside to this method is that sometimes, tiny pieces of paper are left stuck in the seam, and you need to get a pair of tweezers to pick the bits of paper out. I try to avoid this by lifting the tissue paper until it is perpendicular to the fabric, and then tearing – I find this usually gives me a clean tear, although sometimes little pieces of paper are still left in the seam, despite my best efforts.
Note that there is no need to go out and buy tissue paper specifically for the purpose of sewing knit fabrics. Instead, I try to save the tissue paper that comes with my online shopping purchases, or in a pinch I might even use parchment paper from my kitchen (the kind that is typically used for baking). I have also heard of other sewists using pattern paper or even printer paper to stabilize knit fabrics when sewing. Any of these types of paper will work to reduce puckering when sewing knit fabrics.
Step 3: Press Seam After Stitching
The last and often most important step is to press the seam with lots of steam after sewing. I usually hover the iron over the seam with steam for a few seconds, then I press the iron gently on the seam and give it a nice press. This usually presses out most of the puckers and waves in the seam.
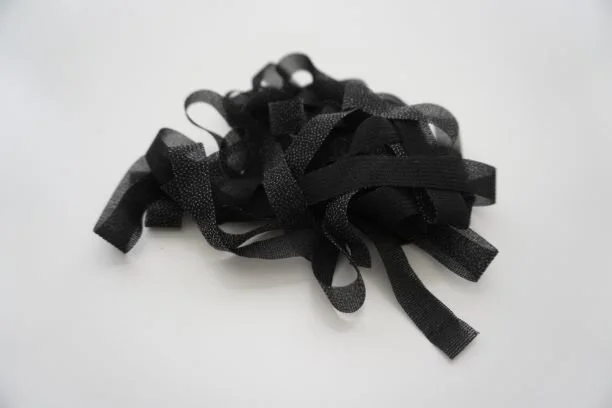
Additional Step When Hemming: Stabilize Hem With Fusible Interfacing
If I am hemming knit fabric (as opposed to sewing a seam), I always take the extra step of ironing half inch strips of lightweight fusible knit interfacing to the hem of my garment, before I sew the hem in place. The fusible interfacing helps stabilize the fabric at the hem and, again, helps prevent the fabric from stretching out too much. It also has the added side benefit of reducing skipped stitches, which often occur when sewing with lighter weight jerseys. Sometimes I’ll even use a twin needle and do a double row of stitching, as this helps make the stitching nice and flat as well.
I find it a pain to interrupt my project to cut strips of fusible interfacing, so instead I cut lots of strips of fusible interfacing in advance, so I always have some strips on hand whenever I start working on a knit project.
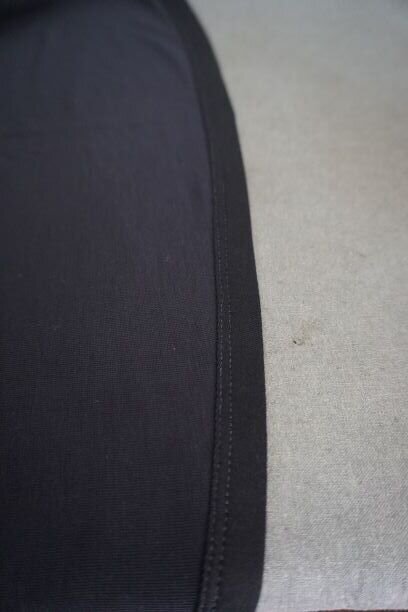
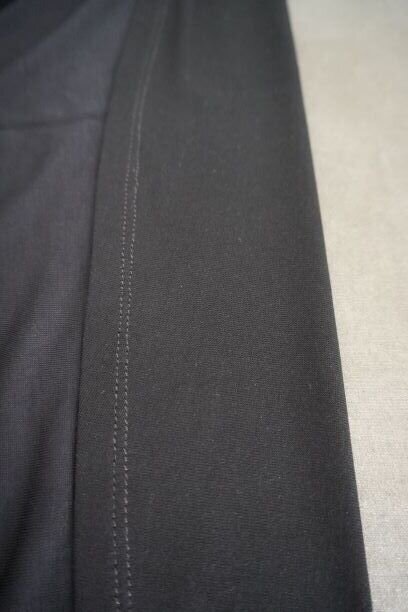
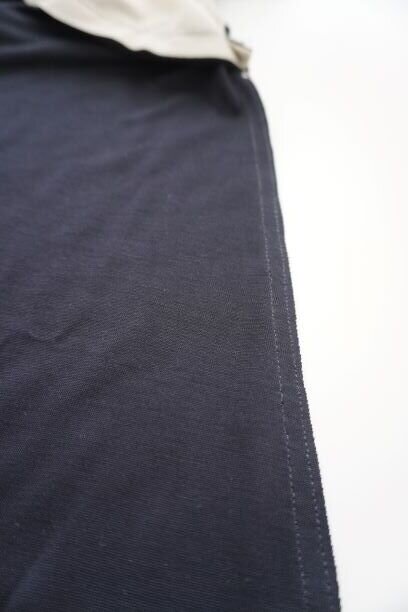
And that’s it! Three (and sometimes four) simple steps to take to sew knit fabric without puckering. I followed these three simple steps in sewing this knit dress, made using McCall’s 5752. You can see that all of the seams are nice and flat, and the interfaced hem falls smoothly. You can see more pics of the finished dress, plus my review of this pattern, here.
I hope this is helpful, and please let me know in the comments if you have other tricks for sewing knit fabrics without puckering. Happy sewing!


