
Have you ever wondered what exactly a serger does, and whether you need one in addition to your regular sewing machine? The answer is: quite a lot! It can quickly sew a seam, trim the seam allowance and overcast the edge, all in one step. It can also be used to make rolled hems, do flatlock stitching, make mock band hems, make blind hems and gather fabric, among other things. All of this functionality makes a serger a great choice of sewists who sew a lot with stretchy fabrics and/or want to sew garments as quickly as possible. Below, I demonstrate some of the most commonly-used functions on the serger, using my beloved Brother 1034D serger (an affordable, very well-reviewed serger that I highly recommend).
The Four-Thread Overlock Stitch
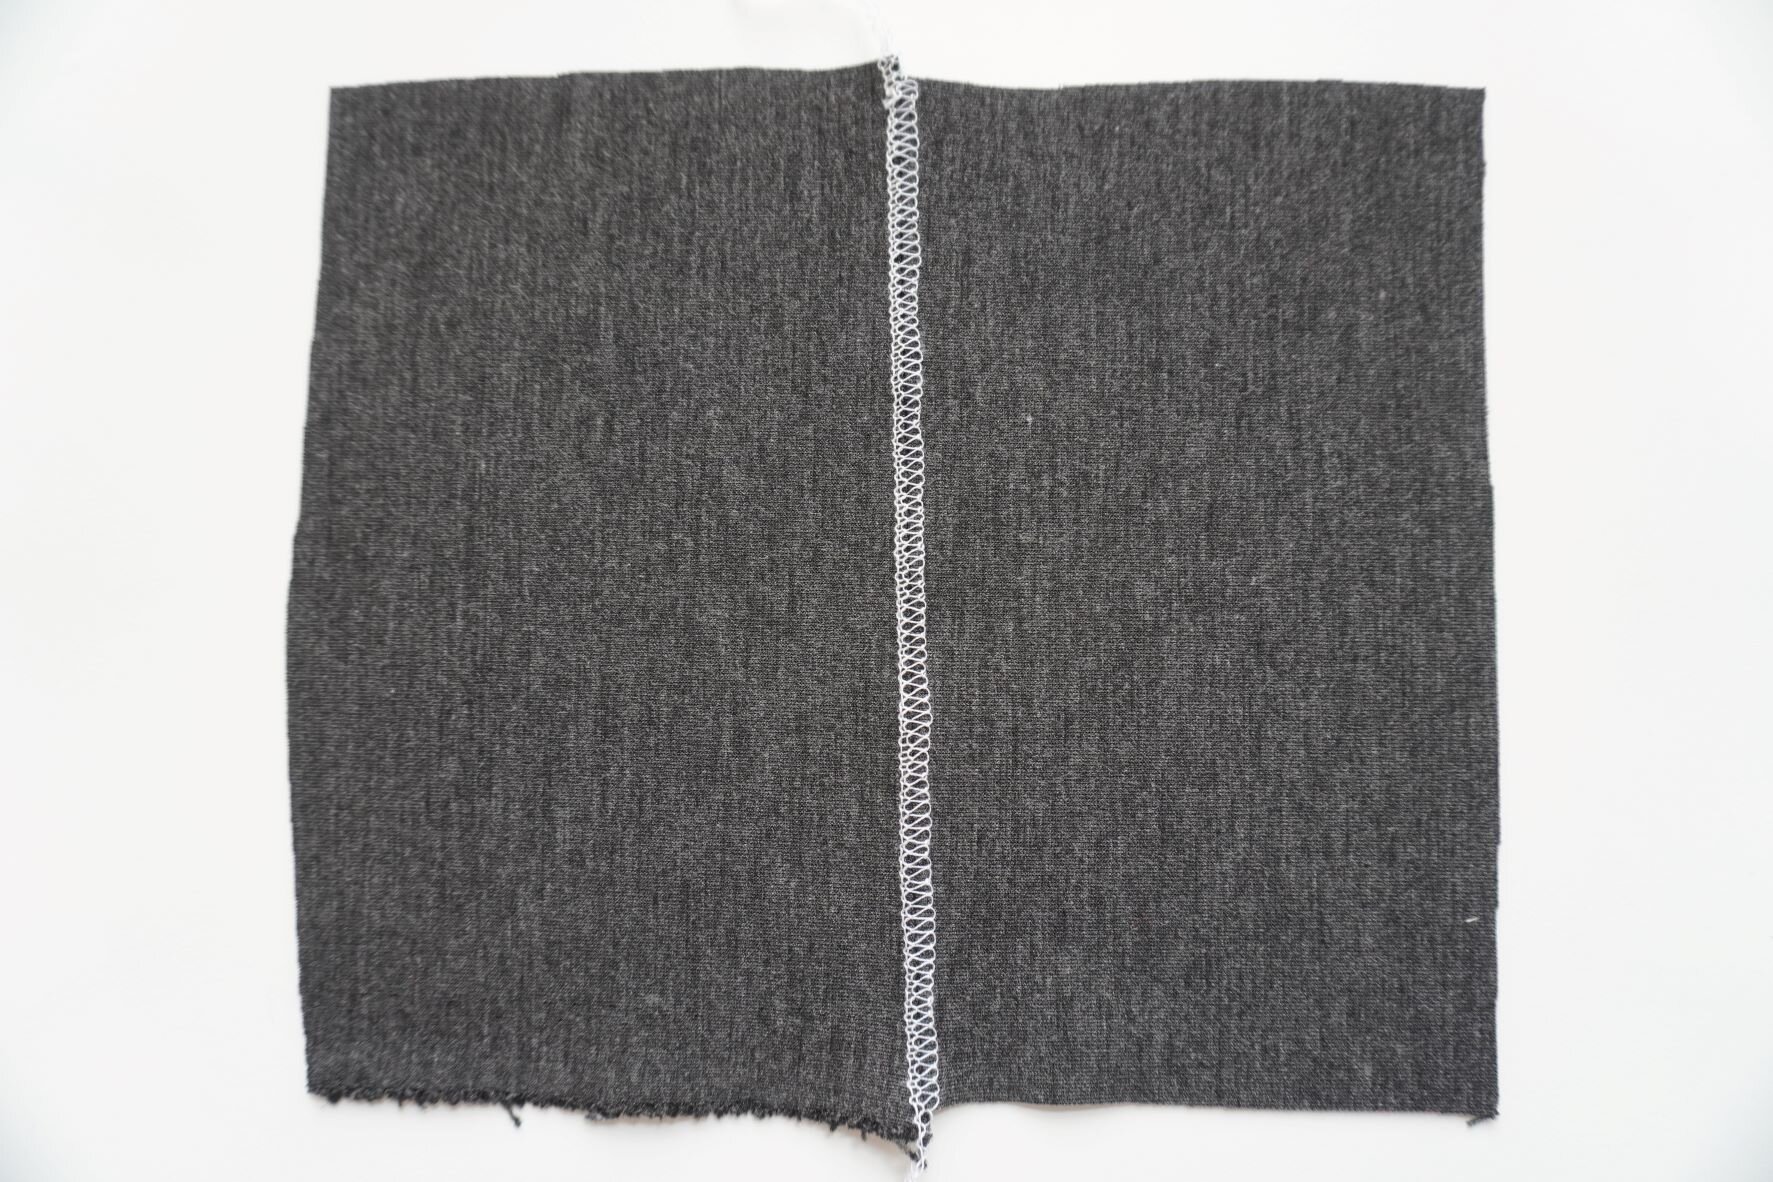
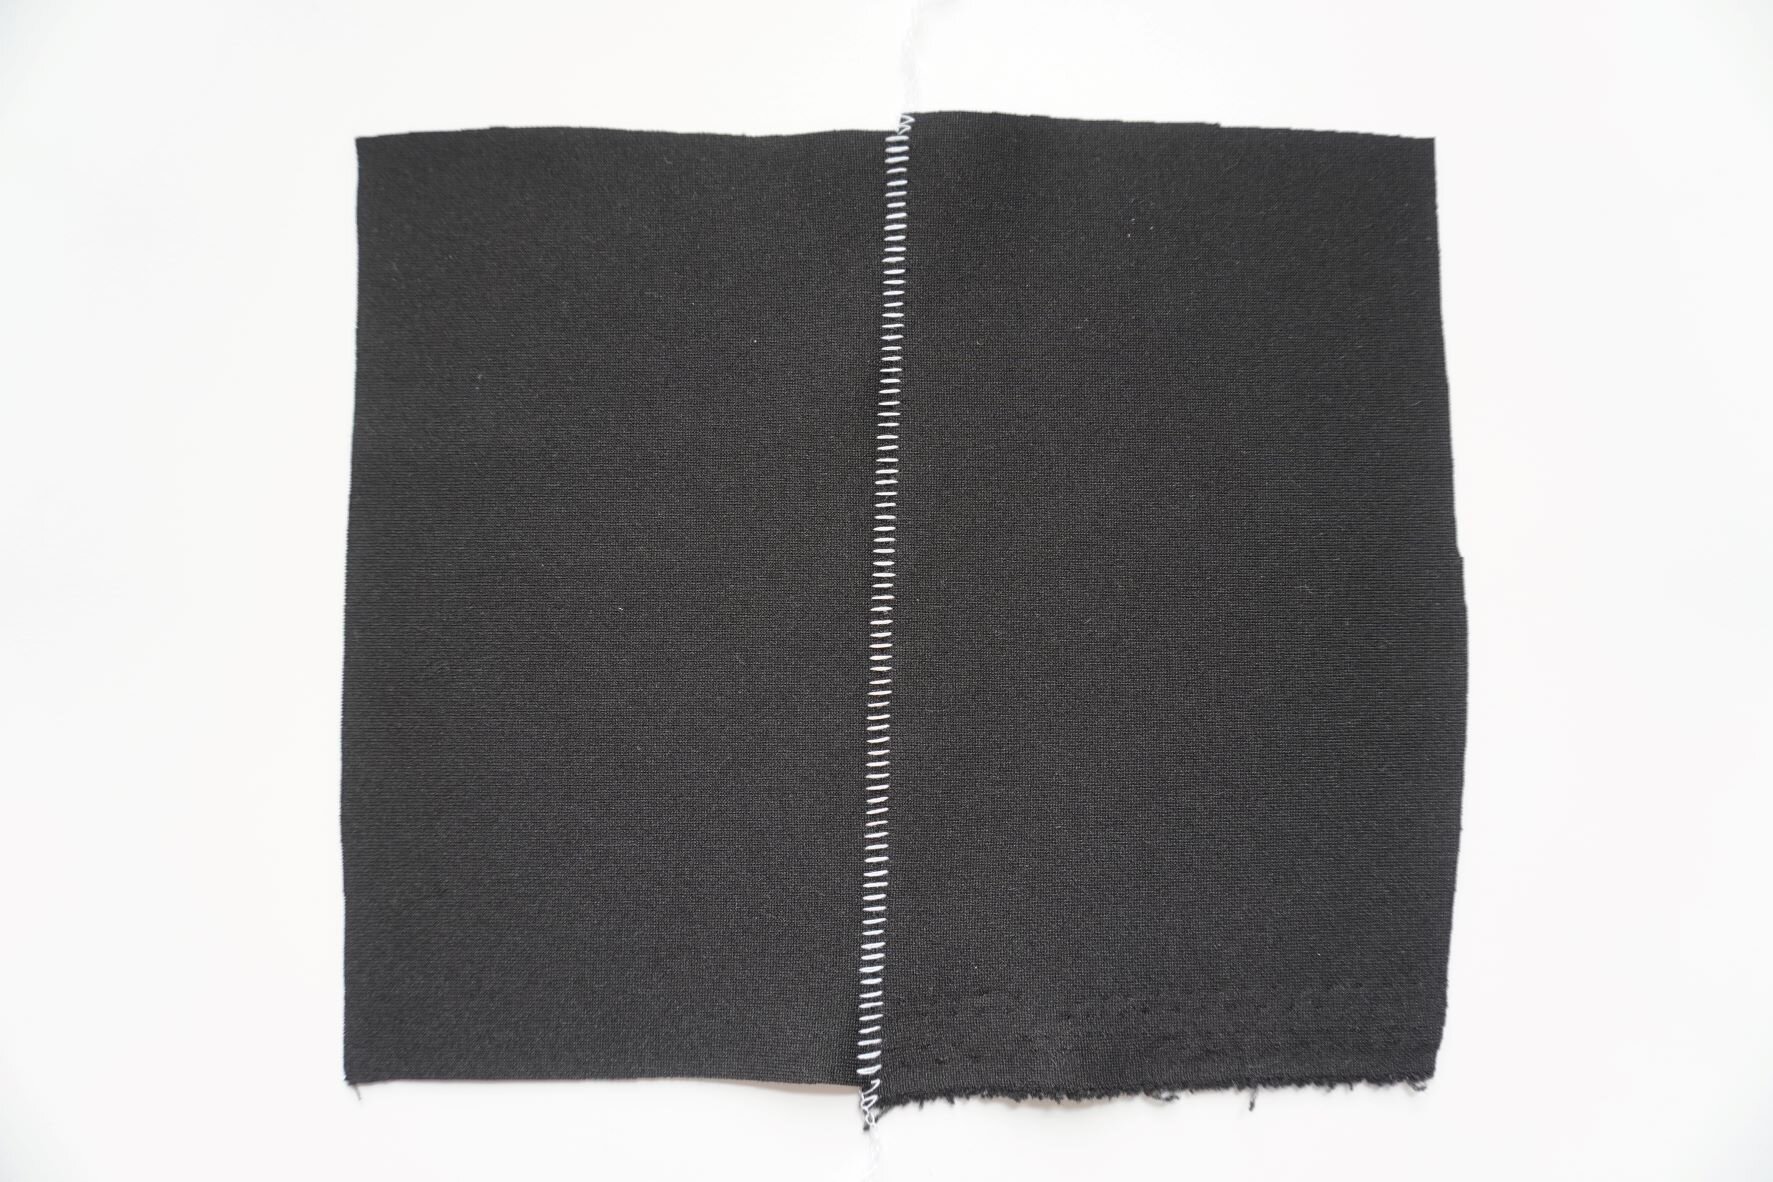
The four-thread overlock stitch is the most commonly-used function on the serger — it can be used to quickly sew seams and/or finish edges. This type of stitch is often used in mass production, as it is a cheap yet durable way of constructing garments. If you check garments made by fast-fashion retailers, you will almost certainly find that the edges of the fabric have been serged.
If you’re working with a thinner fabric, you can sew the seam and finish the fabric edge, all in one go. If you’re working with a bulkier fabric (where you don’t want the double layer of fabric in the seam allowance), you can use the serger to finish the edges of the two pieces of fabric separately, then sew the fabric together using a regular sewing machine and press open the seam allowance.
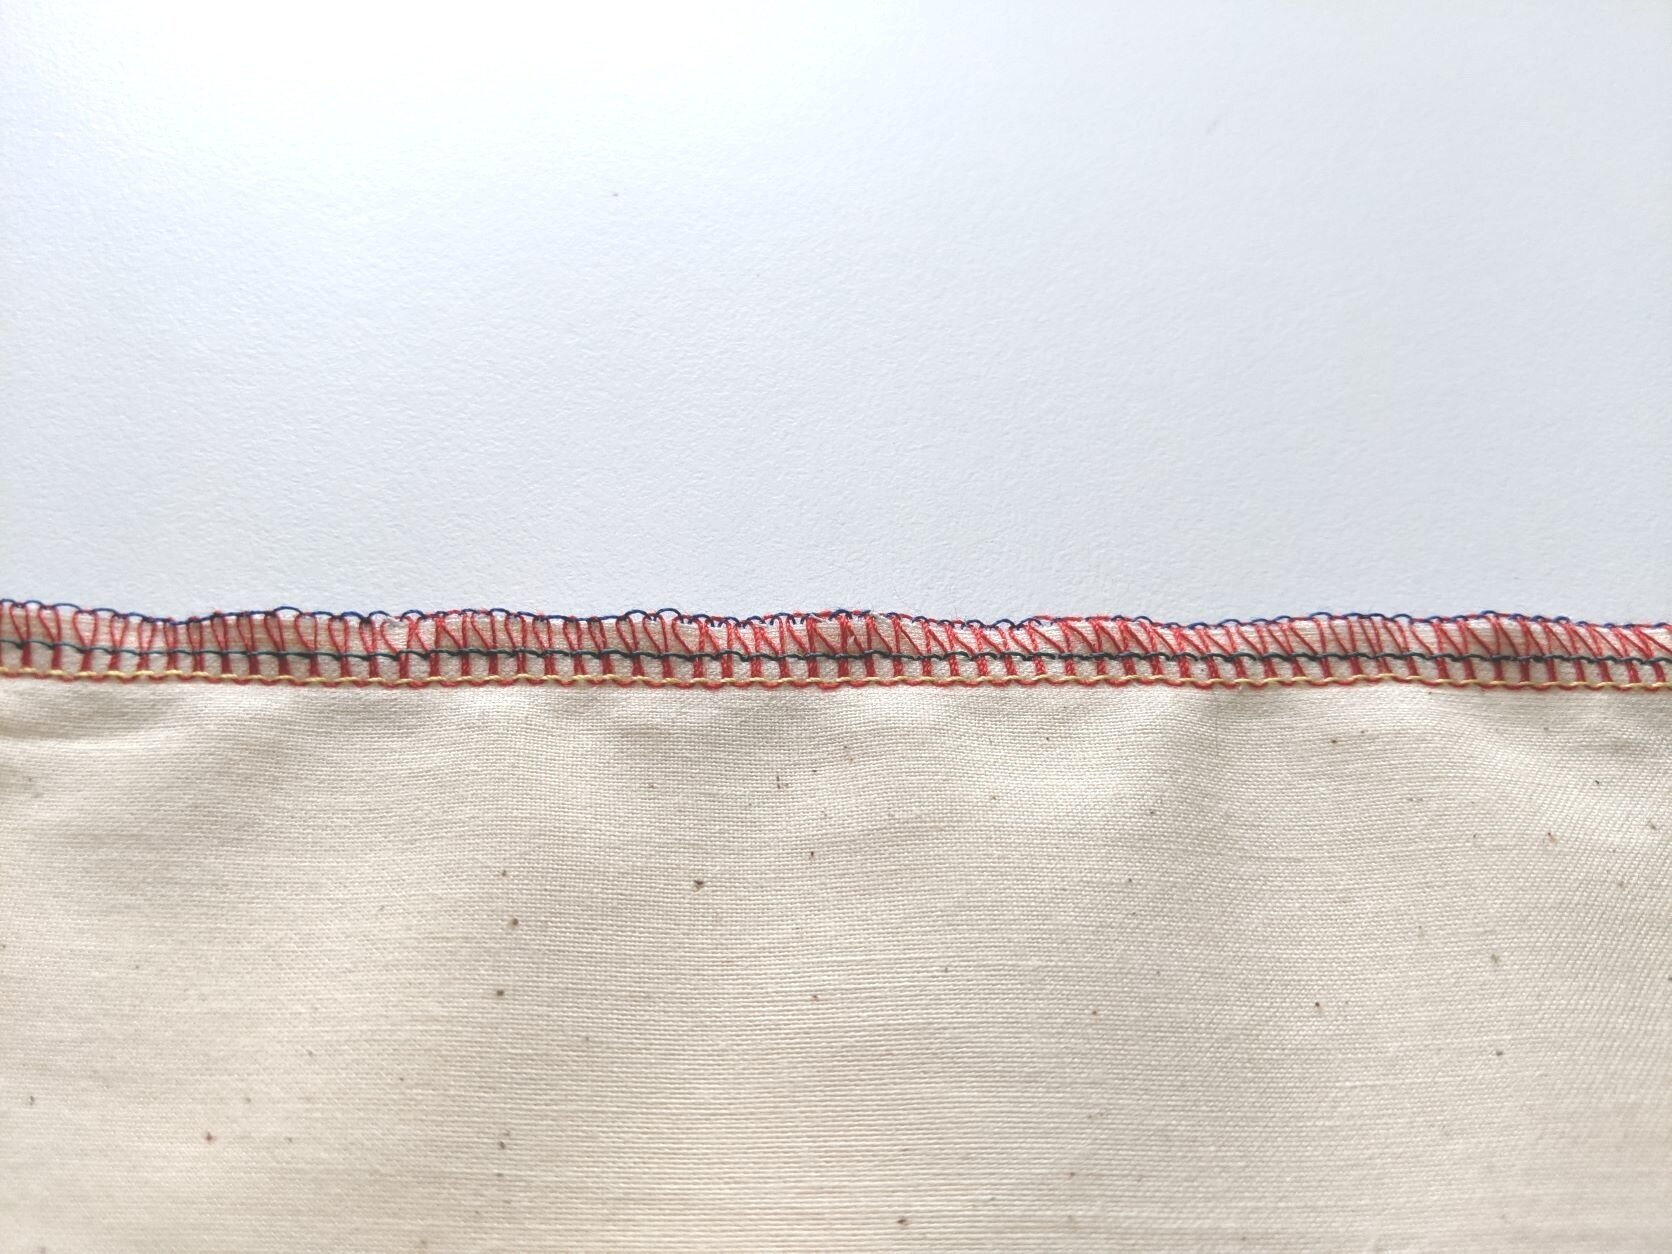
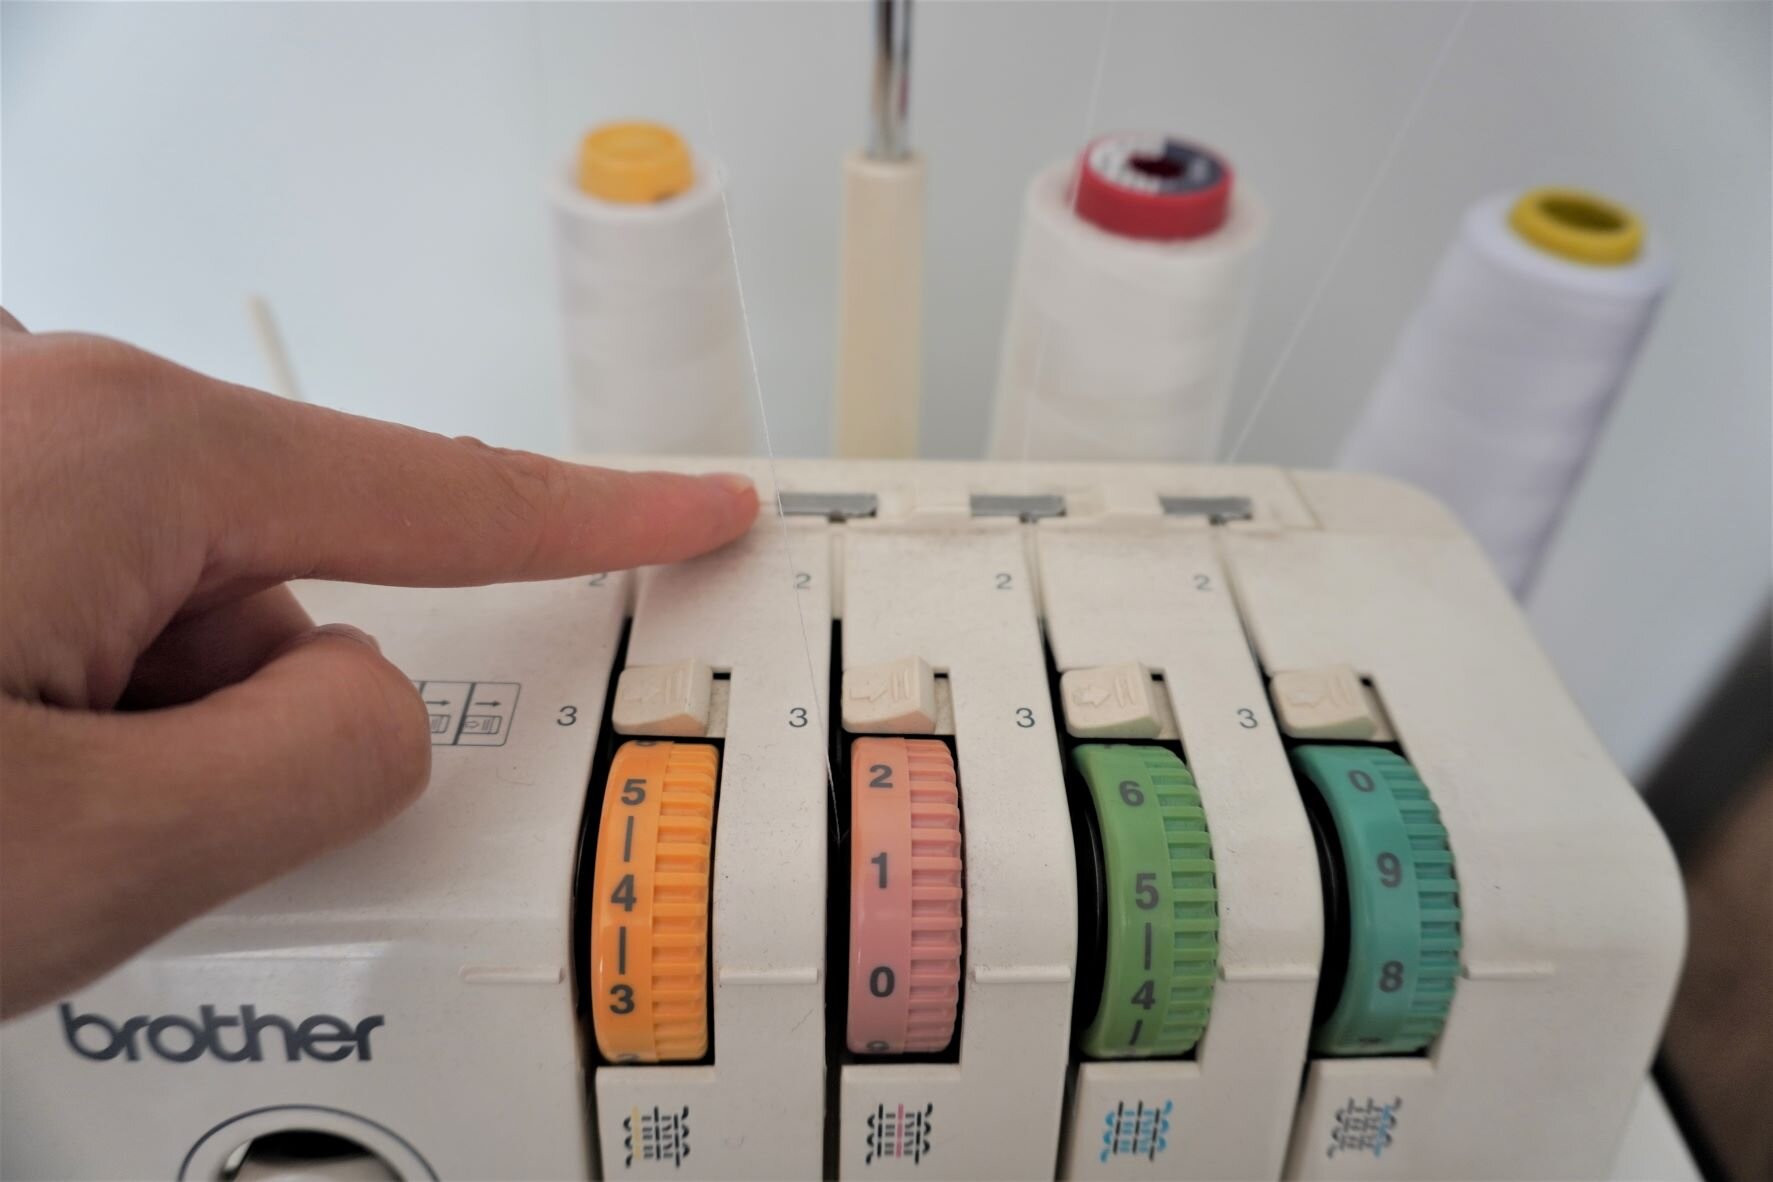
The serger is able to stitch a four-thread overlock stitch because it has two needles that stitch parallel lines of stitching, along with an upper looper and a lower looper that loop the thread back and forth between the lines of stitching and the fabric edge (one on the right side of the fabric and one on the reverse side). In the photos above, the yellow and green threads are the needle threads, and the red and blue threads are the upper and lower loopers, respectively.
One great thing about the serger is that it stitches, overcasts and trims, all at an incredibly high speed. You can see in the below video that the serger sews at a much higher speed than a regular sewing machine (and no, this video is not sped up at all - that is the speed in real life!).
The serger’s ability to stitch the four-thread overlock stitch makes it very useful in two ways:
It is a very quick and professional-looking way to finish fabric edges, which makes the serger a great choice for impatient sewists like me who are too lazy to spend the time making labor-intensive seam finishes. (I initially bought a serger for exactly this reason.)
It is much easier to sew stretchy fabrics with a serger than with a regular sewing machine, for two reasons. First, the stitch created by the serger is able to stretch along with the fabric, so it won’t break (unlike the straight stitches created by a sewing machine, which will pop when the fabric stretches). Second, the serger has differential feed which helps feed the fabric into the machine faster, thereby avoiding the stretching that occurs when sewing stretchy fabrics with a regular sewing machine.
These qualities make a serger ideal for folks who sew a lot of athletic wear or swim wear, as these types of garments are often made out of stretchy fabrics. However, the serger has many capabilities beyond the basic four-thread overcast stitch, making a serger a good investment even for folks who don’t sew a lot with knit fabrics. I discuss these other capabilities below.
Rolled Hems
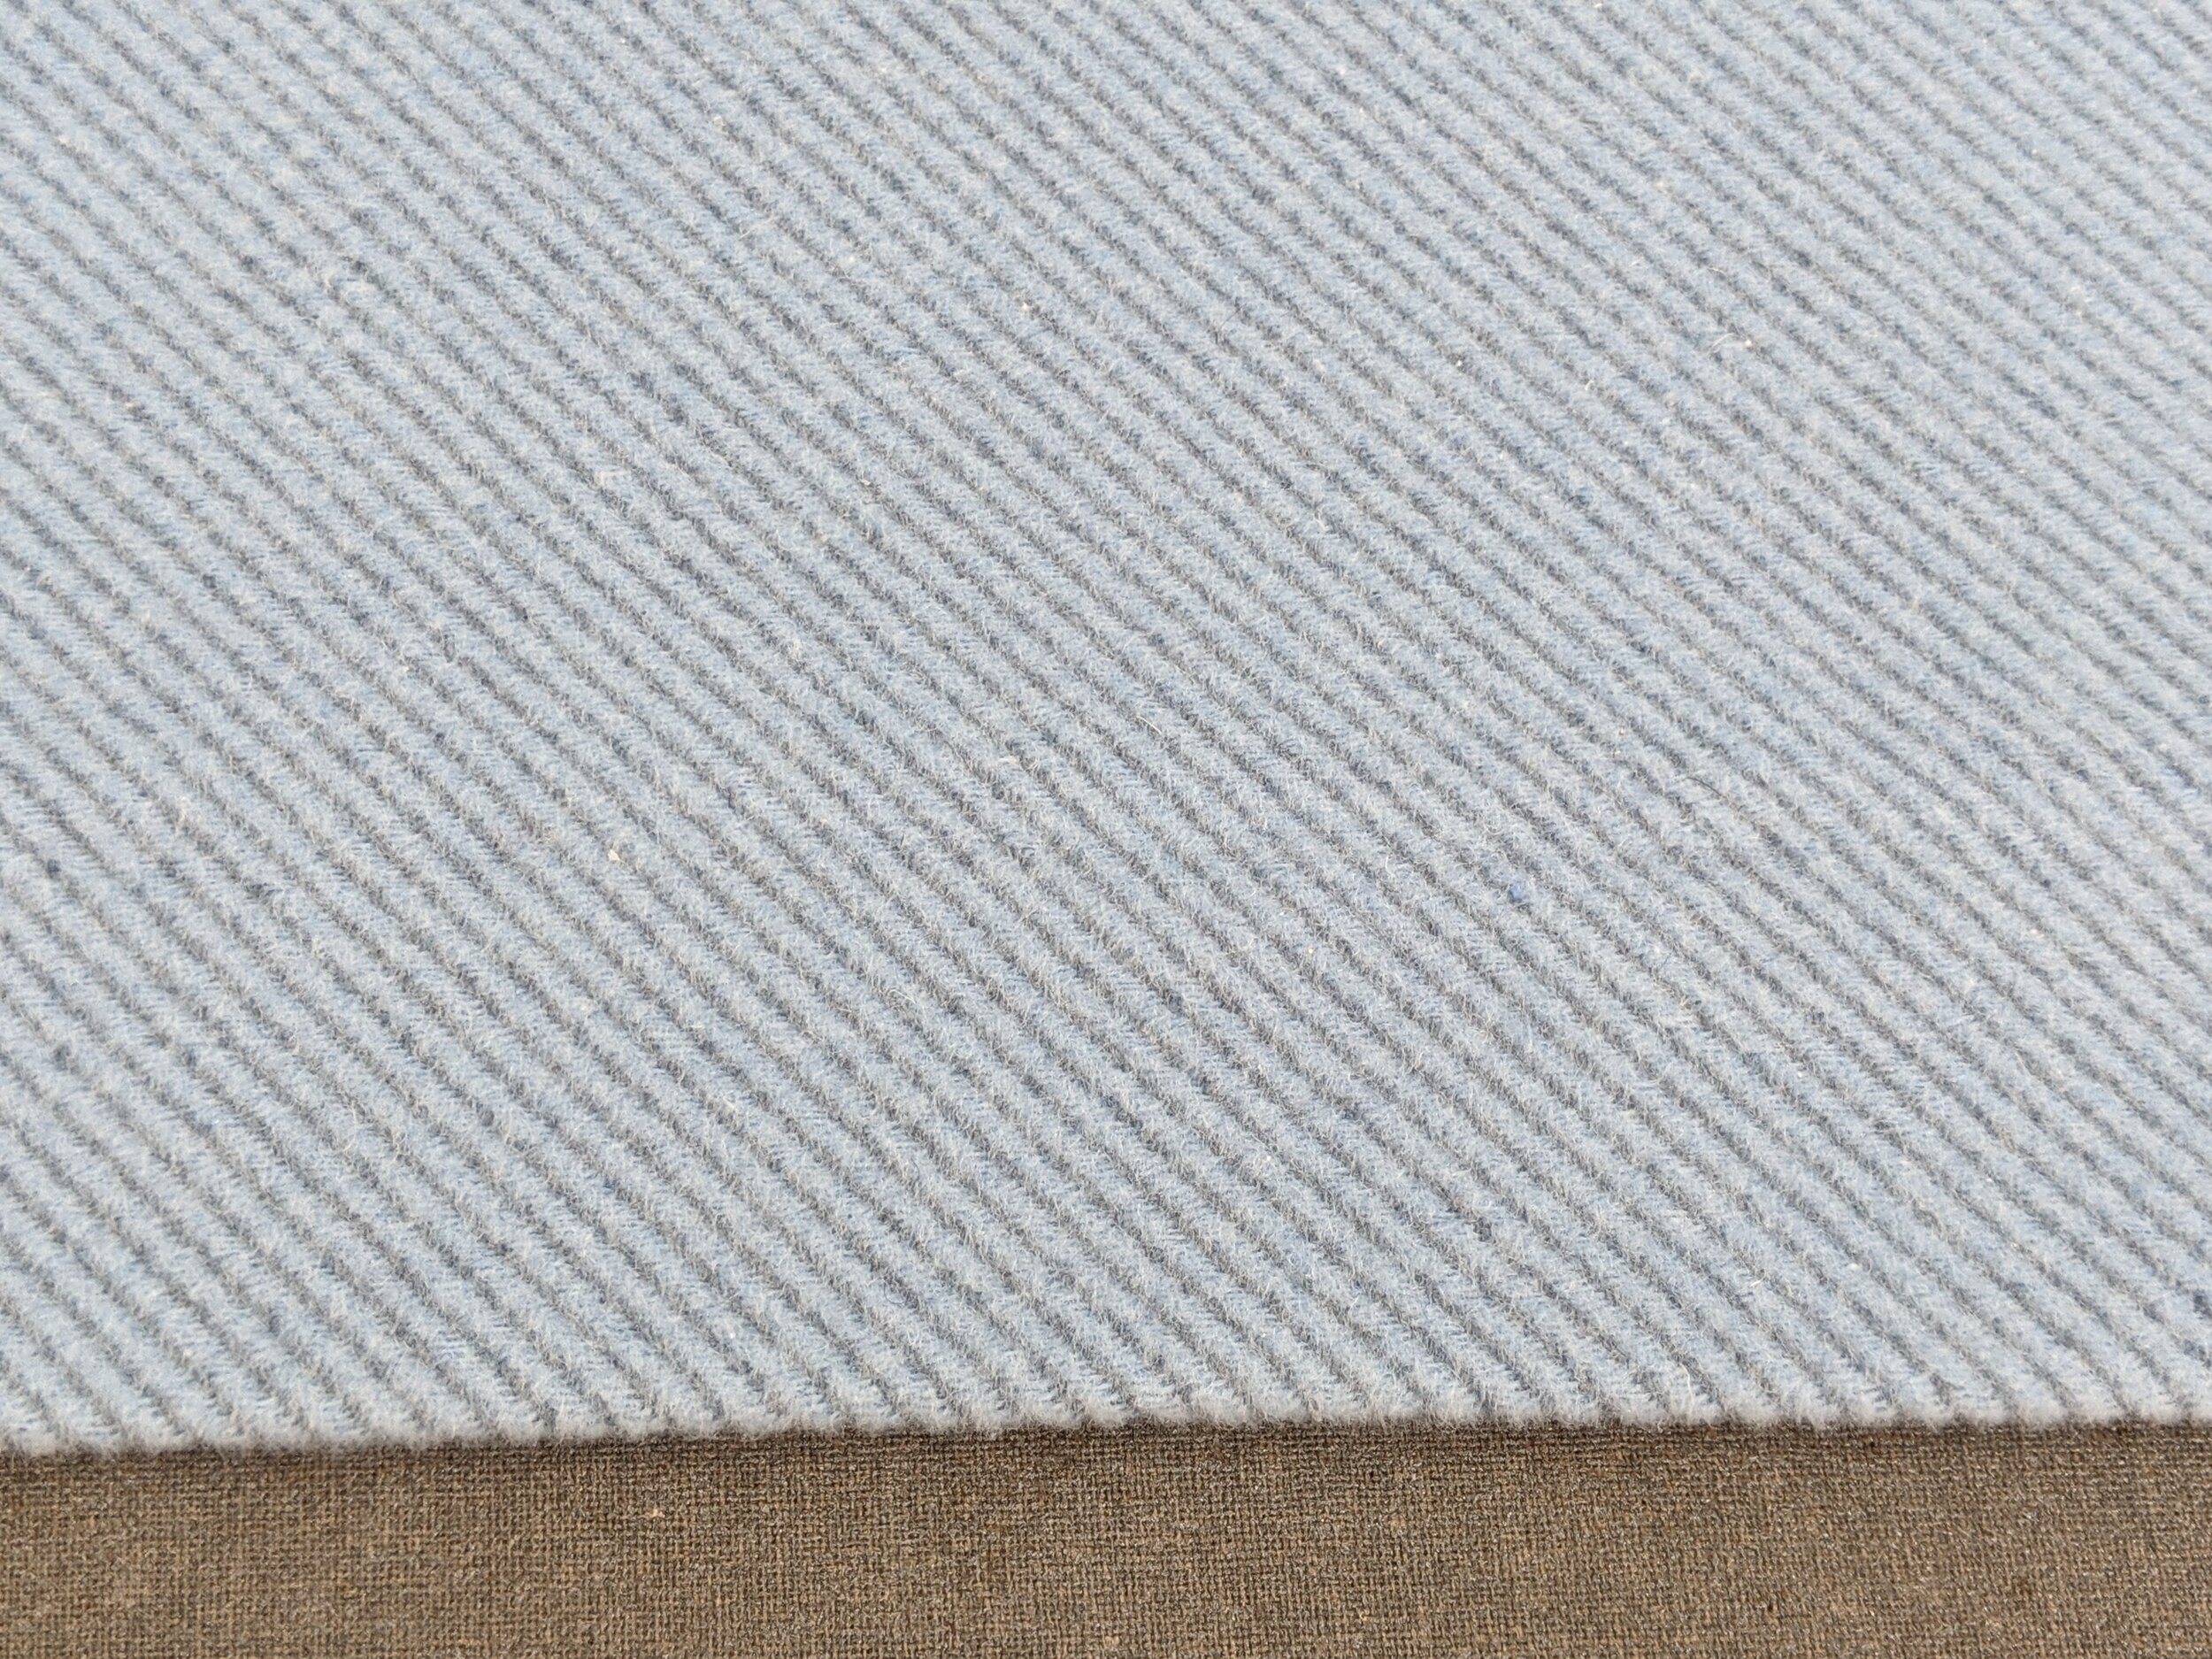
A rolled hem is a very neat and polished-looking finish for sheer, lightweight fabrics and for things like napkins. It looks like a satin stitch (where the stitches are so close together you can barely see the fabric underneath), and the fabric rolls into the stitch to form a ridge at the hem.

When I’m in a hurry, I like to use the rolled hem as a substitute for the more labor-intensive hems I would usually use on sheer fabrics, such as the narrow hem (when you fold over your fabric, stitch a row of stitching, trim close to the stitching, then fold the fabric over again and stitch down again).
To make a rolled hem, we first need to change the setup of the serger to make a three-thread overlock stitch (instead of the basic four-thread overlock stitch). To do this, we need to remove one of the two needles – remove the left needle if you want a narrower seam and the right needle if you want a wider seam.
Next, we need to remove the stitch finger, as this is what allows us to make a narrow stitch. The method varies from machine to machine, so check your machine’s manual to see how to remove the stitch finger on your specific machine. On my Brother 1034D, the stitch finger slides out easily if I press the stitch finger release lever.
The next step is to change the tension settings. We need to increase the tension of the lower looper by quite a bit, as this tension is what causes the fabric edge to roll to the inside. On my machine, I set the lower looper tension to 6 or 7, but experiment on a scrap piece of fabric to see what works for your machine and your fabric.
Finally, we need to make the stitch length as short as possible and the stitch width as narrow as possible. On my machine, as it is on many machines, the shortest stitch length and width are marked “R.”
If the fabric is too lightweight and the rolled hem stitches do not hold, try folding the edge of the fabric to the inside (around 3/8 or 1/2 inch), then serging next to the fold and trimming off any excess fabric next to the stitching line. Folding the fabric helps because the double layer of fabric gives the fabric more stability so it can feed into the serger more smoothly.
If you want to make a narrow serged edge but do not want the fabric to roll to the inside, you can make a so-called “narrow hem” by following the steps above but not tightening the lower looper thread. Without this tension, the fabric edge will not roll, and you will instead get a nice, flat narrow hem. I also usually lengthen the stitch length and stitch width a bit (so they are no longer on the “R” setting). For this sample, I set the lower looper thread tension to 4, the stitch length to 3 and the stitch width to 5.

Flatlock Stitching
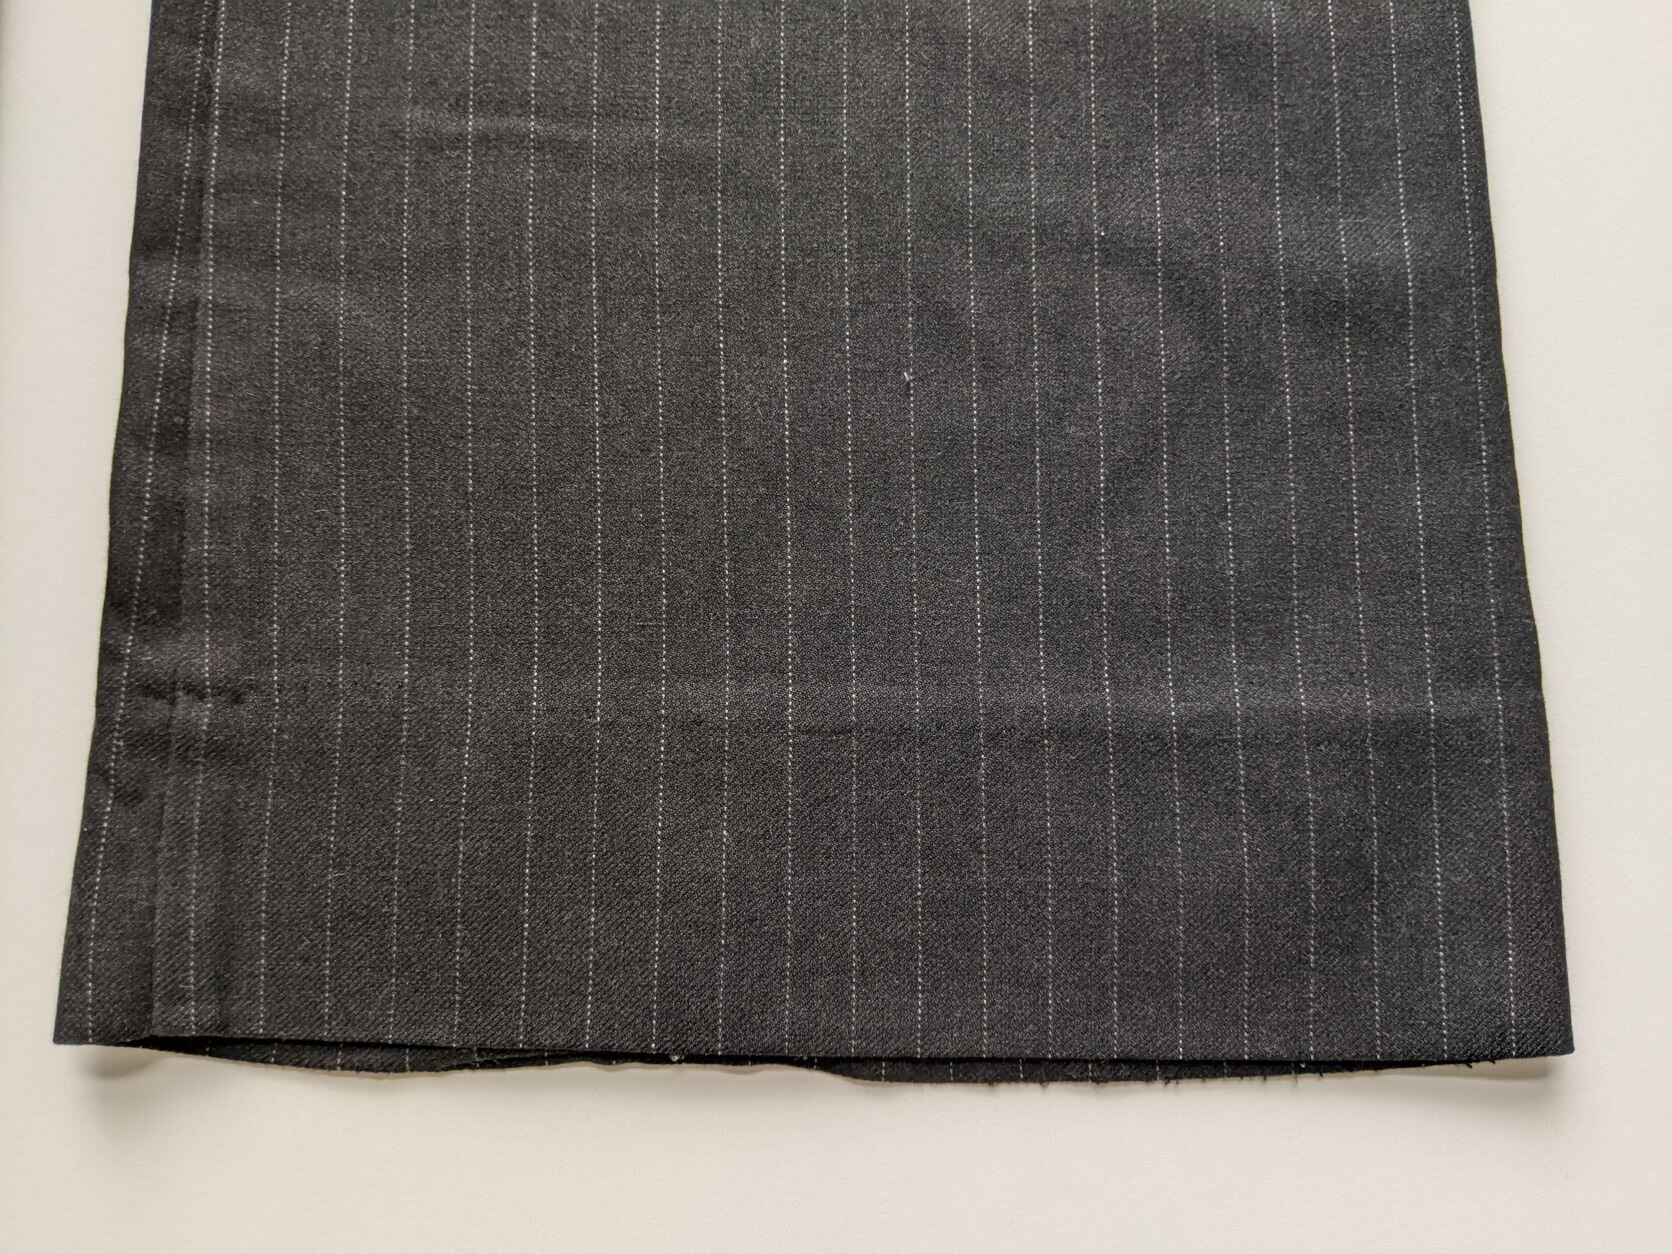
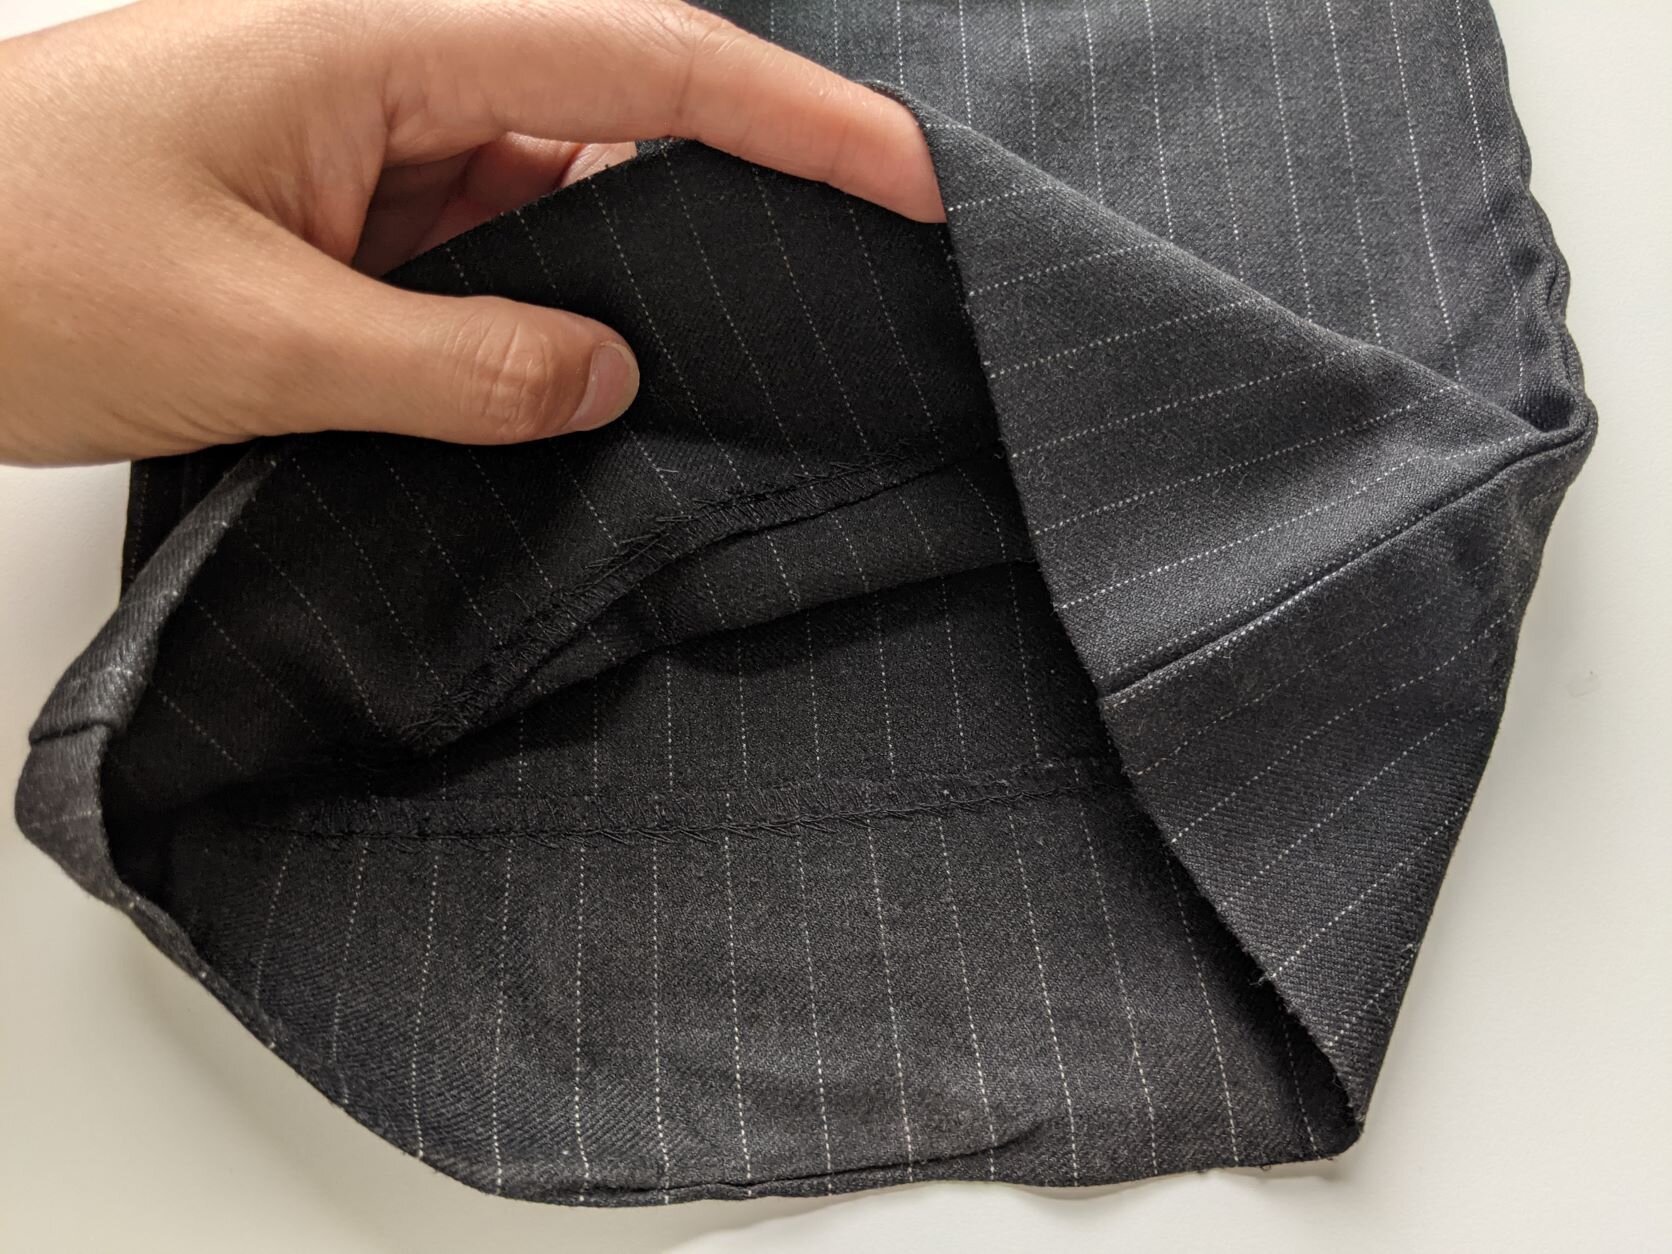
Another versatile three-thread overcasting stitch that a serger can make is the flatlock stitch, a decorative stitch often found in activewear. The flatlock stitch is created by serging two pieces of fabric together, then pulling them apart until the stitching is visible. The two layers of fabric side next to each other and do not overlap, so there is no bulk in the seam. Here’s an example of some flatlocking on a pair of leggings in my wardrobe:

The two sides of the flatlock stitch have very different looks: one side looks like a series of horizontal dashes (the ladder) while the other looks like two lines of straight stitching with V’s in between (the loops). You can choose which side of the stitching you want to show in your garment -- if you want the ladder to show on the right side of the garment, sew the fabric with the right sides together, and if you want the loops to show, sew the fabric with the wrong sides together.
To make the flatlock stitch, we first need to change to 3-thread serging. To do this, you will need to remove one of the two needles in your serger. (See above video on rolled hems to see how.) Remove the left needle if you want a narrower seam and the right needle if you want a wider seam.
We also need to loosen the tension in the needle thread as much as possible, and tighten the tension in the lower looper thread. Leave the upper looper tension at its normal setting. On my machine, I set the needle thread tension to 0, the upper looper tension to 4 or 5, and the lower looper tension to 7. Sometimes, if the stitch still isn’t forming properly, I will take the needle thread out of the clip leading to the tension dial, to further reduce the tension.
After adjusting all of these settings, serge in the usual manner, then pull the seam open until it is flat.
Note that you can use flatlock stitching to sew seams and also to do decorative topstitching. To topstitch, simply fold the fabric where you want the stitching to go, then serge along the fold, making sure the blade doesn’t cut the fold.
Mock band Hem
You can use your serger to quickly make hems that look like a band or a cuff, without having to go to the trouble of cutting a separate piece of fabric for the cuff:

This type of banded hem is frequently found in sweatshirts, leggings and other types of activewear.

To make this hem, set up your machine with the regular four-thread configuration. On your fabric, fold the hem up the desired width, then fold the fabric back on to itself, leaving a little bit of the hem underneath exposed. Serge along that fold, taking care not to cut the fold with the serger blade. Unfold to reveal the hem.
Blind Hems
Your serger is also capable of making blind hems, if you use a blind hem foot. A blind hem is one that is held in place with tiny stitches that are nearly invisible from the right side of the fabric.

This type of hem is frequently found in tailored pants.
Making a blind hem on a serger is similar to the method for making a mock band hem. First, set up your serger with the basic four-thread configuration. Next, fold the hem up the desired width (making sure it is the same width all the way along), then fold the fabric back on to itself, leaving a little bit of the hem underneath exposed. Now, using the blind hem foot, stitch along the hem so that the stitching just barely catches the edge of the fold. You should adjust the roller edge on your blind hem foot to ensure that the fabric is always positioned in the right place so that the stitching just barely catches the edge of the fold.
Blind hemming with a serger can be a bit tricky, as it’s hard to ensure that the stitching is just barely catching the edge of the fold, but it’s worth mastering because it is a way to quickly finish the edge AND secure the hem, all in one go. Note that blind hemming on a serger only works with thicker fabrics, like the wool coating that I used in the video. It doesn’t work well with thinner fabrics, as the stitches will show through on the right side. For that, you need to either use your regular sewing machine or sew the blind hem by hand (which is the best method, in my experience).
Gathering
You can also use a serger to gather fabrics much, much more quickly than using the traditional method of sewing long stitches and then pulling those threads to gather the fabric. The serger method also results in perfectly even gathers, which can be difficult to achieve manually.

To gather fabric, set your serger up with the regular four-thread configuration, then adjust the differential feed on your machine so it is greater than 1. When the differential feed ratio is greater than 1, the front feed dogs move faster than the back feed dogs, gathering the fabric as it is sewn. Serge as usual and you will find that the fabric gathers as you sew.
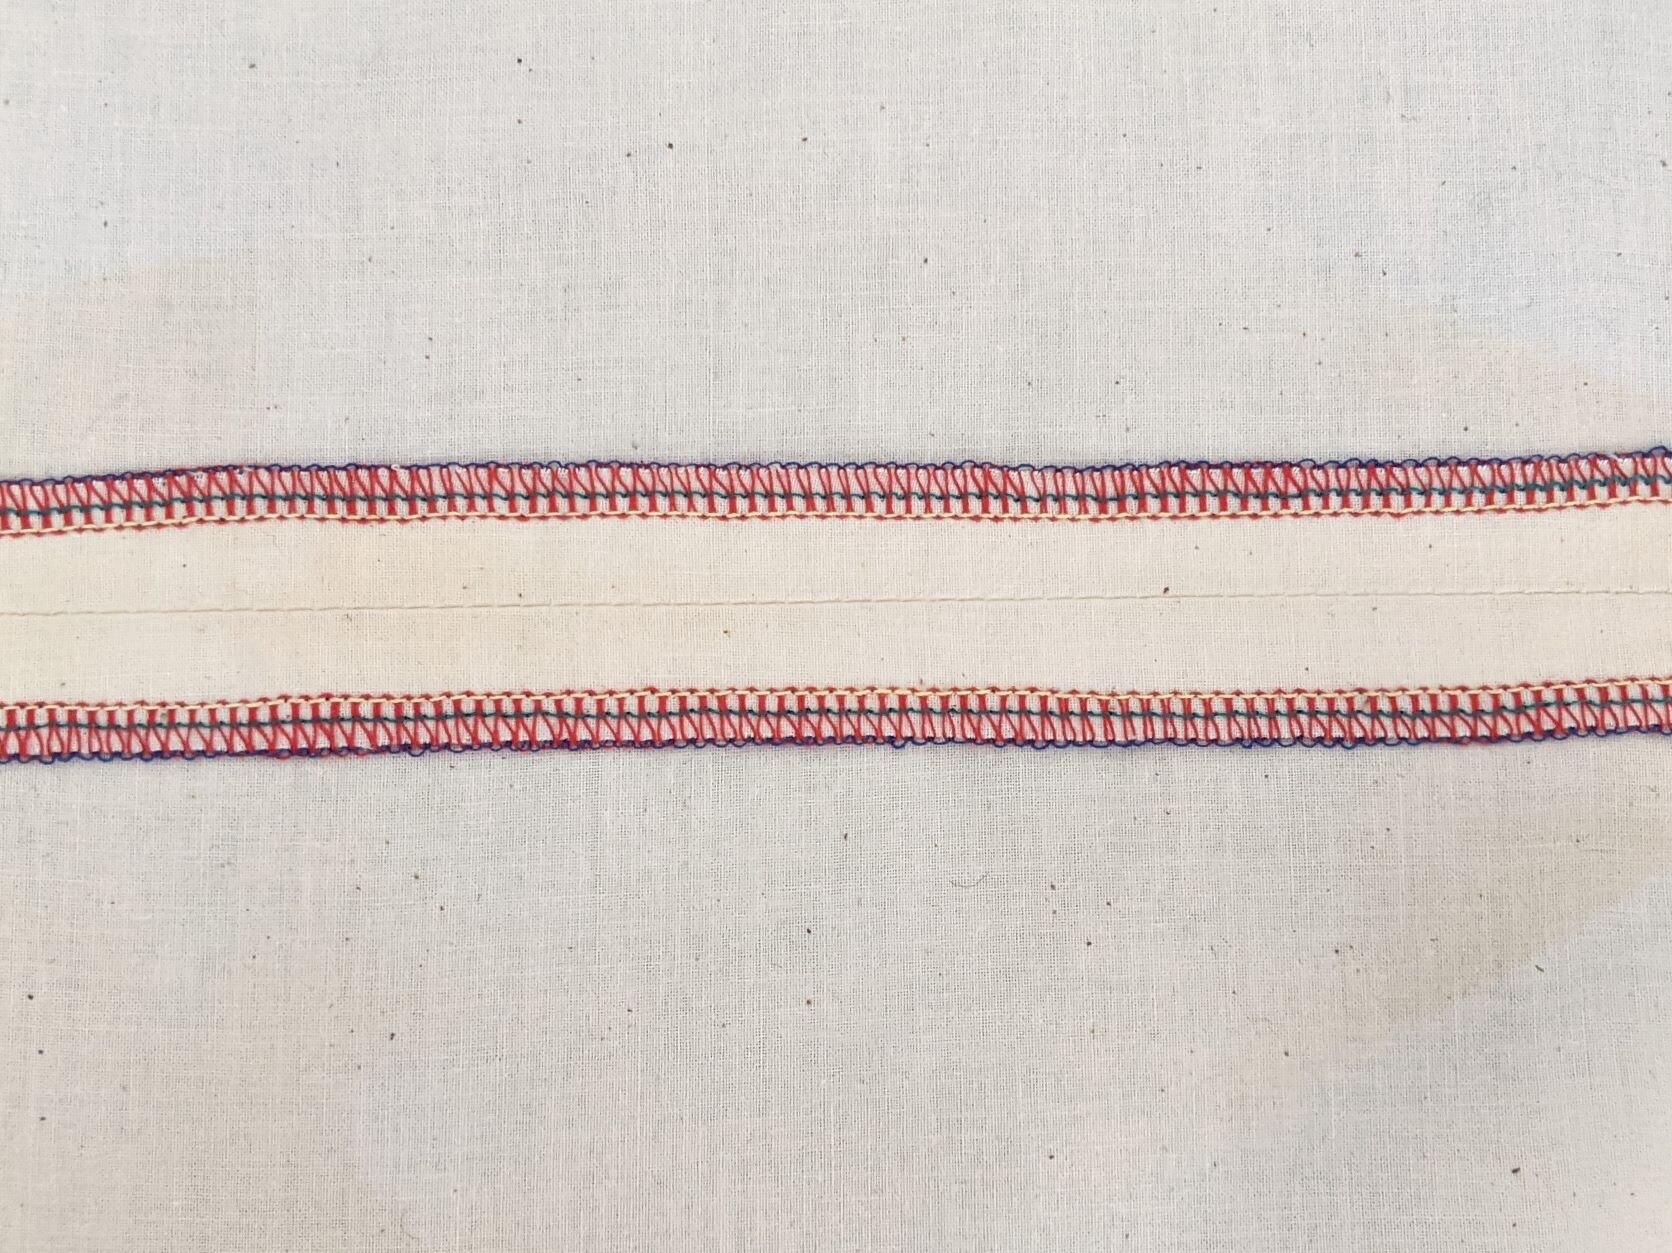
You can adjust the amount that the fabric gathers by adjusting the differential feed setting. Note that you will not be able to get really deep gathers this way; for that, you will need to use a ruffler foot. The photo below shows the amount of gathering that occurs on some light-weight muslin, using a differential feed of 2 and 1.75. You can see that with a setting of 1.75, you get only the slightest of ruffles.

The strip in the upper left-hand part of the picture was gathered using a differential feed setting of 2. The other strip was gathered with a differential feed of 1.75.
To give you a frame of reference In terms of the measurements, my original strip of fabric measured 23 1/2 inches, and with the differential feed set to 2, my gathered strip measured 15 1/2 inches. With the differential feed set to 1.75, my gathered strip measured 21 inches.
You can take the serger’s gathering capabilities one step further and use a gathering foot, which allows you to gather one layer of fabric while serging it to a piece of flat fabric, all in one step. The gathering foot has two levels to it so the two pieces of fabric can be fed into the feed dogs separately. This allows the fabric on the bottom to be gathered while the fabric on the top lies flat.
You might be wondering what the difference is between gathering on a regular sewing machine vs. gathering with a serger. In my opinion, there are three main advantages to gathering using a serger – first, the edge of your gathered material will have a nice finished edge; second, the differential feed makes it much easier to form smooth gathers than it would be on a regular sewing machine; and third, the serger creates gathers much faster than a regular sewing machine.
Conclusion
I have demonstrated here just a few of the most commonly-used functions available on a basic serger. Other capabilities (such as cover-stitching) may be available if you buy specialty feet or have a higher-end serger.
Now the question you’re probably asking at this point is: all this functionality is great, but do I really need to have a serger in addition to my regular sewing machine? My personal take is invest in a serger if you’re serious about sewing, and especially if you are going to sew a lot of stretchy fabrics. The serger’s differential feed and ability to smoothly make stitches that can stretch, in and of itself, makes the serger a worthwhile purchase. As you get to know your serger better, you may even find yourself using the serger for a lot more than you originally planned.
Do you have a serger? What do you like or dislike about your machine? Let me know in the comments!


