
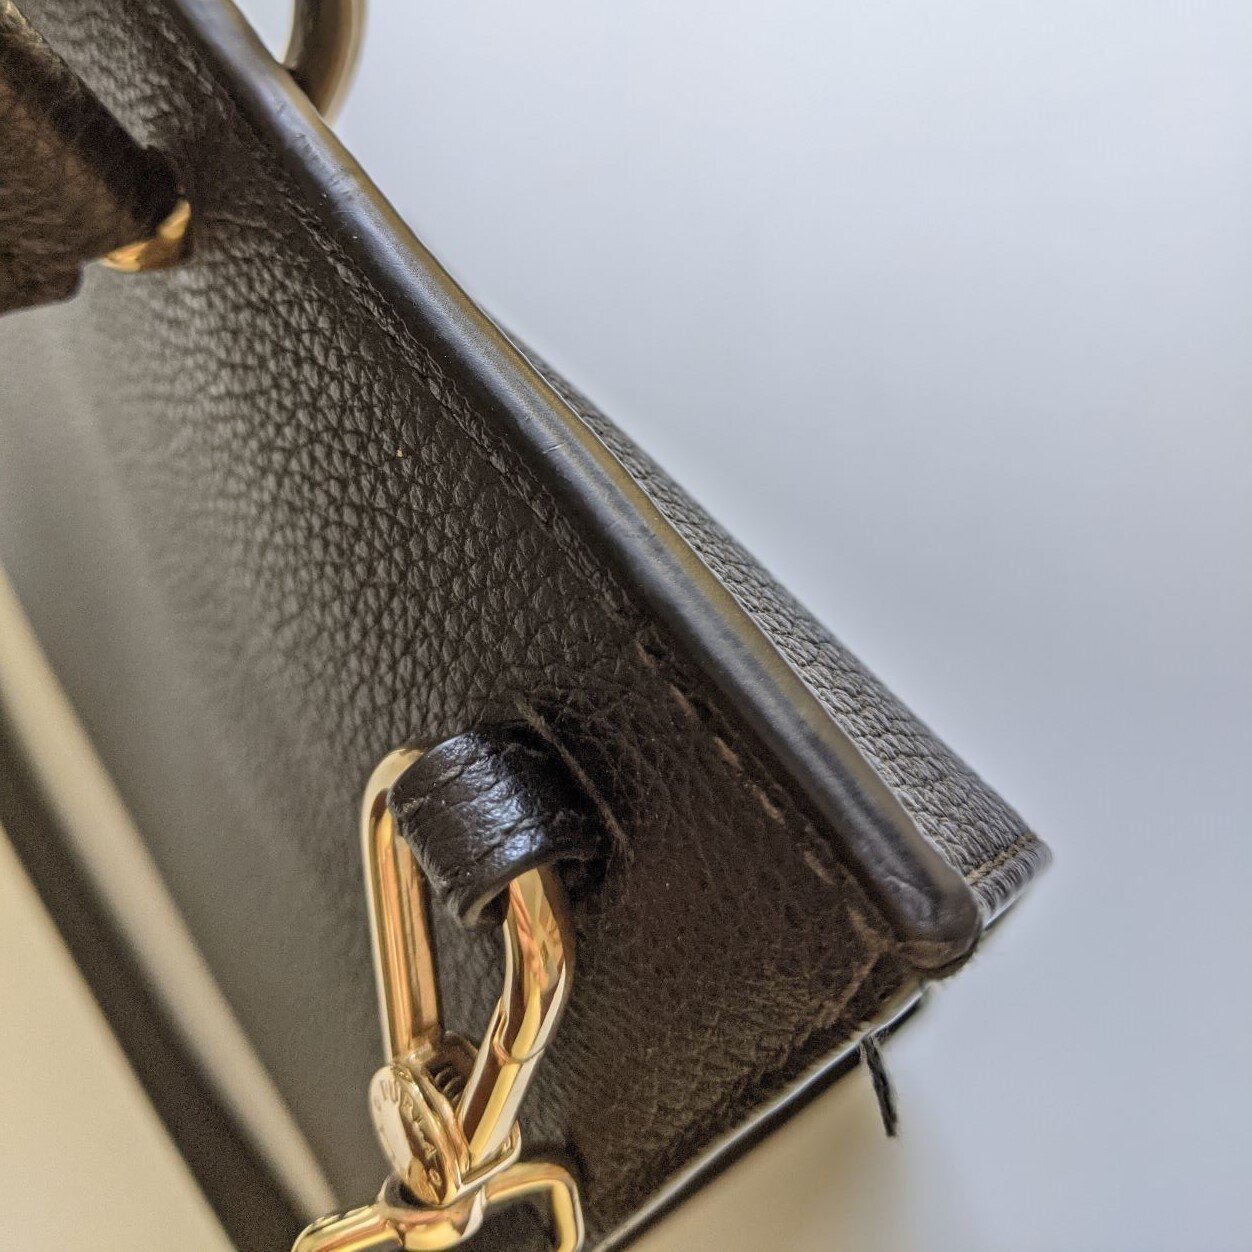
We are finally on to the last step of making the leather tote bag: finishing the edges of the bag. As a sewist, I found (and continue to find) finishing the edge of leather to be quite tricky, as it is an entirely different beast from edge finishing in sewing. When sewing with fabric, we typically finish edges by overcasting the edge of the material with stitching, or folding over the edge and then stitching down to hide the raw edge. By contrast, when working with leather or faux leather, we typically seal the raw edge with edge paint to give the edge a nice, smooth finish. To show you an example of what I am talking about, here is a pic of the edge finishing on a Furla leather bag that I bought a few years ago:
The most nerve-racking thing about edge finishing is it’s the last step in a long process, and the edge paint is highly visible so you can easily ruin all of your hard work at the very end with a sloppy paint job. For this reason, I strongly recommend that you practice painting the edges of some scrap pieces of material before you begin edge painting the final bag. In fact, I am going to demonstrate all of the edge painting steps on some scrap pieces of faux white leather glued to the pink Ultrasuede lining. That way, there is a lower chance that I will accidentally ruin my actual bag because I am distracted by taking photos for this post. =)
I also strongly recommend that you choose an edge paint color that matches the color of your exterior material. Matching the colors will mean that any imperfections in your edge paint will blend into the exterior material and they won’t be as noticeable. Save the edgy contrast edge painting for later, when you have a few projects under your belt.
Finally, I strongly urge you to take the time to ensure that the edges of your bag are as clean and smooth as possible. In my earlier post, I noted that it is important to use your rotary cutter to clean up any areas where the exterior material and the lining are not exactly flush at the edge. This is where that step becomes essential — if you didn’t take the time to clean up those edges earlier, your edges will not be flush and you will not have a smooth edge after painting, as the ridges and imperfections of the underlying edge will show through the edge paint.
So with those three tips in mind, let’s jump right into finishing the edges of our tote bag.

Applying the Base Coat
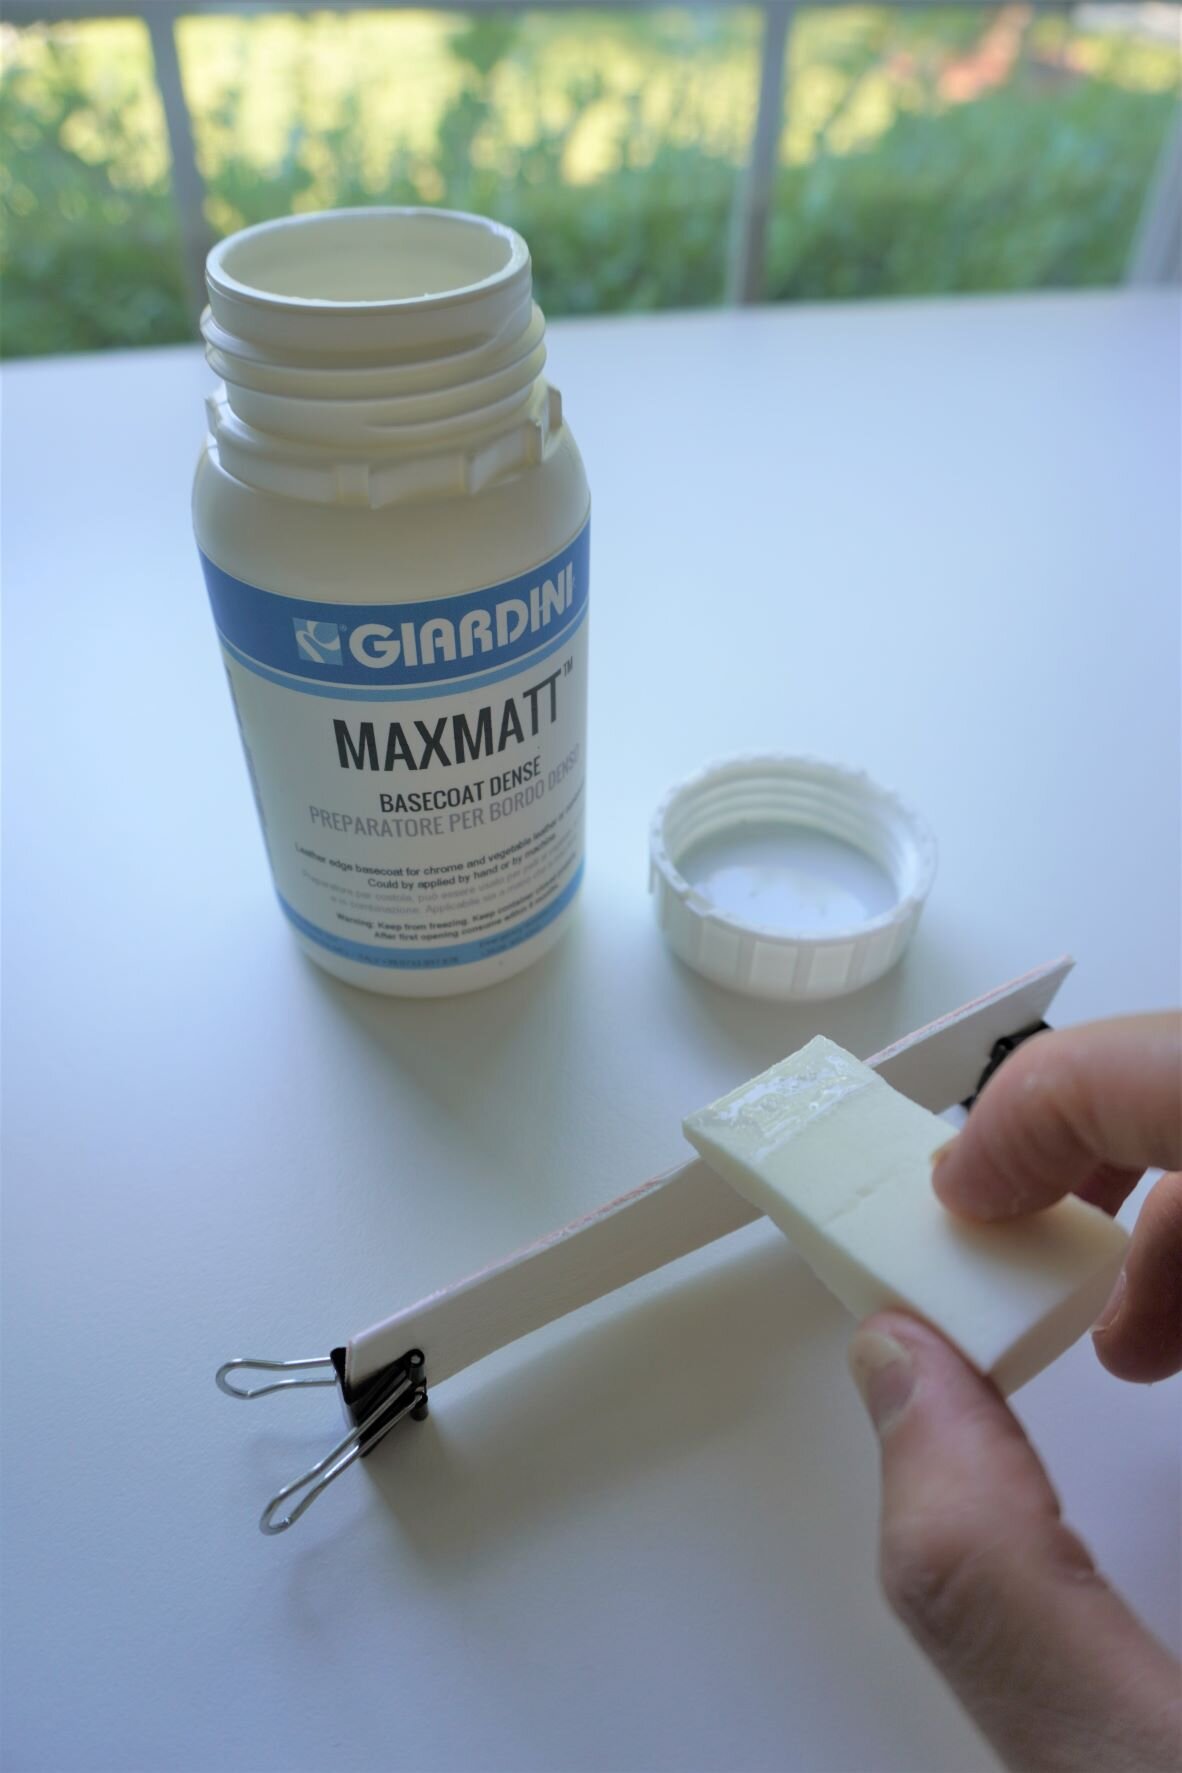
The first step is to paint 2-3 coats of base coat on the edge. The base coat is important because it helps fill in any small crevices you might have in your edge, so you have a smooth surface that you can apply your final coat of edge paint to. As I noted in the equipment post, I like to use triangular makeup sponges to apply the edge paint, as they are disposable and they have a flat edge that helps ensure that you only apply edge paint to the edge of the leather (and the paint doesn’t spill over past the edge). In between each coat, lightly sand the base coat that you just applied as this will help the next coat of paint adhere to the previous layer. Make sure you leave enough time for each coat to dry (about 10 minutes) — don’t rush or you will ruin your edges.
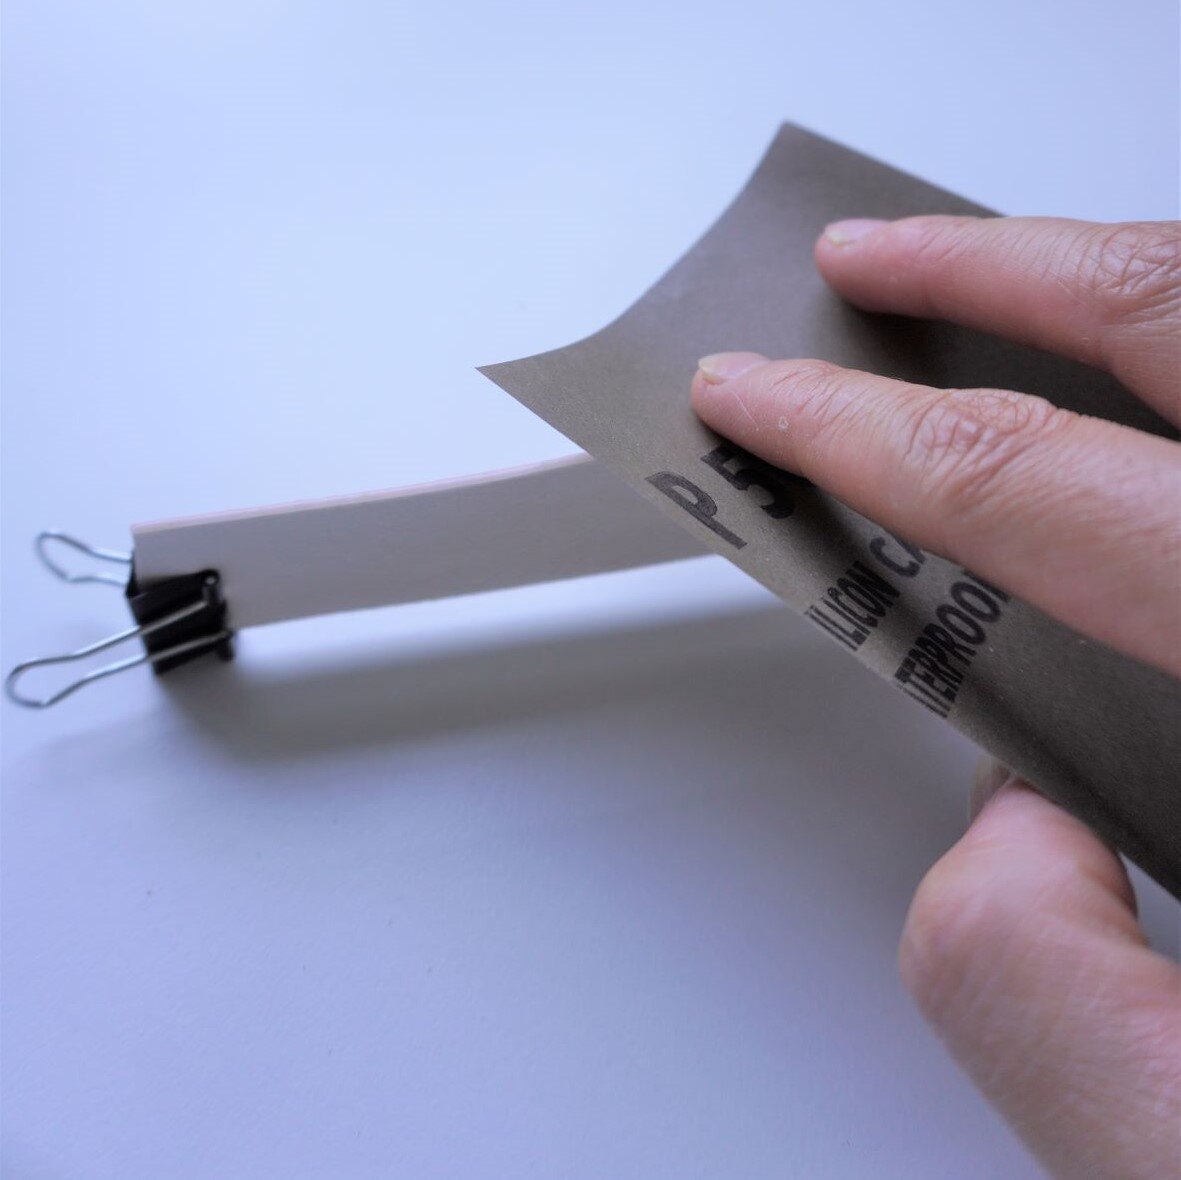
Sanding the Base Coat
Once the base coats are dry, take some medium grit sandpaper and sand the surface of the base coat to remove any imperfections that are in the edge (such as fibers in the leather, or the ‘ditch’ where the exterior material and the lining material meet). The sanding should leave you with a perfectly smooth edge, ready for the final coat of edge paint.
Applying the Edge Paint
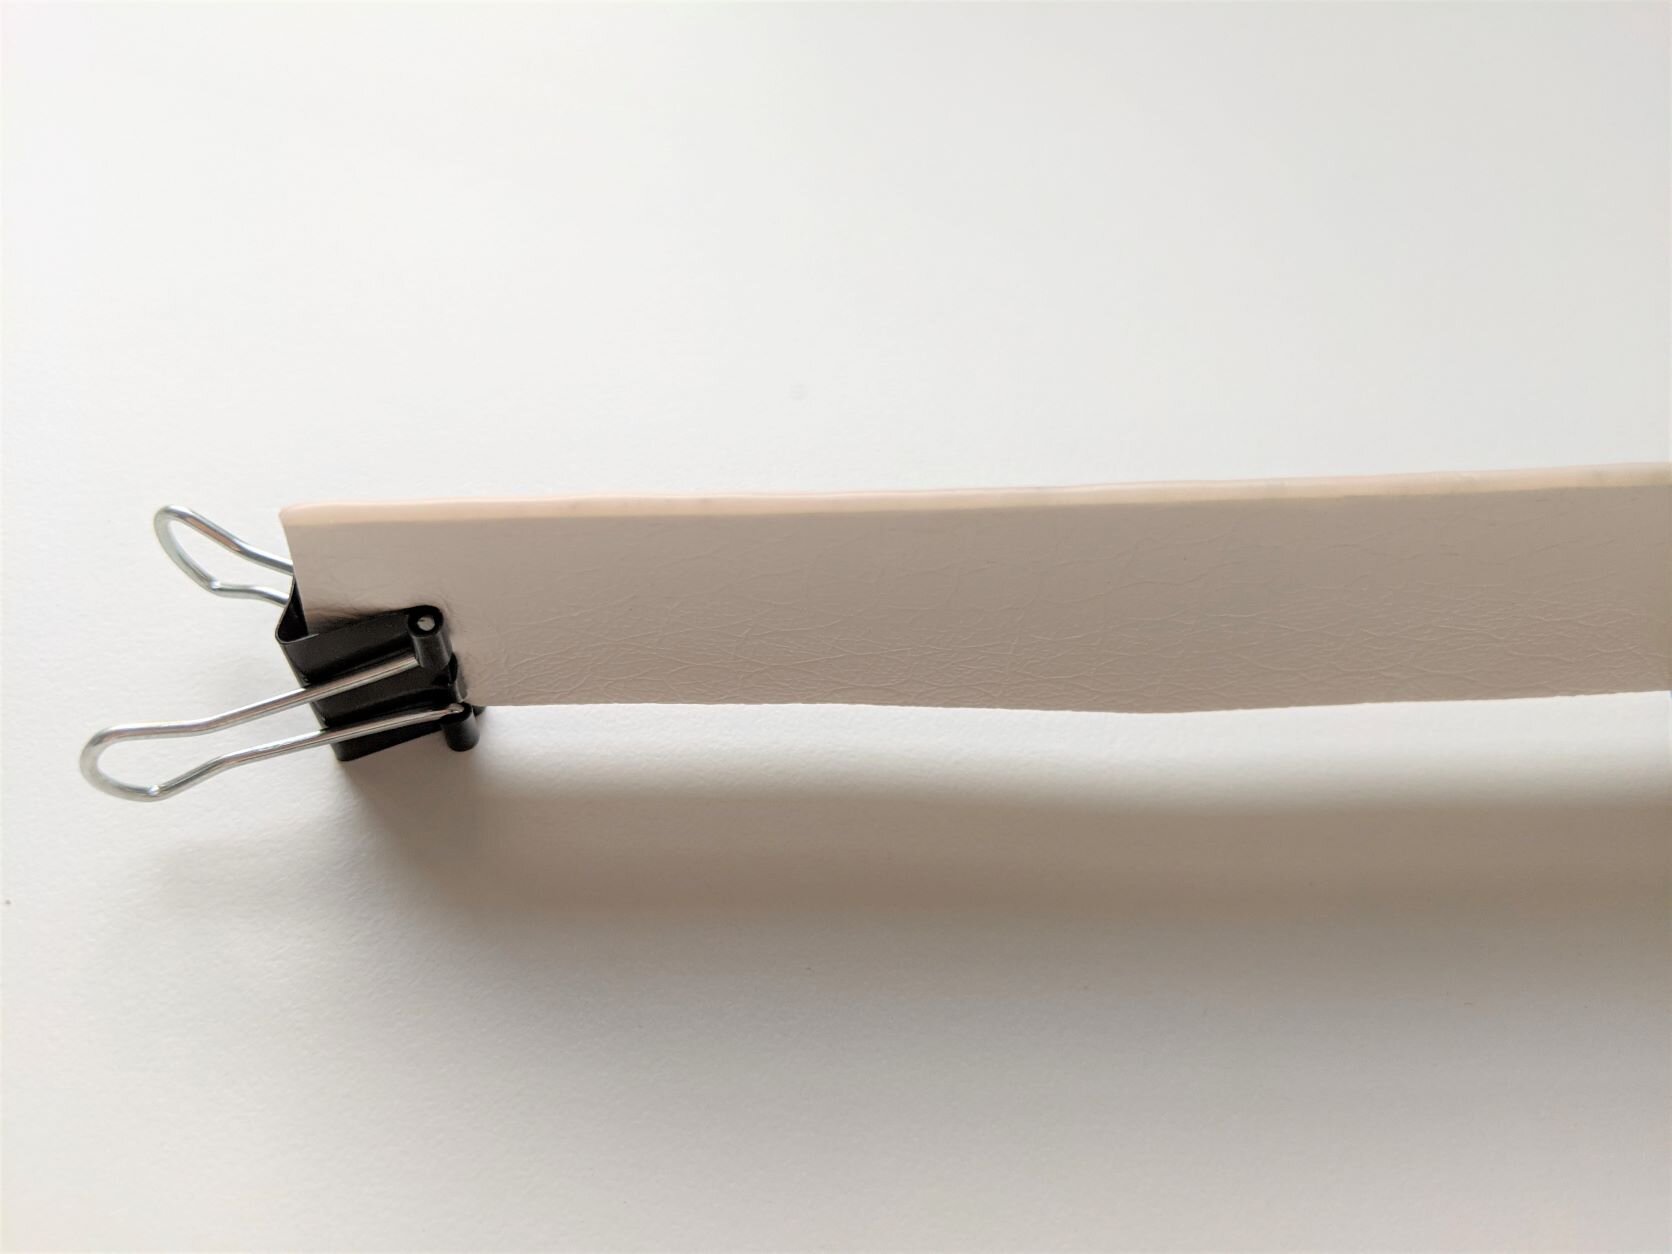
Now for the last (and nerve-wracking) last step: applying the final coats of edge paint, in the actual color that you want to use! Applying the final coats of edge paint is trickier than applying the base coat because the edge paint is likely more visible than the neutral base coat (depending on the color of edge painting you are using). Take extra care to ensure that the edge paint does not spill over the edge, as this will look very sloppy. Apply about 2-3 coats of the final edge paint and allow to dry for at least 10 minutes. When you are done, you should have a nice, rounded edge from the layers of paint. This is optional, but you can also buff the edge with a clean piece of cloth to give the edge a burnished finish.
And here’s the finished edge! I’m still not an expert when it comes to edge finishing, but I’m reasonably pleased with the finish on this edge.
And with that, we’re done with the leather tote bag! I hope you’ve enjoyed this series and that you’ve enjoyed learning about making leather bags. I plan to post more tutorials in the future walking through how to make other (more complicated) types of leather bags. Tell me: what kinds of leather bags would you love to learn how to make? Let me know in the comments!