Over the past few years, I’ve really gotten into transforming unique blankets into one-of-a-kind statement coats. I hate the thought of these gorgeous, incredibly warm blankets just languishing unloved in a linen closet or at the bottom of the bin at the local thrift store. It takes some time and thought to transform these beauties into wearable coats, and I thought I’d give some of the tips and tricks I’ve learned from my experiences.
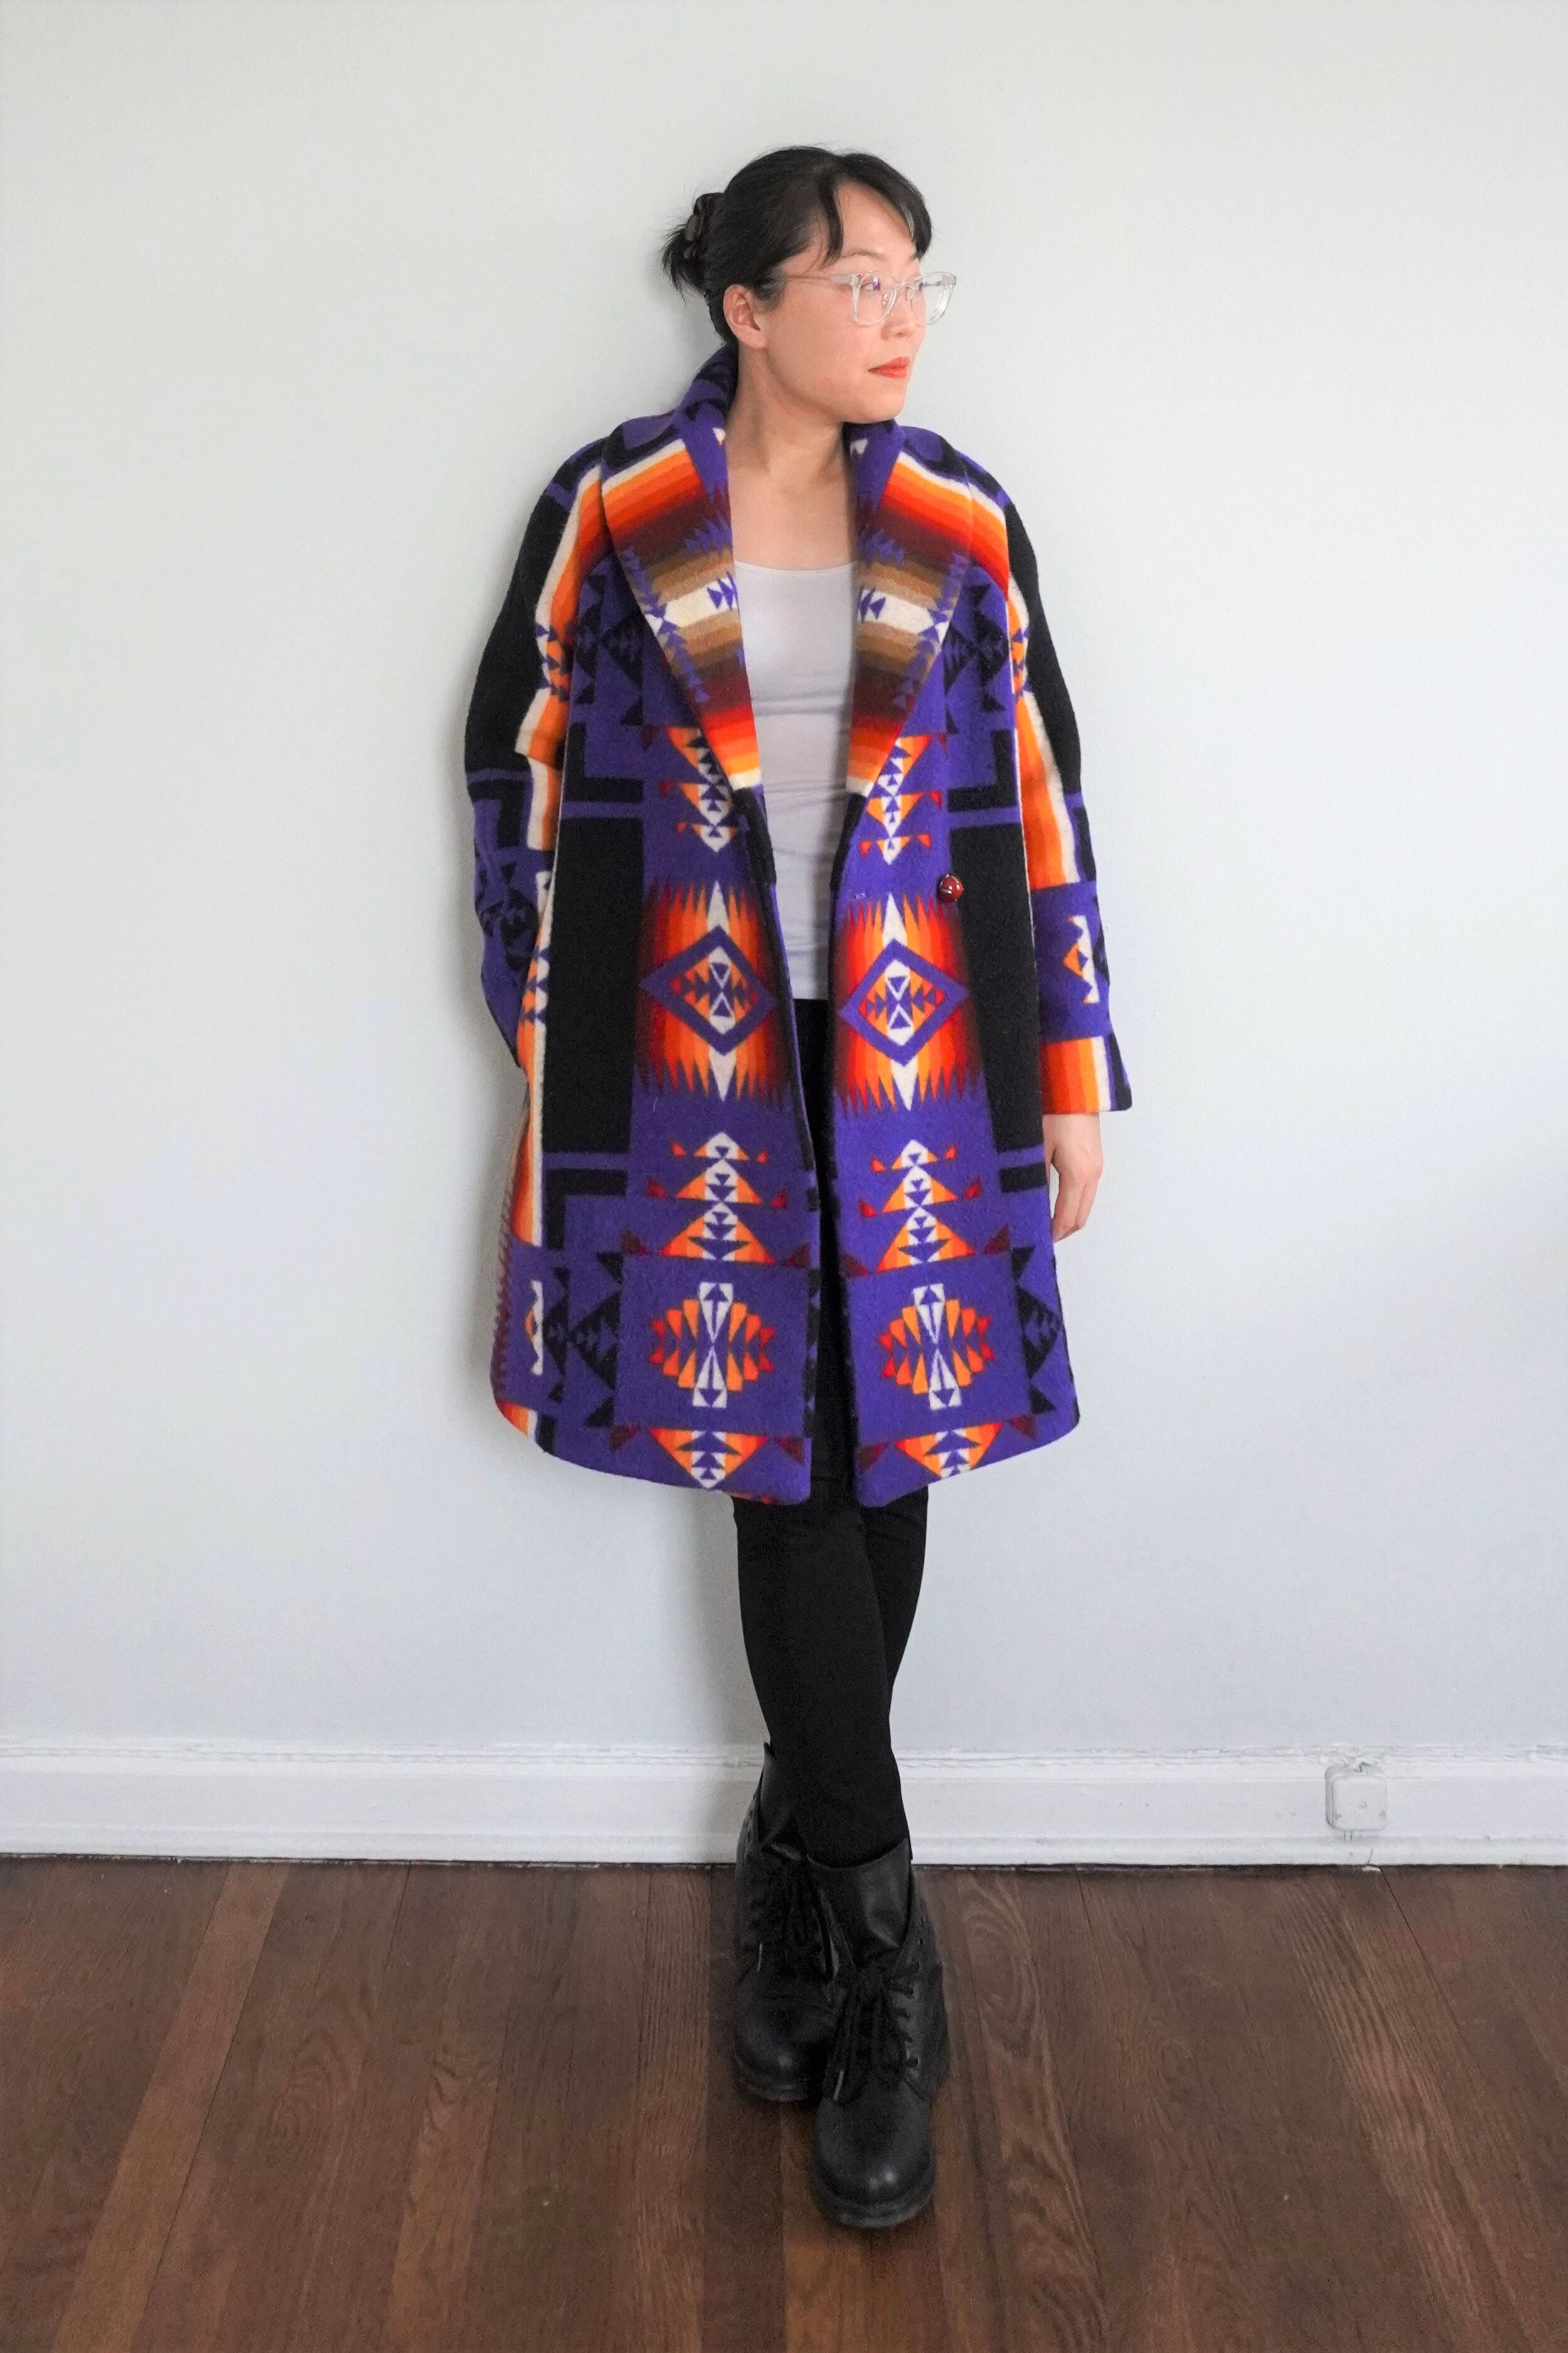
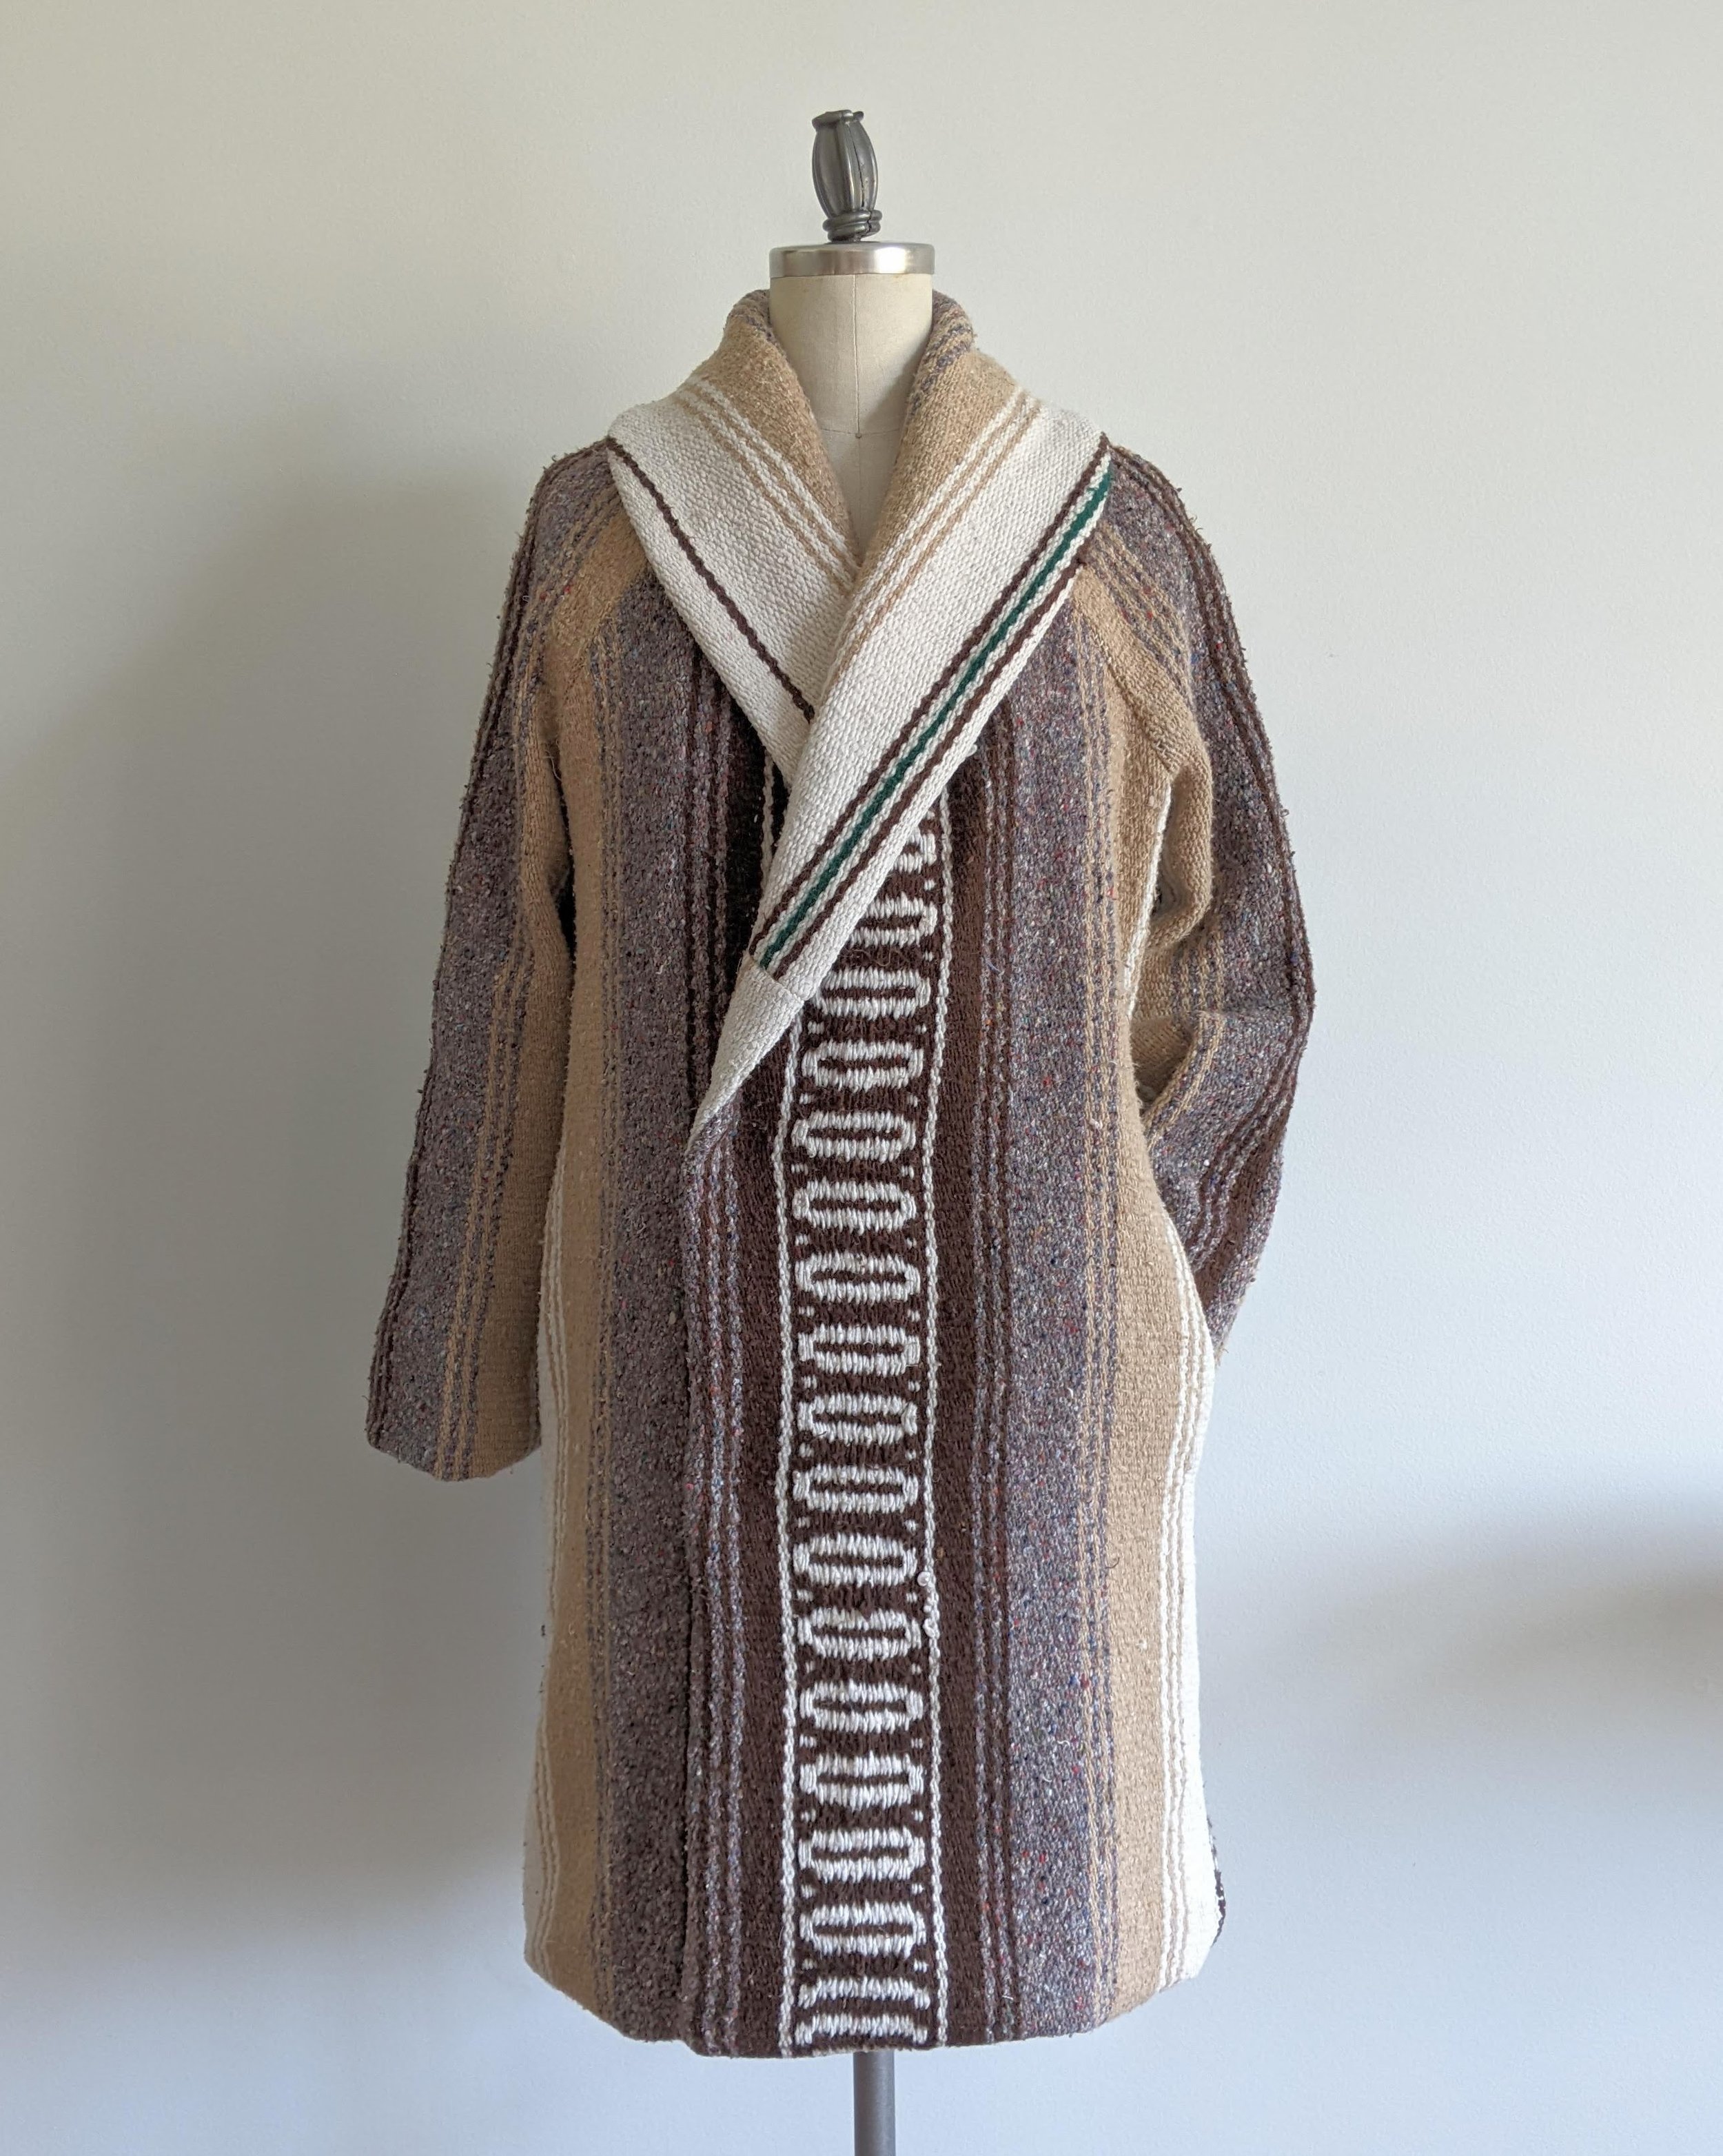
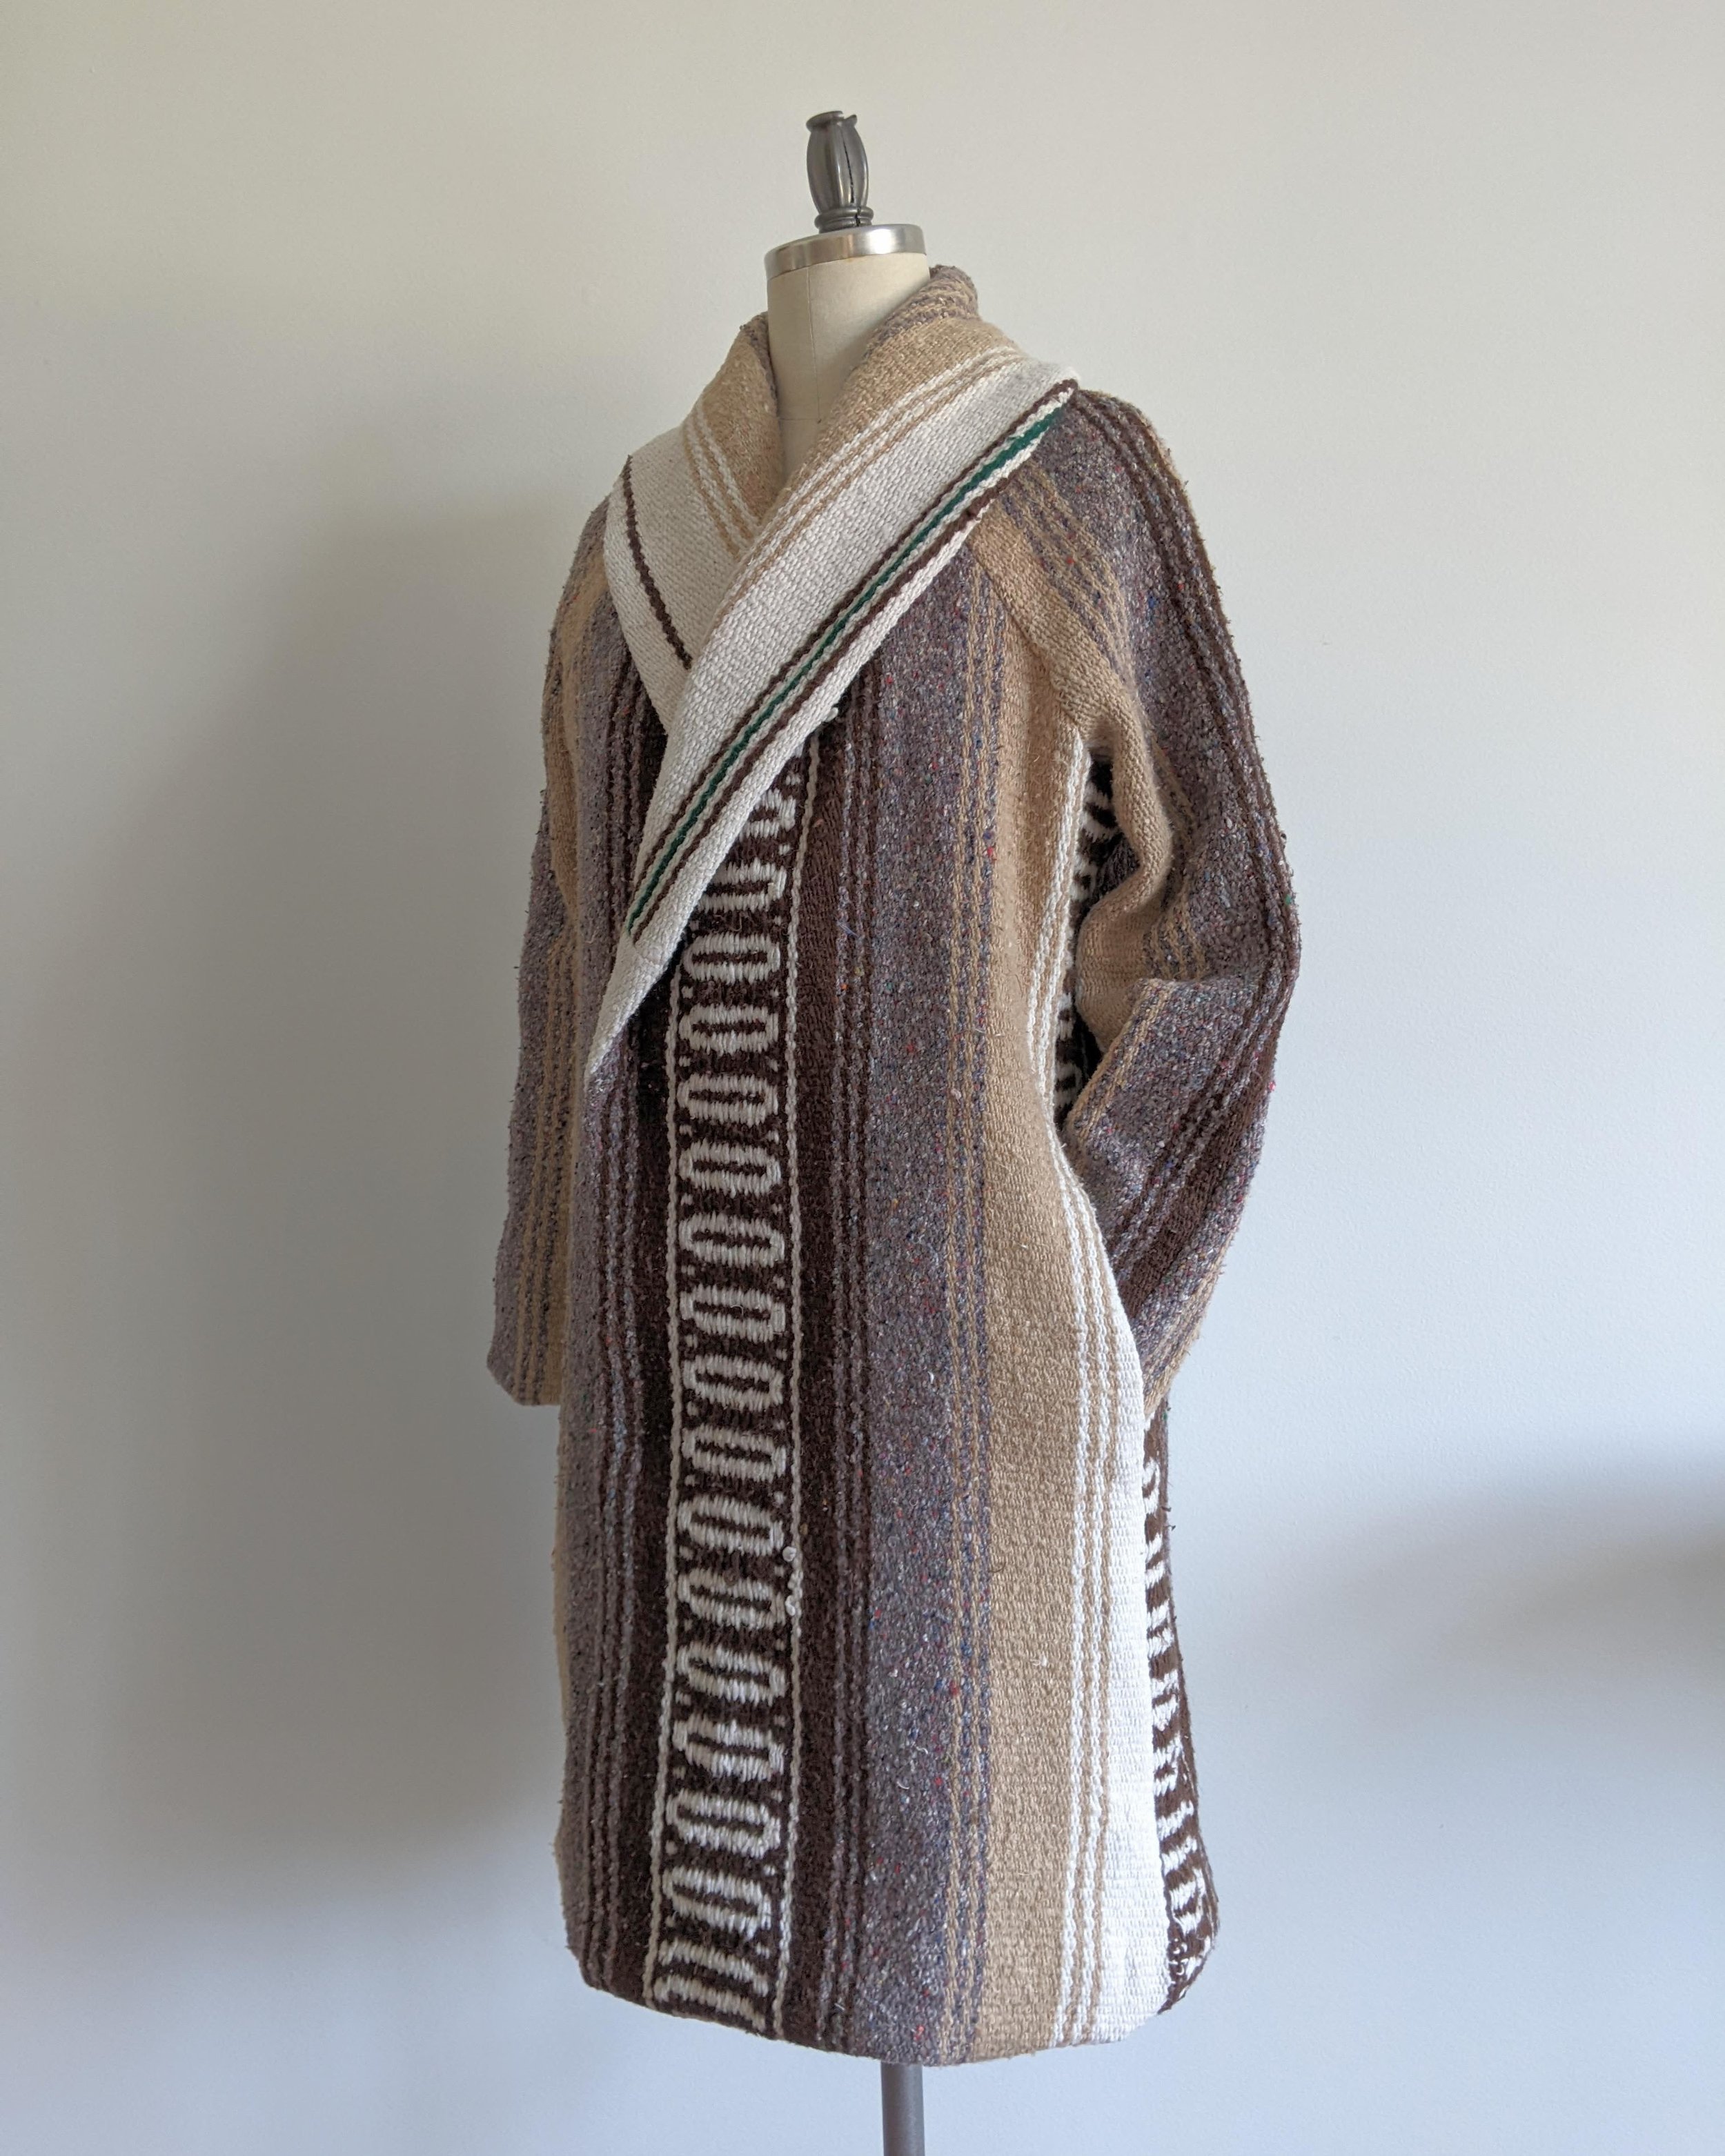
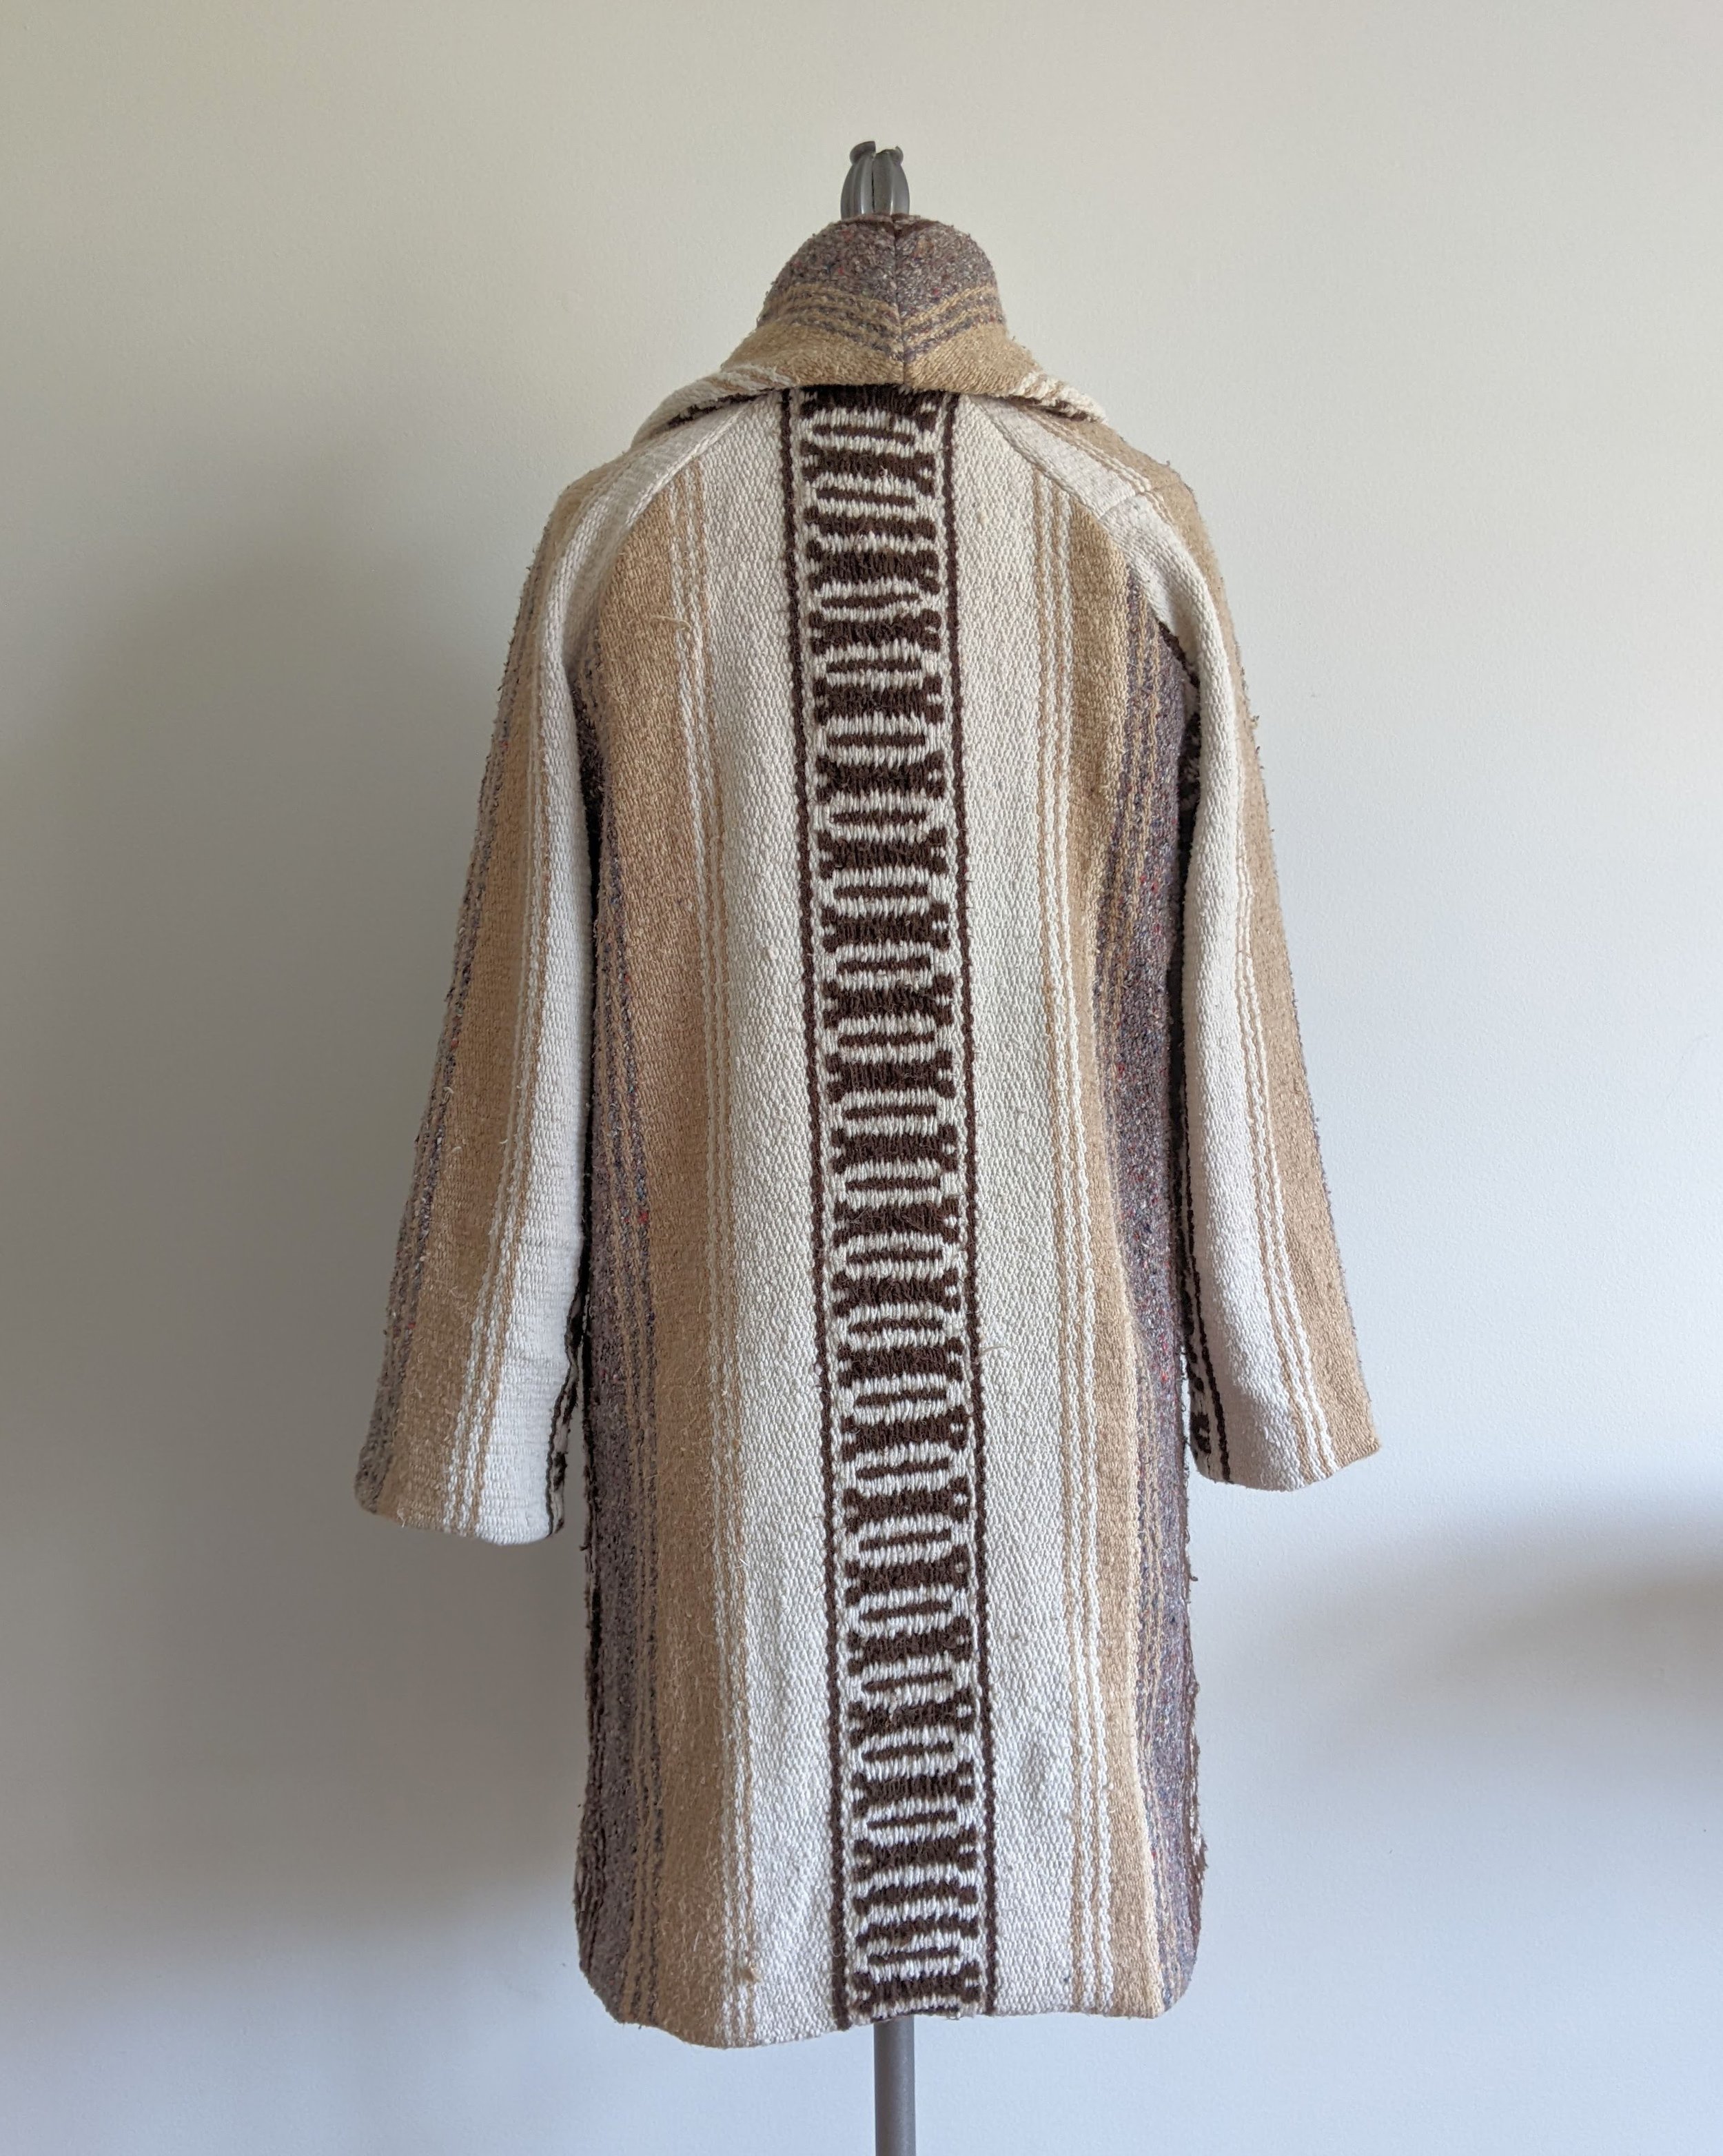
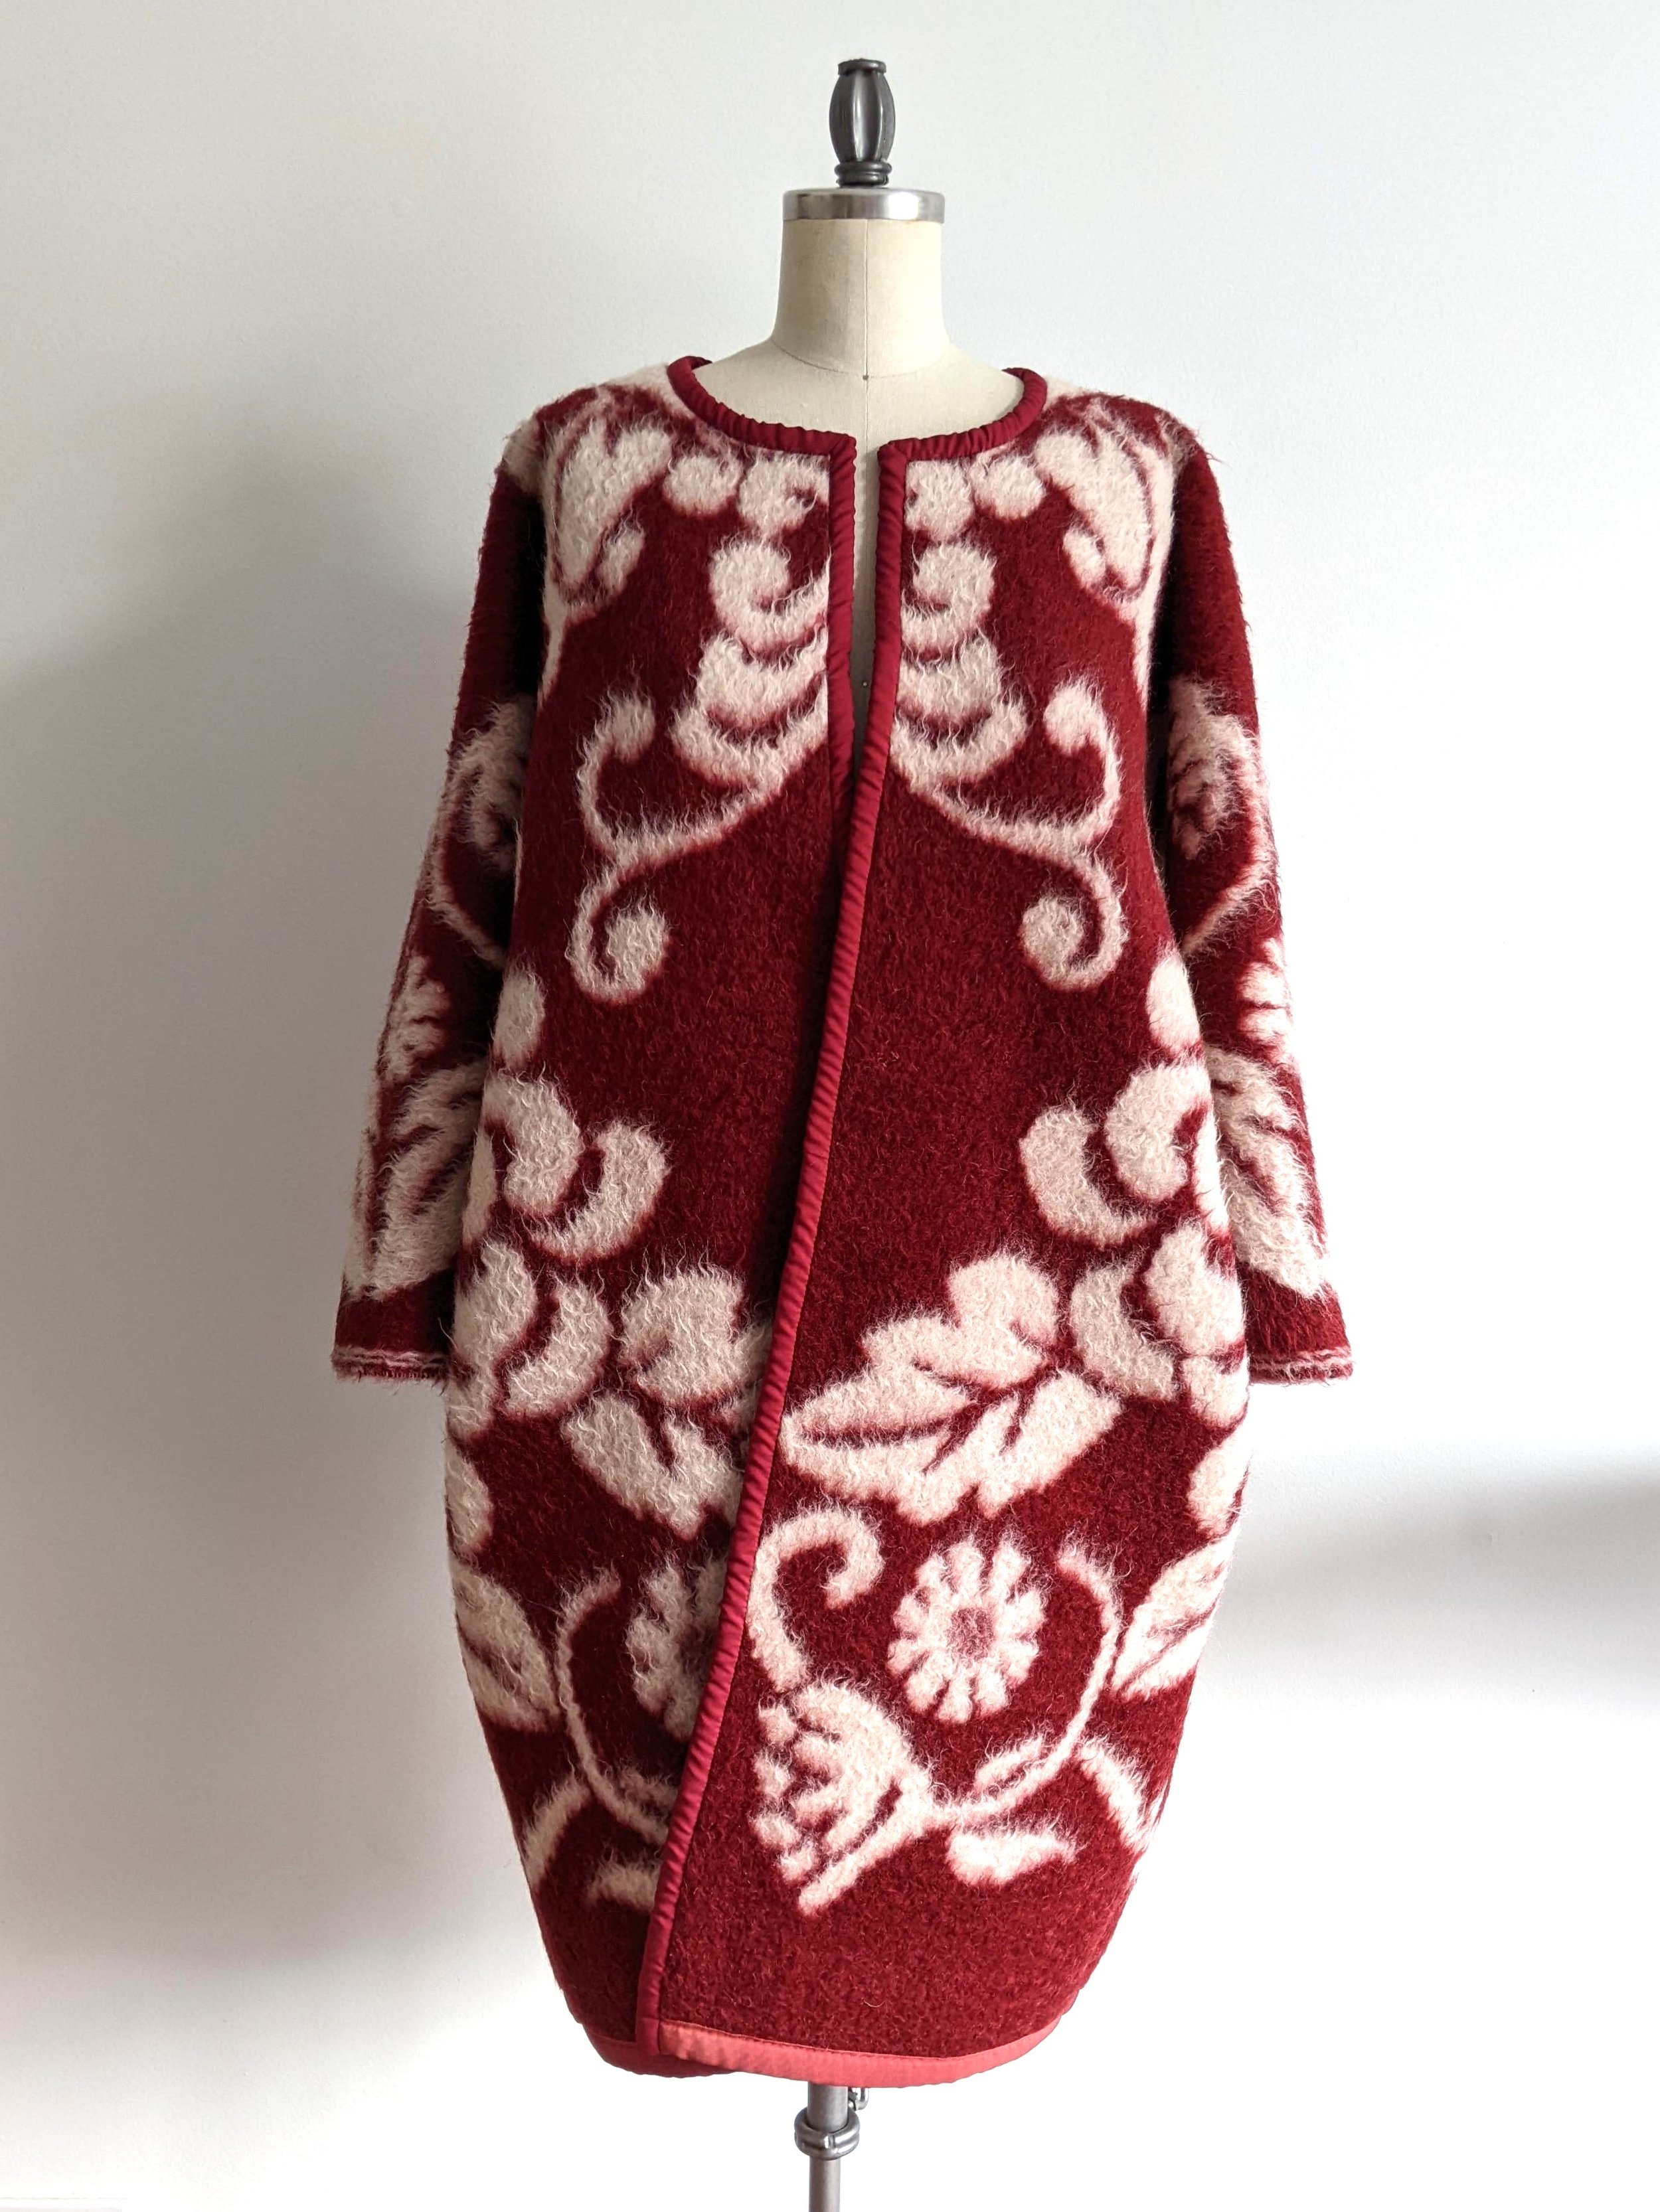
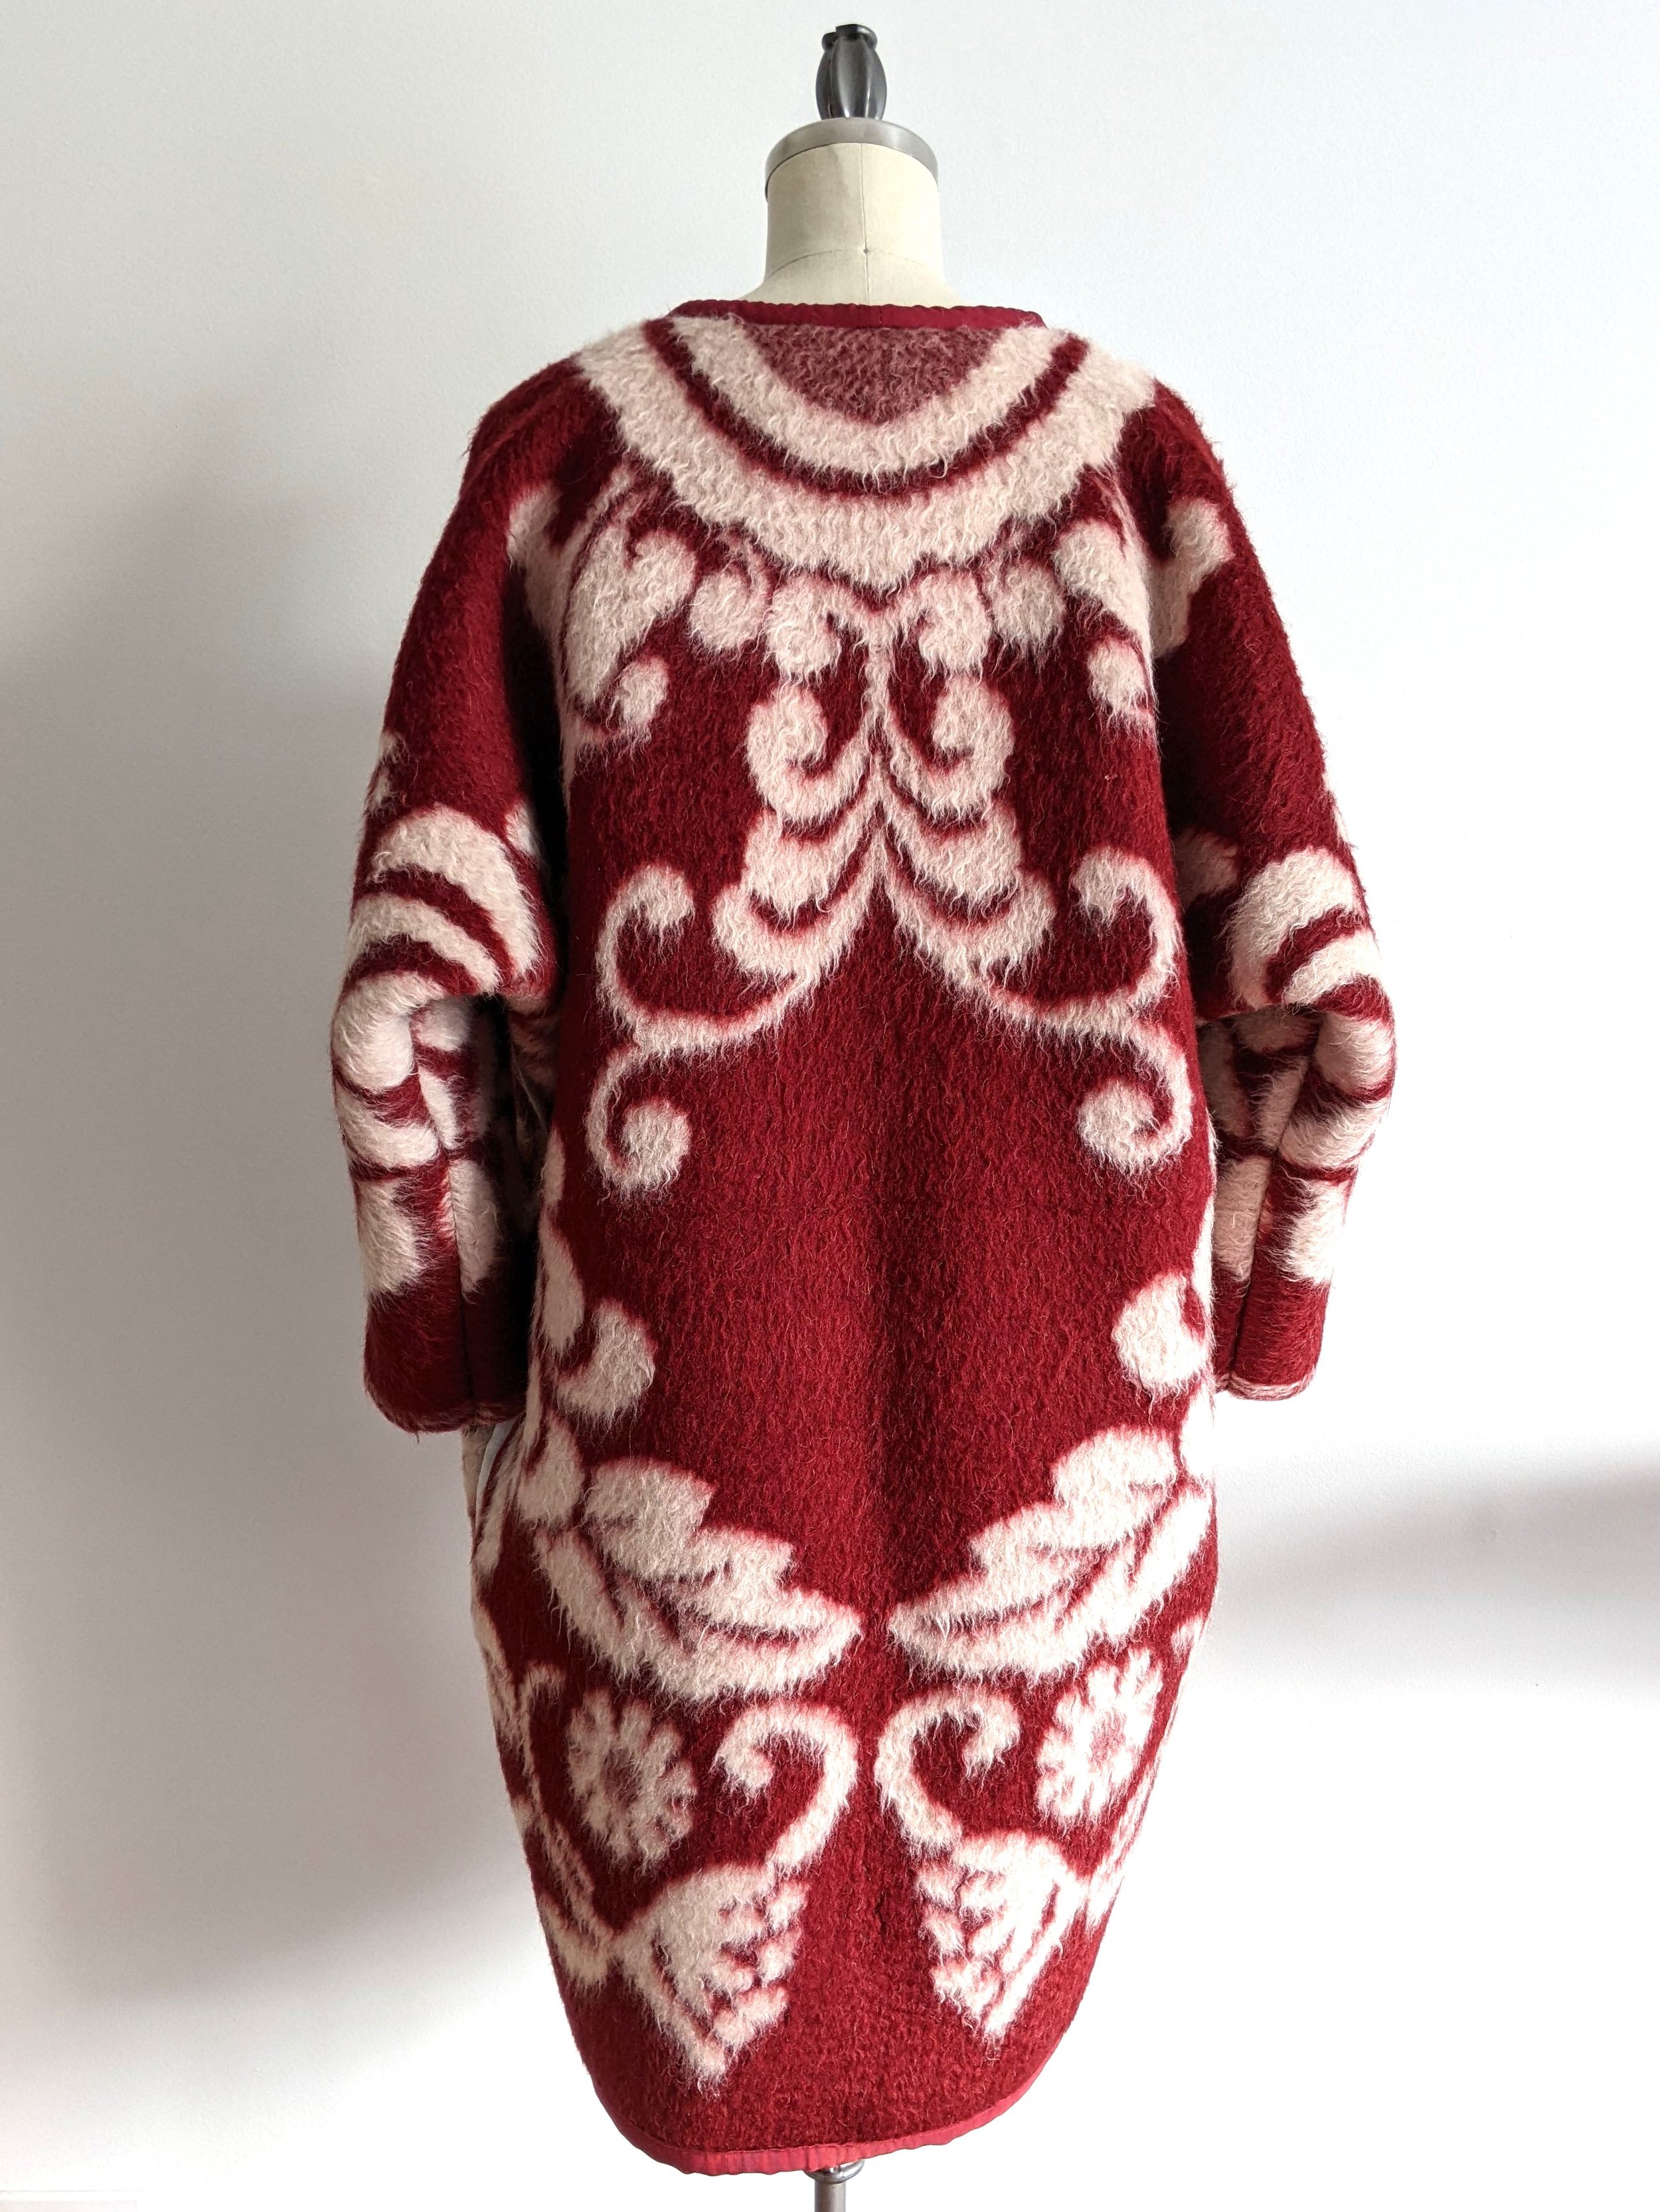
Choose the pattern to fit the blanket. My rule of thumb is: if the blanket has an eye-popping, large-scale print, then I pair it with a super-simple pattern with minimal seam lines. The lack of seam lines means I don’t end up chopping up the print in unflattering ways. One example is the simple cocoon coat I made from this chunky Soviet blanket. I really didn’t want to disturb the large-scale floral print by cutting it up into lots of smaller pieces, so I made my own pattern that consisted only of two seams down the sides of the coat and underarm of the sleeve. Conversely, if the blanket has a more restrained print, then I punch up the visual interest by pairing it with a more complex pattern. In the gallery below you can see an example of a coat I made from a striped wool blanket with a more restrained color palette. The coat is tailored and fully lined with a wide shawl collar. The more complex silhouette makes the blanket a bit more visually interesting while still allowing the pattern on the blanket to shine.
Always add pockets. I always, always, always add pockets to winter coats because a coat just doesn’t serve its intended purpose if I can’t shove my hands into the pockets to keep them warm on freezing cold days. It only takes a bit of extra effort, and it’s definitely worth it in the long run. Typically, I cut the pocket pieces from thinner fabric from my stash (rather than the blanket) to reduce bulk. I also cut my pockets really wide and really deep so that they can accommodate hands with gloves. Finally, I think carefully about the placement and type of pocket I use. If the print on the blanket is really eye-catching, I try to hide the pocket in the side seams of the coat, to avoid breaking up the print. On the other hand, if the print is more restrained, I might add patch pockets or welt pockets to add more visual interest.
With loosely woven blankets, reinforce the edges with fusible interfacing. I learned this lesson the hard way after making a coat with a really loosely-woven blanket that frayed like crazy after it was cut. To prevent the pieces from fraying away to nothing, it’s worth adding strips of fusible interfacing to areas that experience a lot of stress, such as the armhole and sleeve head. This helps make the coat last longer.
Look for blankets with high wool content. Another lesson I learned the hard way. I once picked up a blanket from a local thrift store that didn’t have any labels on it, so I didn’t know the fiber content when I bought it. It wasn’t until I brought it home, cut it up and started to iron it that I realized the blanket was probably 100% polyester. The blanket melted under the heat of the iron, and I had to reduce the heat setting on my iron to the absolute lowest setting to avoid ruining my cut pieces. This made it really hard to get a good, crisp press on my seams or to shape my seams with steam. In the future, I’m always going to go with blankets that are 100% wool (or, at the very least, have a very high wool content).
Use seam finishes with less bulk. When I first started trying to turn blankets into coats, I thought that I would use flat felled seams, as that technique is often used with coats. Once I tried it, I realized that the blankets I was using were far too thick for that, and I ended up finishing the edges with a blanket stitch. I like the handmade, folksy feel of the blanket stitch if I’m making something more bohemian in style, but for other blankets/coats that have a sleeker look, I’ll consider using a lapped seam in the future. That seam finish has less bulk and is much less visible than the blanket stitch. It should also work well anytime I’m working with a wool blanket that does not fray, such as a boiled wool.
I hope these tips and tricks help you transform a family heirloom blanket into a gorgeous, one-of-a-kind coat. Let me know in the comments below about your experiences sewing blanket coats!
And if you don’t sew, I can help you transform your blanket into a coat! Just send me a message about it here. I can:
Make coats in several different styles
Line the coat and add pockets
Add embellishments like embroidery or beading
Prices will range from $150-350, depending on the complexity of the project.
Need some inspo? Check out this gallery of other coats that I’ve made from blankets: