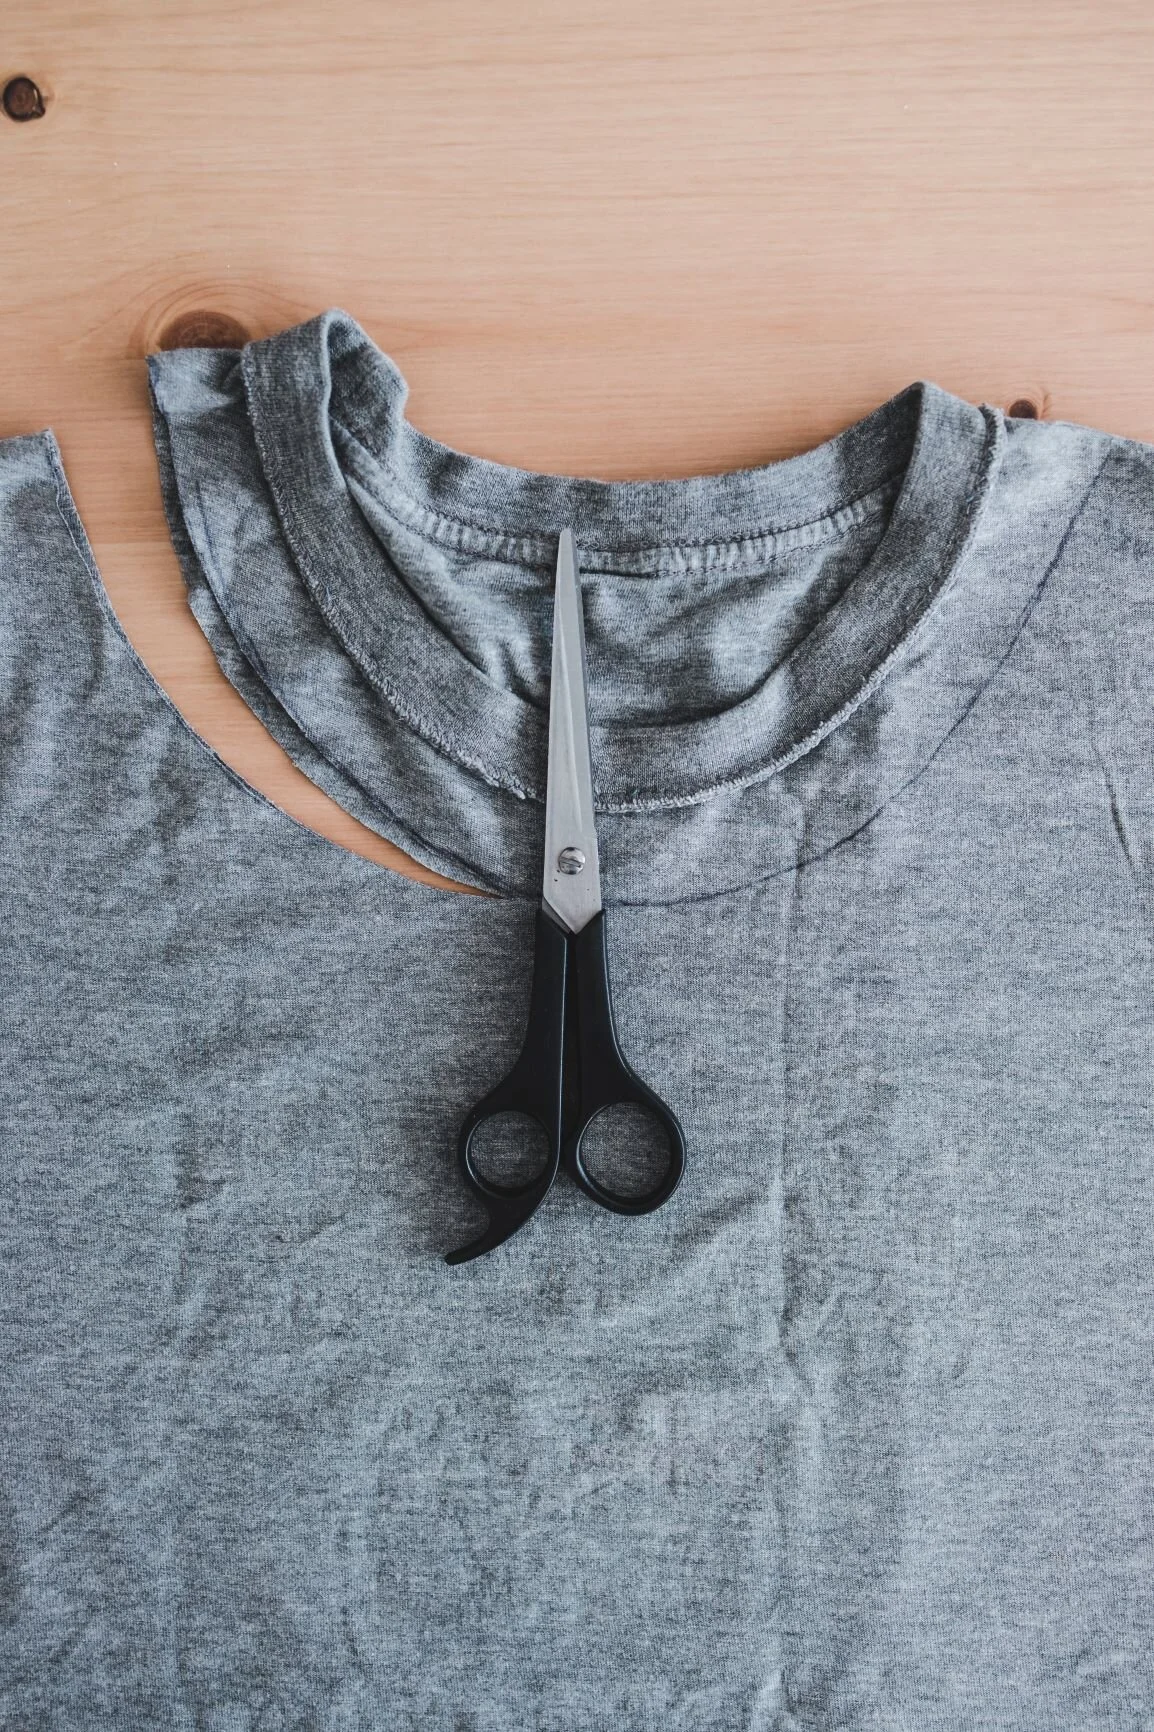
Do you have a vintage printed wool blanket that you don’t know what to do with? Refashion that blanket into a fabulous (and warm!) winter coat. I recently picked up an authentic Pendleton wool blanket for only $10 from a thrift store in the Brighton Beach area of Brooklyn, and as soon as I laid eyes on it, I knew just what I wanted to do with it… turn it into a tailored winter coat! It’s really not that hard to do — even a beginner can make a simple tailored coat from a vintage wool blanket, especially if you watch my video going step-by-step through the entire refashioning process.

Pattern Selection
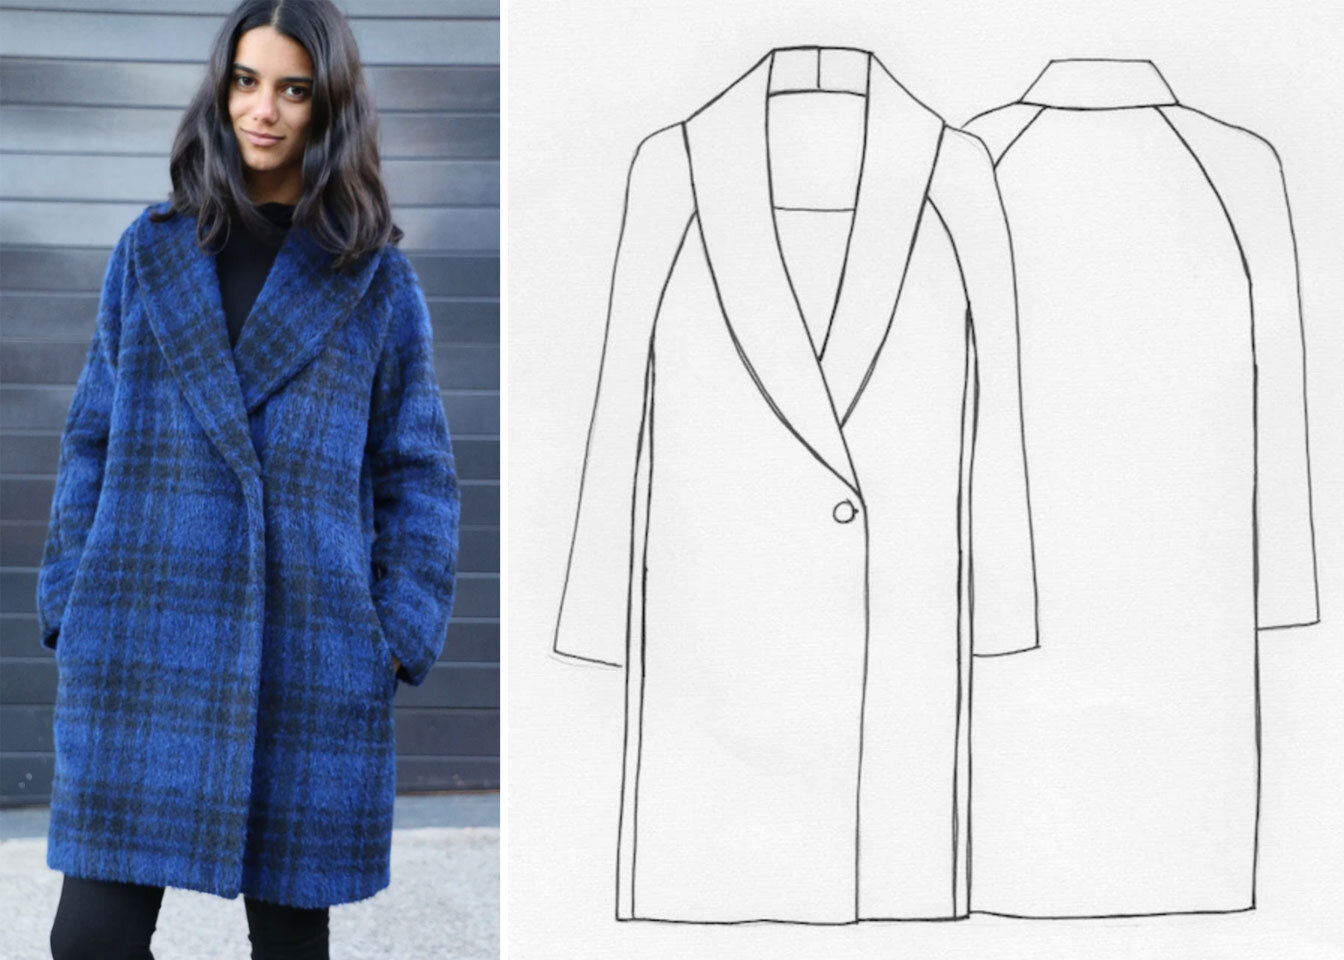
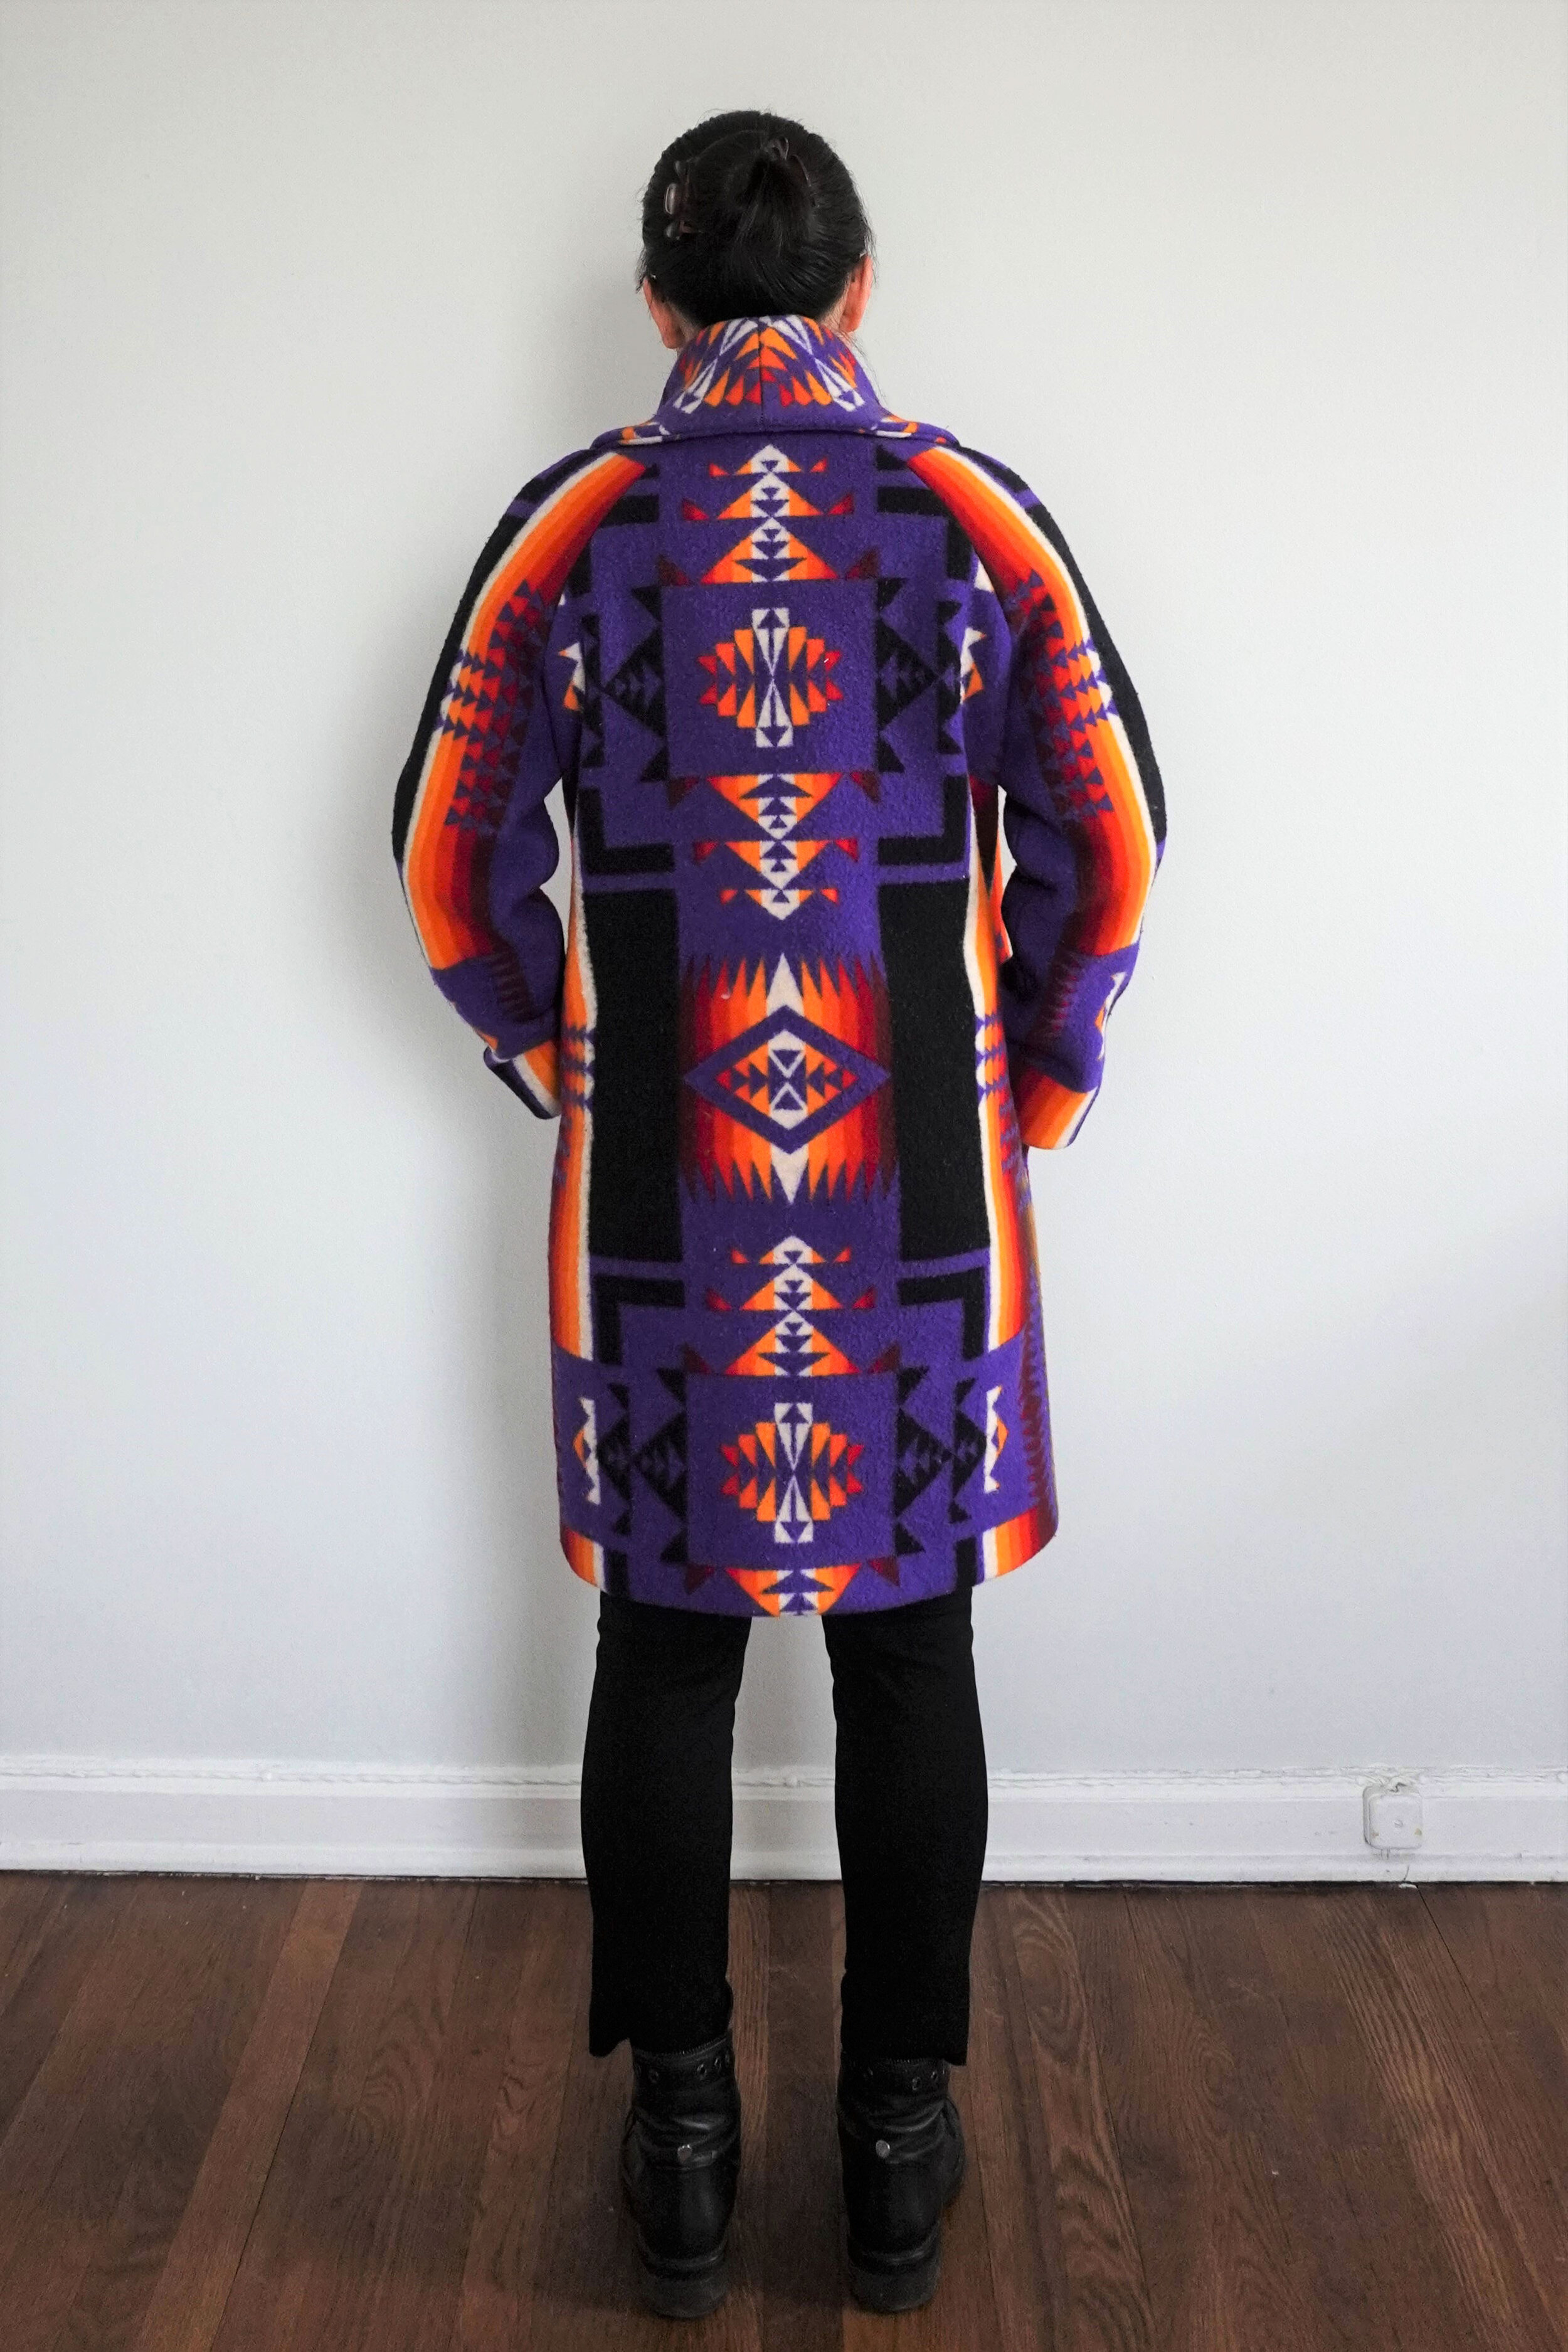
The first step was to pick the perfect sewing pattern for my coat. I knew I wanted the coat to be slightly oversized but still have a bit of tailoring to it, so it didn’t end up looking like a bulky bathrobe. I also wanted a style that did not have many seamlines, because the seamlines would interfere with the large-scale print in the fabric. I ended up choosing the Oslo Coat from Tessuti Fabrics, a sewing pattern for an oversized, slightly cocoon-shaped coat with a large shawl collar and raglan sleeves. There were tons of inspiring versions of the Oslo Coat made up by other sewing bloggers (including some that were about my height and body shape), so I knew that the pattern was well drafted and the silhouette would most likely look flattering on my body.
Print Placement
I knew that the print placement would be all-important in a garment like this, so I took some time to experiment with the print placement in Photoshop before cutting into my previous Pendleton blanket. Here’s a link to my tutorial on how to use Photoshop to experiment with print placement.
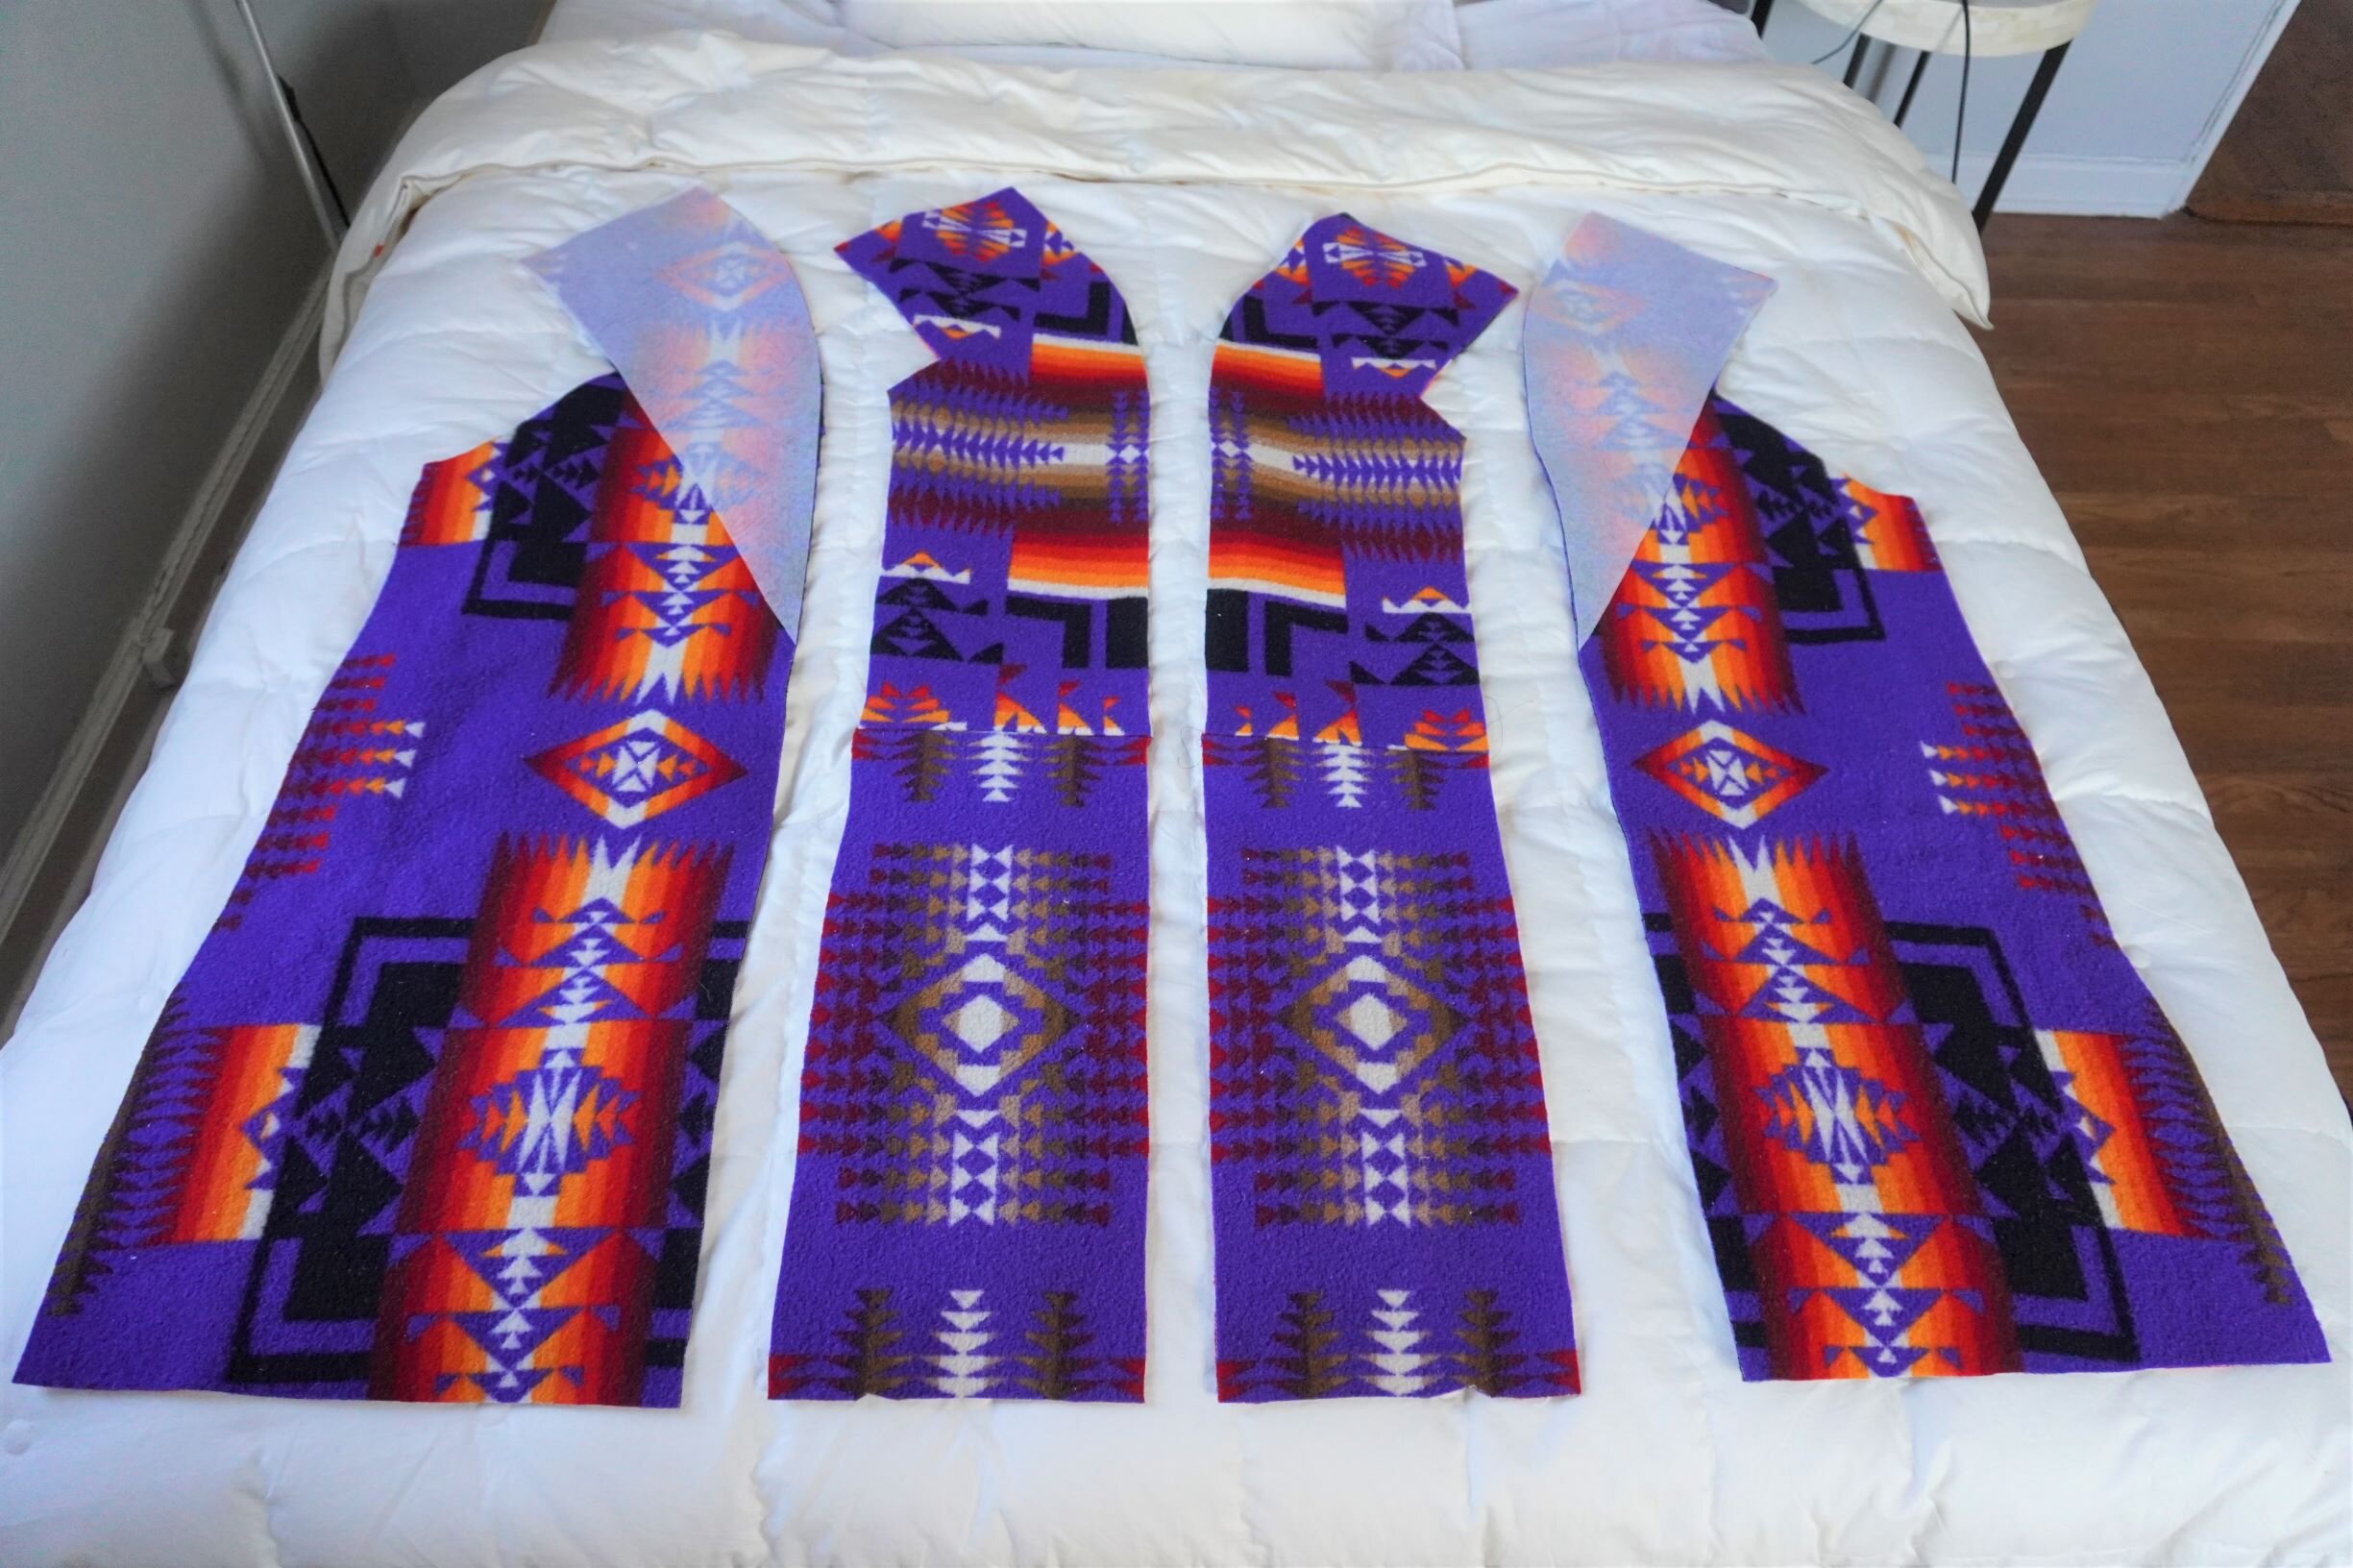
Once I had worked out a print placement that I was happy with, I started cutting out the pieces from the blanket. I am 5”2 and about 130 lbs, and I debated between cutting the size 6 or the size 8. Ultimately, I decided to go with the size 8 because I thought it was safer to go up in size, given the bulkiness of my fabric.
It took a fair bit of experimentation to figure out the best layout for my pieces, as I had little fabric to work with. First, I marked the center front line in the front pieces so I could center the print in the front and make sure that the print matched up nicely when the coat is closed. The pattern does not mark the center front line for you, but it is easy to find as it is simply halfway between the two buttons. I then marked the finished hemline so I could make sure to avoid cutting off the motif at an awkward spot. With these markings added in, I was able to choose the print placement for the front and back pieces of the coat. However, I did not have much fabric left after that, so I didn’t have much choice in how I cut the sleeve and facing pieces. (There is more information about how I chose where to place the print in each of the pattern pieces in the video tutorial embedded above.)
I then proceeded to cut out my lining pieces (I used a white Bemberg rayon lining that I had in my stash) and interface the pattern pieces as indicated in the instructions.
Coat Construction
The pattern pieces are all well-marked and they fit together nicely. The only alteration I made was to raise the pockets by 2 inches — I had read reviews from others saying that they found the pockets to be far too low, so I raised the pockets from the outset.
I found the written pattern instructions to be fairly clear, although frankly the photos could be improved as it wasn’t always clear to me what exactly the photo was showing. The steps are pretty standard for coat construction, so it should be a breeze for anyone with any experience sewing coats. The only tricky part is remembering that the side seam in this pattern is a bit to the front of a typical side seam, which means that the underarm seam does not match up with the side seam of the body of the coat. (I made the mistake of trying to match up the seams the first time and had to unpick, but that is absolutely not the pattern’s fault, because the pattern is clearly notched and the instructions make it clear that the two seams do not intersect.) Other than that, the only other tricky part was matching up all the prints in the seamlines, but that’s the result of my fabric choice rather than a flaw with the coat construction method. =) This project is a great choice for beginners sewing their first coats, because the raglan sleeves are pretty easy to set in (as compared to a set-in sleeve) and you’ll learn how to bag the lining in a coat (and minimize hand-stitching, which I know beginners tend to hate).
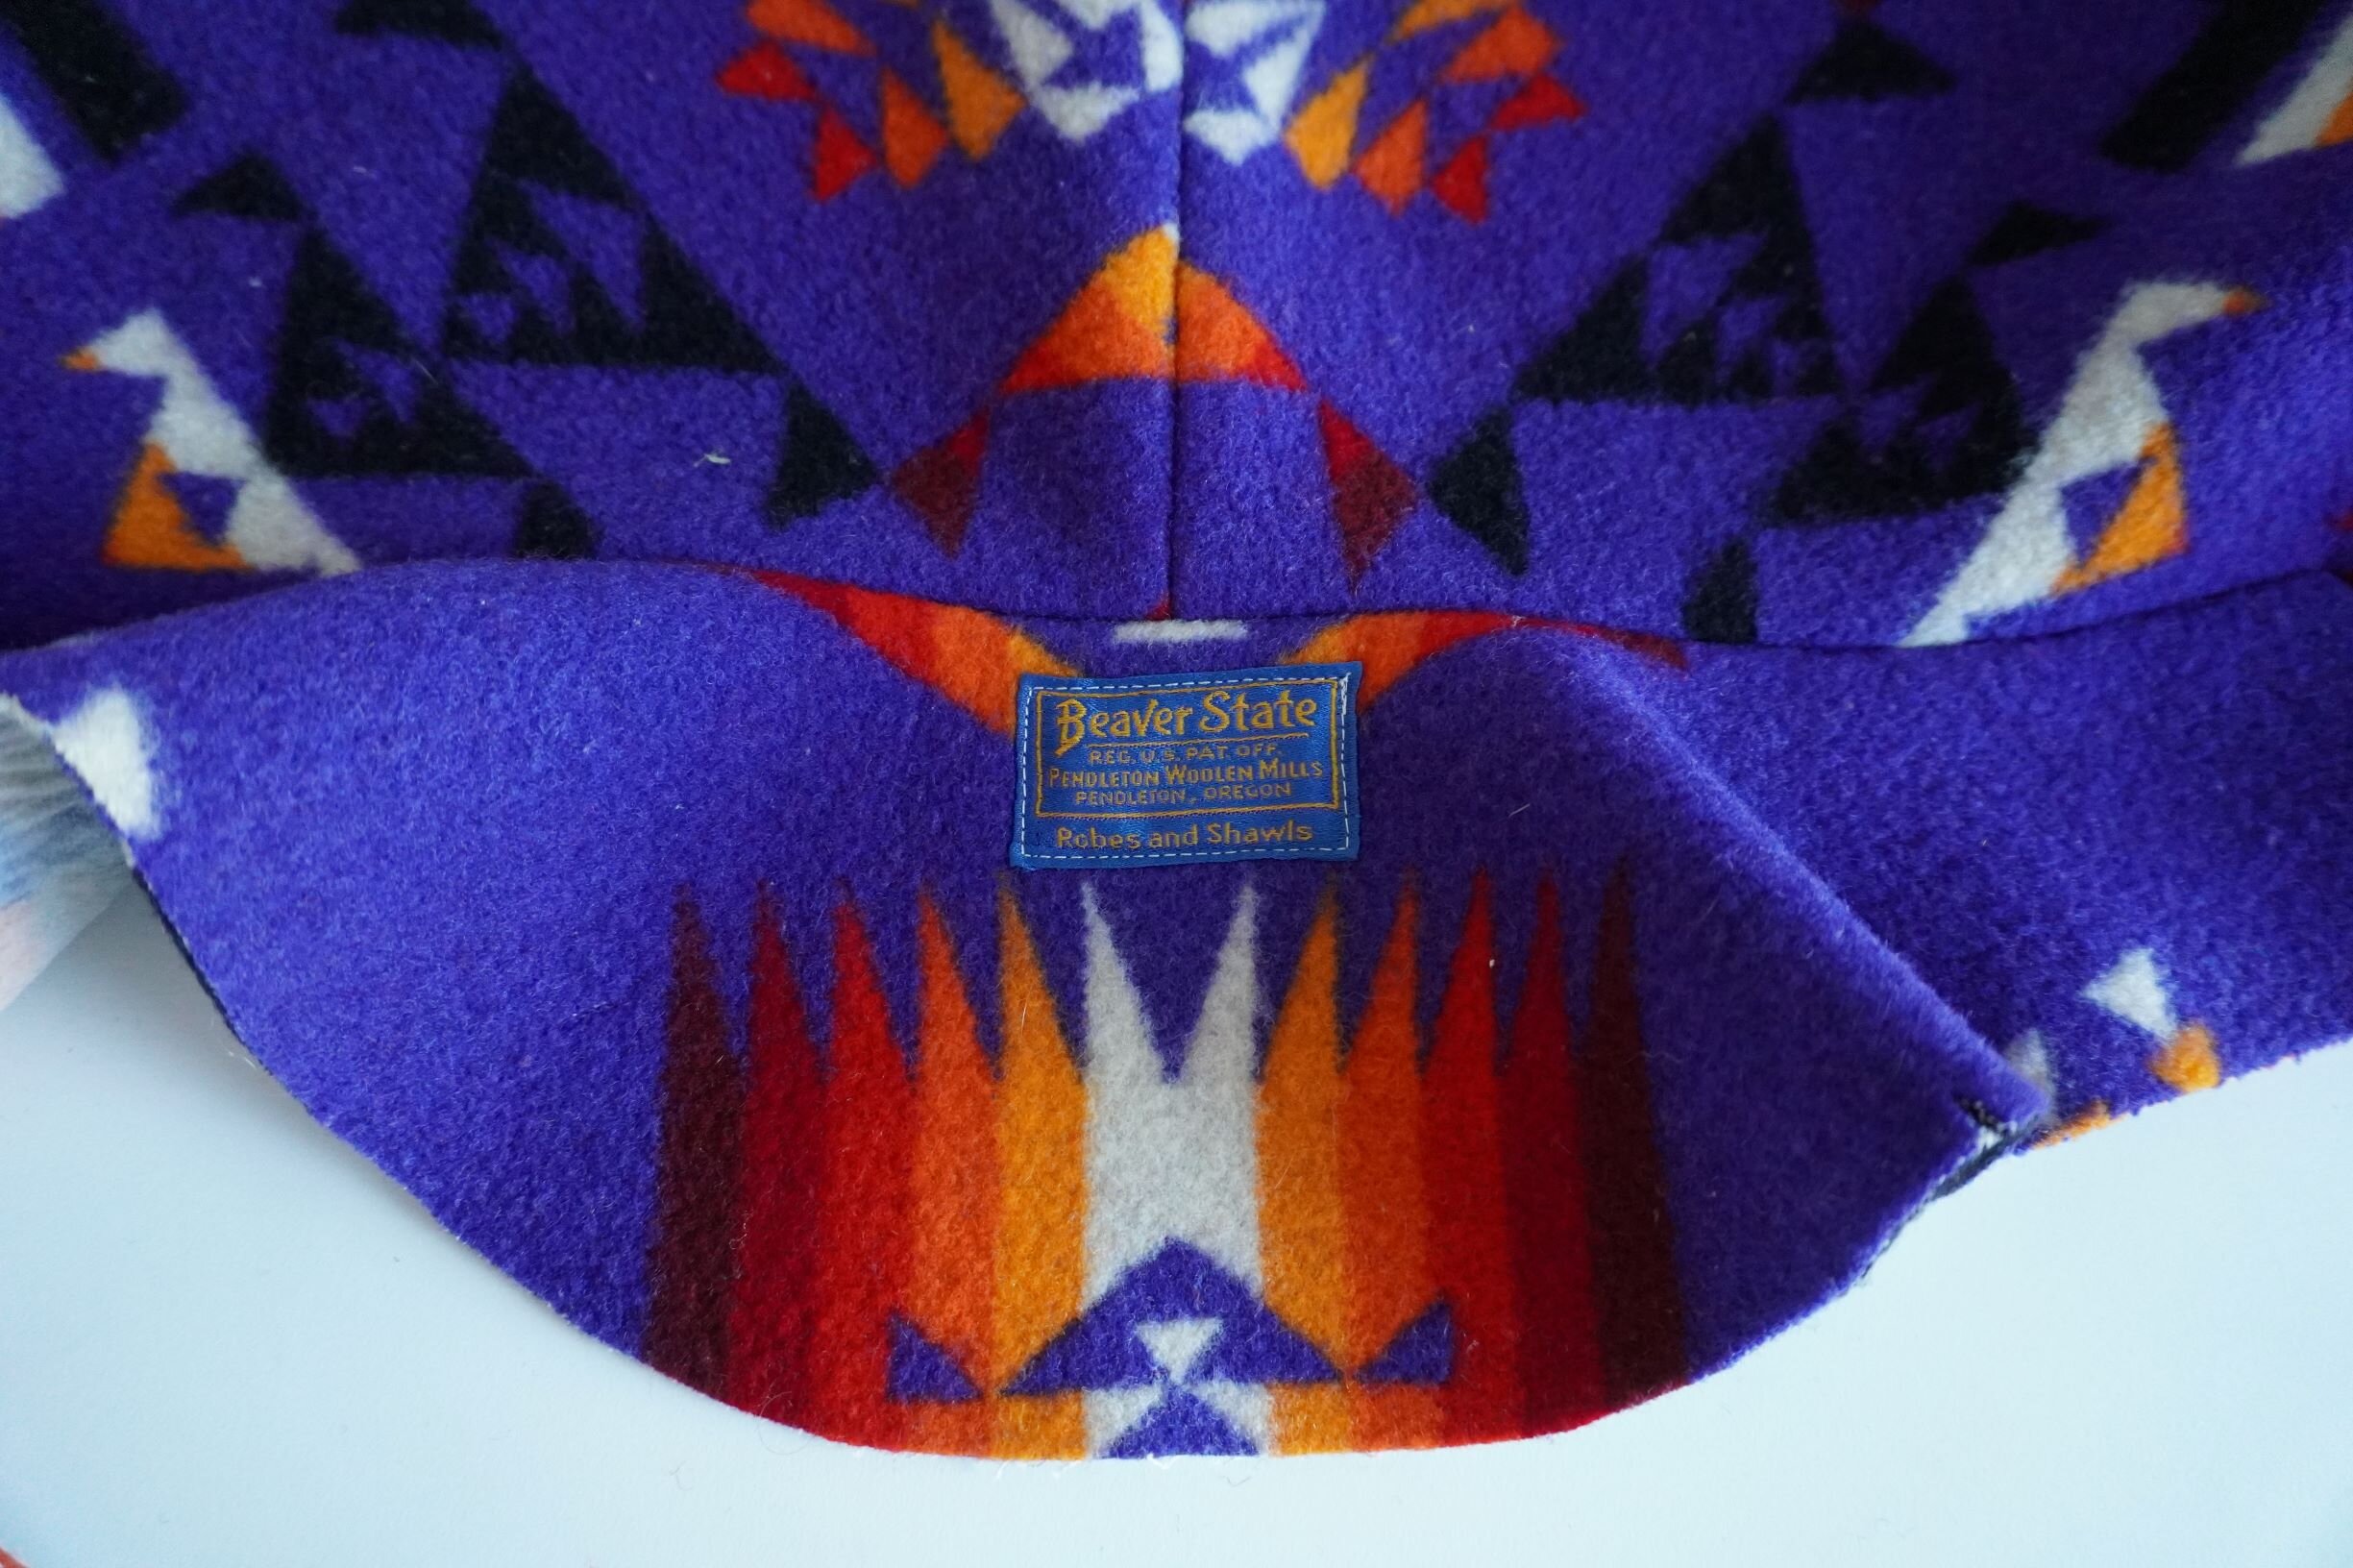
One detail I love about this coat is the original Pendleton label that I found stitched into the blanket. I managed to salvage the label, and I stitched it into the back facing piece of the coat (where the label in ready-made clothing is usually found). When I refashion pieces, I always try to preserve some elements of the original piece, and I love that this coat still has something that nods to its past as a Pendleton wool blanket.
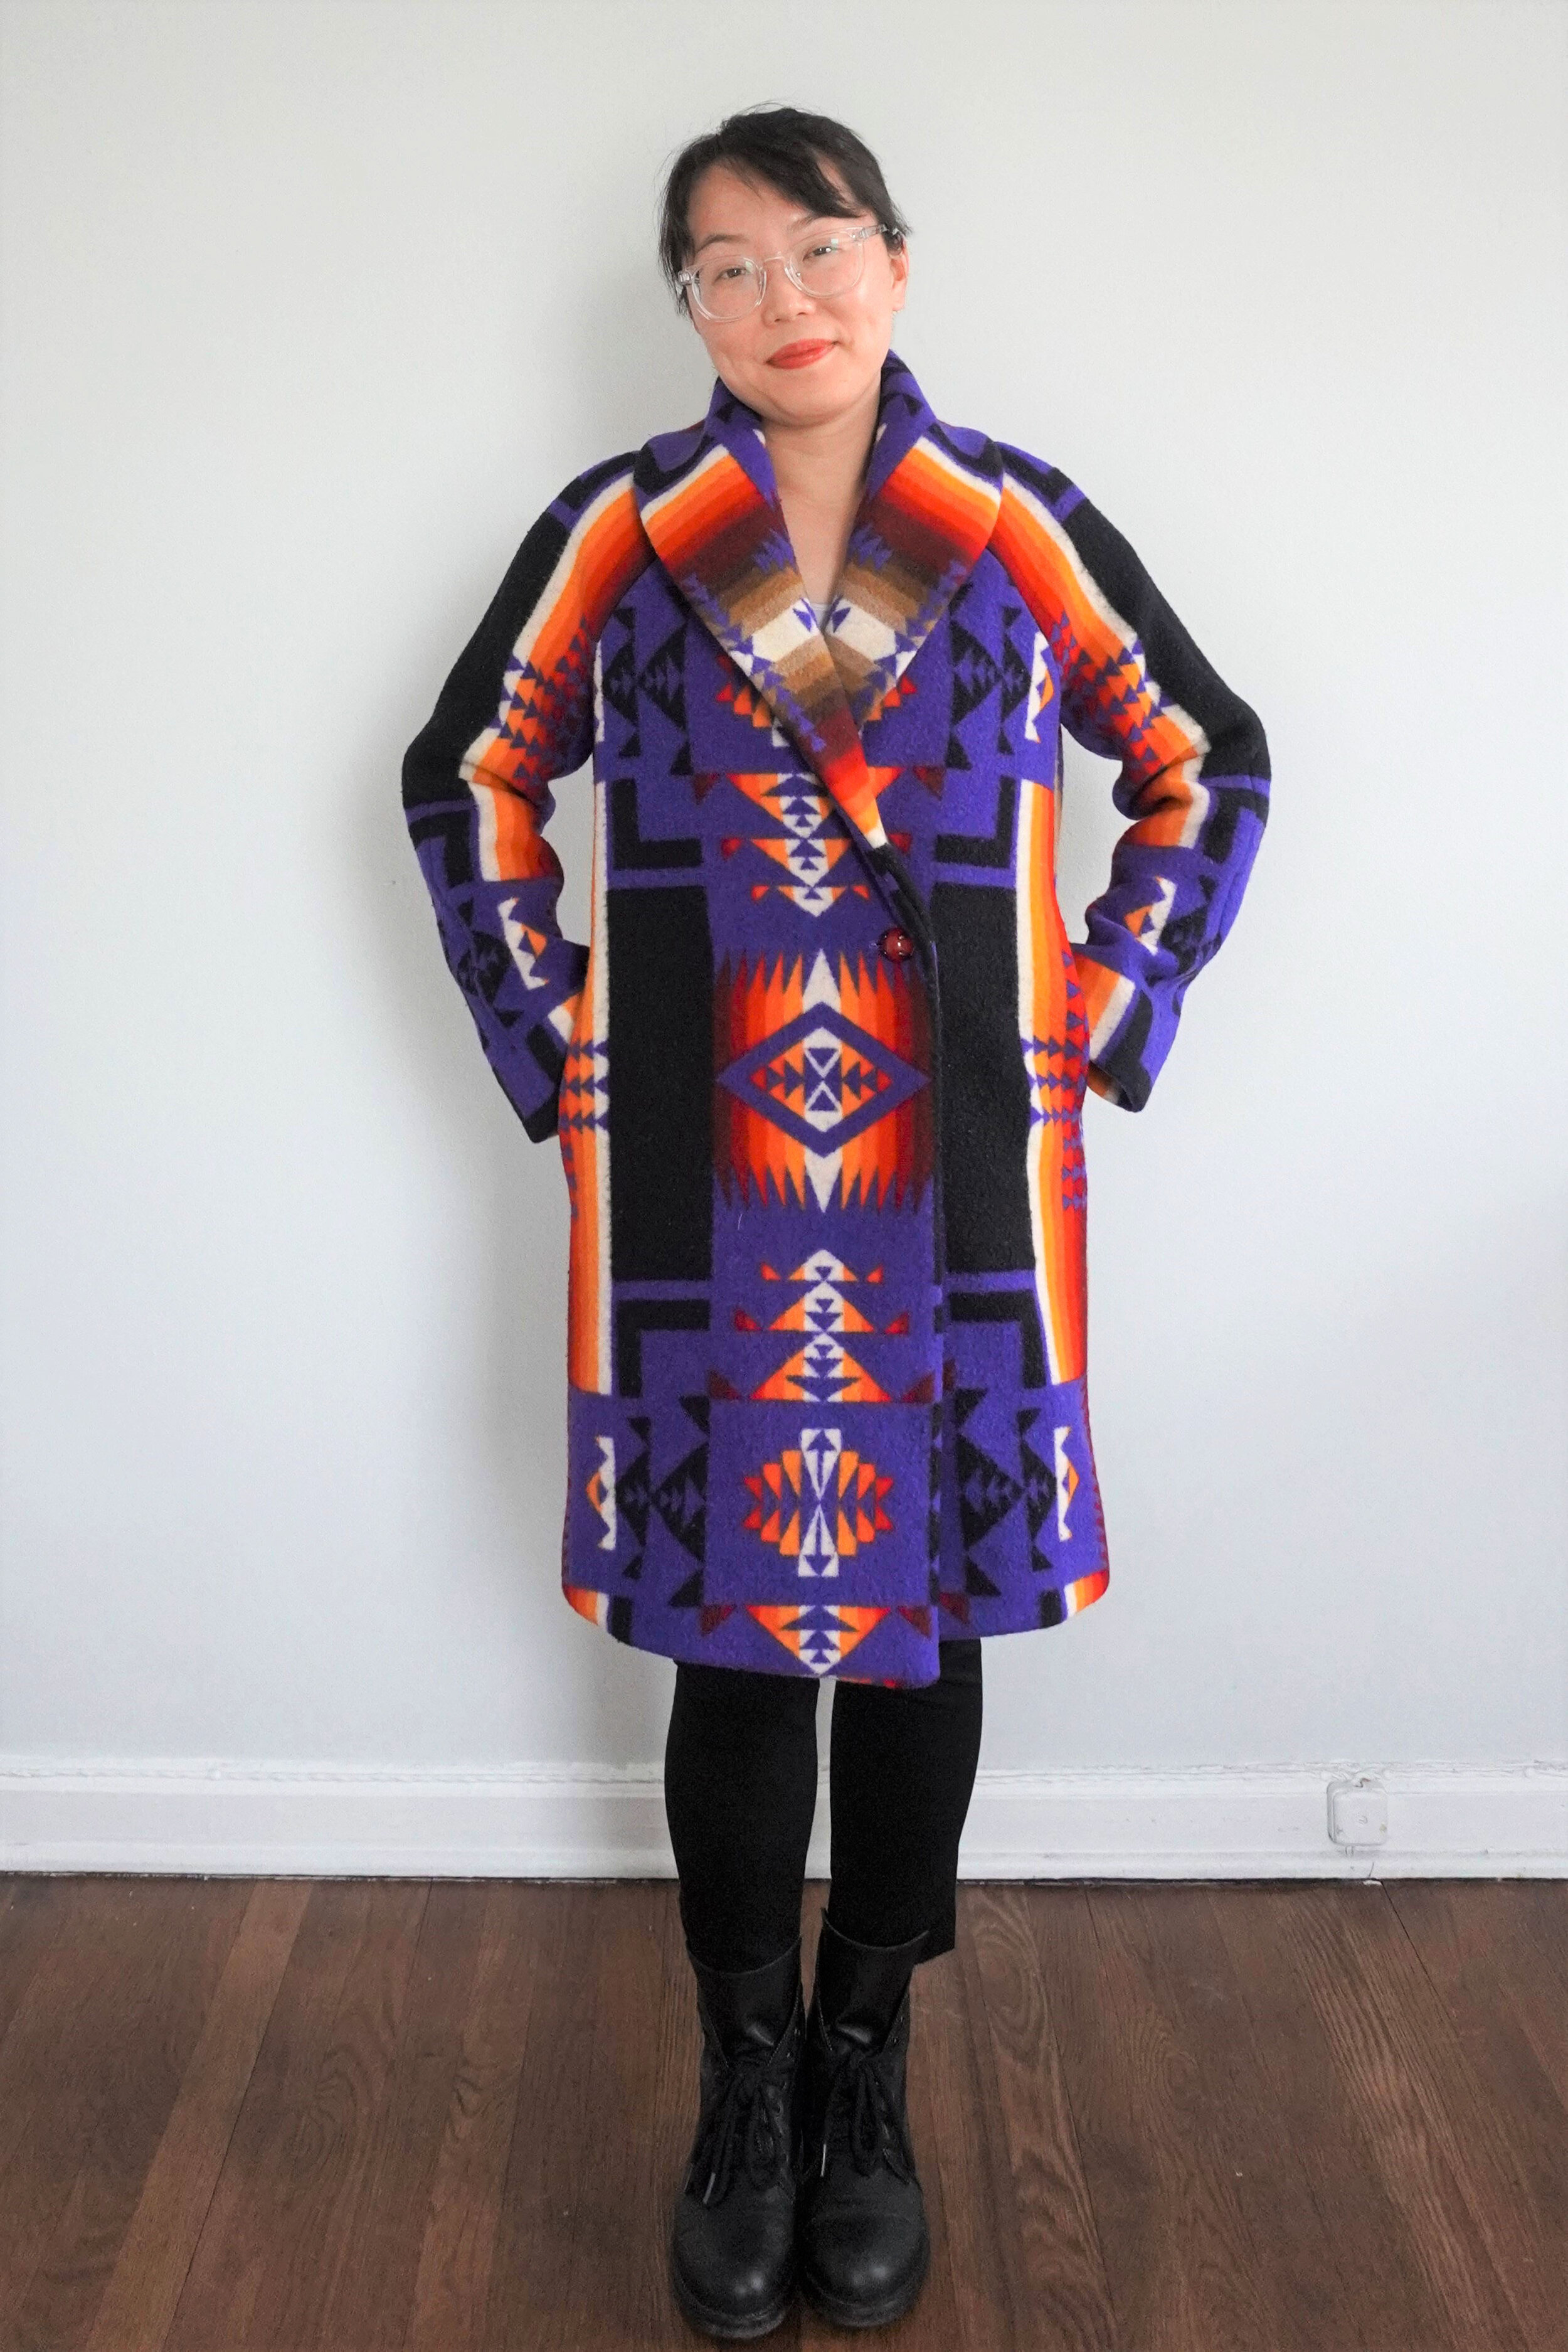
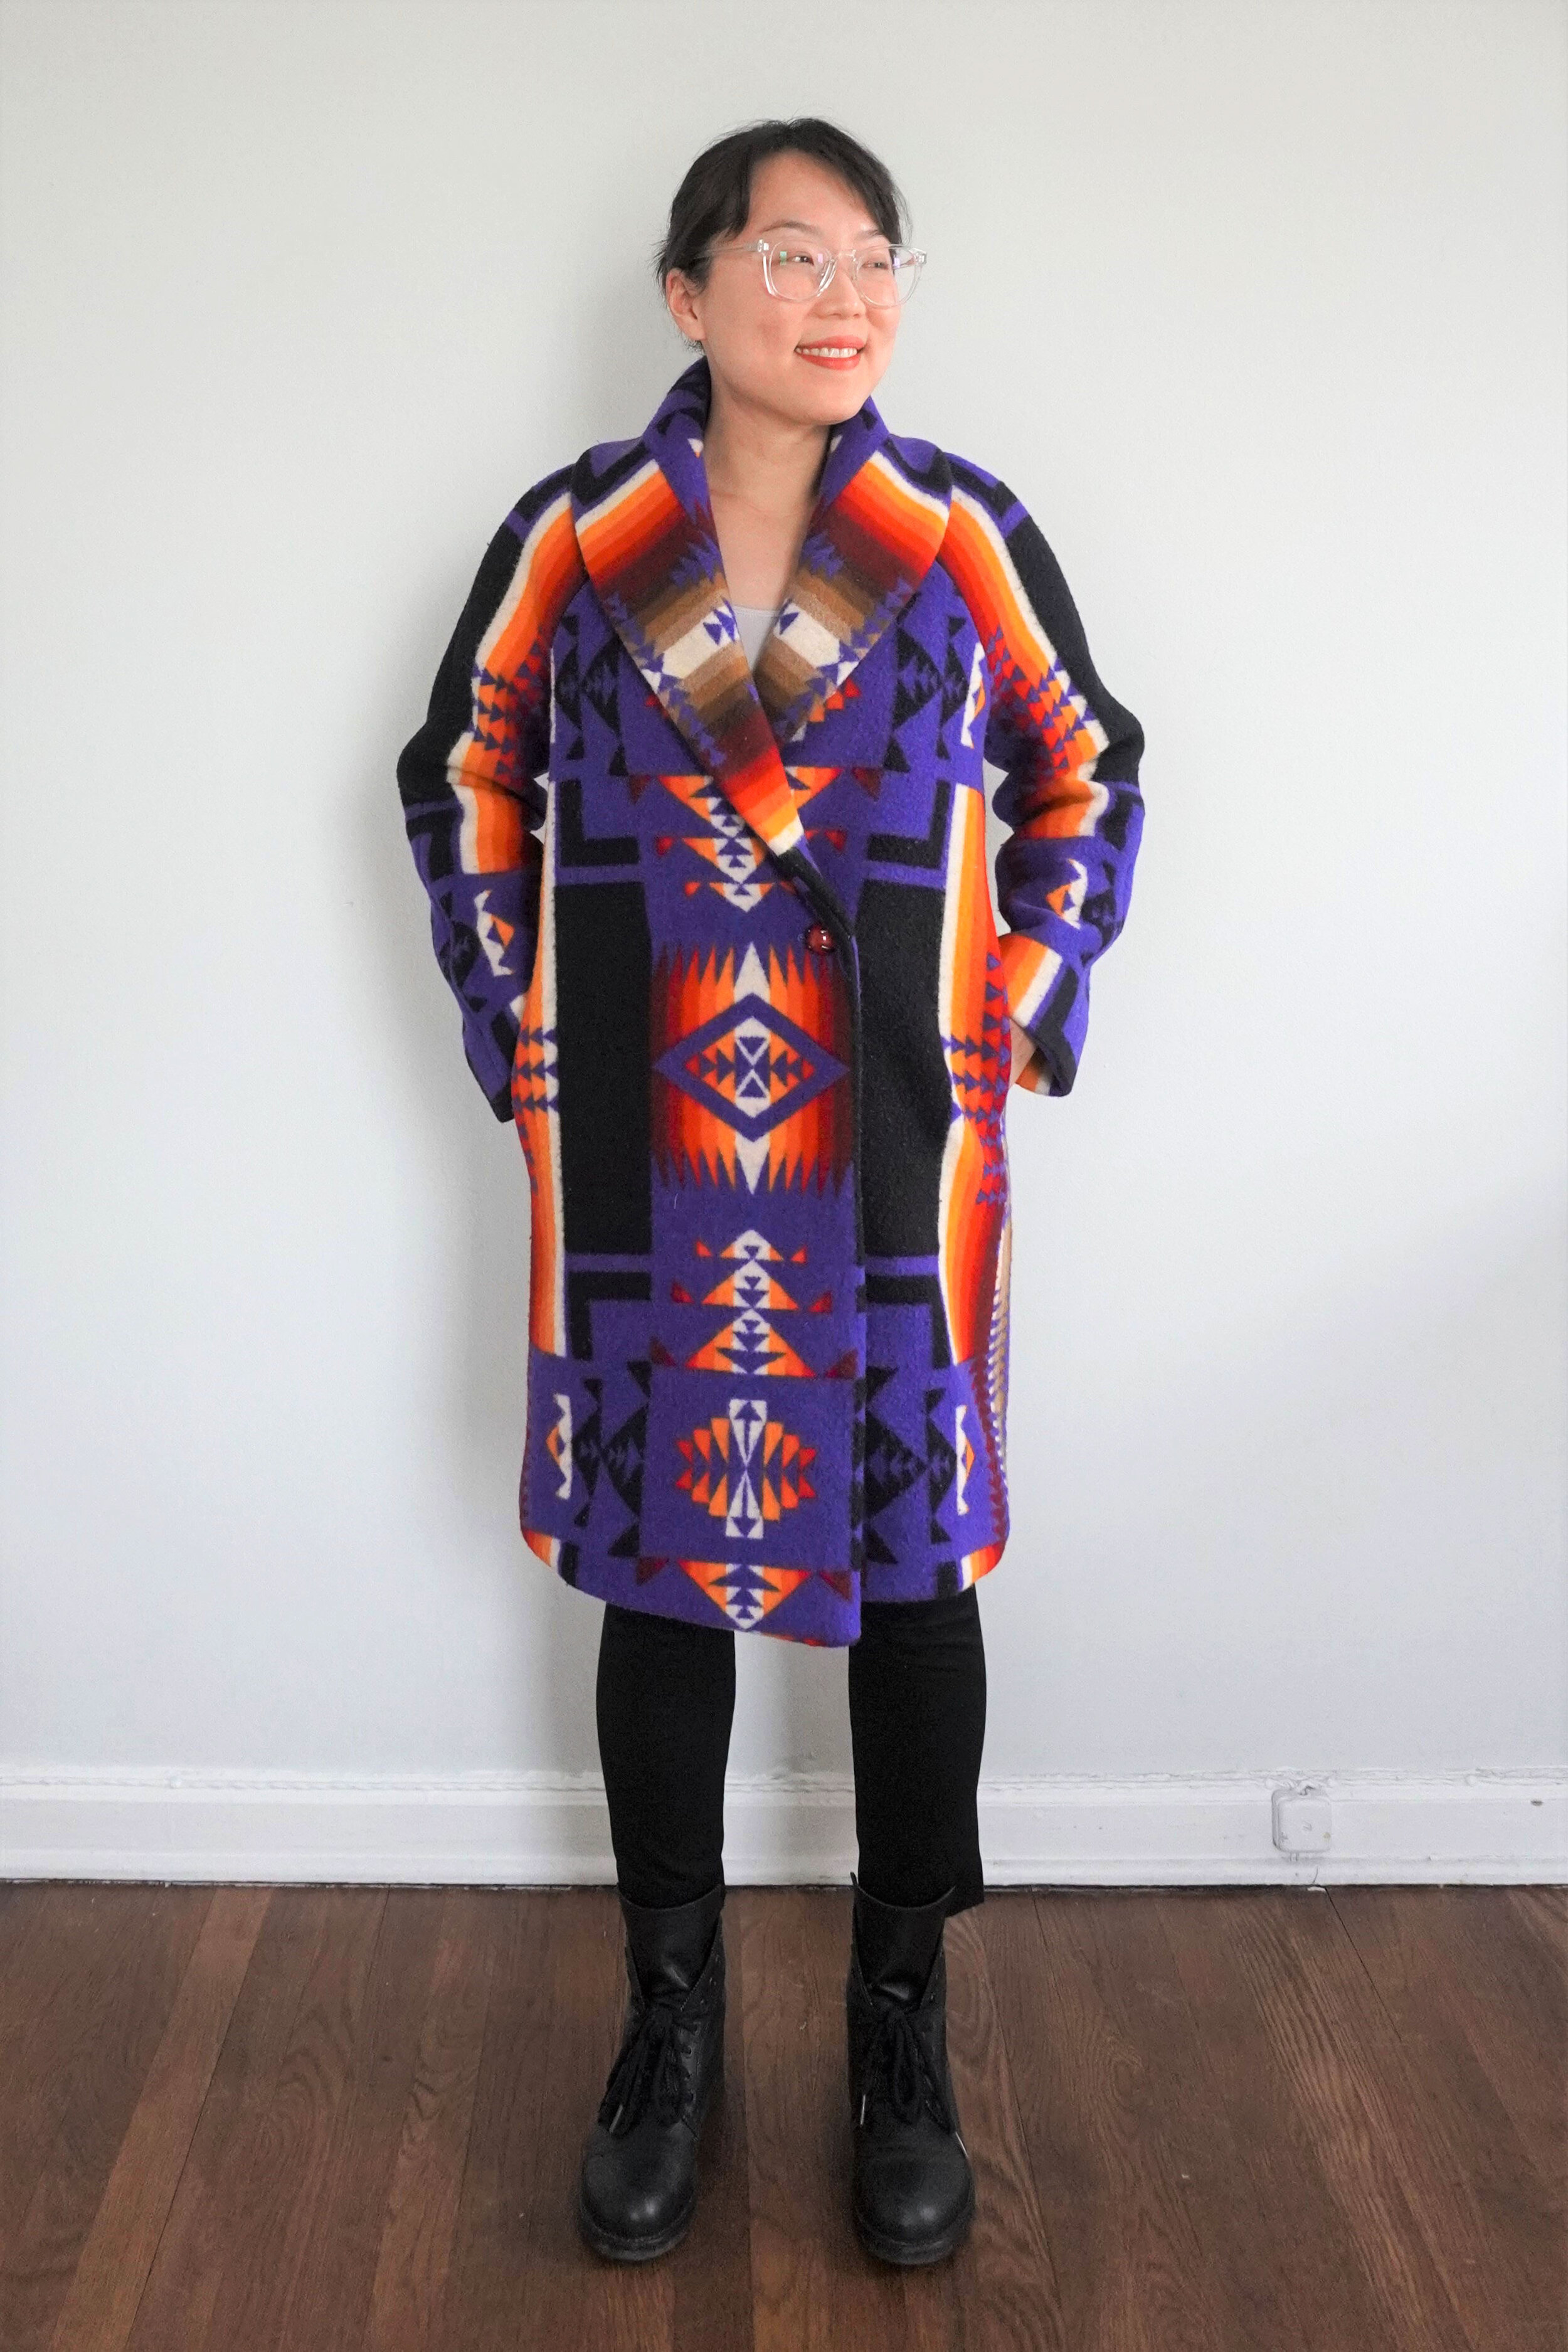
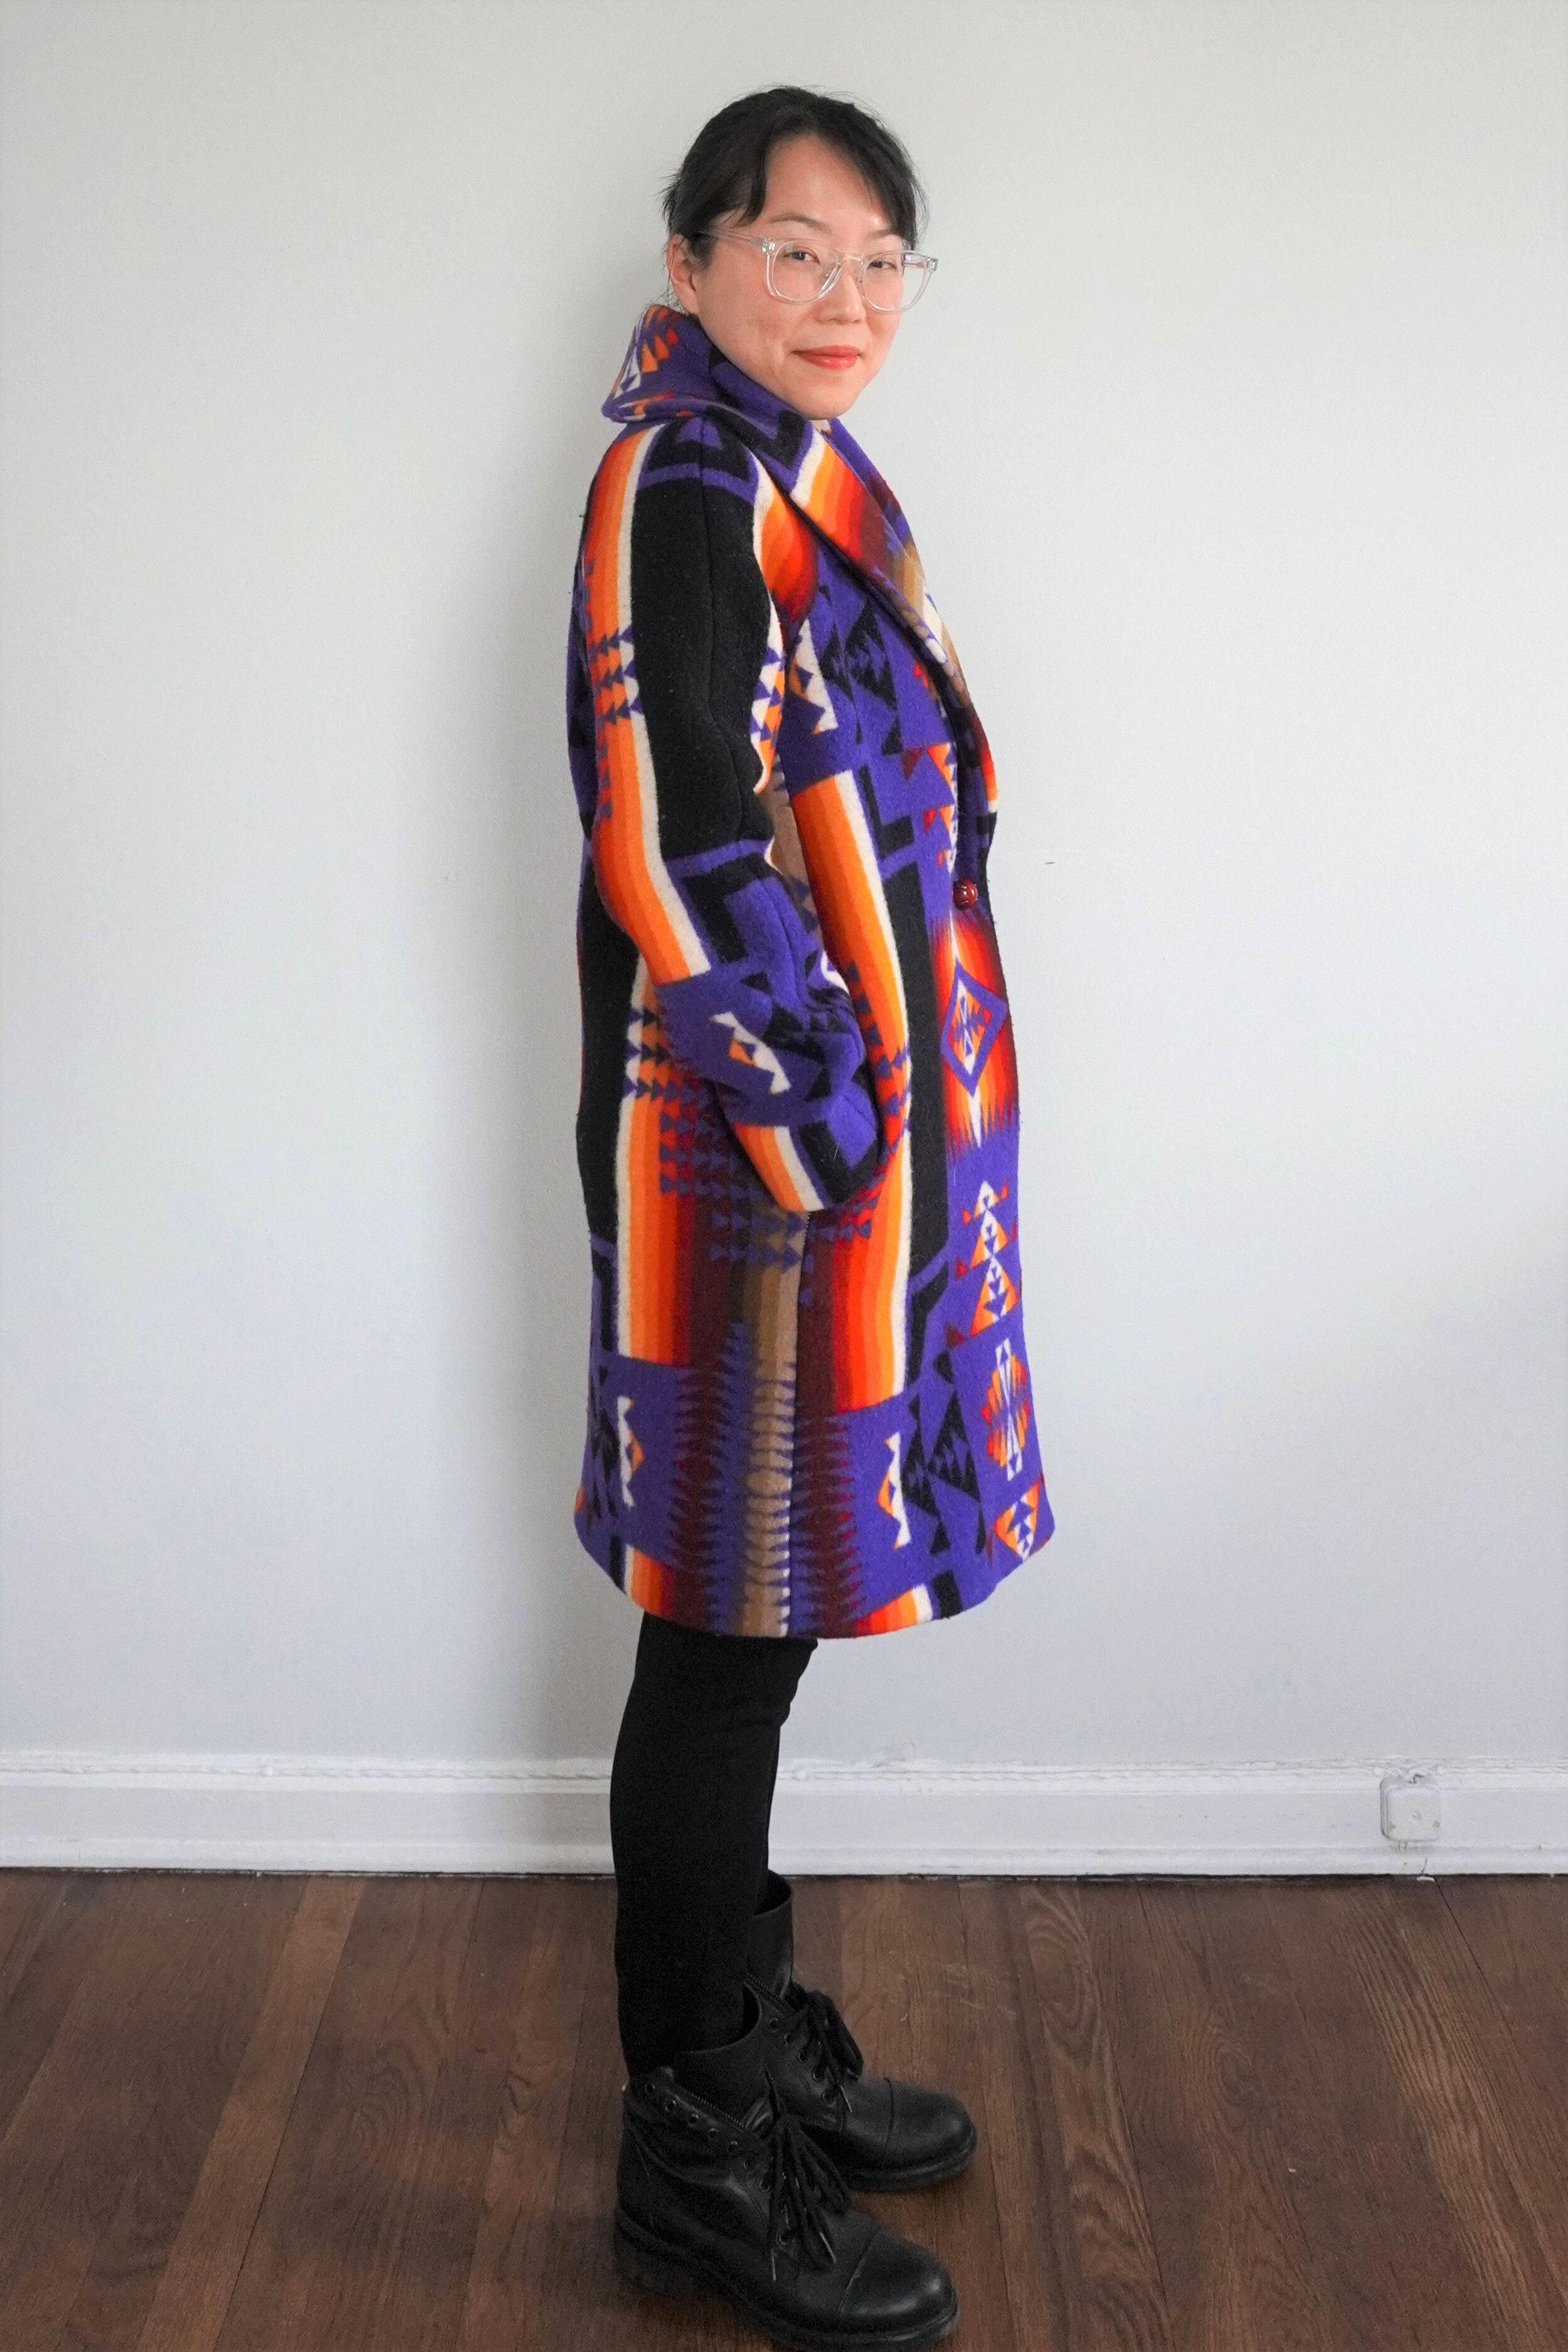
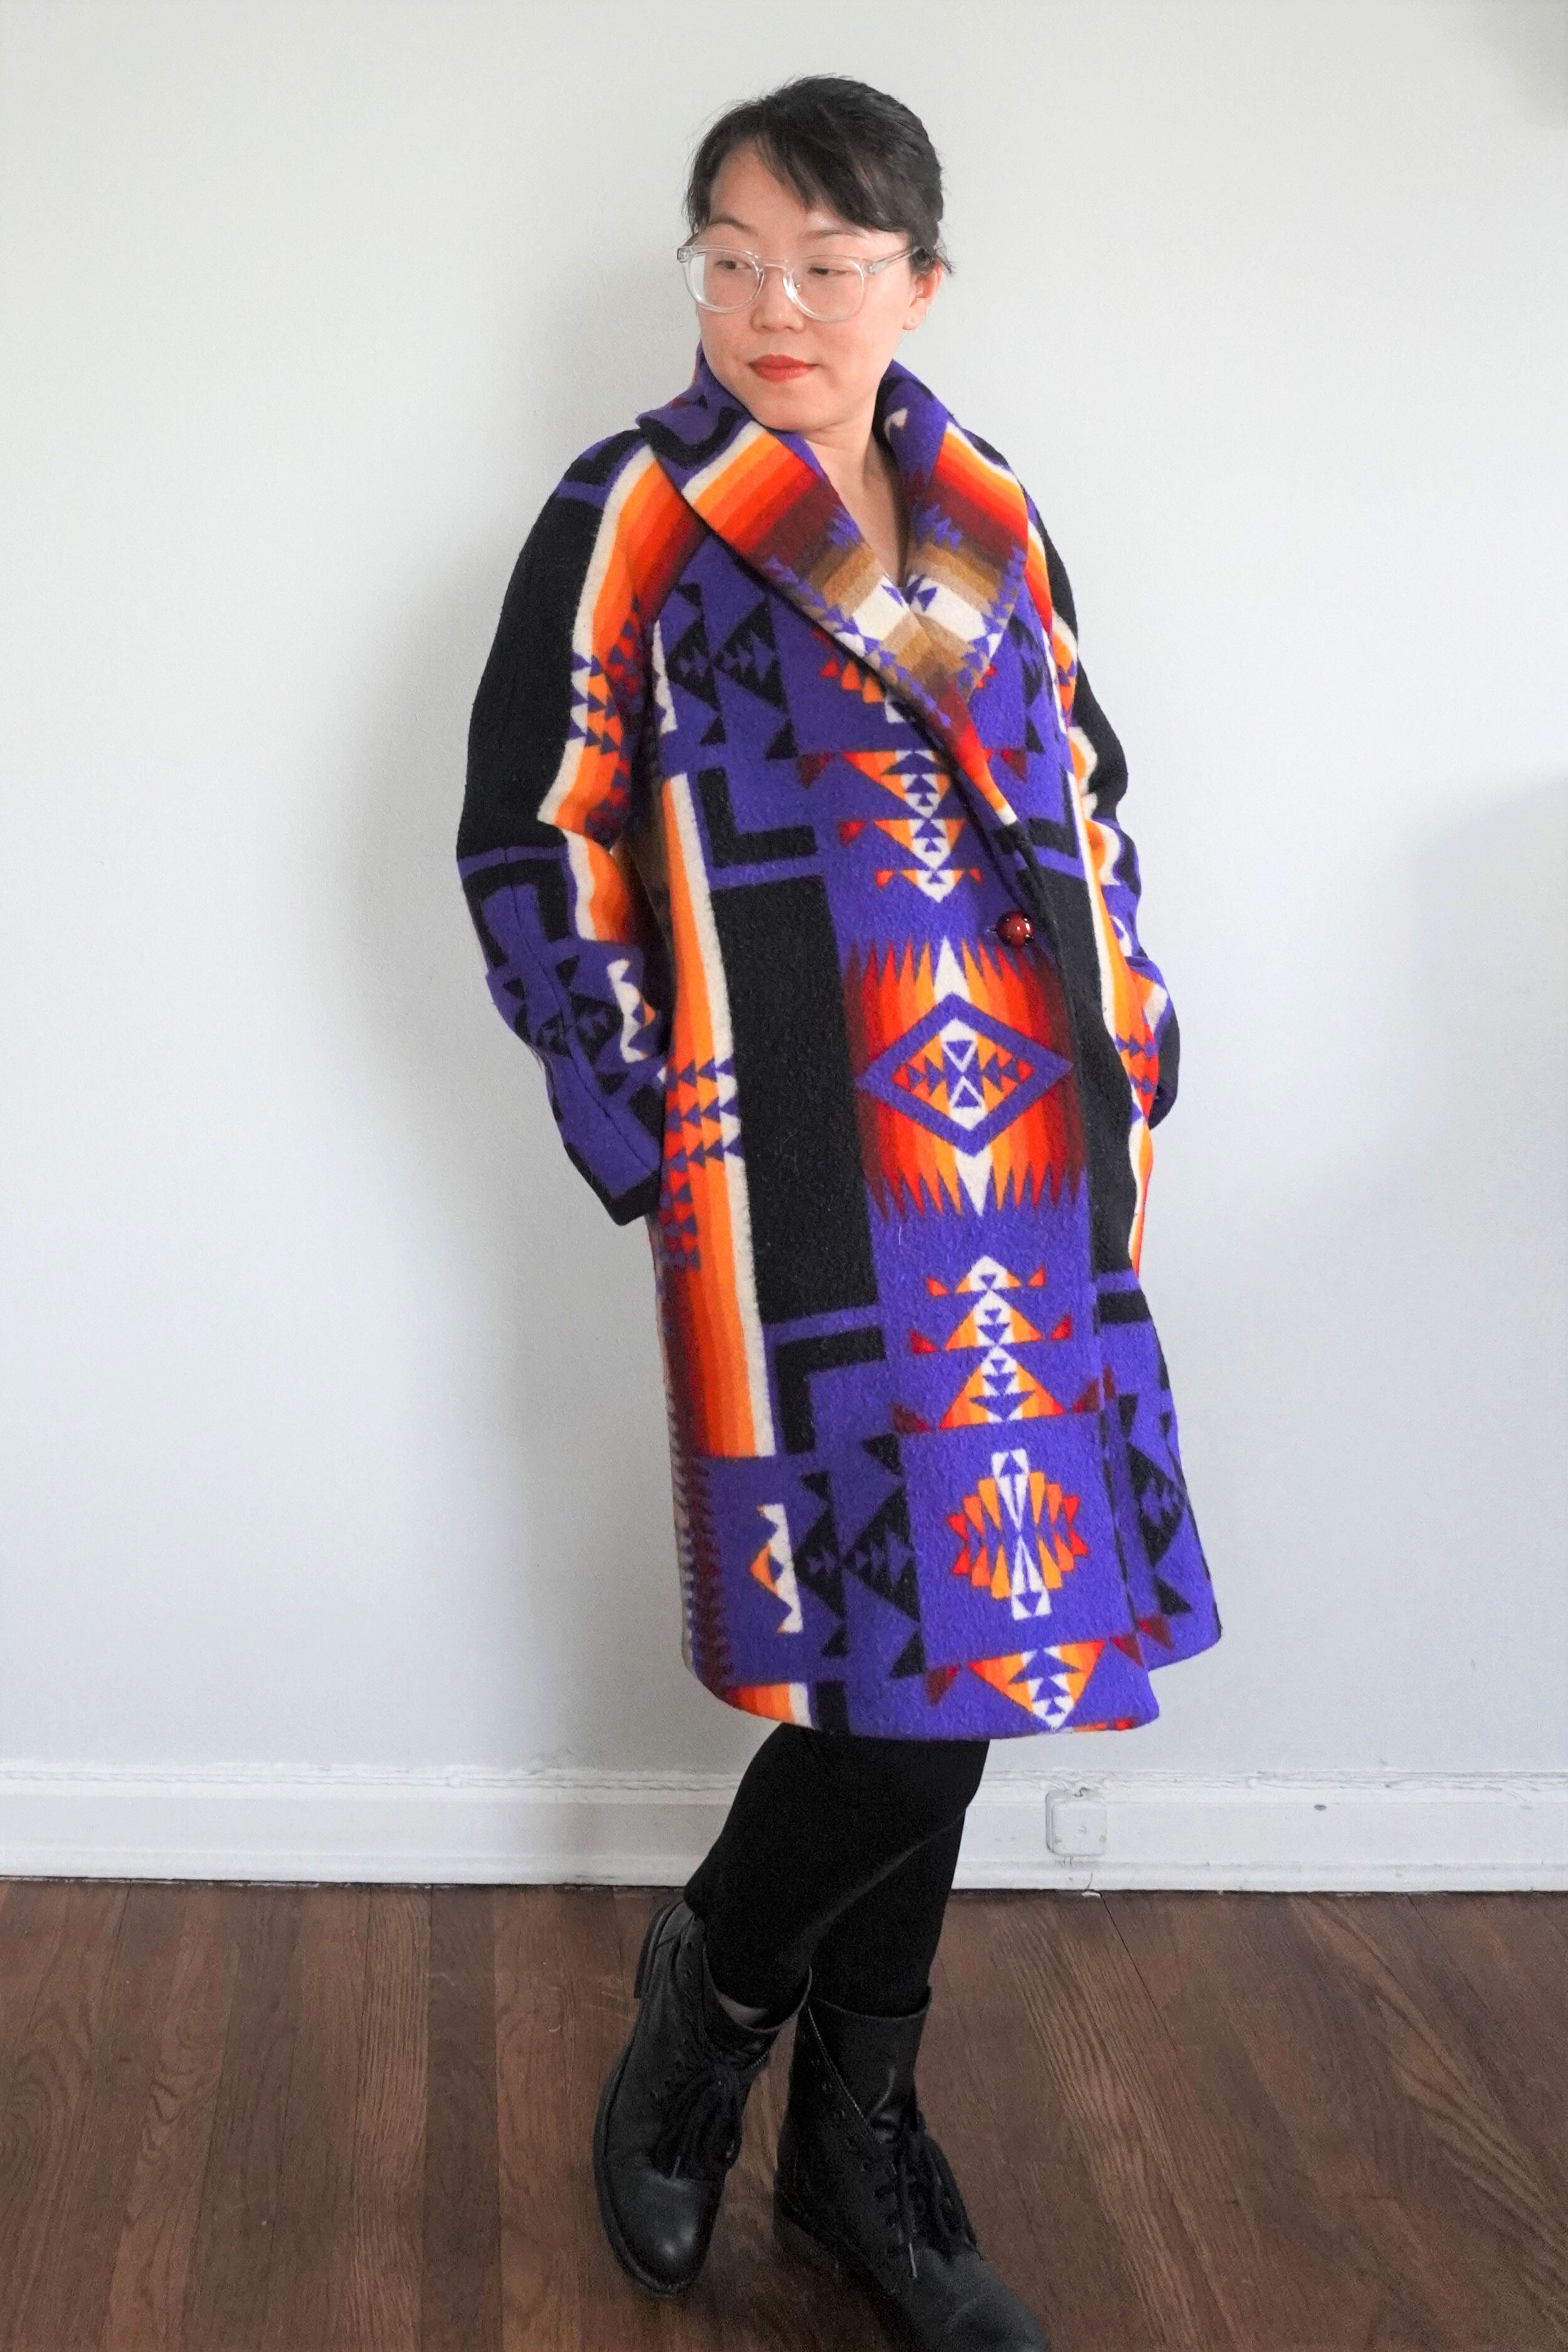
Now without further ado, here are pics of the finished coat! There is definitely no way you would miss me walking down the dreary streets of New York in this blazingly bright number. I LOVE the dramatic, large shawl collar and the deep pockets where I can shove my perpetually freezing hands…
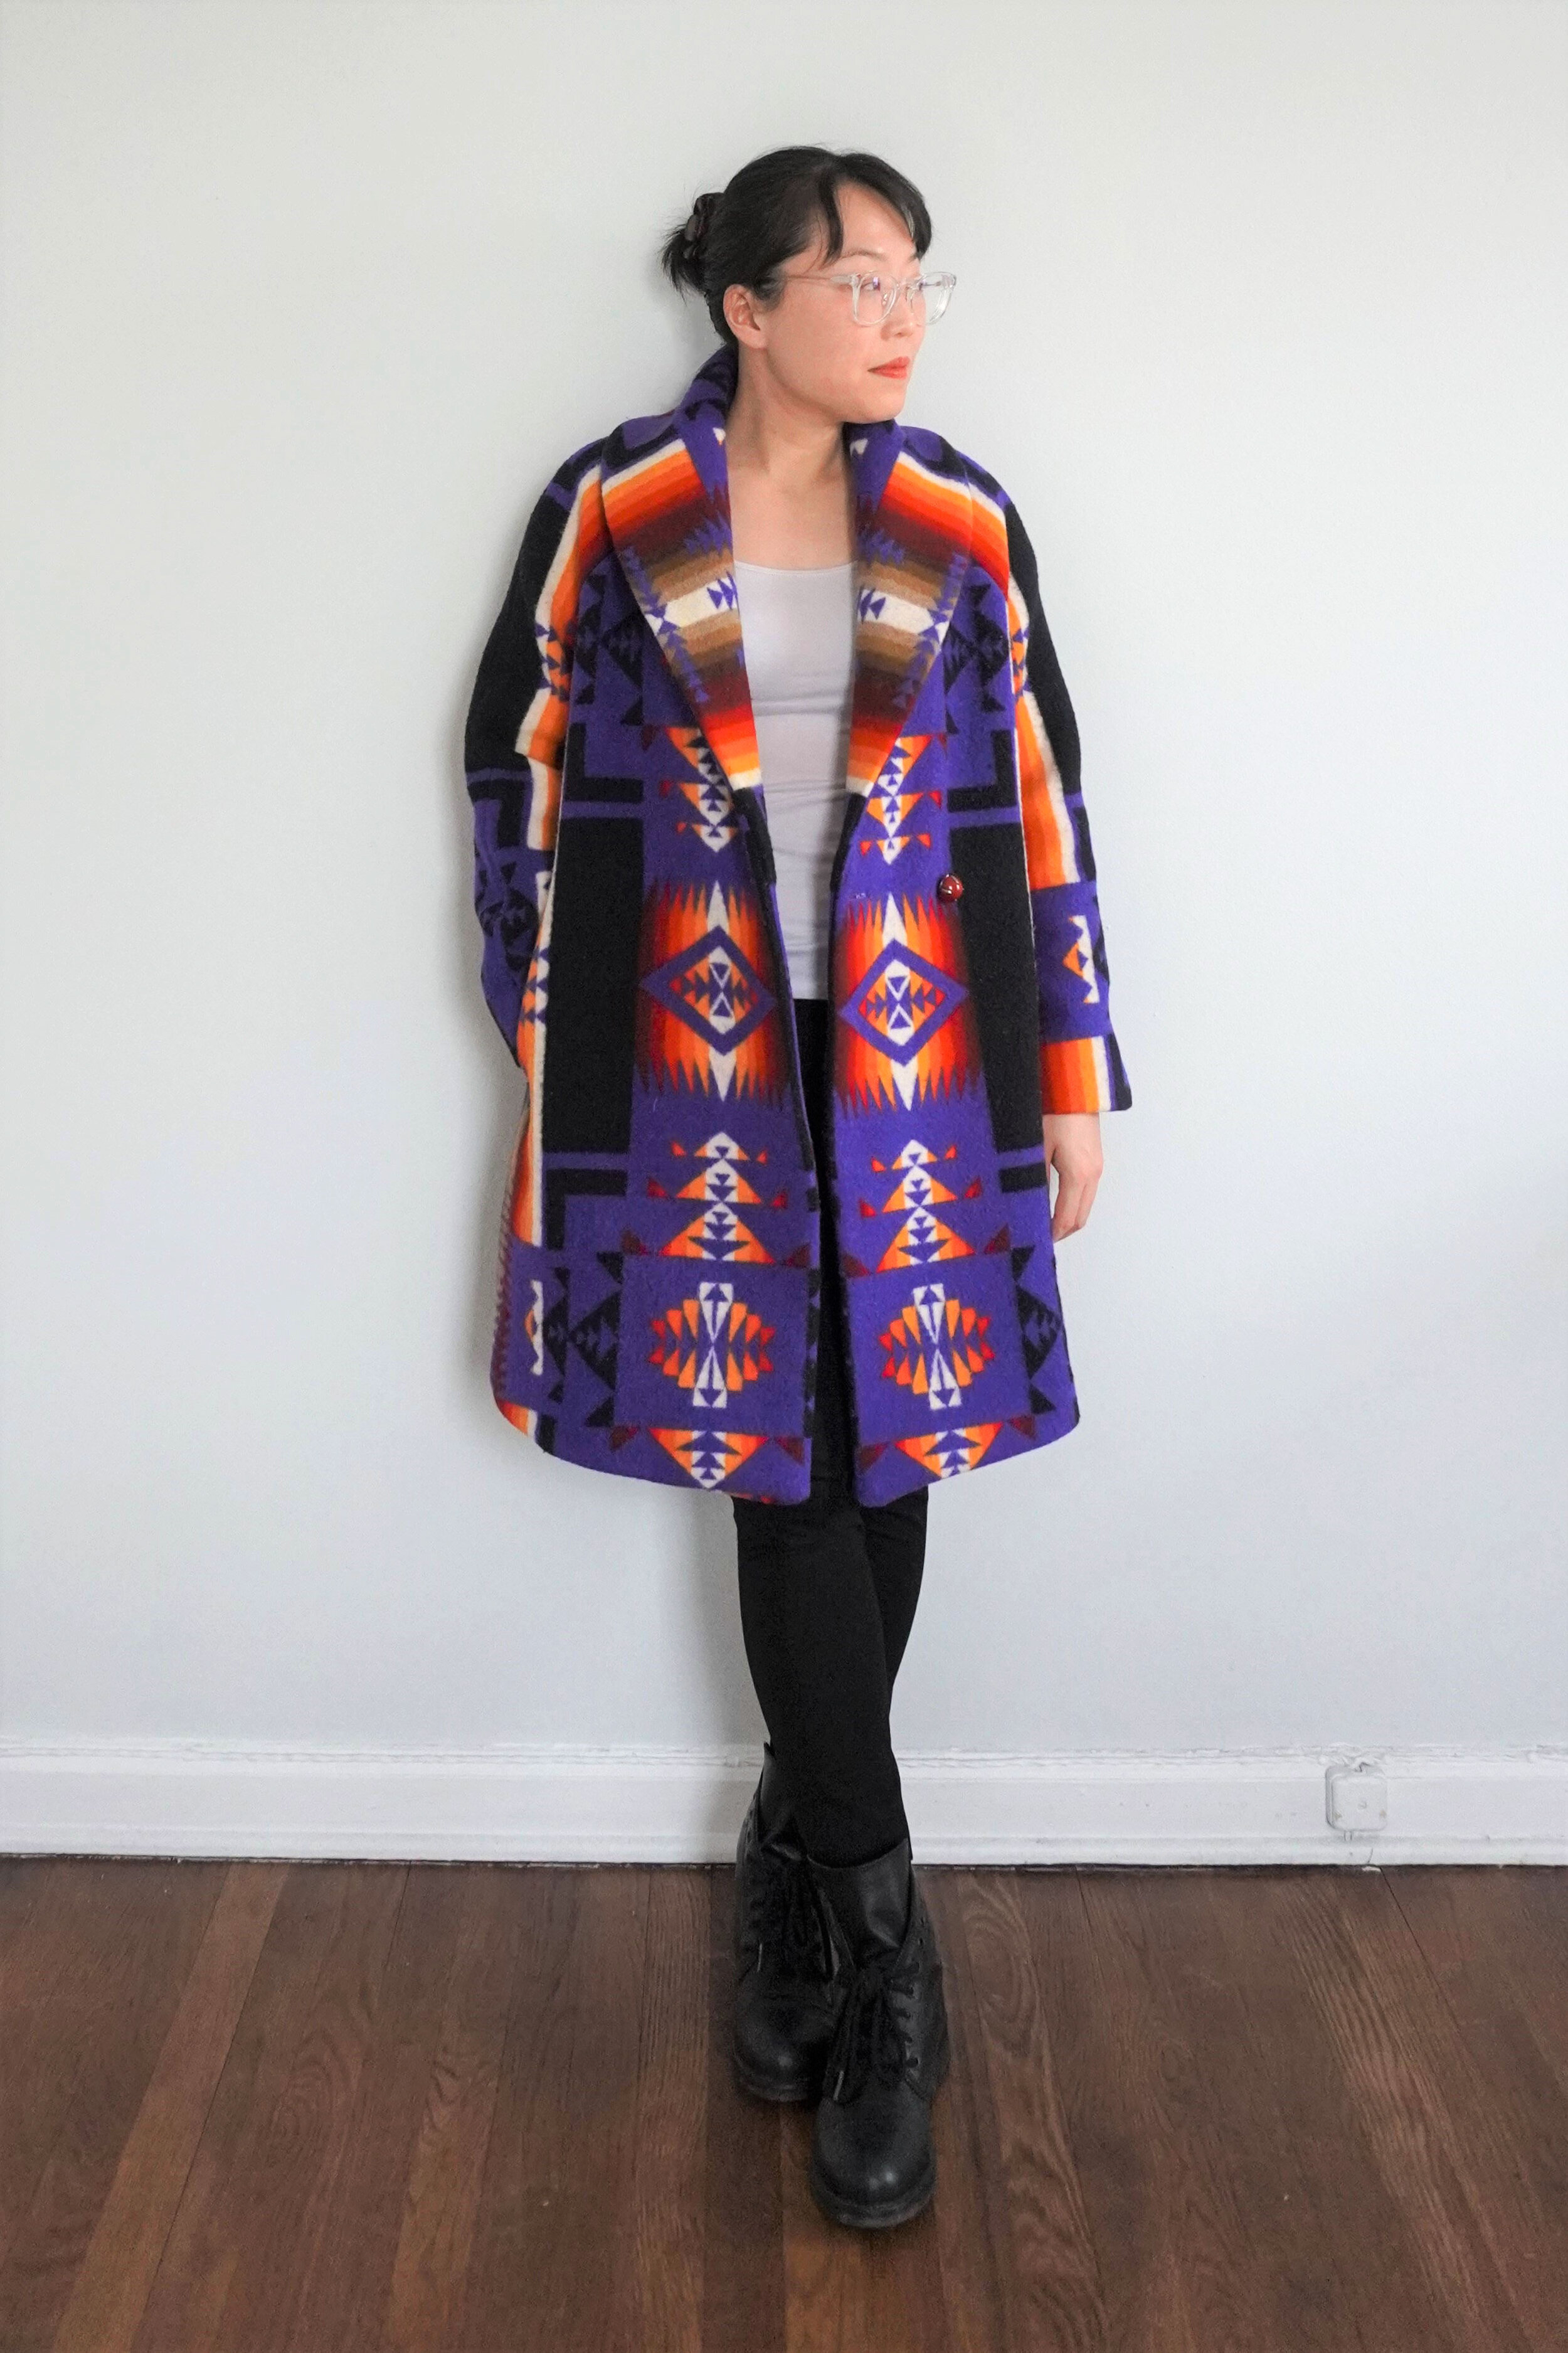
I must admit I am rather proud of how well the print matches in the front, when the coat is closed. There’s nothing more satisfying than when the print matching works out! (And nothing that makes my eye twitch more than seeing fast fashion pieces where the print doesn’t match, but that’s a rant for another day…)

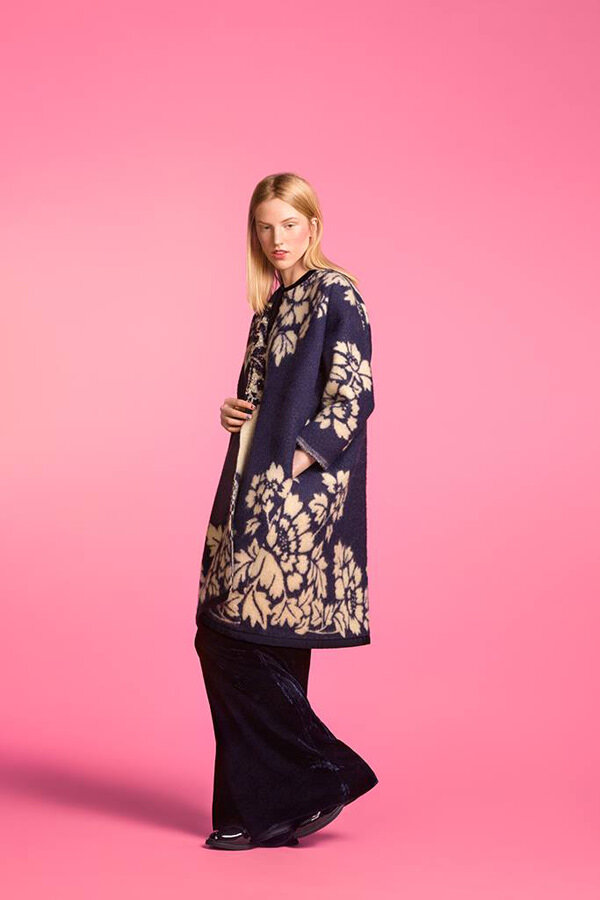
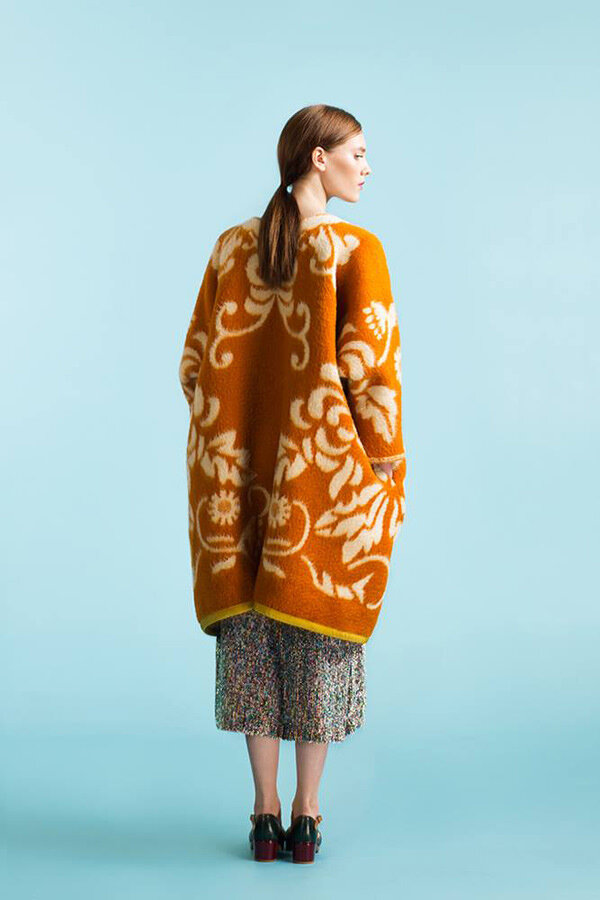
I encourage everyone to give vintage wool blankets a new lease on life and turn them into eye-catching winter coats. Sewing a coat is really not that difficult, especially if you follow my step-by-step video tutorial. I can’t wait to make another coat — right now, I am on the lookout for some Soviet-era vintage wool blankets to turn into another cocoon shaped coat, inspired by these GORGEOUS coats by Marit Ilison. If anyone has any leads on where to find such blankets, please let me know!

UPDATE: I am moving and I need to clean out my (overflowing) closet of handmade items! I love this coat but there just isn’t enough room in my new place for it. If you’d like to become the owner of this unique piece, check out my shop here.