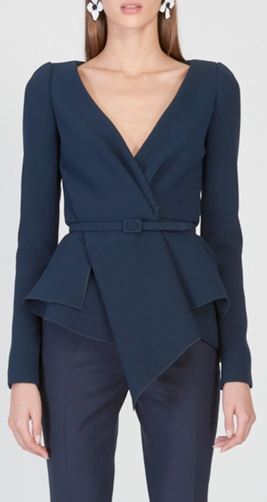
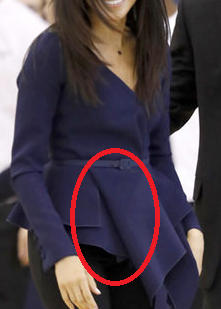
When I first came across V1636 in the Vogue Fall 2019 lookbook, I quickly skipped past it. For some reason, Vogue decided to style this top with an atrocious pair of flared ankle-length pants (just typing that phrase makes me grimace!). It wasn’t until I saw Erica Bunker’s wonderful round-up of the Vogue Fall 2019 patterns that I saw the potential in this top. The design is inspired by an Oscar de la Renta top worn by Meghan Markle last fall.
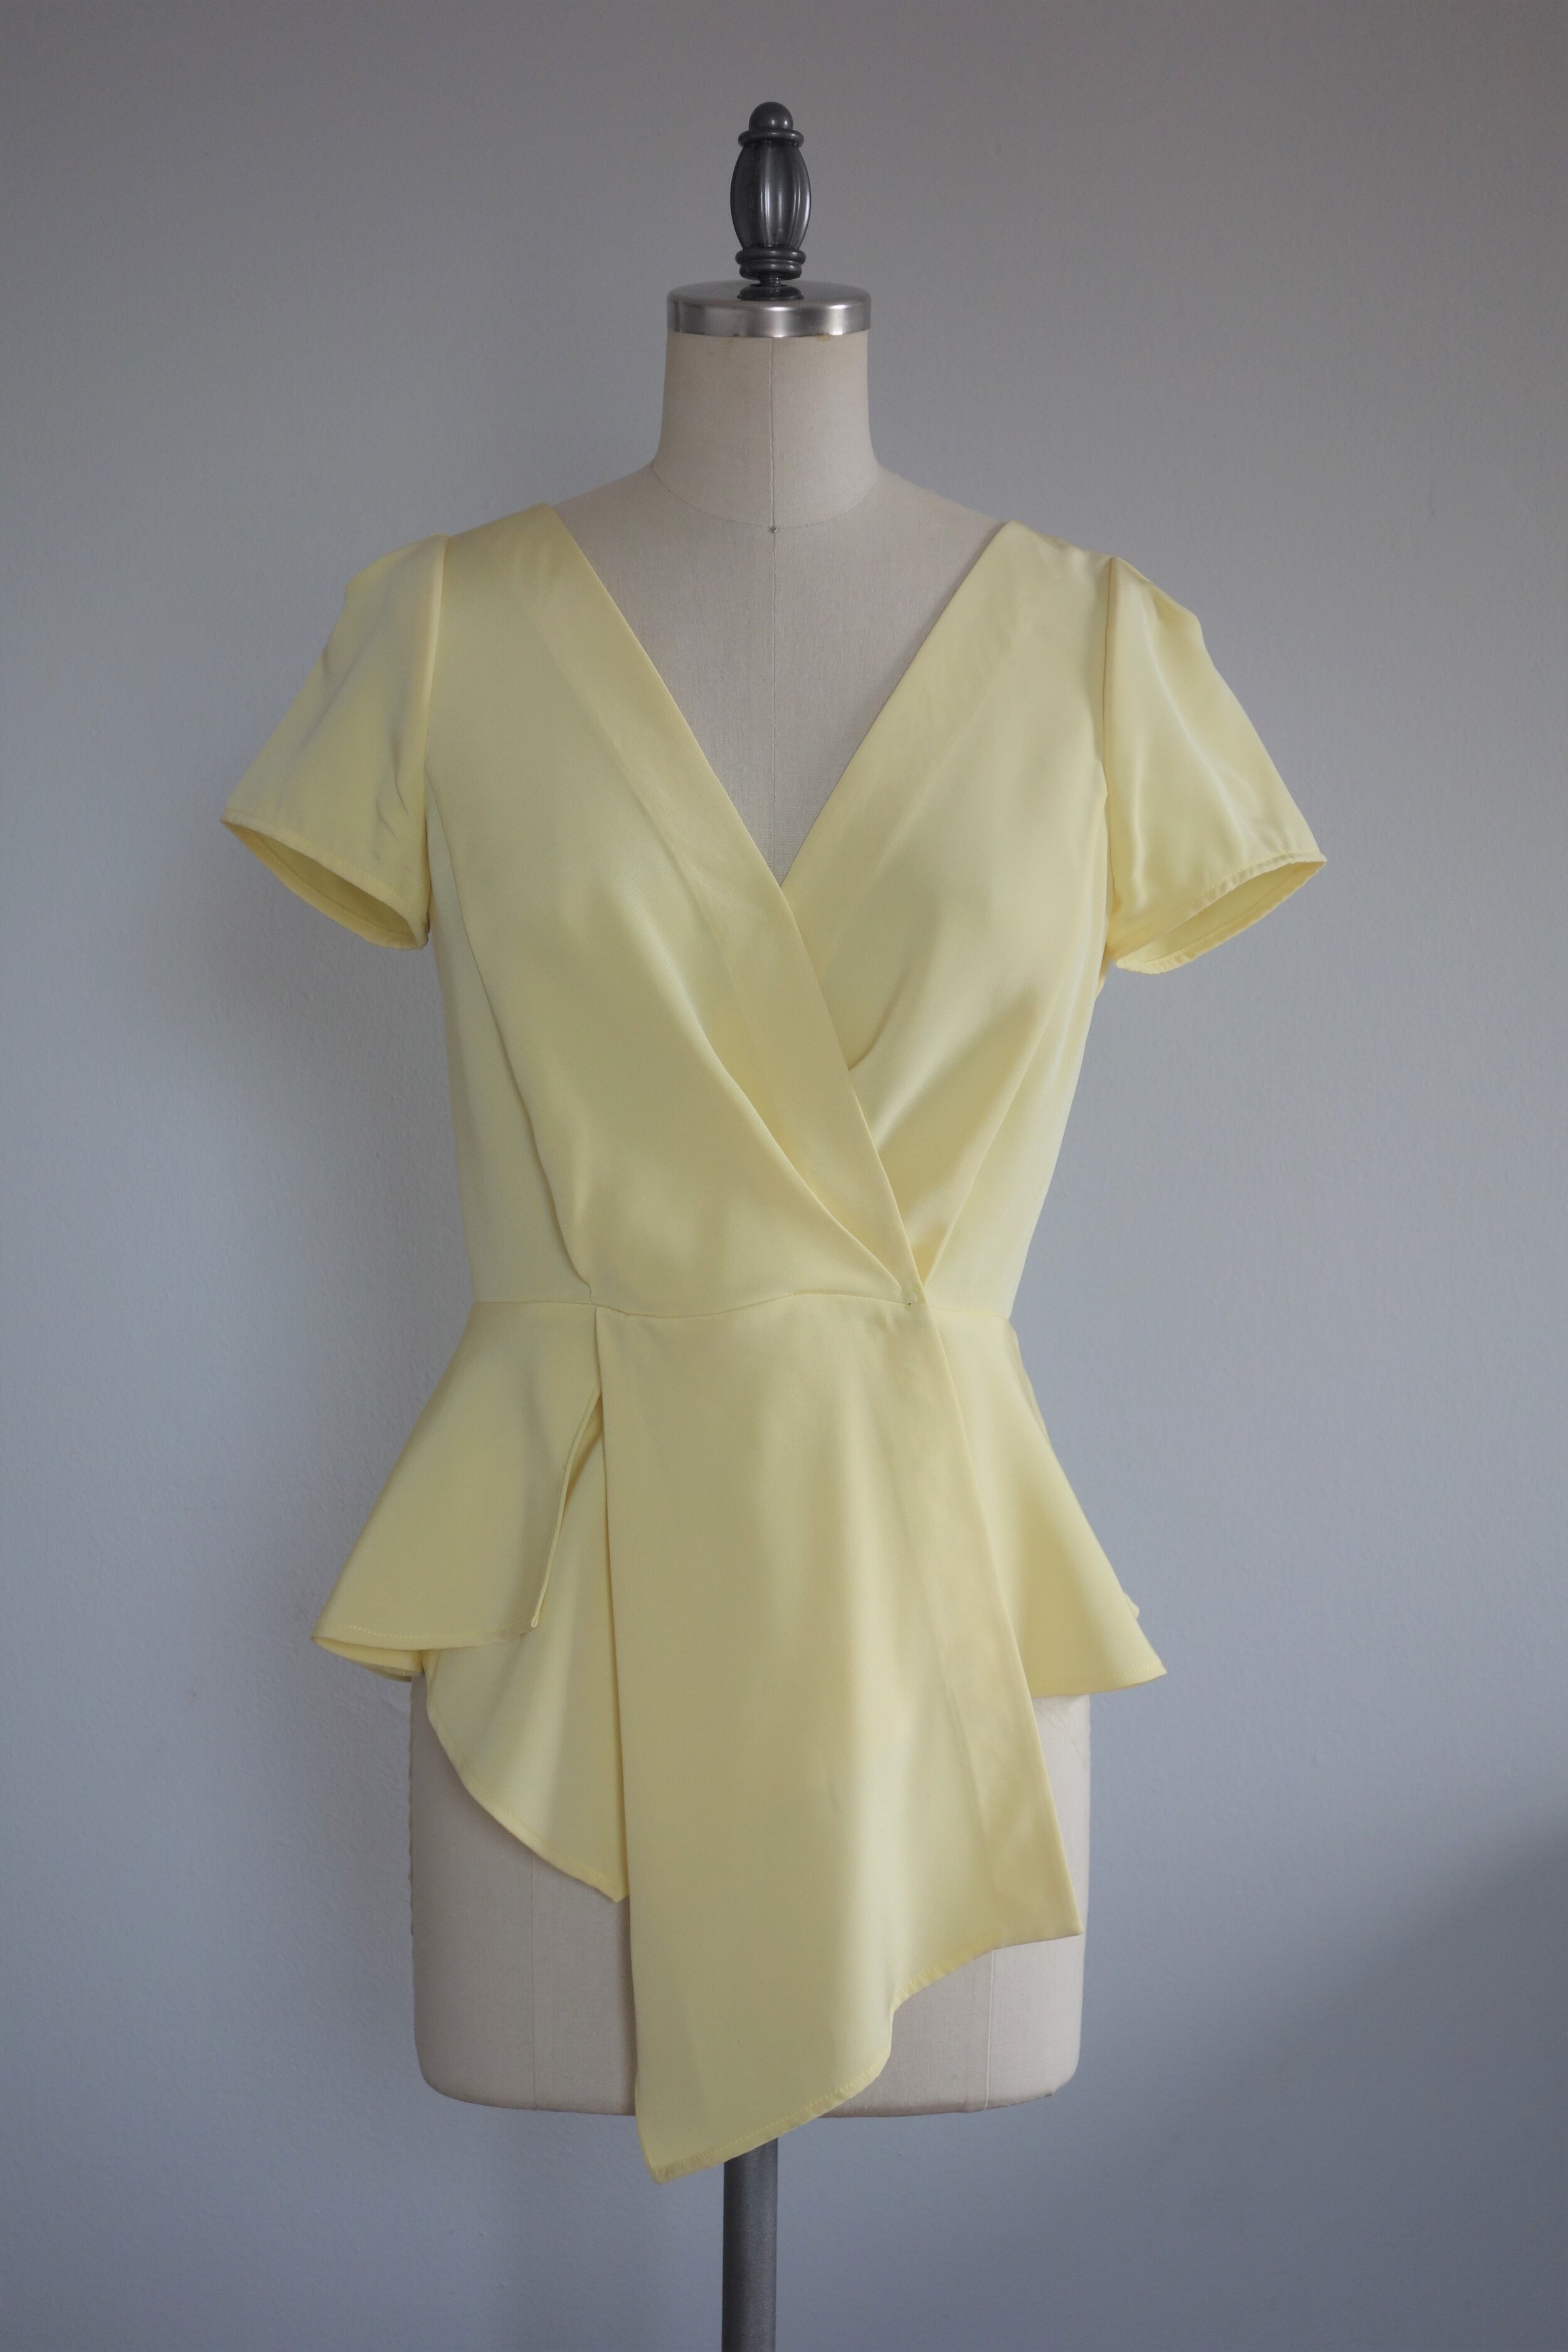
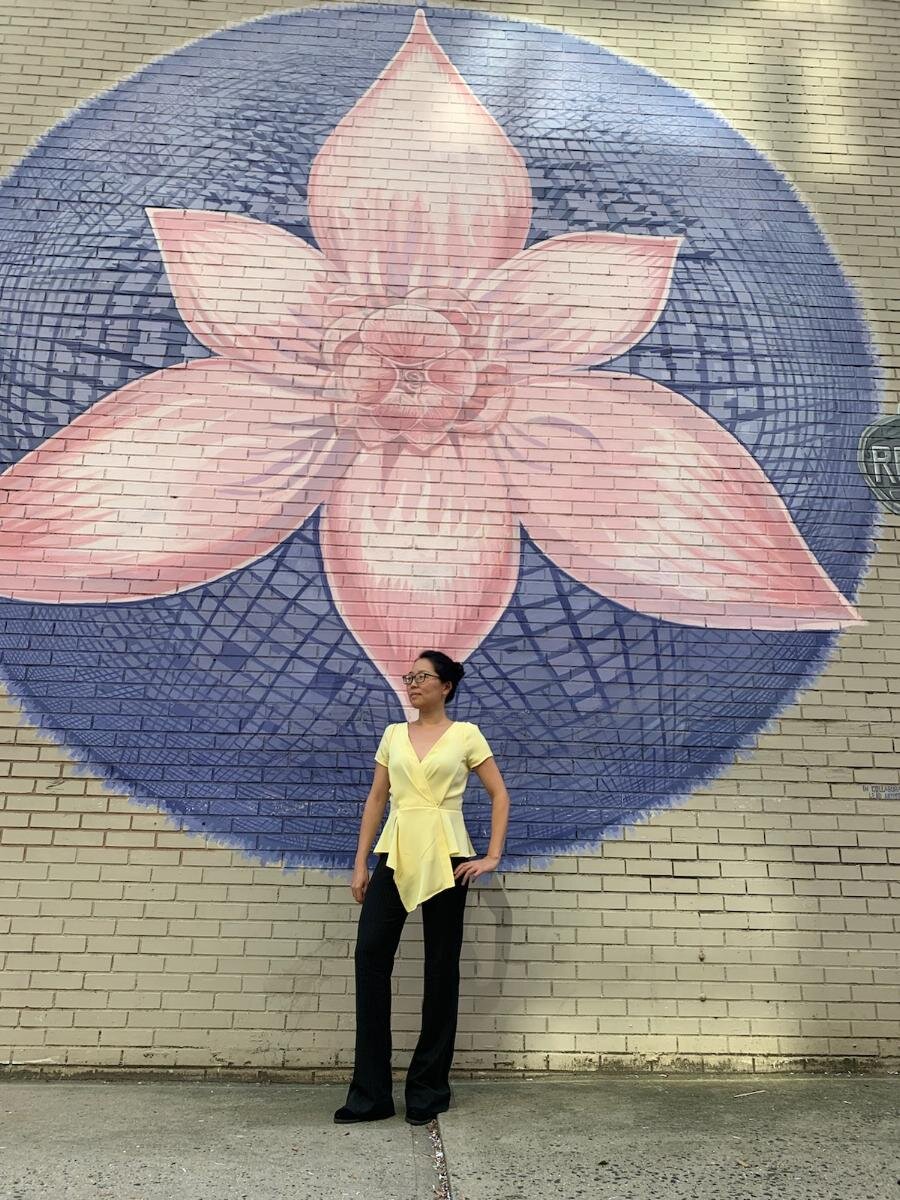
I knew that I wanted to make this top in a light pastel color, so that I could wear it with some dark grey pants that were already in my closet. After browsing Mood’s crepe fabric offerings, I settled on this butter yellow 4-ply silk crepe, which I knew would be drapey enough for this design and substantial enough to not require a lining. 4-ply silk is pricey, but trust me when I say that nothing feels better against your skin.
Luckily, the pattern fit pretty much right out of the envelope - I cut my usual size 10 at the bust and hips, grading out to a size 12 at the waist. The only adjustment I made was removing about 1/4 inch at the center back seam to account for my straight back (I’m told I have very good posture). I used French seams throughout and added snaps to keep the top closed (instead of the tie that the pattern calls for). There are two snaps at the waist holding the ends of the wraps in place, and one snap at the bottom of the “v” in the neckline that helps me stay modest.
This pattern includes facings, which I have always hated because they tend to flip out when worn. To solve that problem, I decided to use iron-on interfacing to secure the facing to the front bodice. First I stitched the interfacing (sticky side down) to the facing fabric at the outside edge, then I turned the interfacing out and pressed the edge flat with my fingers (don’t use an iron! This is important). That left me with a facing piece that had sticky interfacing on one side. I then stitched the facing piece to the front bodice, turned the facing to the inside (so the sticky side faces the wrong side of the front bodice) and ironed it in place. I realize it is probably very confusing when described in writing, but I’m happy to share a video with the technique if people want to see it. ;)
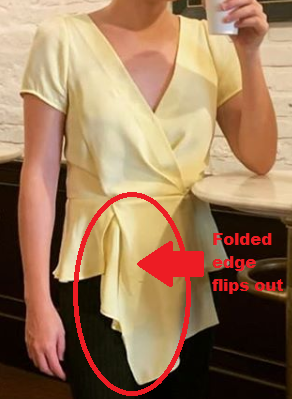
Overall, I love this top, particularly the asymmetrical peplum, which gives my waist some much-needed definition. I was initially worried that the peplum would look too large on my small frame (I’m only 5 ft 2 in), but that did not end up being a problem. My only gripe is with the right side of the front draped piece, which hangs a bit oddly. The pattern instructions have you finish the right edge and then “lightly press” the edge in, but on my version the fold doesn’t hold and ends up flipping out at the bottom edge. By contrast, you can see on the original version that Meghan is wearing, the fold stays in place and reveals more of the draped piece below it. I might try tacking the fold to secure it.
I can’t wait to make another version of this top, this time in a more substantial wool crepe!
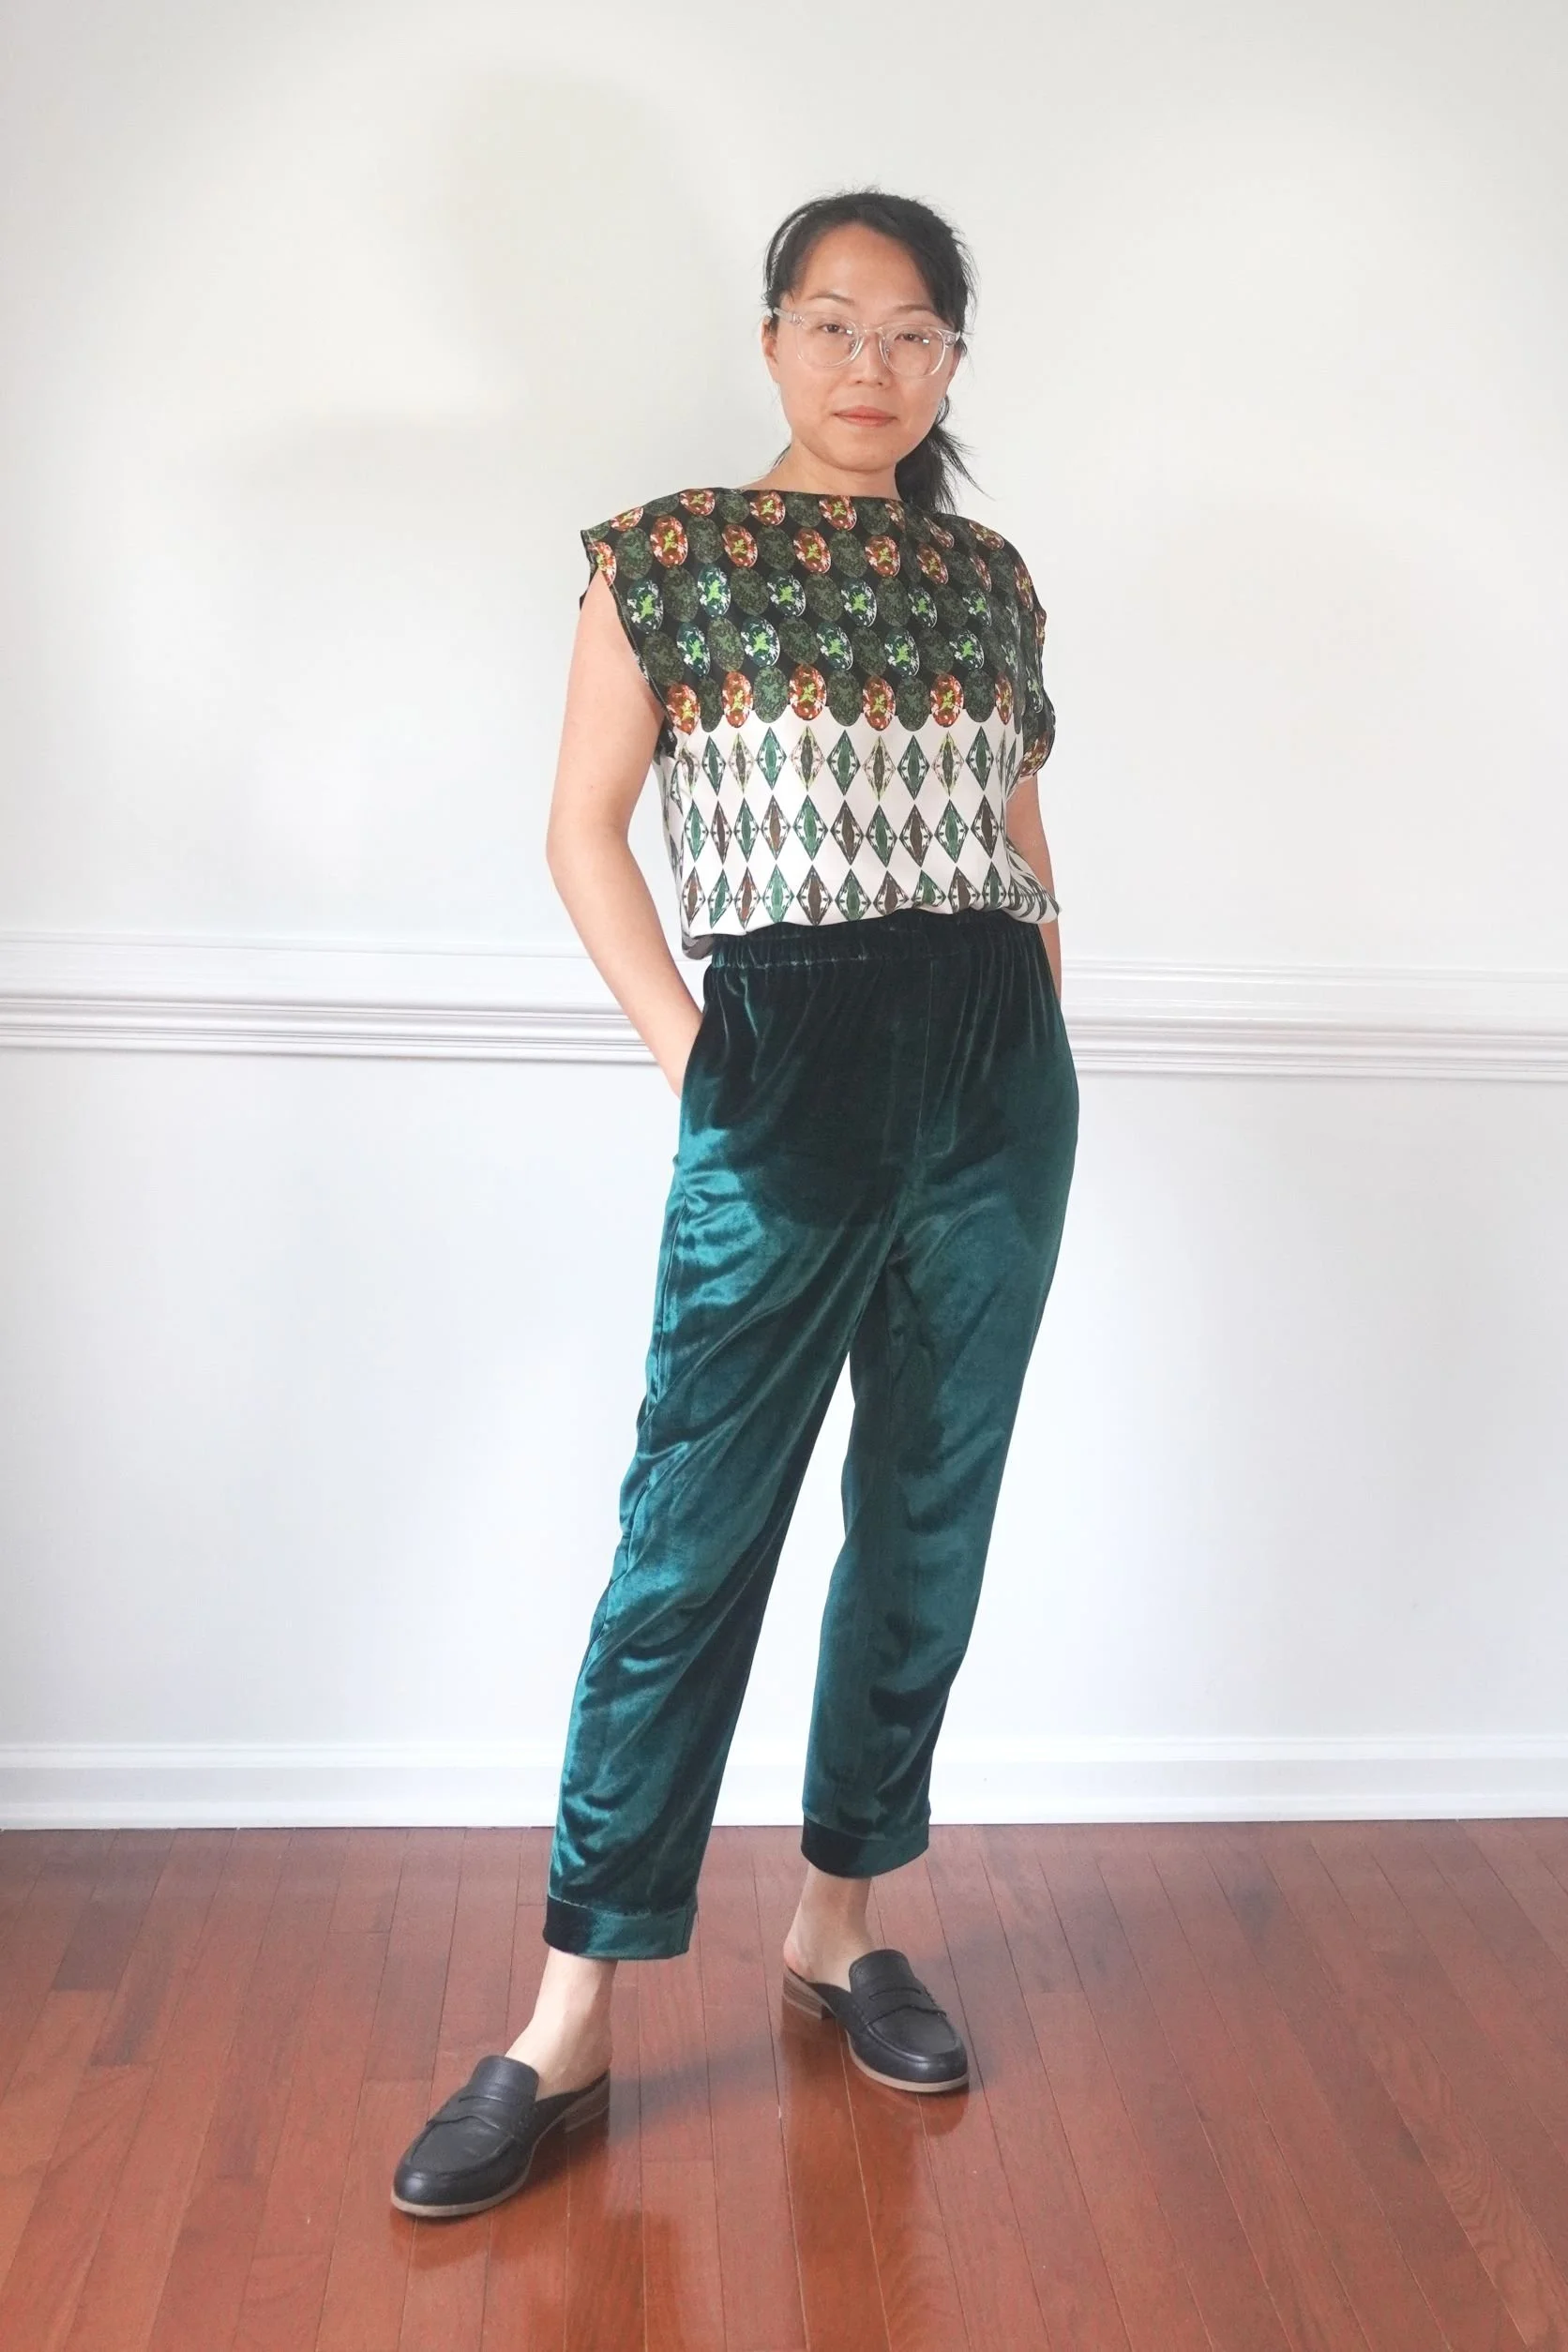
Pics of the top in action:
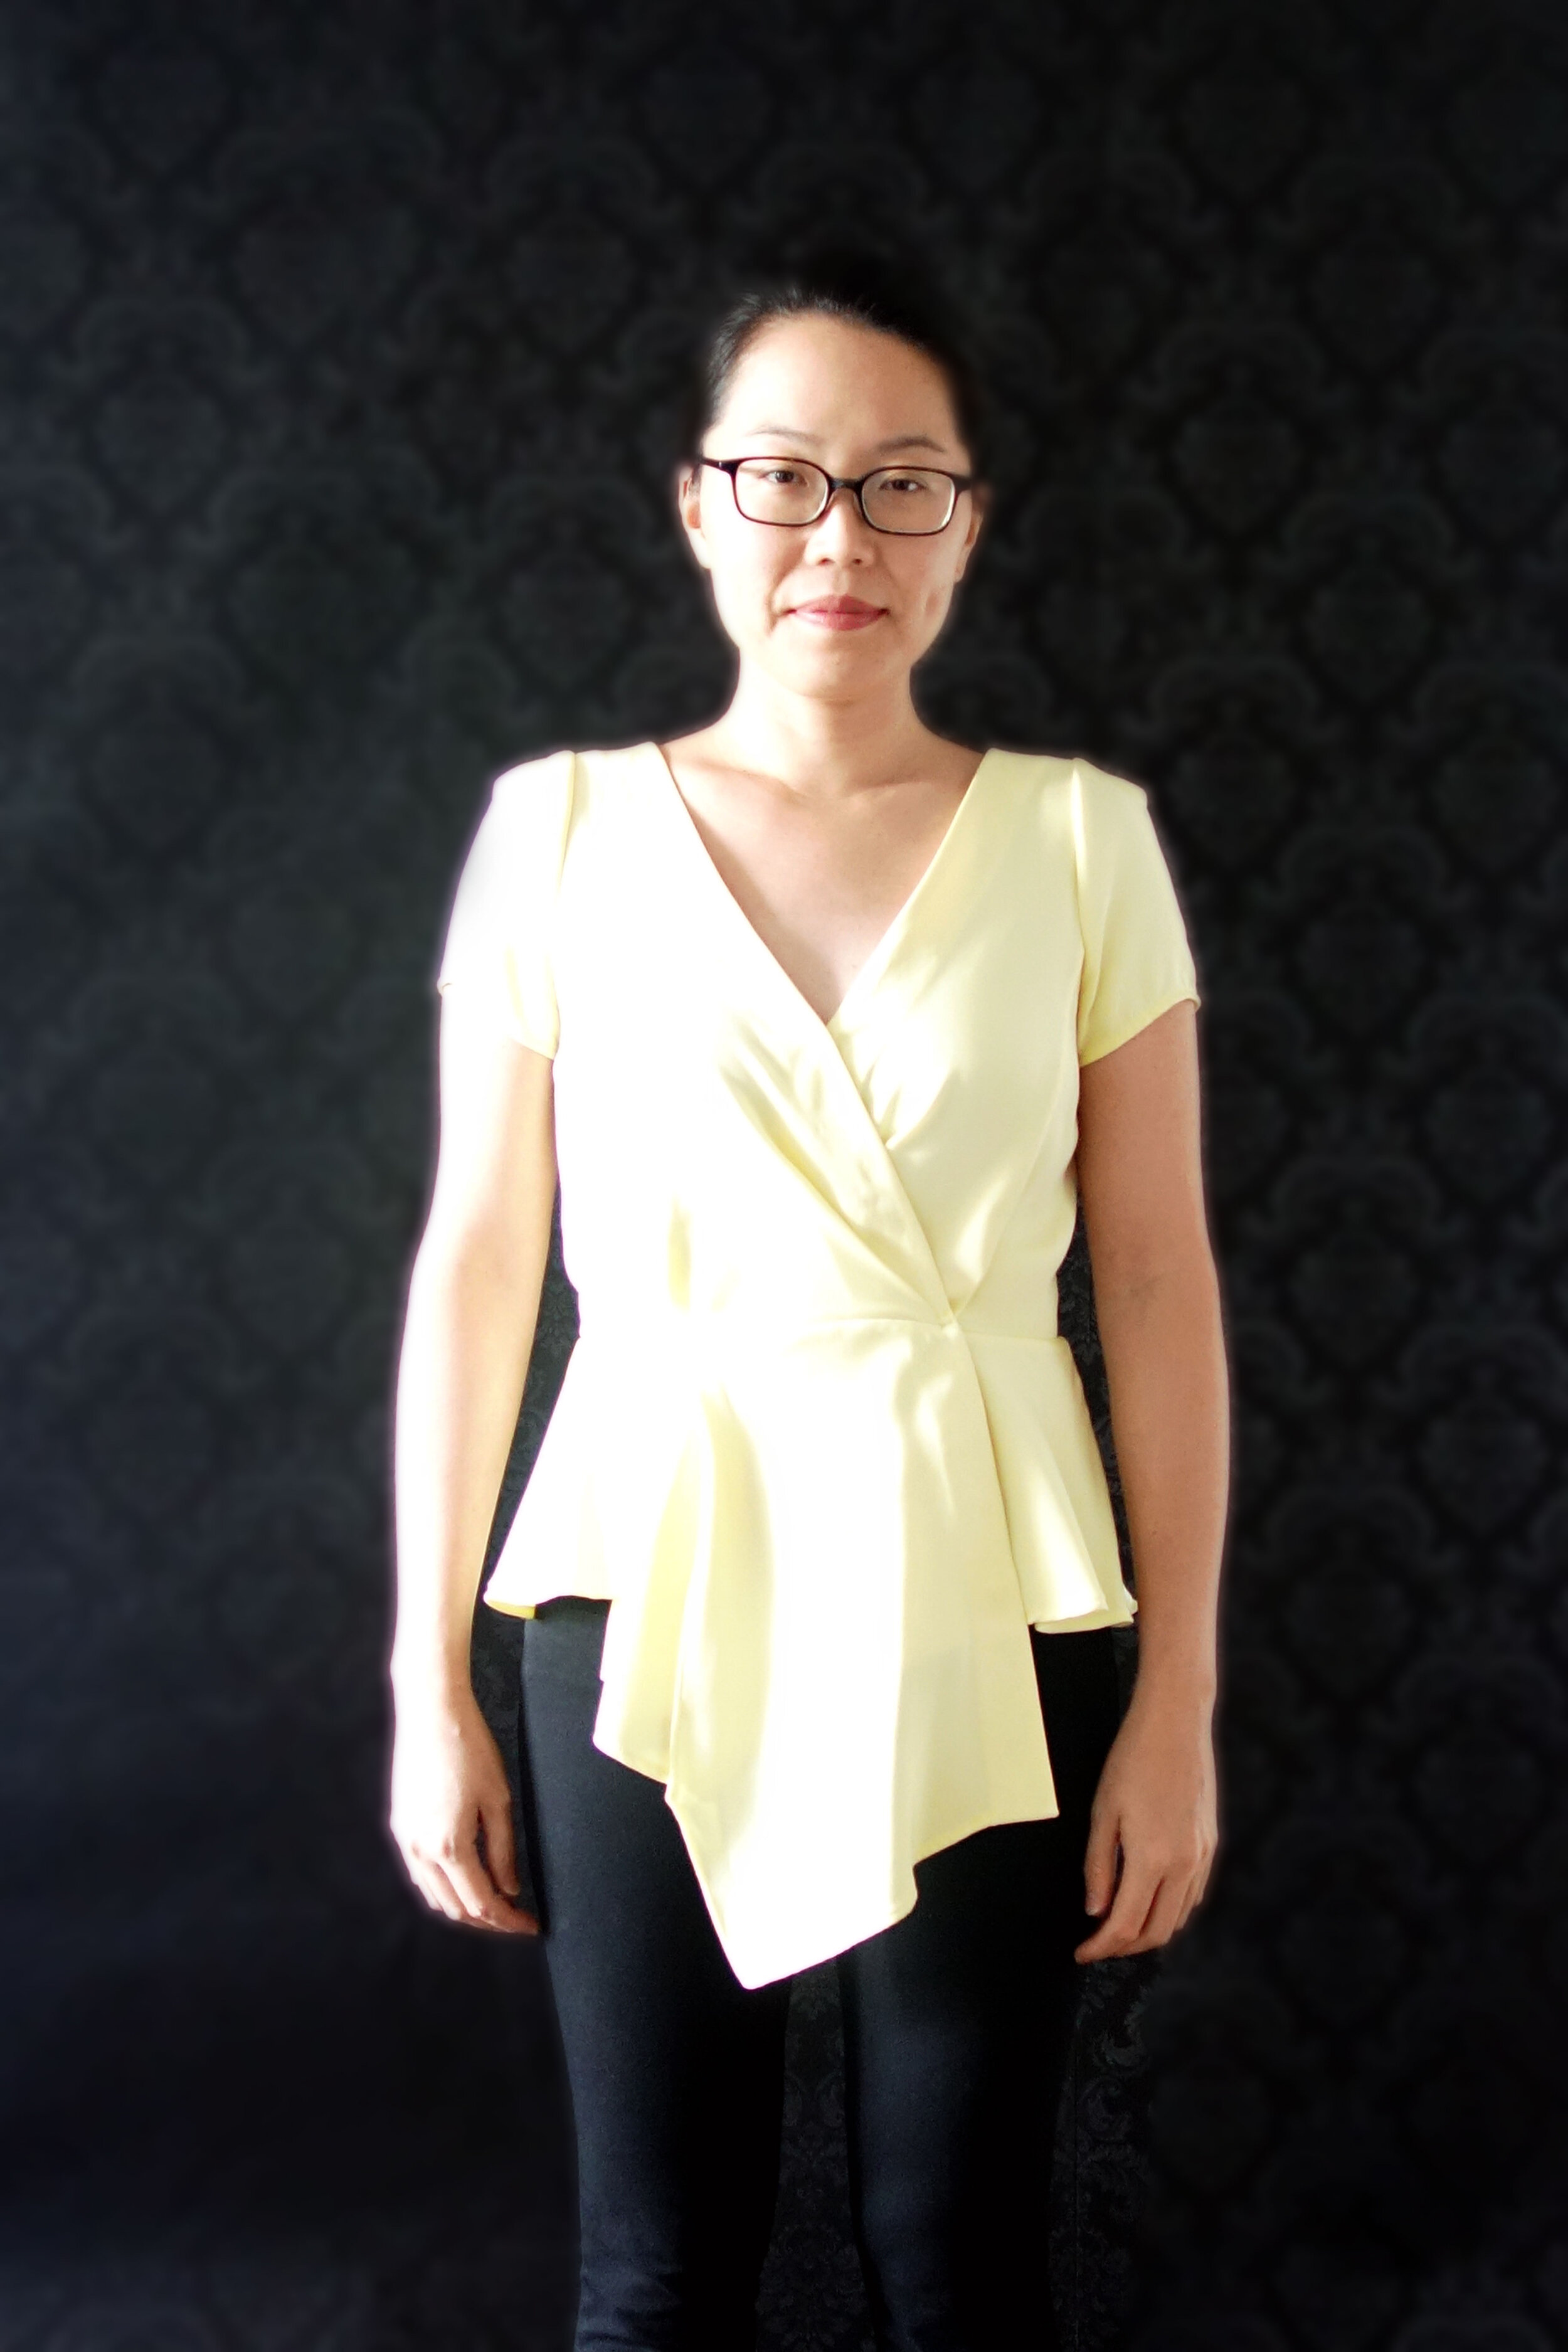
Dress form pics: