
90’s fashion is making a resurgence in fashion these days, which means that all of the trends from my high school and college years are making a comeback. The skin-baring backless napkin top is one of those trends. Made from tiny scraps of fabric held up with the thinnest possible straps, these little numbers are sexy yet can also look surprisingly polished and refined. See for example this silk cowl-neck napkin top from Subsurface: the combination of the luxurious silk fabric, elegant cowl drape in the front and delicate ties in the back make this an elegant, refined top.


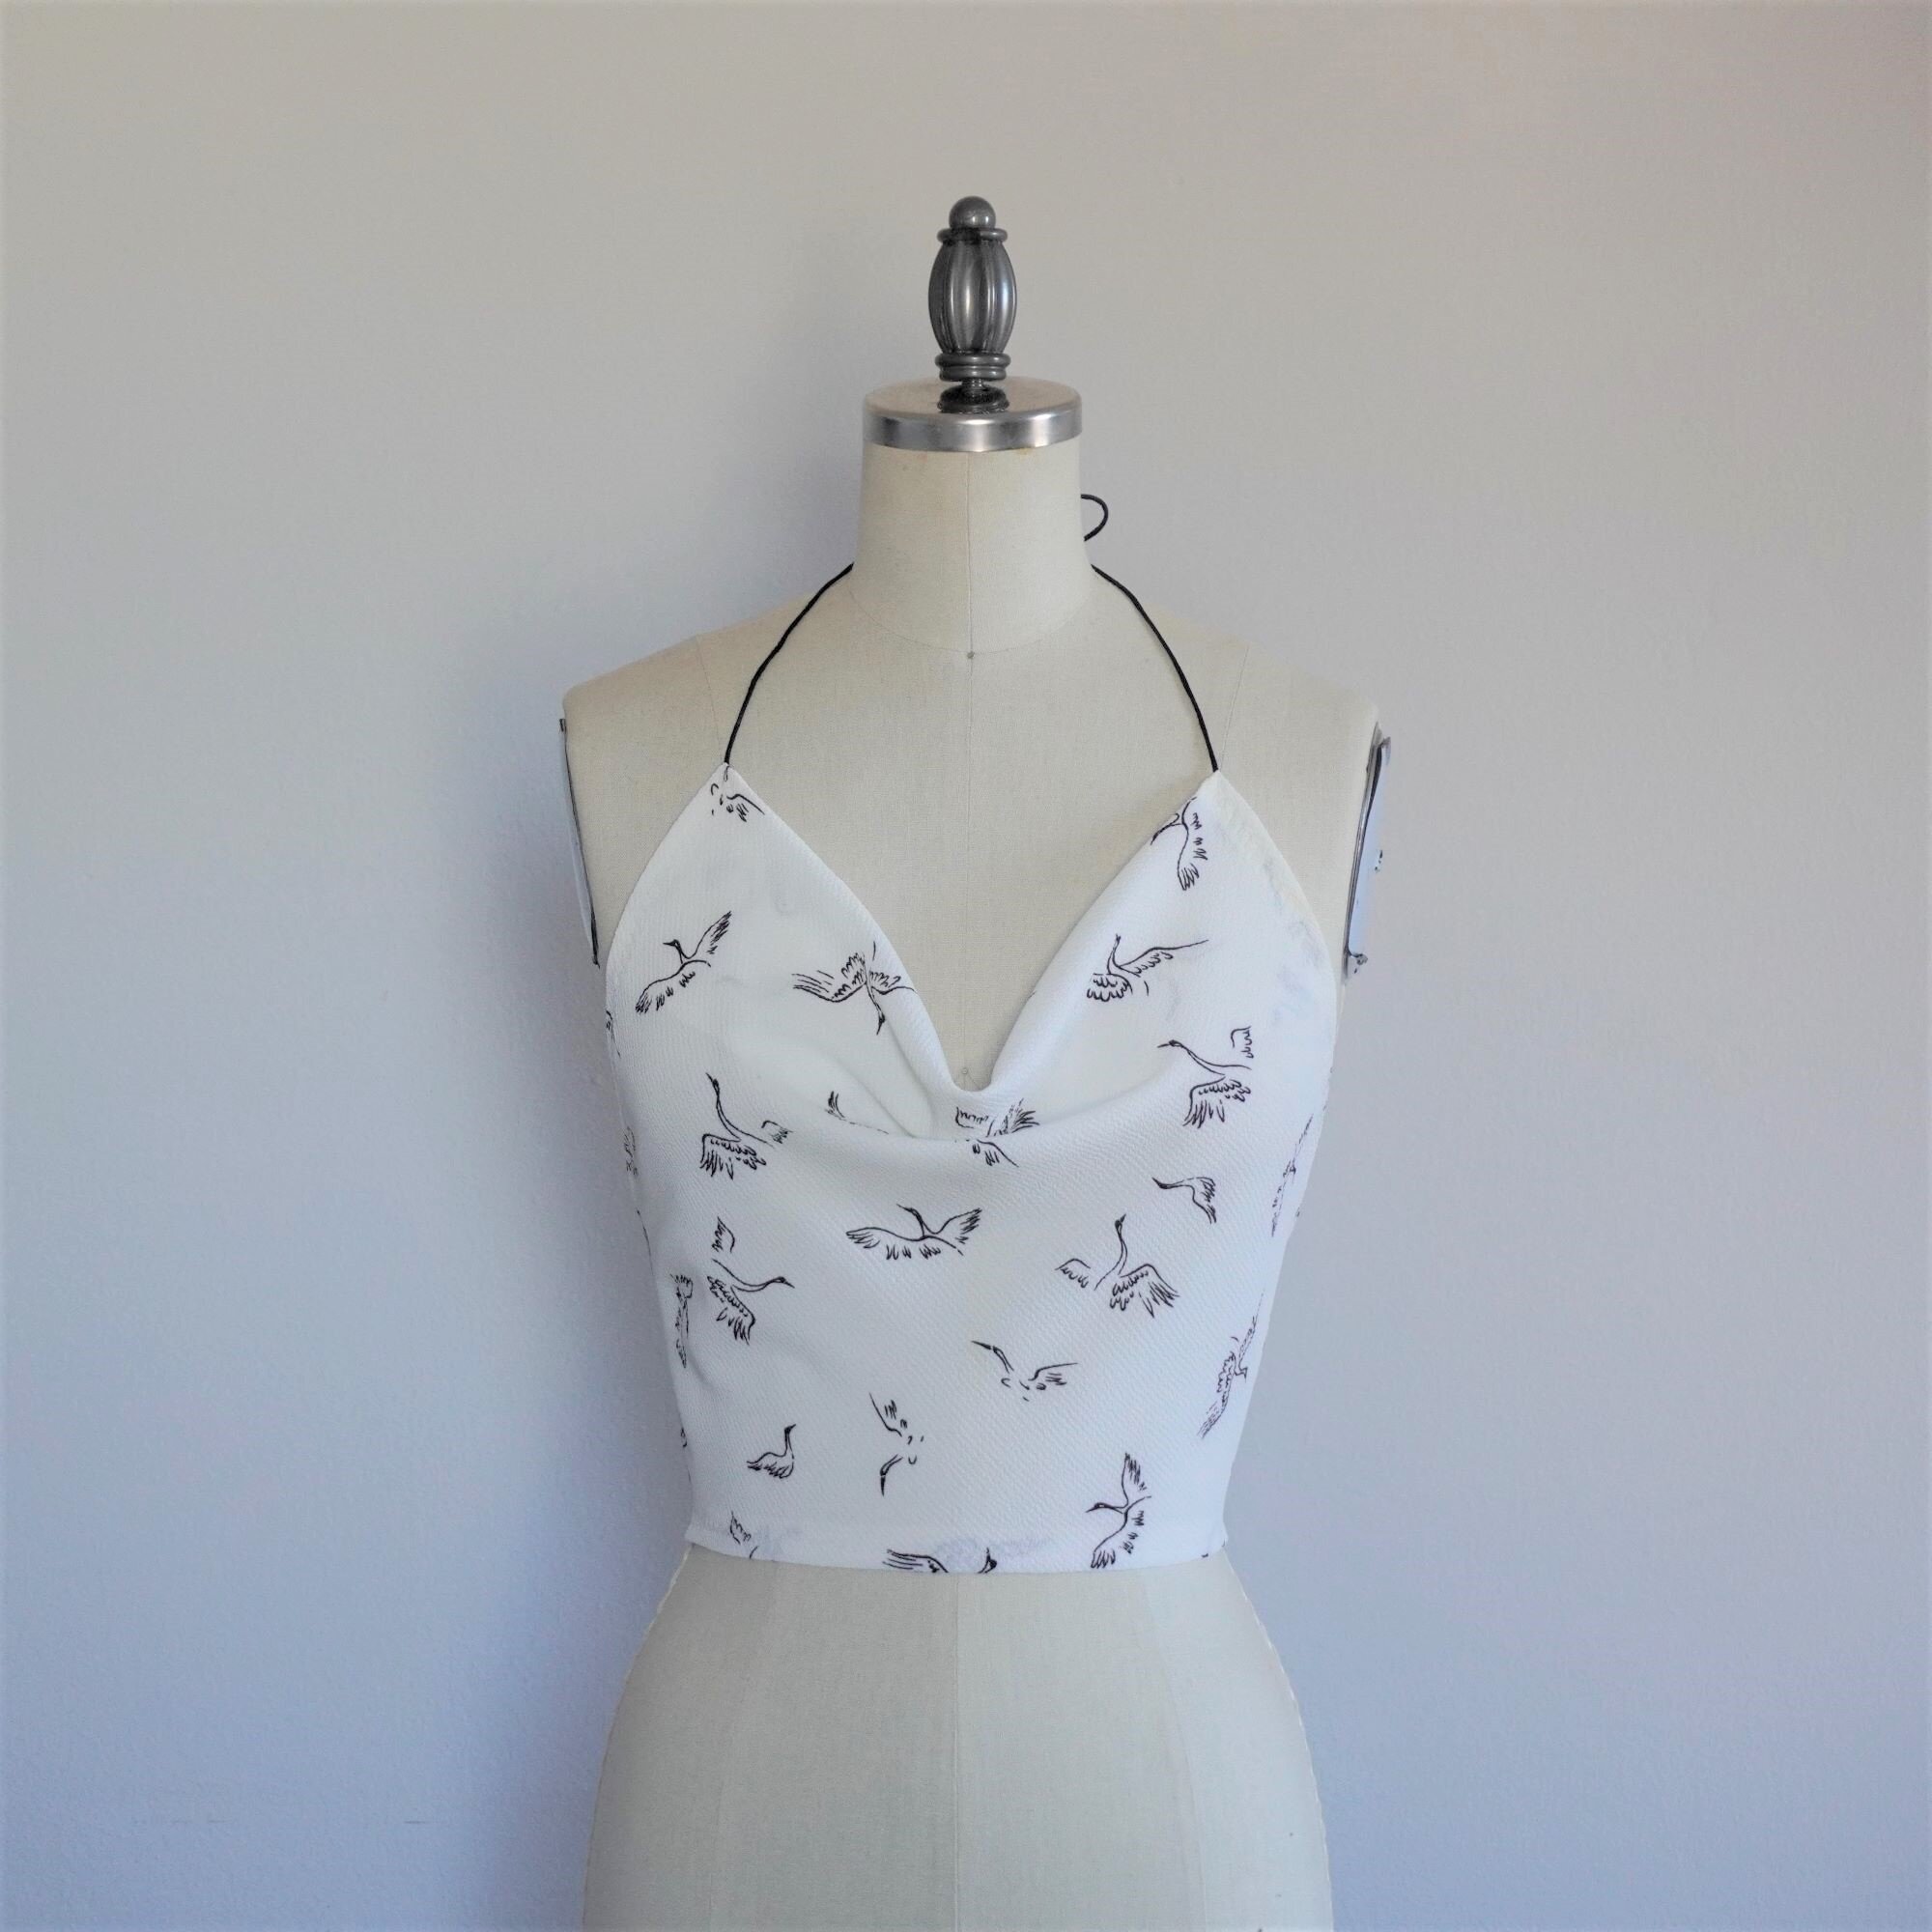
To get this look, I drafted my own pattern for a cowl-neck top that is cut on the bias (scroll down to the bottom of this post to get the free pattern!). Here’s a sample I made up with my pattern and some pebbled crepe I had in my stash:


You’ll need about half a yard of drapey fabric (such as 4-ply silk crepe, silk charmeuse or cotton gauze). You don’t want the fabric to be translucent so avoid really lightweight fabrics like crepe de chine, chiffon or georgette, unless they are marked as “double” (which means the fabric is doubled-up already). If you do choose a sheer fabric, cut a double layer of fabric so that the top doesn’t end up being see-through. Here are a few possibilities to get those creative juices flowing:

4-ply silk crepe
This fabric is available in dozens of colors (click here to see them all) and feels incredibly luxurious against the skin. It’s perfect for a formal evening top. Yes, it’s expensive but you only need a small amount.

Printed pebble crepe
The crepe fabric that I used for my sample is no longer available, but this crepe fabric has a similar pebbled texture and minimalist black and white print. There are also many other prints in this collection of polyester pebble crepes (click here to see them all). This fabric is just on the edge in terms of sheerness — I think you can get away with a single layer, but cut a double layer if you want to be on the safe side.
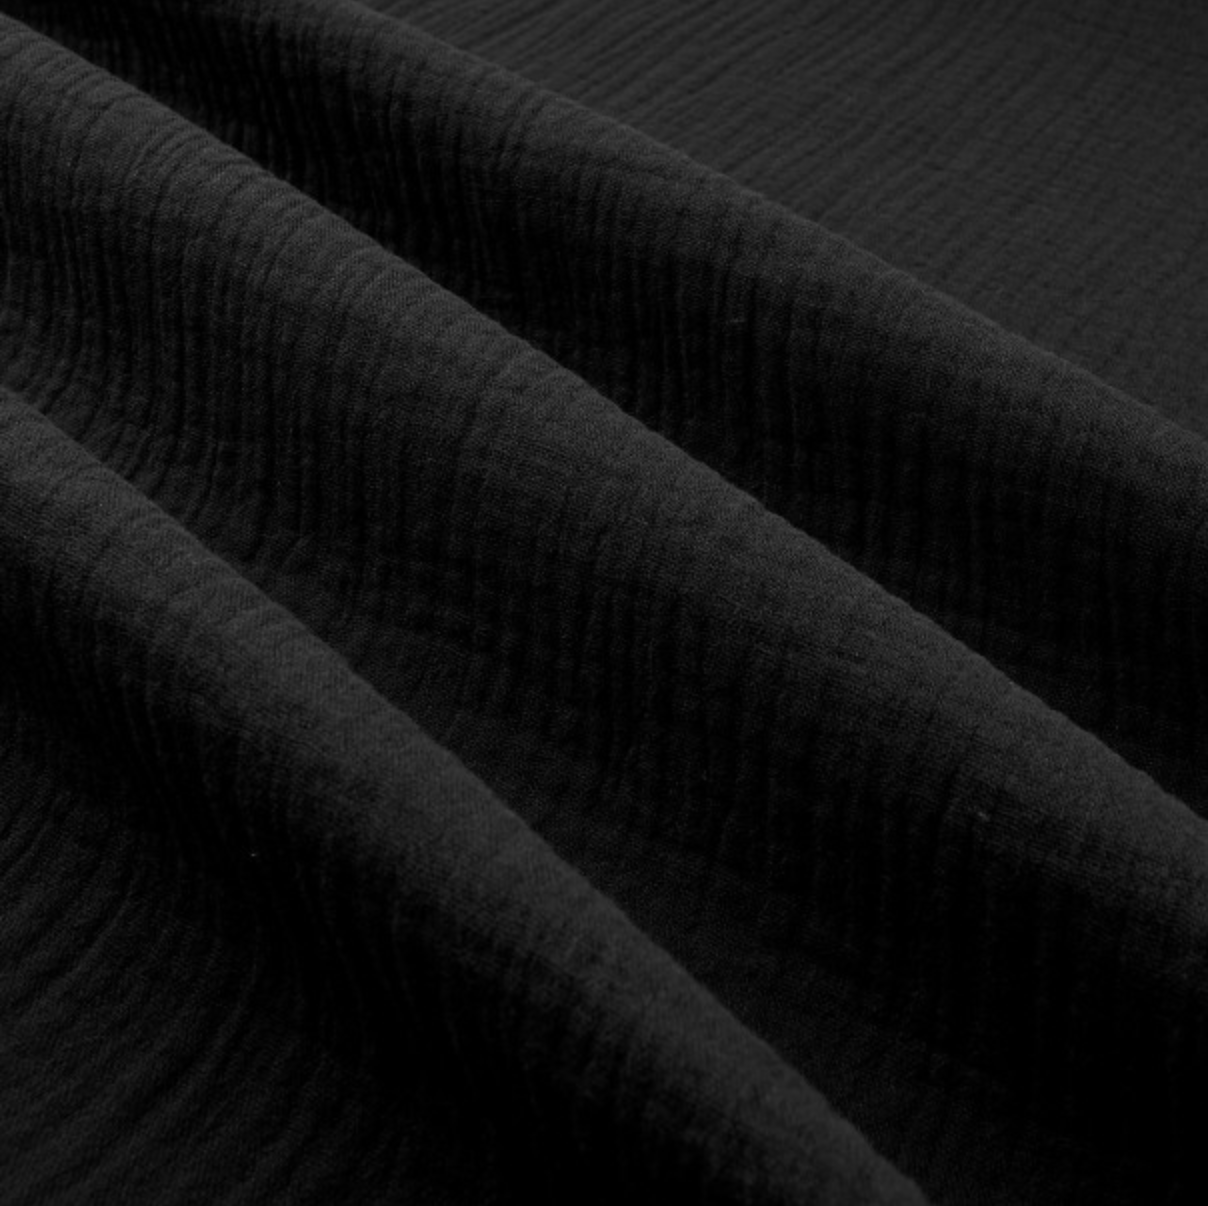
Double gauze
Cotton gauze fabric is great for easy, breezy summer tops. Double gauze consists of two layers of fabric tacked together, so the fabric is not sheer. This fabric is very affordable and available in several colorways (click here to see them all).
You will also need about 4 yards of delicate cording for the ties (I like this 1/8 inch satin cording). The obvious choice is to have ties in a coordinating color to your fabric, but consider having ties in a contrasting color, to bump up the visual impact. For example, my sample white top has contrasting black ties, which picks up on the black in the print. You could also make your own ties out of your fashion fabric, following this tutorial here. You will need more fabric if you choose to make your own straps, as these straps are cut on the bias and they can really eat up fabric as a result.
Sewing the napkin top is pretty simple, though it can be tricky to work with these slippery, lightweight fabrics. Here are the written instructions for sewing the top. I also have a video tutorial demonstrating these steps here.
Assemble PDF pattern (the link to the pattern is at the bottom of this post).
Using the pattern, cut the fabric for the top, making sure that you align the pattern using the grainline marked on the pattern. This will ensure that the fabric is cut on the bias (which is crucial for achieving that nice drape in the cowl).
Fold the edge at the side seams in by 1/2 inch, press, then stitch using a triple zigzag stitch. Using the triple zigzag stitch avoids the ‘tunneling’ effect that can occur when zigzagging delicate fabrics.
Fold the edge at the waistline in by 1/2 inch, press, then stitch using a triple zigzag stitch.
Fold the facing piece at the dotted line marked on the pattern. Do NOT press — this edge forms the soft drape in the cowl, so you don’t want a hard pressed edge here. Instead, pin the facing at the side and stitch down using a triple zigzag stitch.
Cut six pieces of cord that are 22 inches long.
Hand sew two of the ties to the corners of the facing piece. These ties will be tied around your neck to form the cowl neck.
Hand sew the other four ties to the upper and lower part of the side seams. These ties will be tied behind your back.
If you are doubling up the layers in your top:
Instead of cutting the pattern with the facing as marked, mark around the outside of the pattern, then mark where the dotted line is using tailor’s chalk. Flip the pattern over (so it is a mirror image of what you just marked), align the dotted line on the pattern with the line you just marked on the fabric with tailor’s chalk, and then mark around the outside of the pattern. Cut the fabric as one large piece along the lines that you marked (but do NOT cut along the dotted line — that line is just for reference, so you know where to align the pattern piece once you have flipped it over).
Instead of folding over the edges, simply fold the fabric along the dotted line and align all of the edges, right side to right side. Stitch around the entire top with a 1/2 inch seam allowance, leaving about two or three inches unsewn at the end. Turn the fabric through the opening, press, then hand sew the opening closed.
Hand sew the ties as indicated in steps 7 and 8 above.
Are you ready to make your own napkin top? Click below to get the free pattern!


Are you interested in making another type of back-baring top? Check out my tutorial on refashioning a knit shirt into a sexy, skin-baring top with a delicate strap across the middle of the back. Here’s a sneak peek:


