
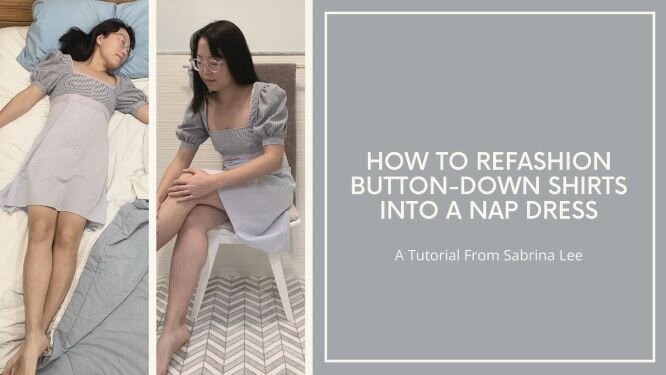
Just about everybody has some old button-down shirts hanging in their closets, whether their own or their partner’s. Today, I’m going to show you how to refashion some button-down shirts into the trendy “nap dress” that has been all the rage on Instagram.
It’s fairly easy to make your own nap dress using three button-down shirts and a sewing pattern for a Jane Austen-style dress (like McCall’s 8132 or Butterick 6630). Watch the video below to see how or read on below for written instructions.
Dissecting the button-down shirts
Start with at least three button-down shirts in coordinating colors. I inherited three old shirts from a colleague of mine who was going to throw them out. I then supplemented it with another shirt that I found at the Salvation Army for $5, just to round out the pattern mix. Here’s a quick tip: when shopping for clothes to refashion, look for the biggest size you can find, as that will give you more fabric to play with. The shirt I bought was an XL.
I then dissected the shirts by cutting them up in this order:
Cut off the sleeves at the armholes.
Cut body of shirt at side seams and shoulder seams, then cut off the collar just below the collar stand.
Cut off the button placket from the front shirt piece, leaving a seam allowance so you can sew the placket onto something else if needed.
Cut off the back placket on the back shirt piece.
Cut off the cuffs on the sleeves and then cut down the seam of the sleeve to open out the sleeve into a flat piece of fabric.
You should now have 5 pieces of flat fabric from each shirt: two front shirt pieces, one back shirt piece, and two flat sleeve pieces. You should also save the button placket and cuffs.
Cutting and constructing your nap dress
Next, take your pattern and cut out the pieces from the flat pieces of shirt fabric. I recommend cutting the skirt pieces from the largest shirt you have, as the skirt pieces eat up the most fabric. You might need to piece some of the pattern pieces together if your shirt fabric pieces are not big enough.
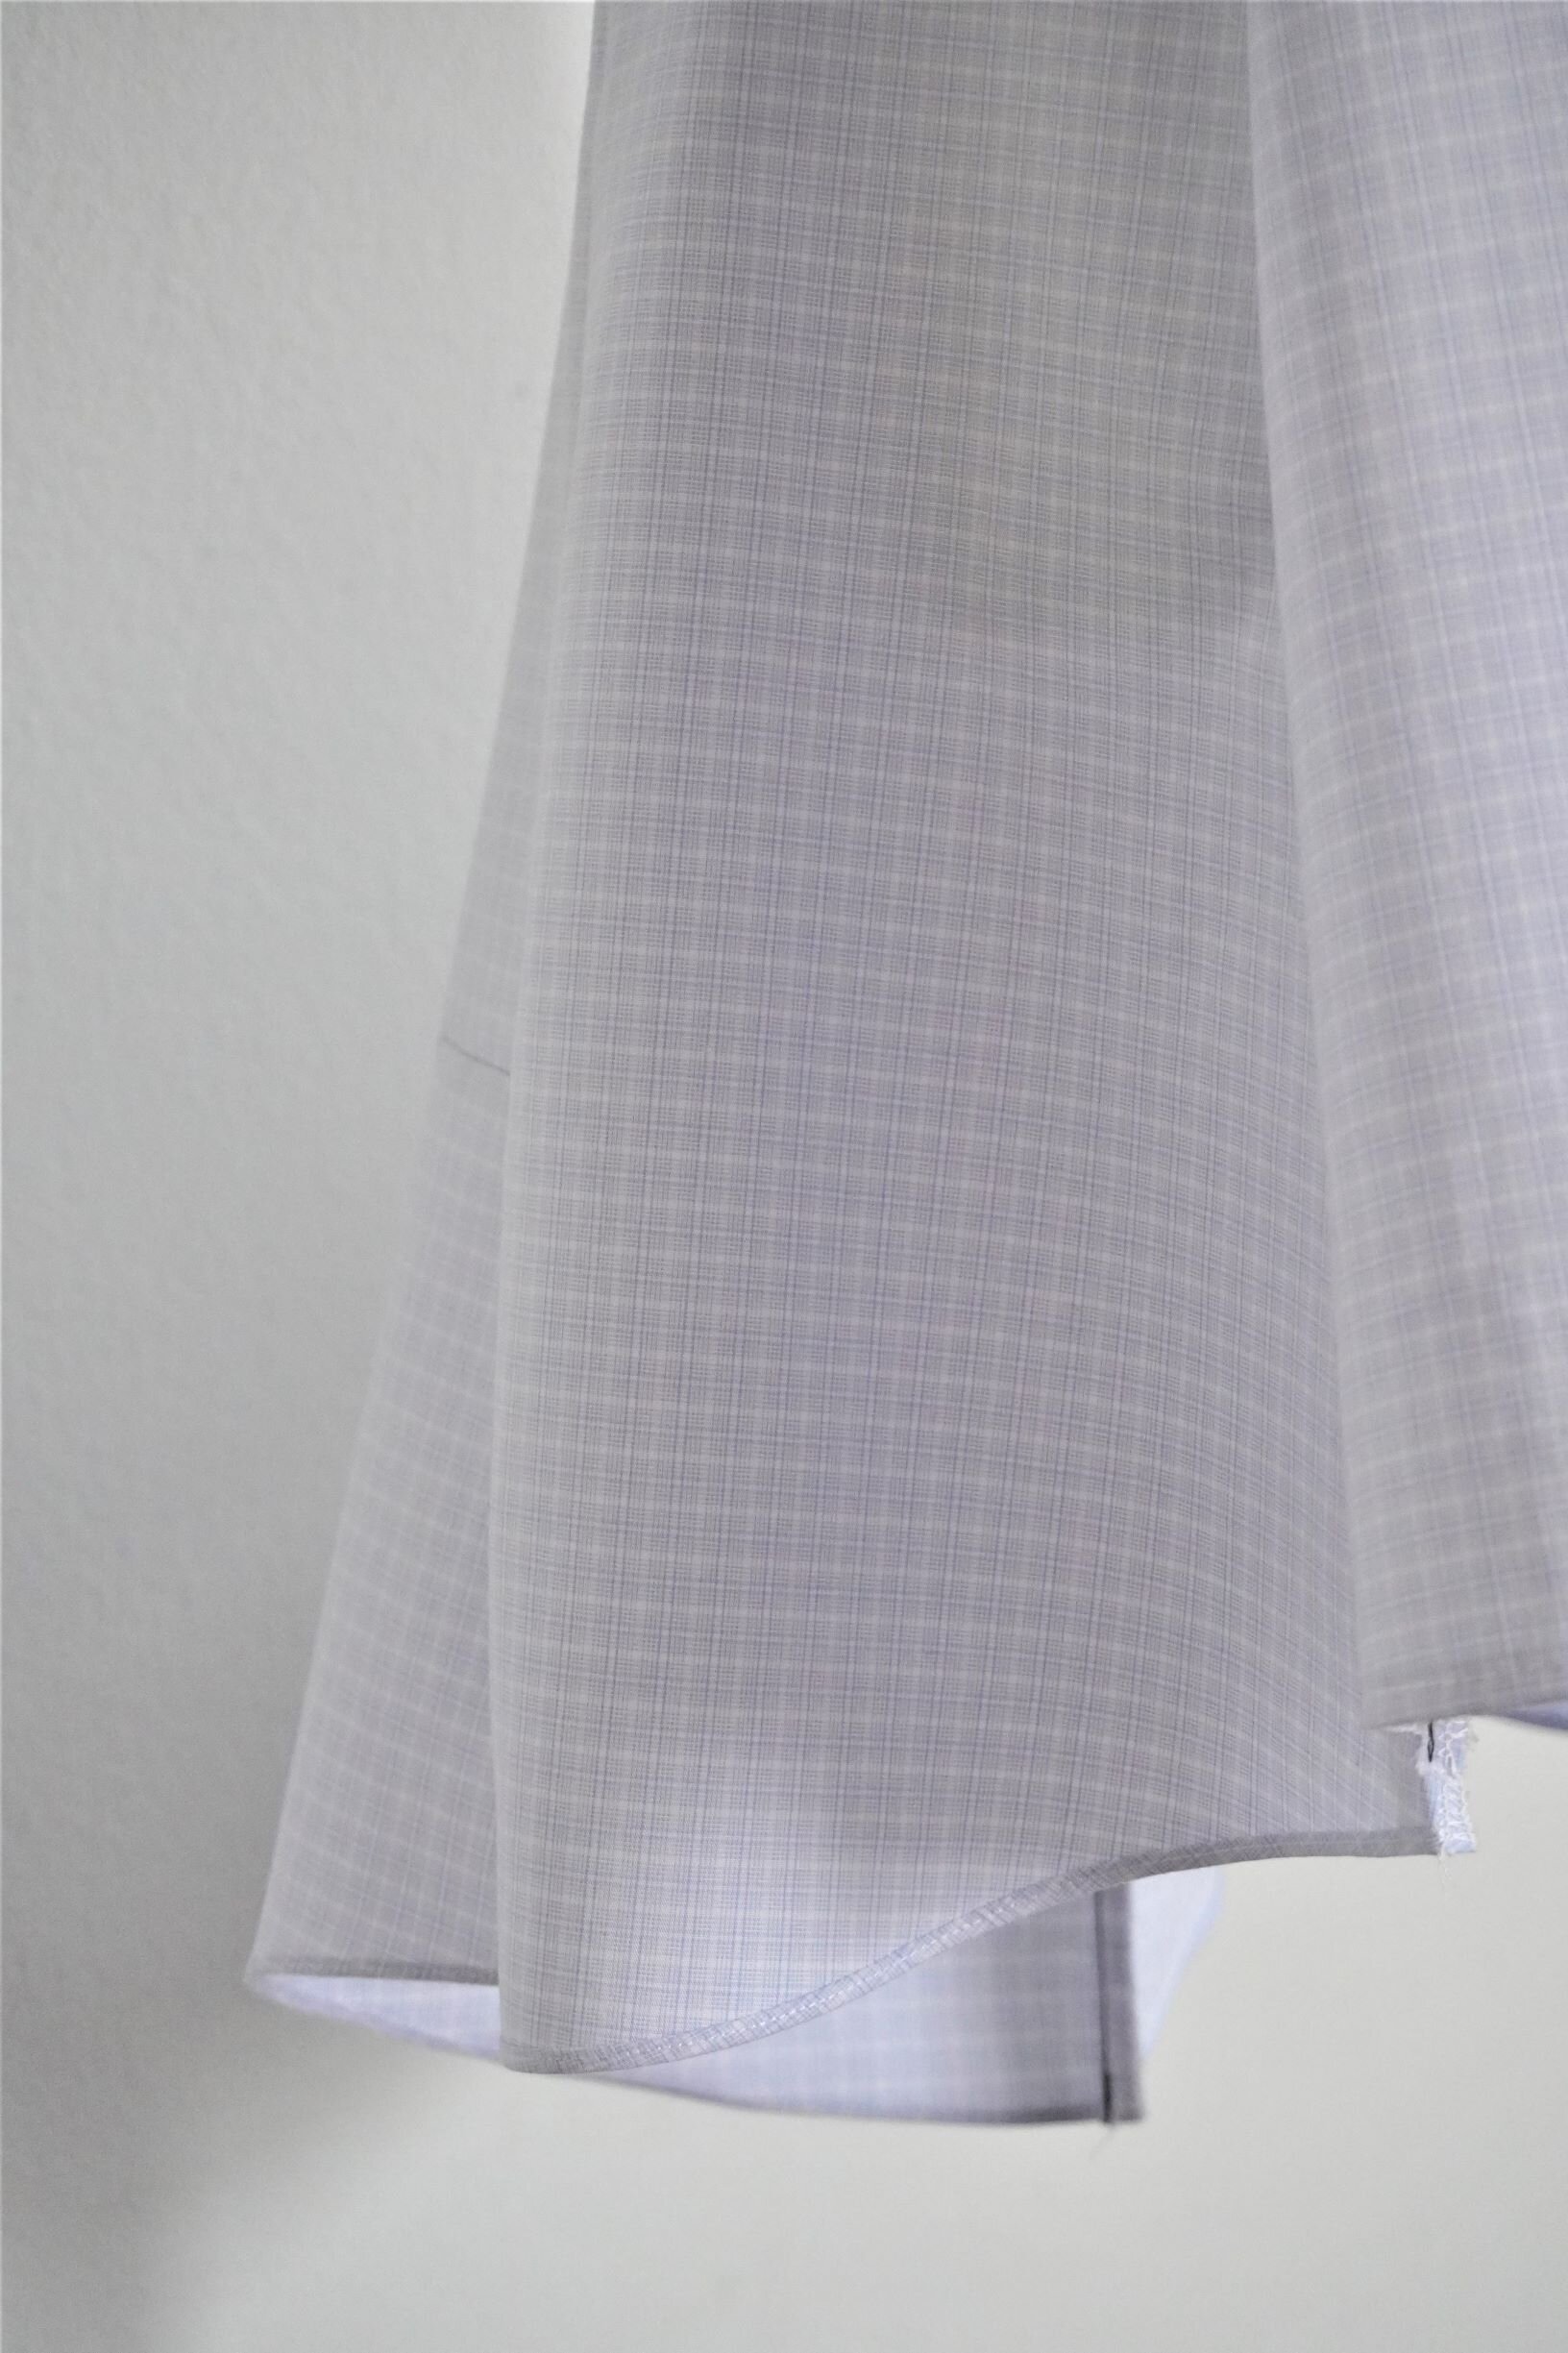
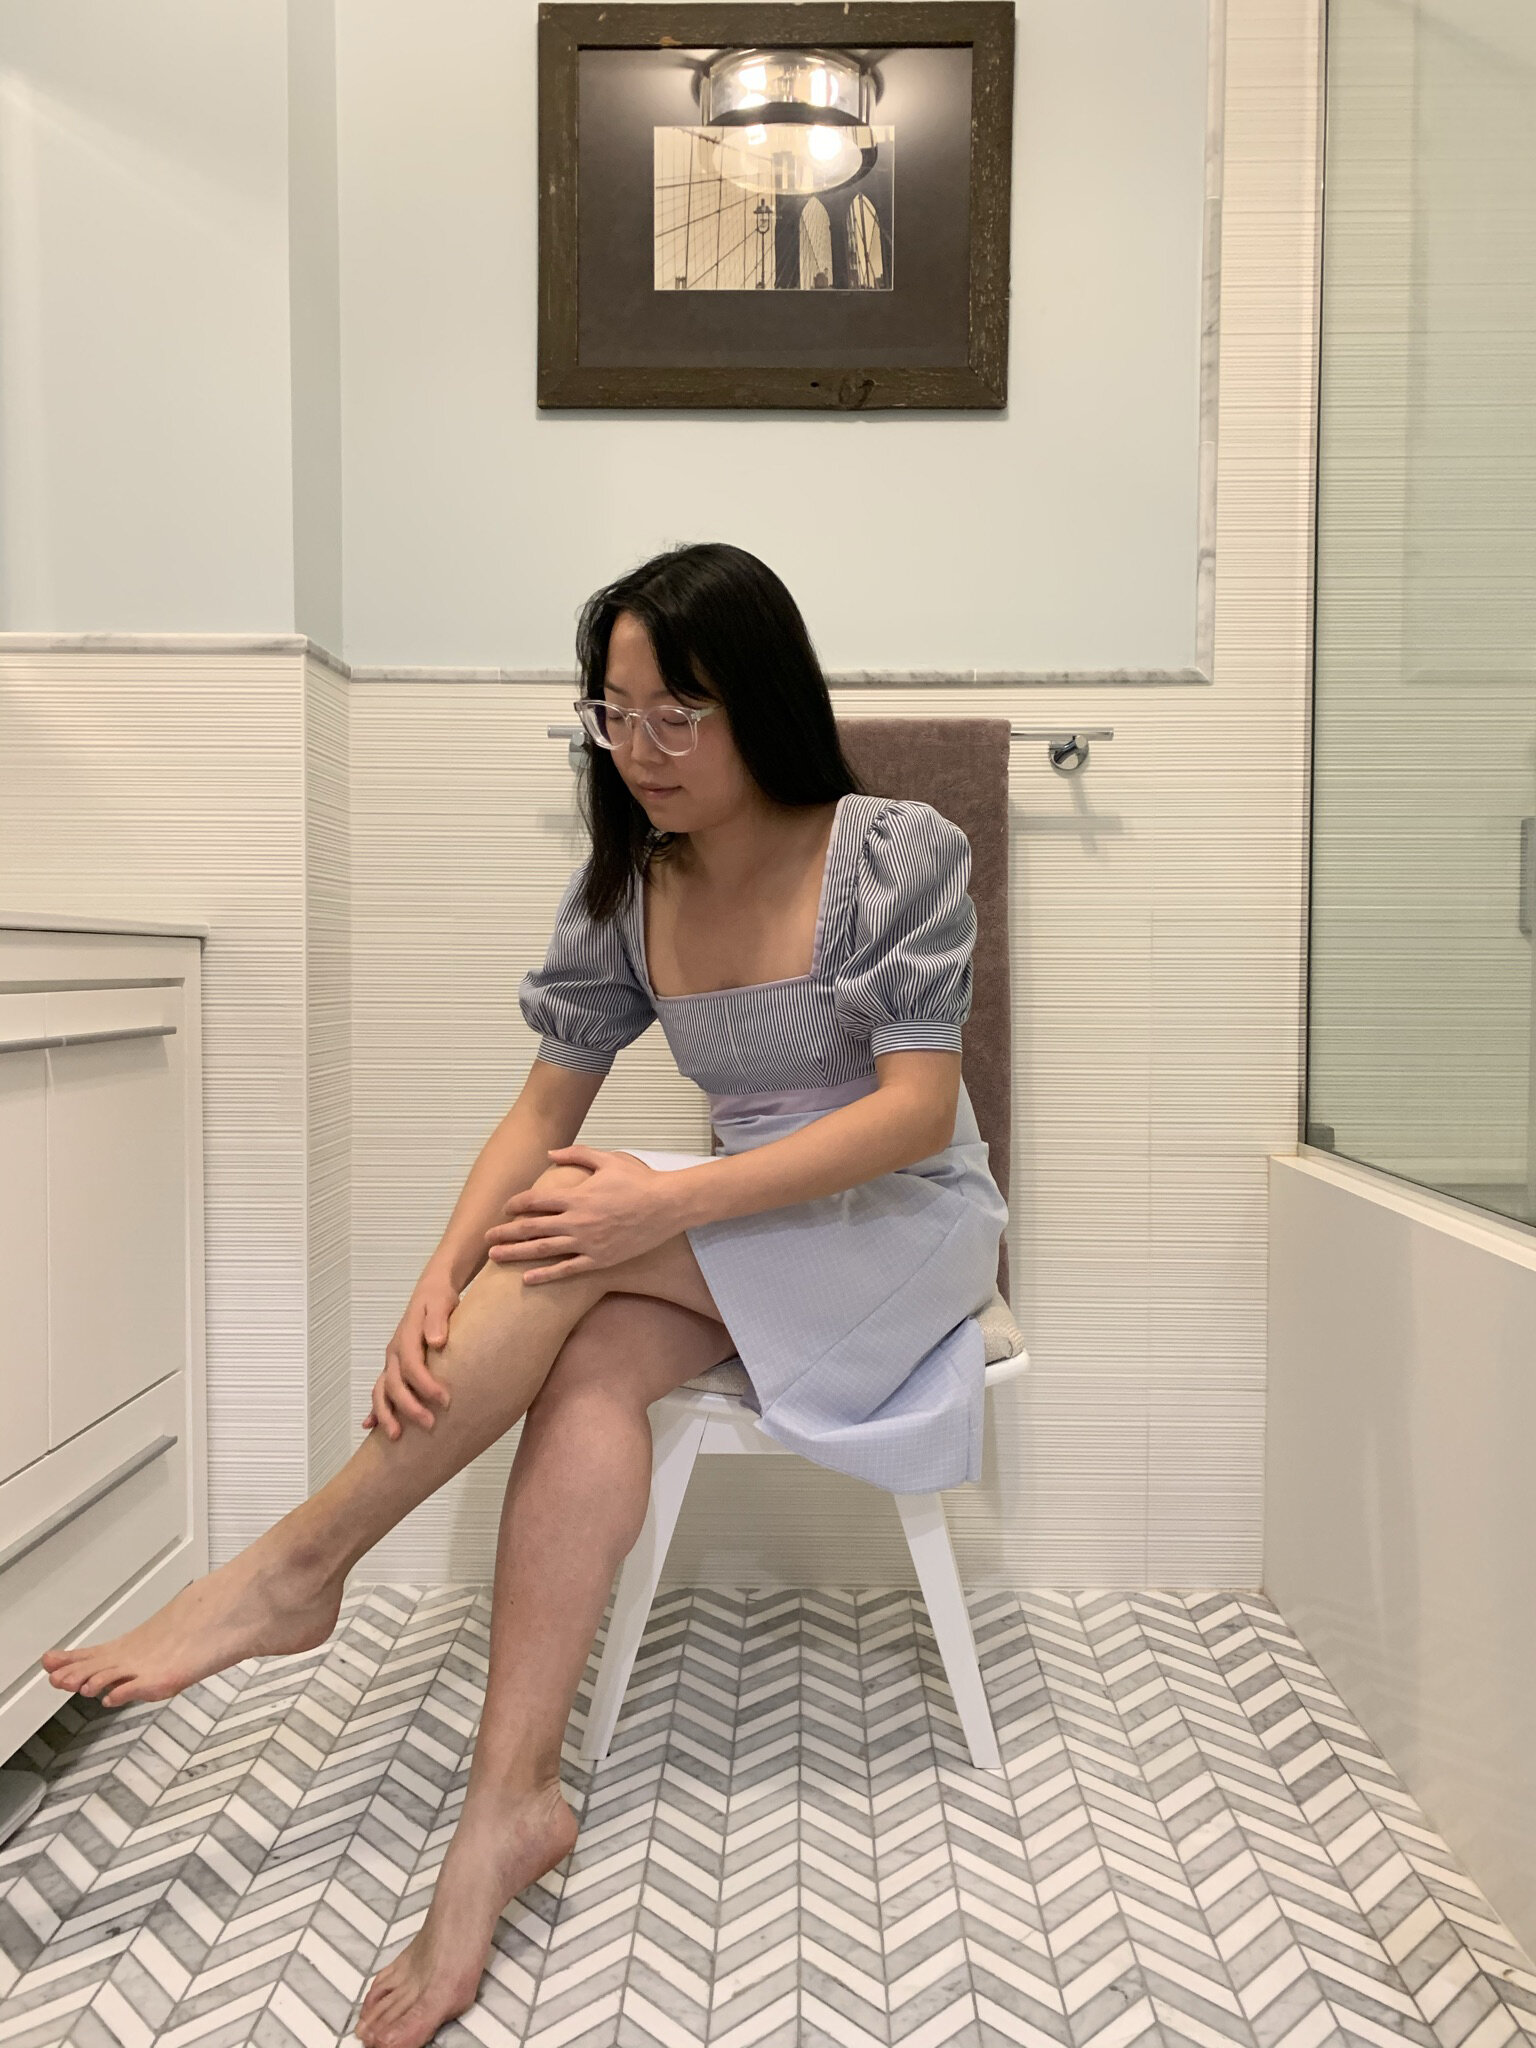
Here’s another tip: try to use the features of the original garment in your new garment. For example, I cut the skirt pieces so that the hem on the existing button-down shirt became the hem on the skirt. This will save us the trouble of having to hem the skirt. My shirts had a curved hem that was a bit longer in the back, so the skirt on my nap dress ended up having a high-low hem, which I thought was a nice (unintended!) design feature:
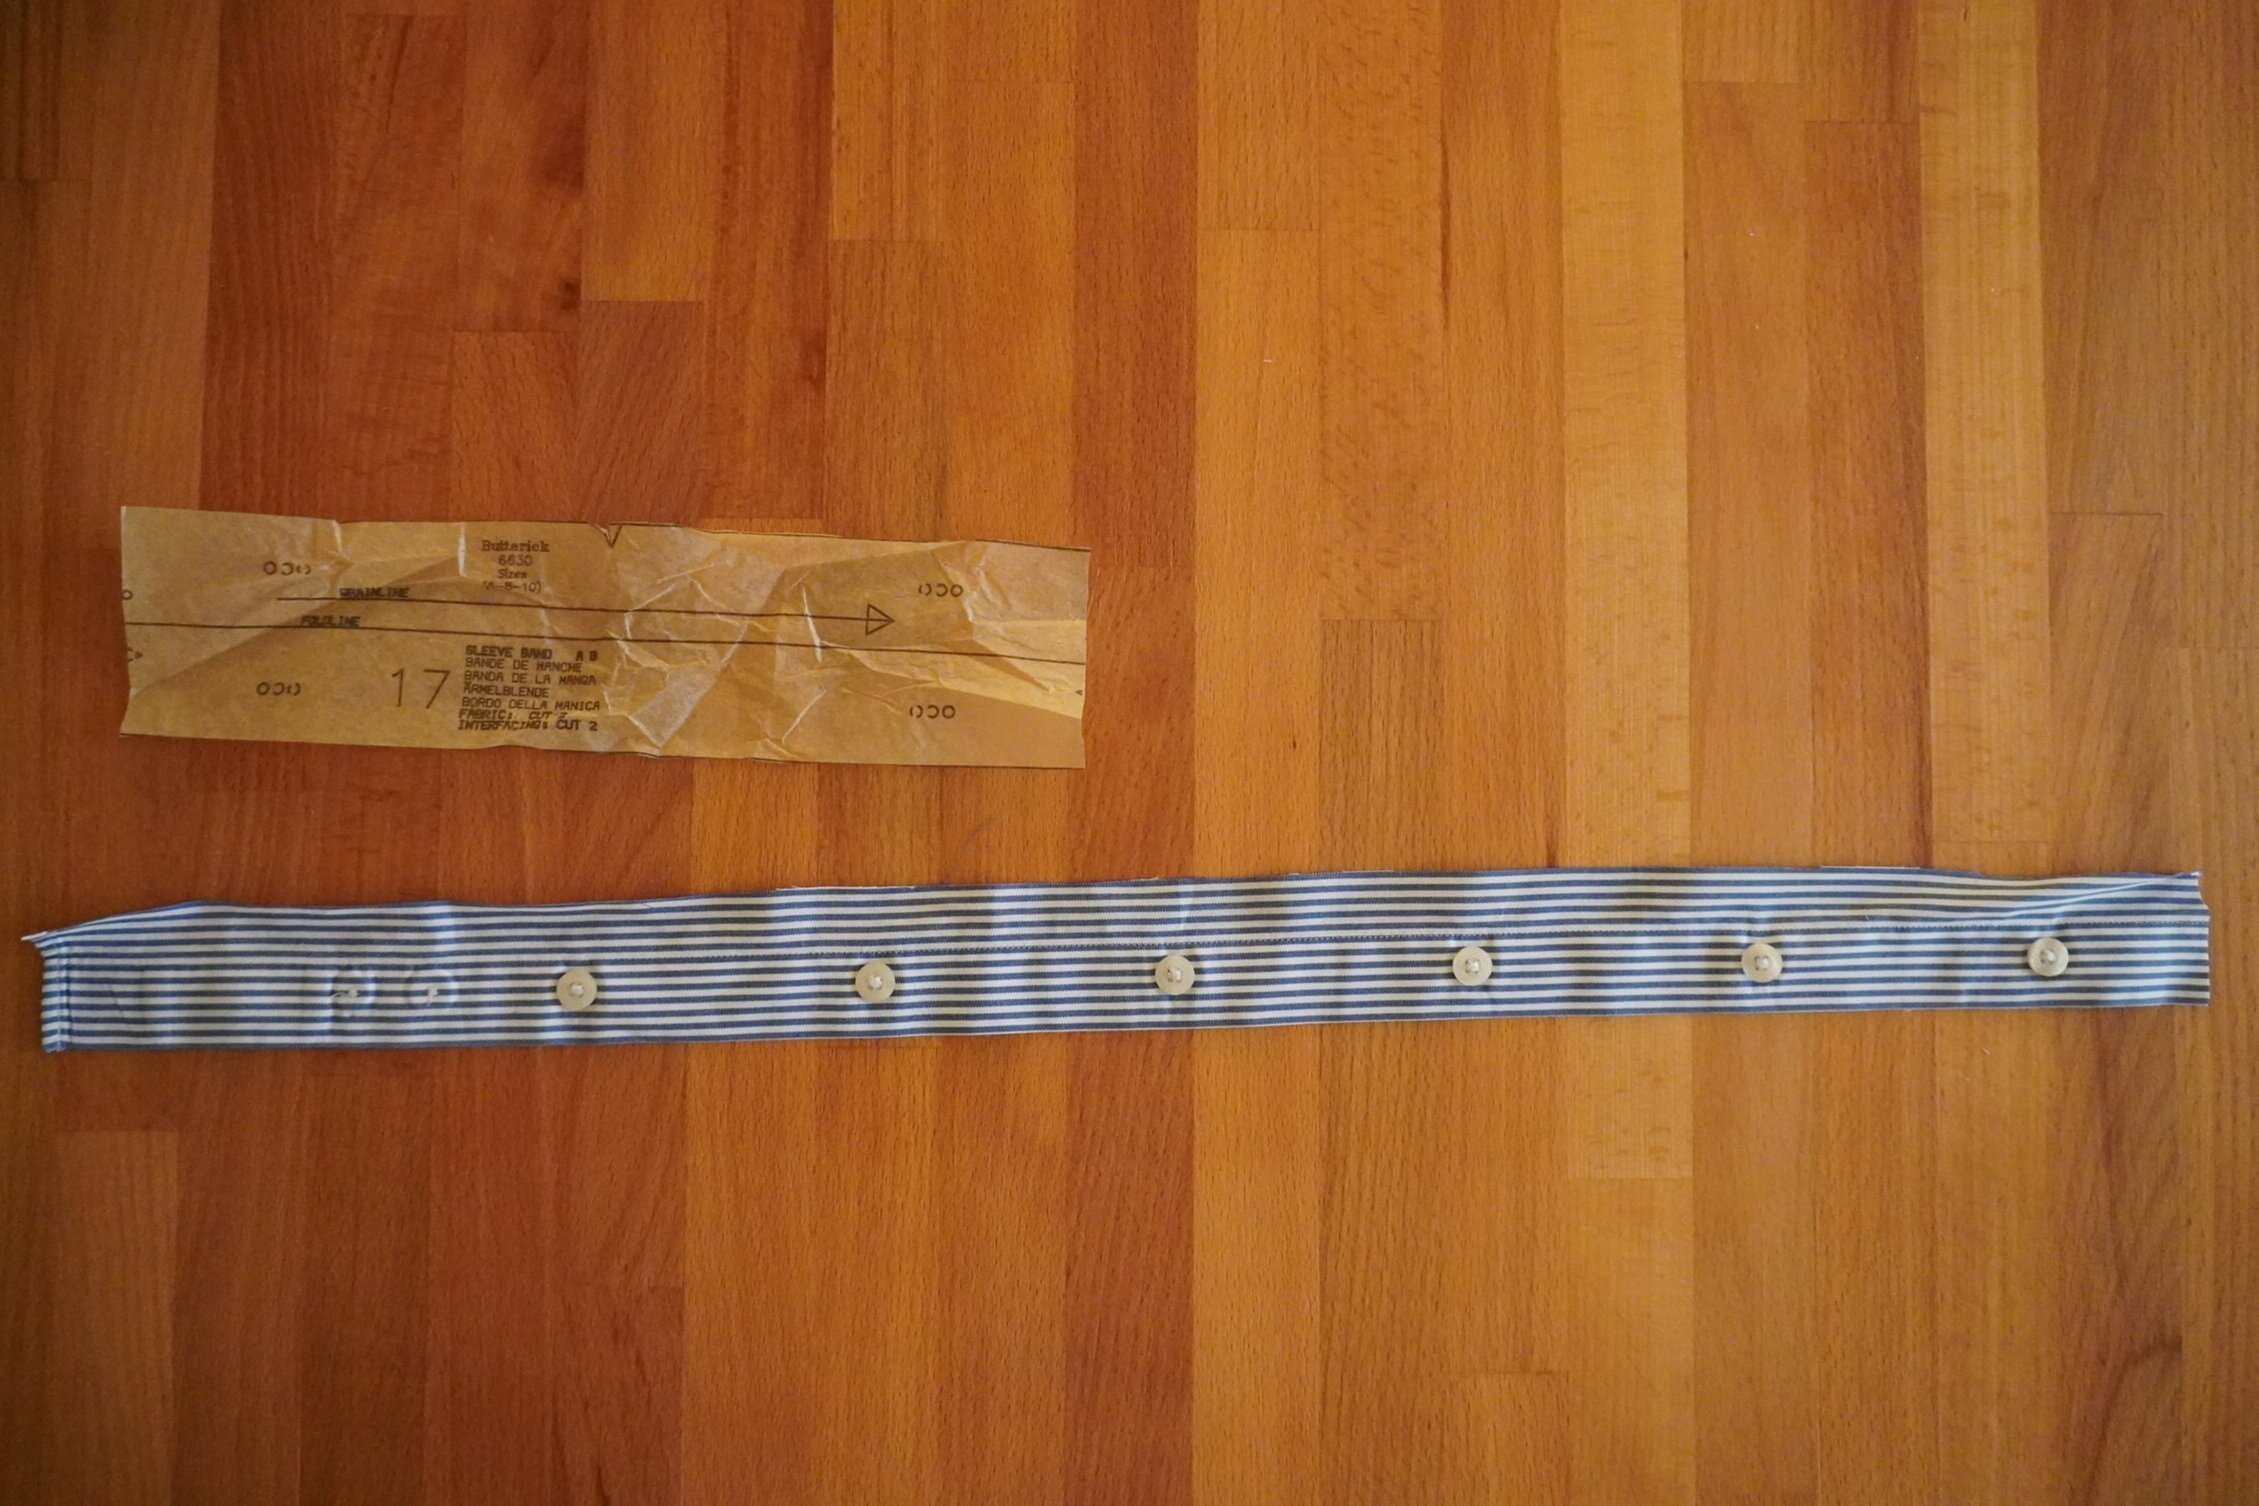
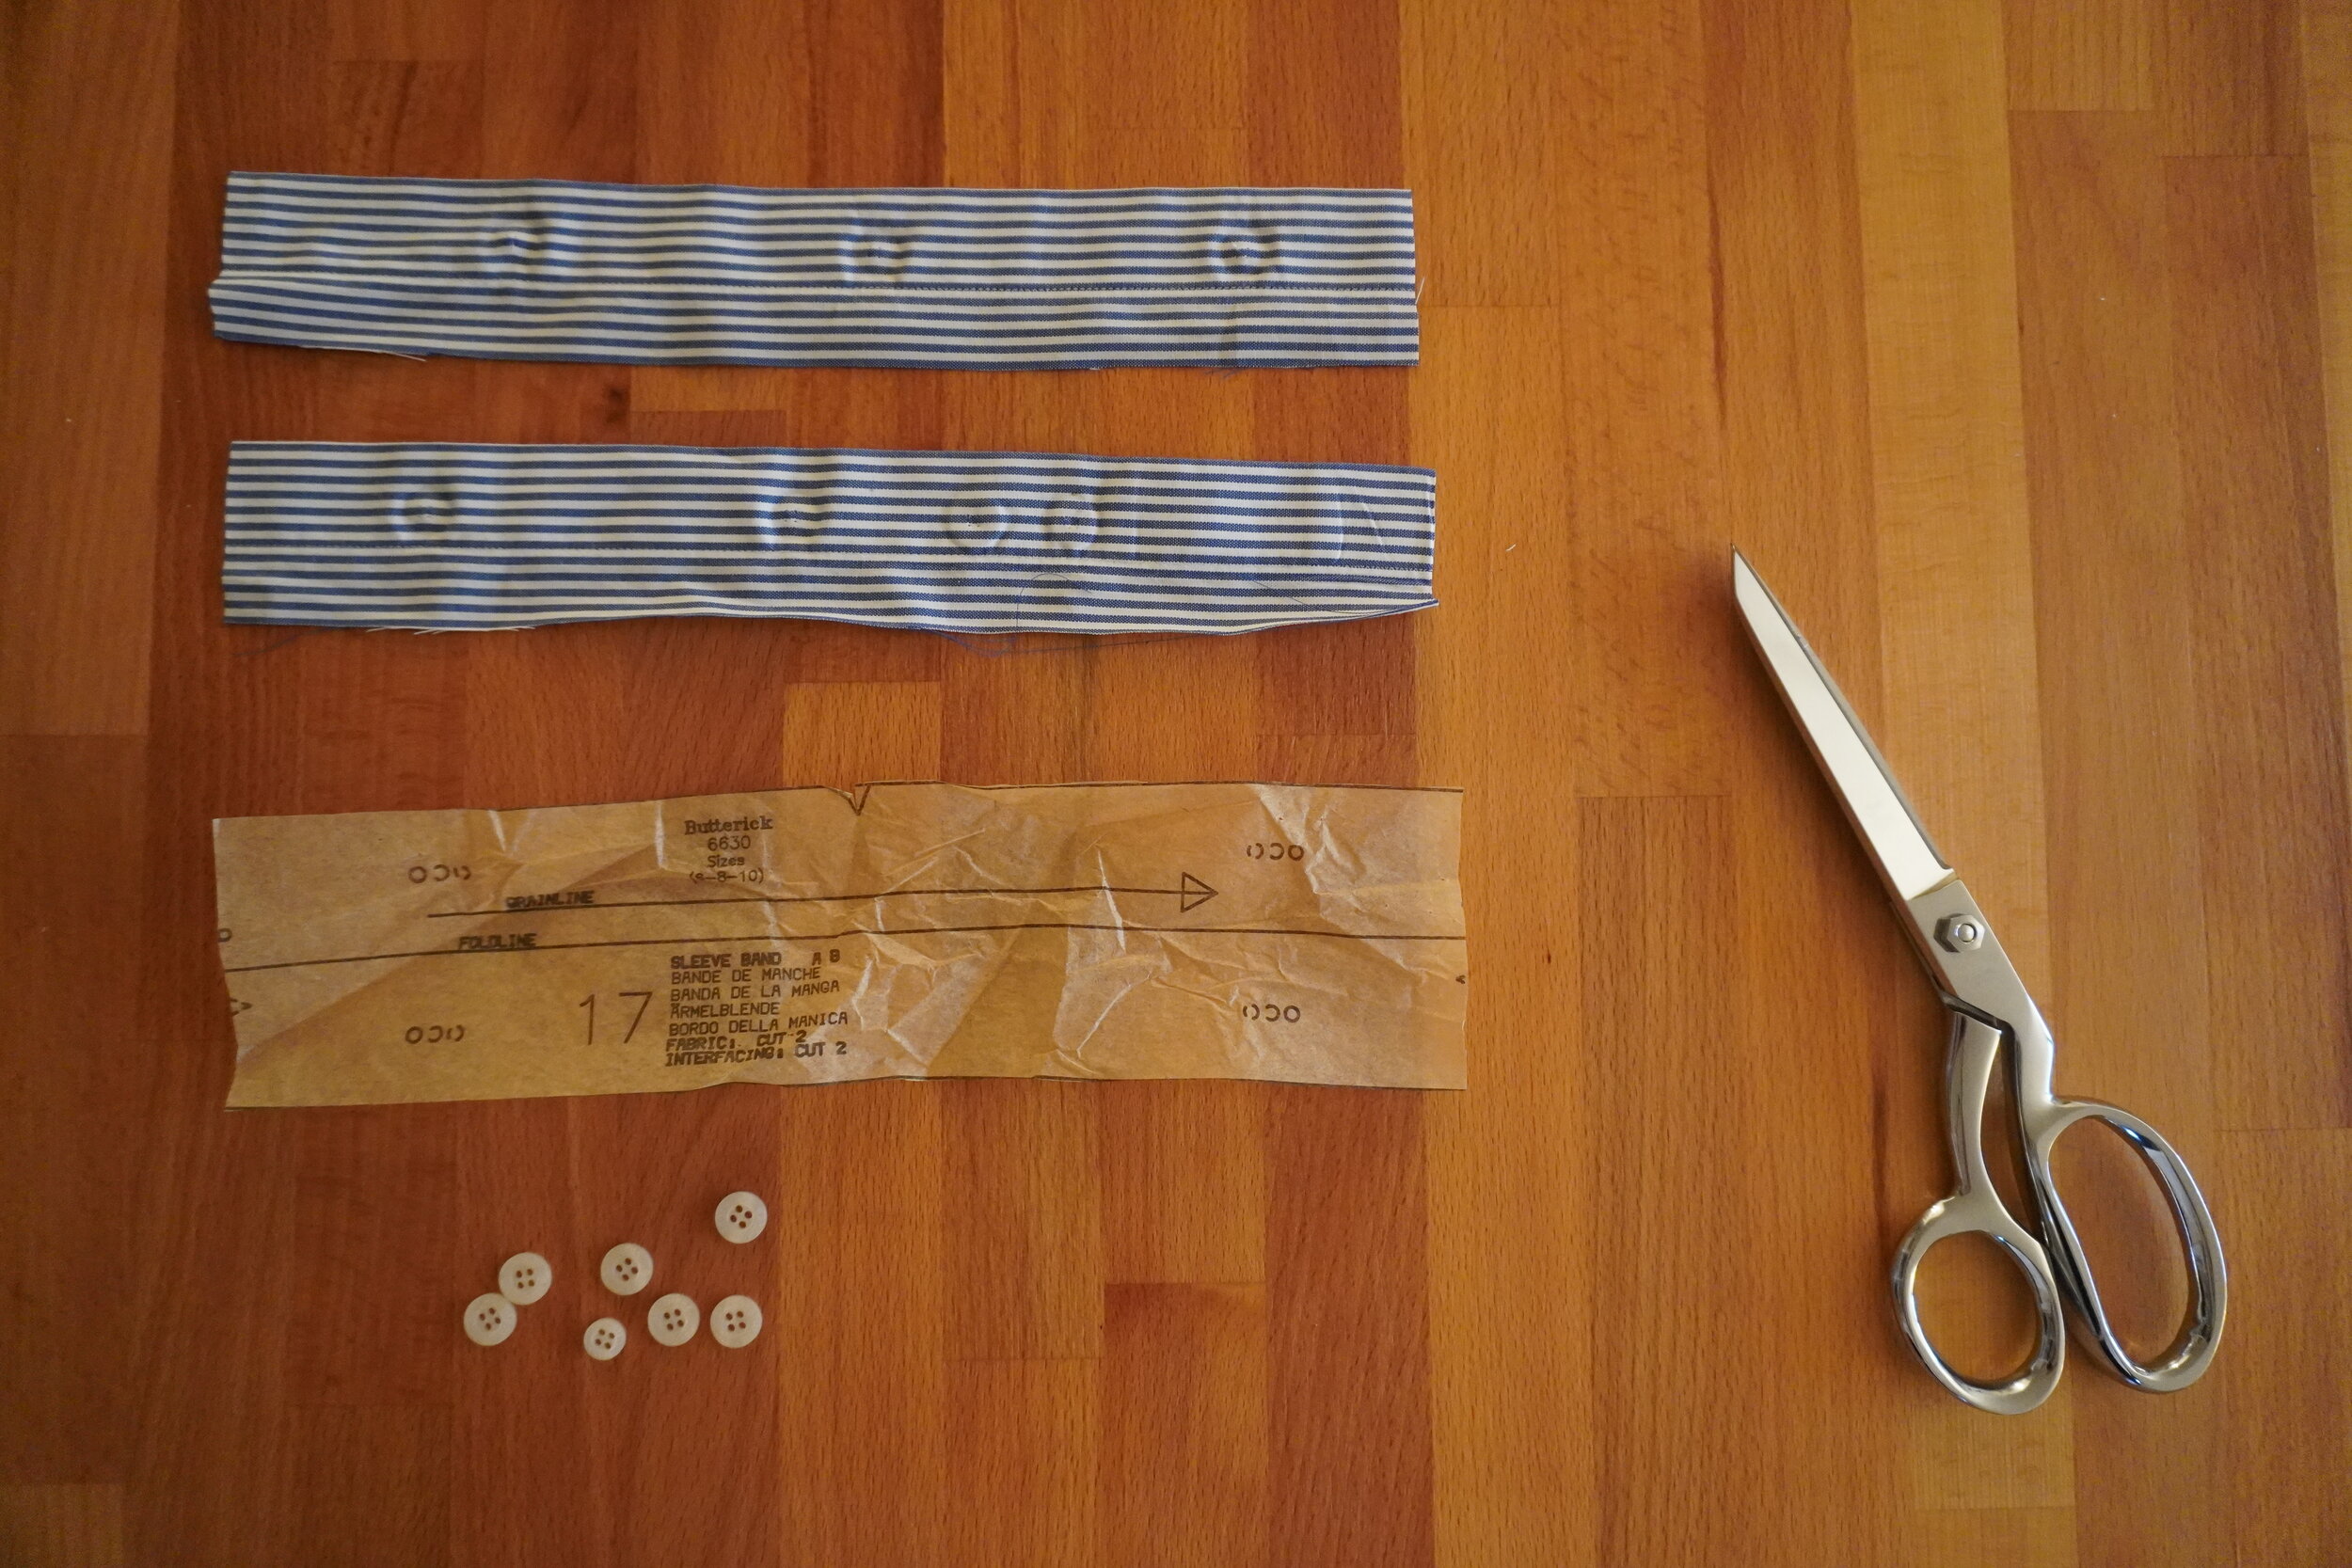
I also cut the sleeve cuffs from the button placket to save myself the trouble of having to construct the sleeve cuffs. Simply cut the button placket to the length indicated on the sleeve cuff pattern and remove the buttons.
After that, sew the pieces together according to the pattern instructions. Now that you have the base dress completed, it’s time for the fun part: playing around with the trims and embellishments! I scrunched up the fabric pieces from my other two dresses and tried pinning them in different combinations at the neckline, waistline and hem of the dress, until I found a combo that I thought looked good. I then cut the pieces for the final dress as follows:
Cut a 2-inch wide strip for the waistline. Cut this strip on the straight grain. Turn under 1/4 inch on both long edges of the strip and stitch to the dress, positioning just below the waist line.
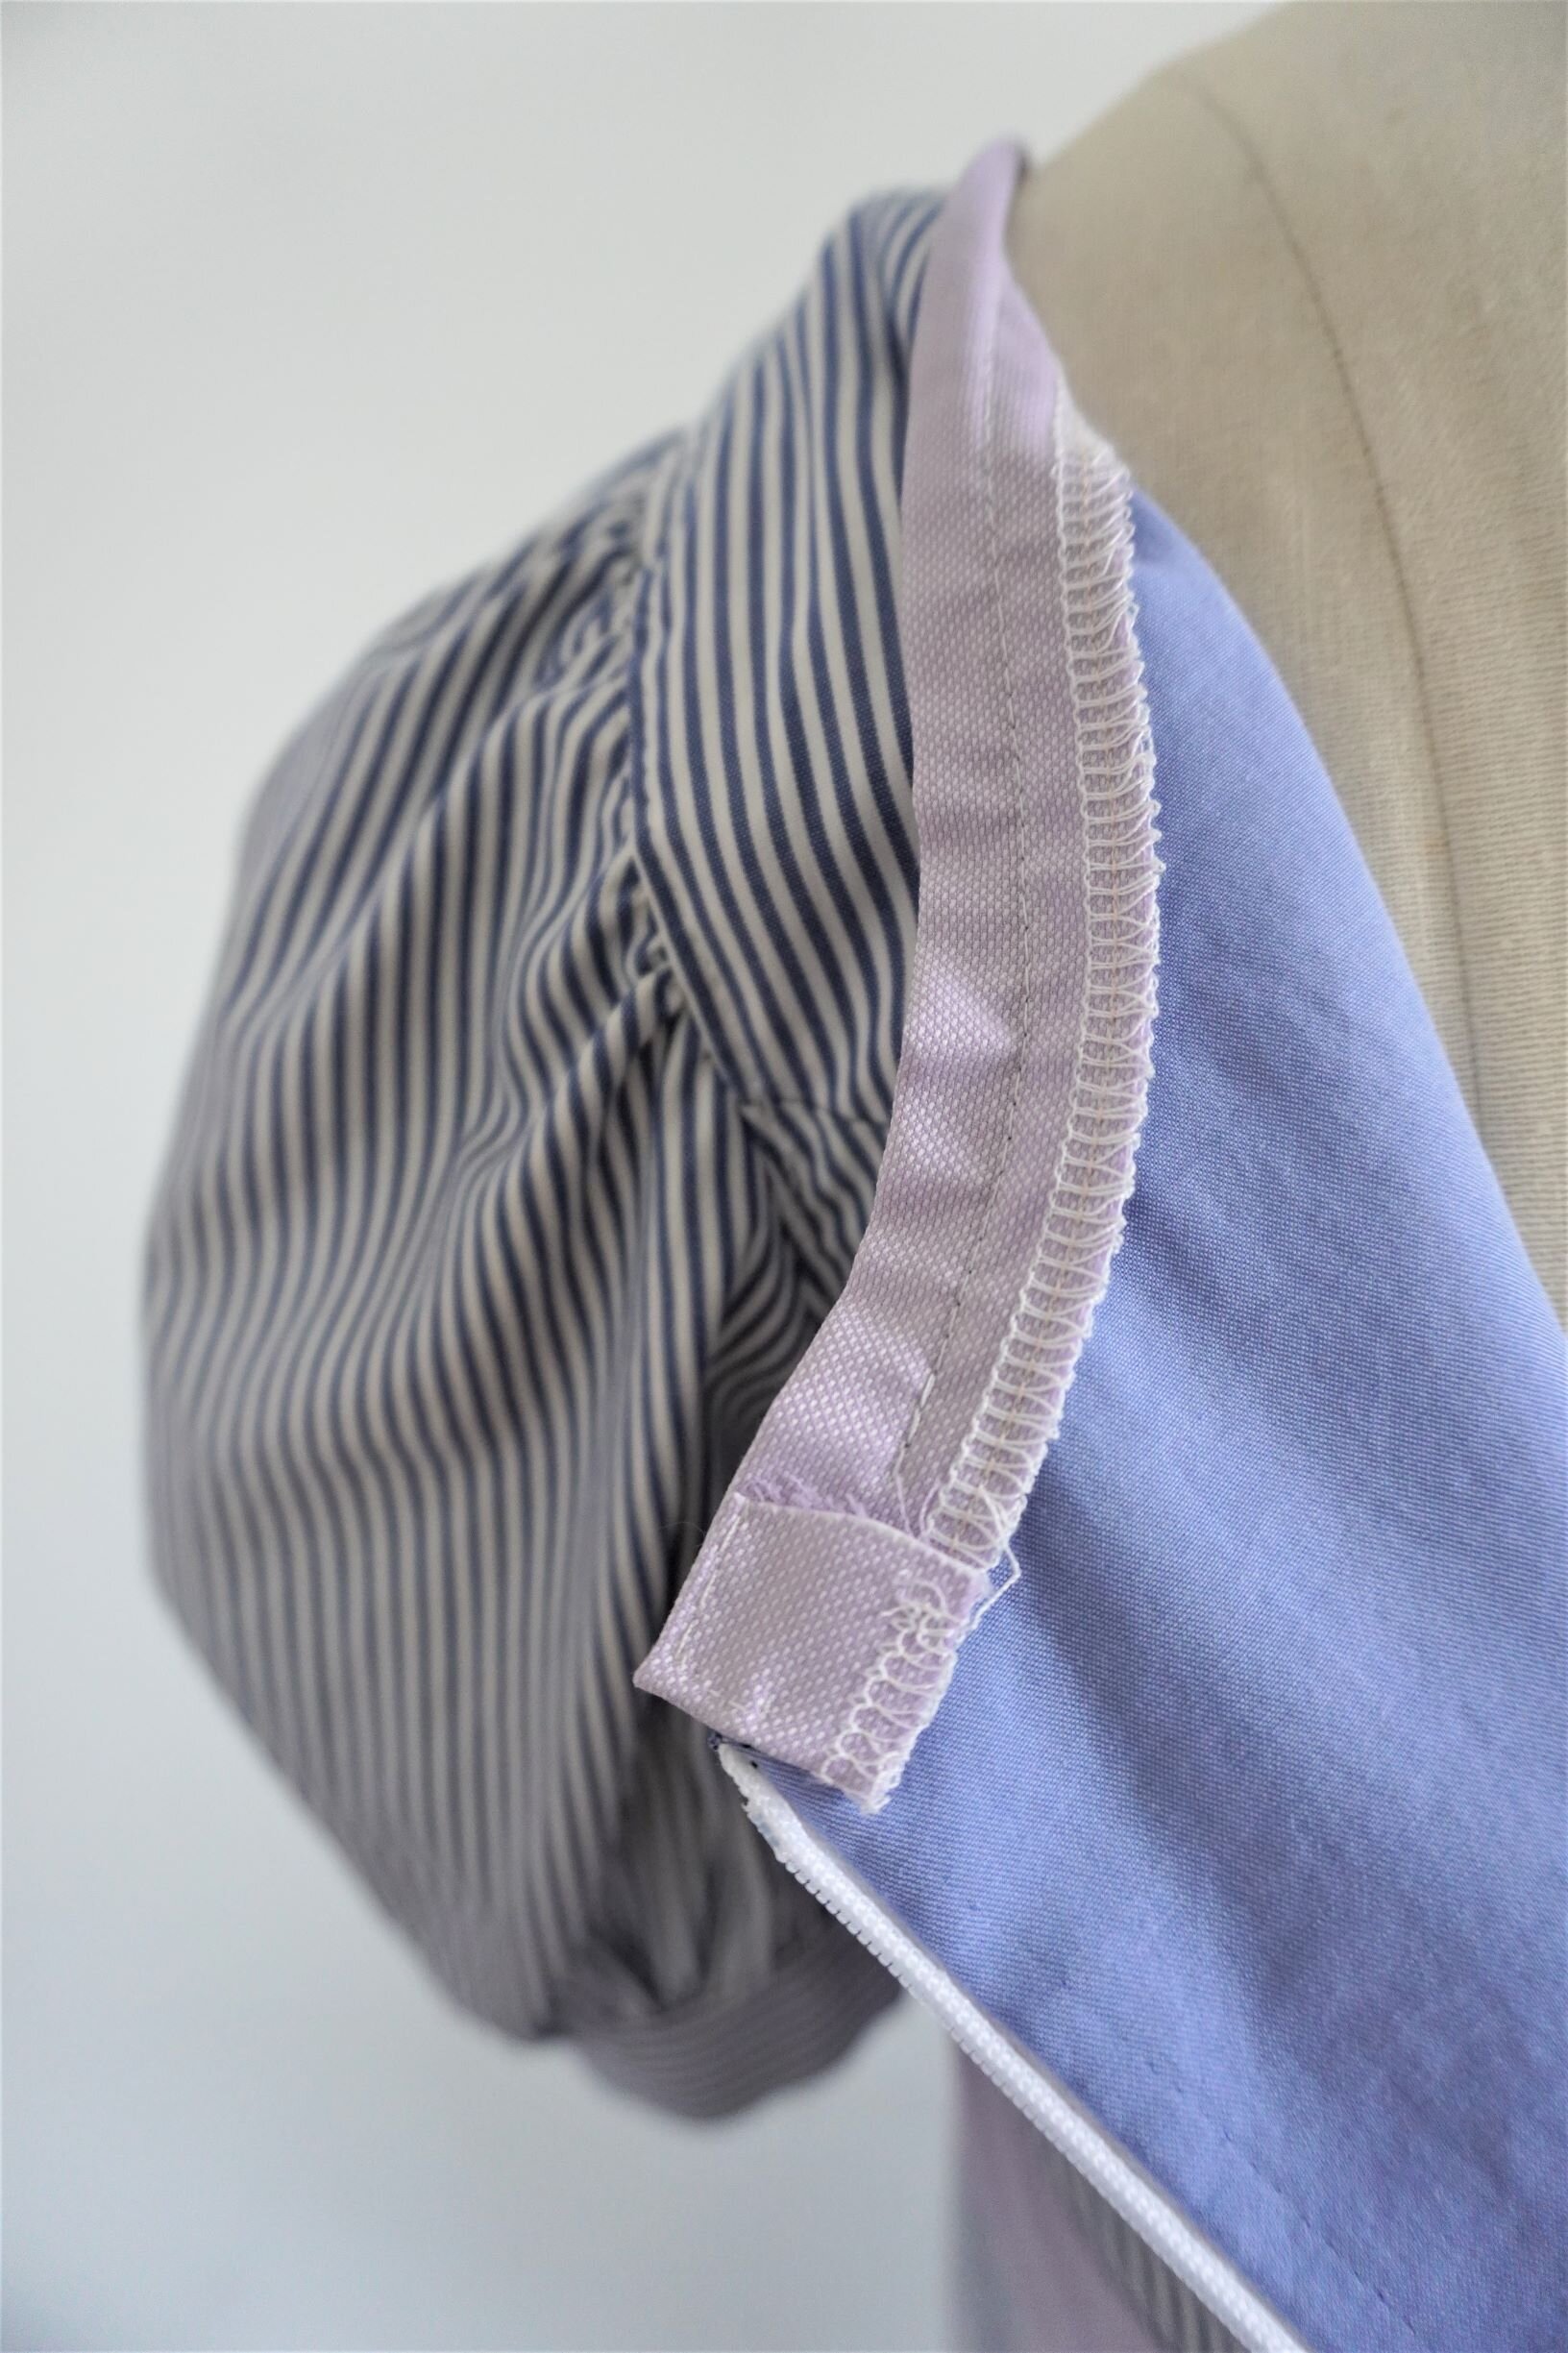
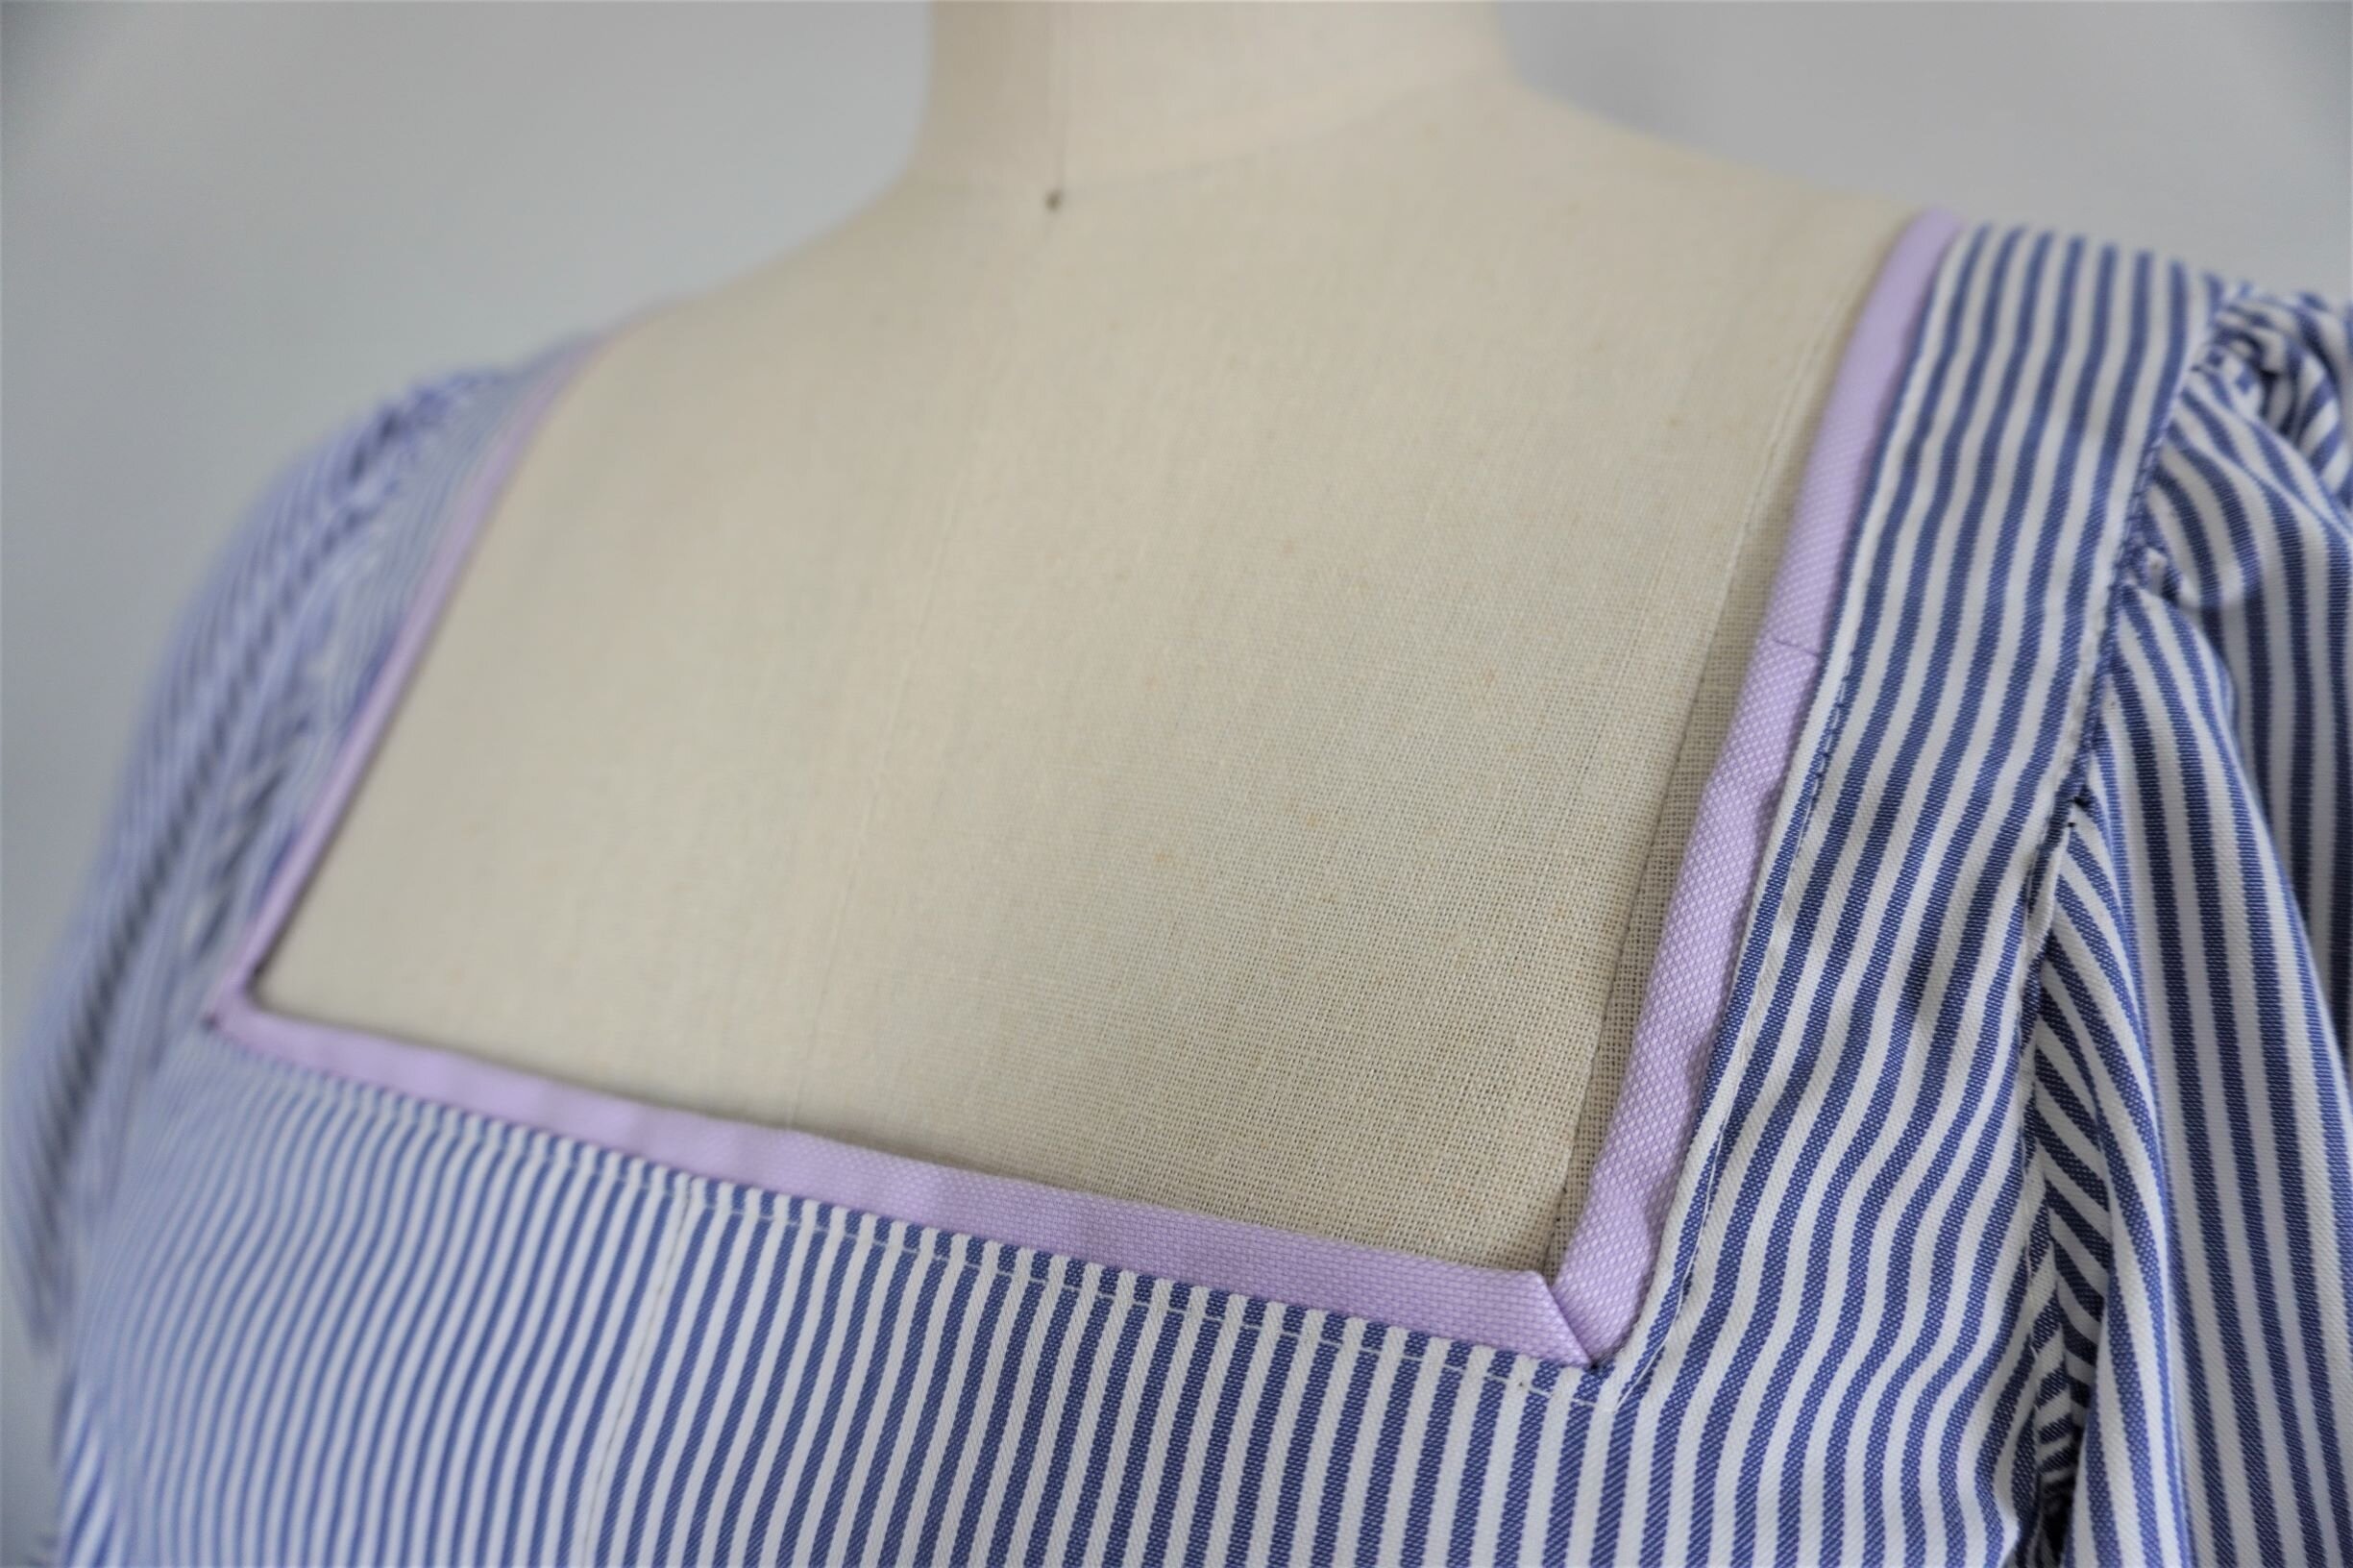
Cut a 1 1/2-inch wide strip for the neckline. Cut this strip on the bias because you will need to ease this strip around the curved edge of the neckline in the back. Fold the strip in half and pin to the outside of your dress. Stitch at the neckline with a 3/8 inch seam allowance, then flip the strip up and press. Part of the strip should now show past the edge of the dress neckline, while the other half of the strip should lie under the neckline on the wrong side of the garment. Topstitch around the neckline, through the strip, so that the strip stays in place.
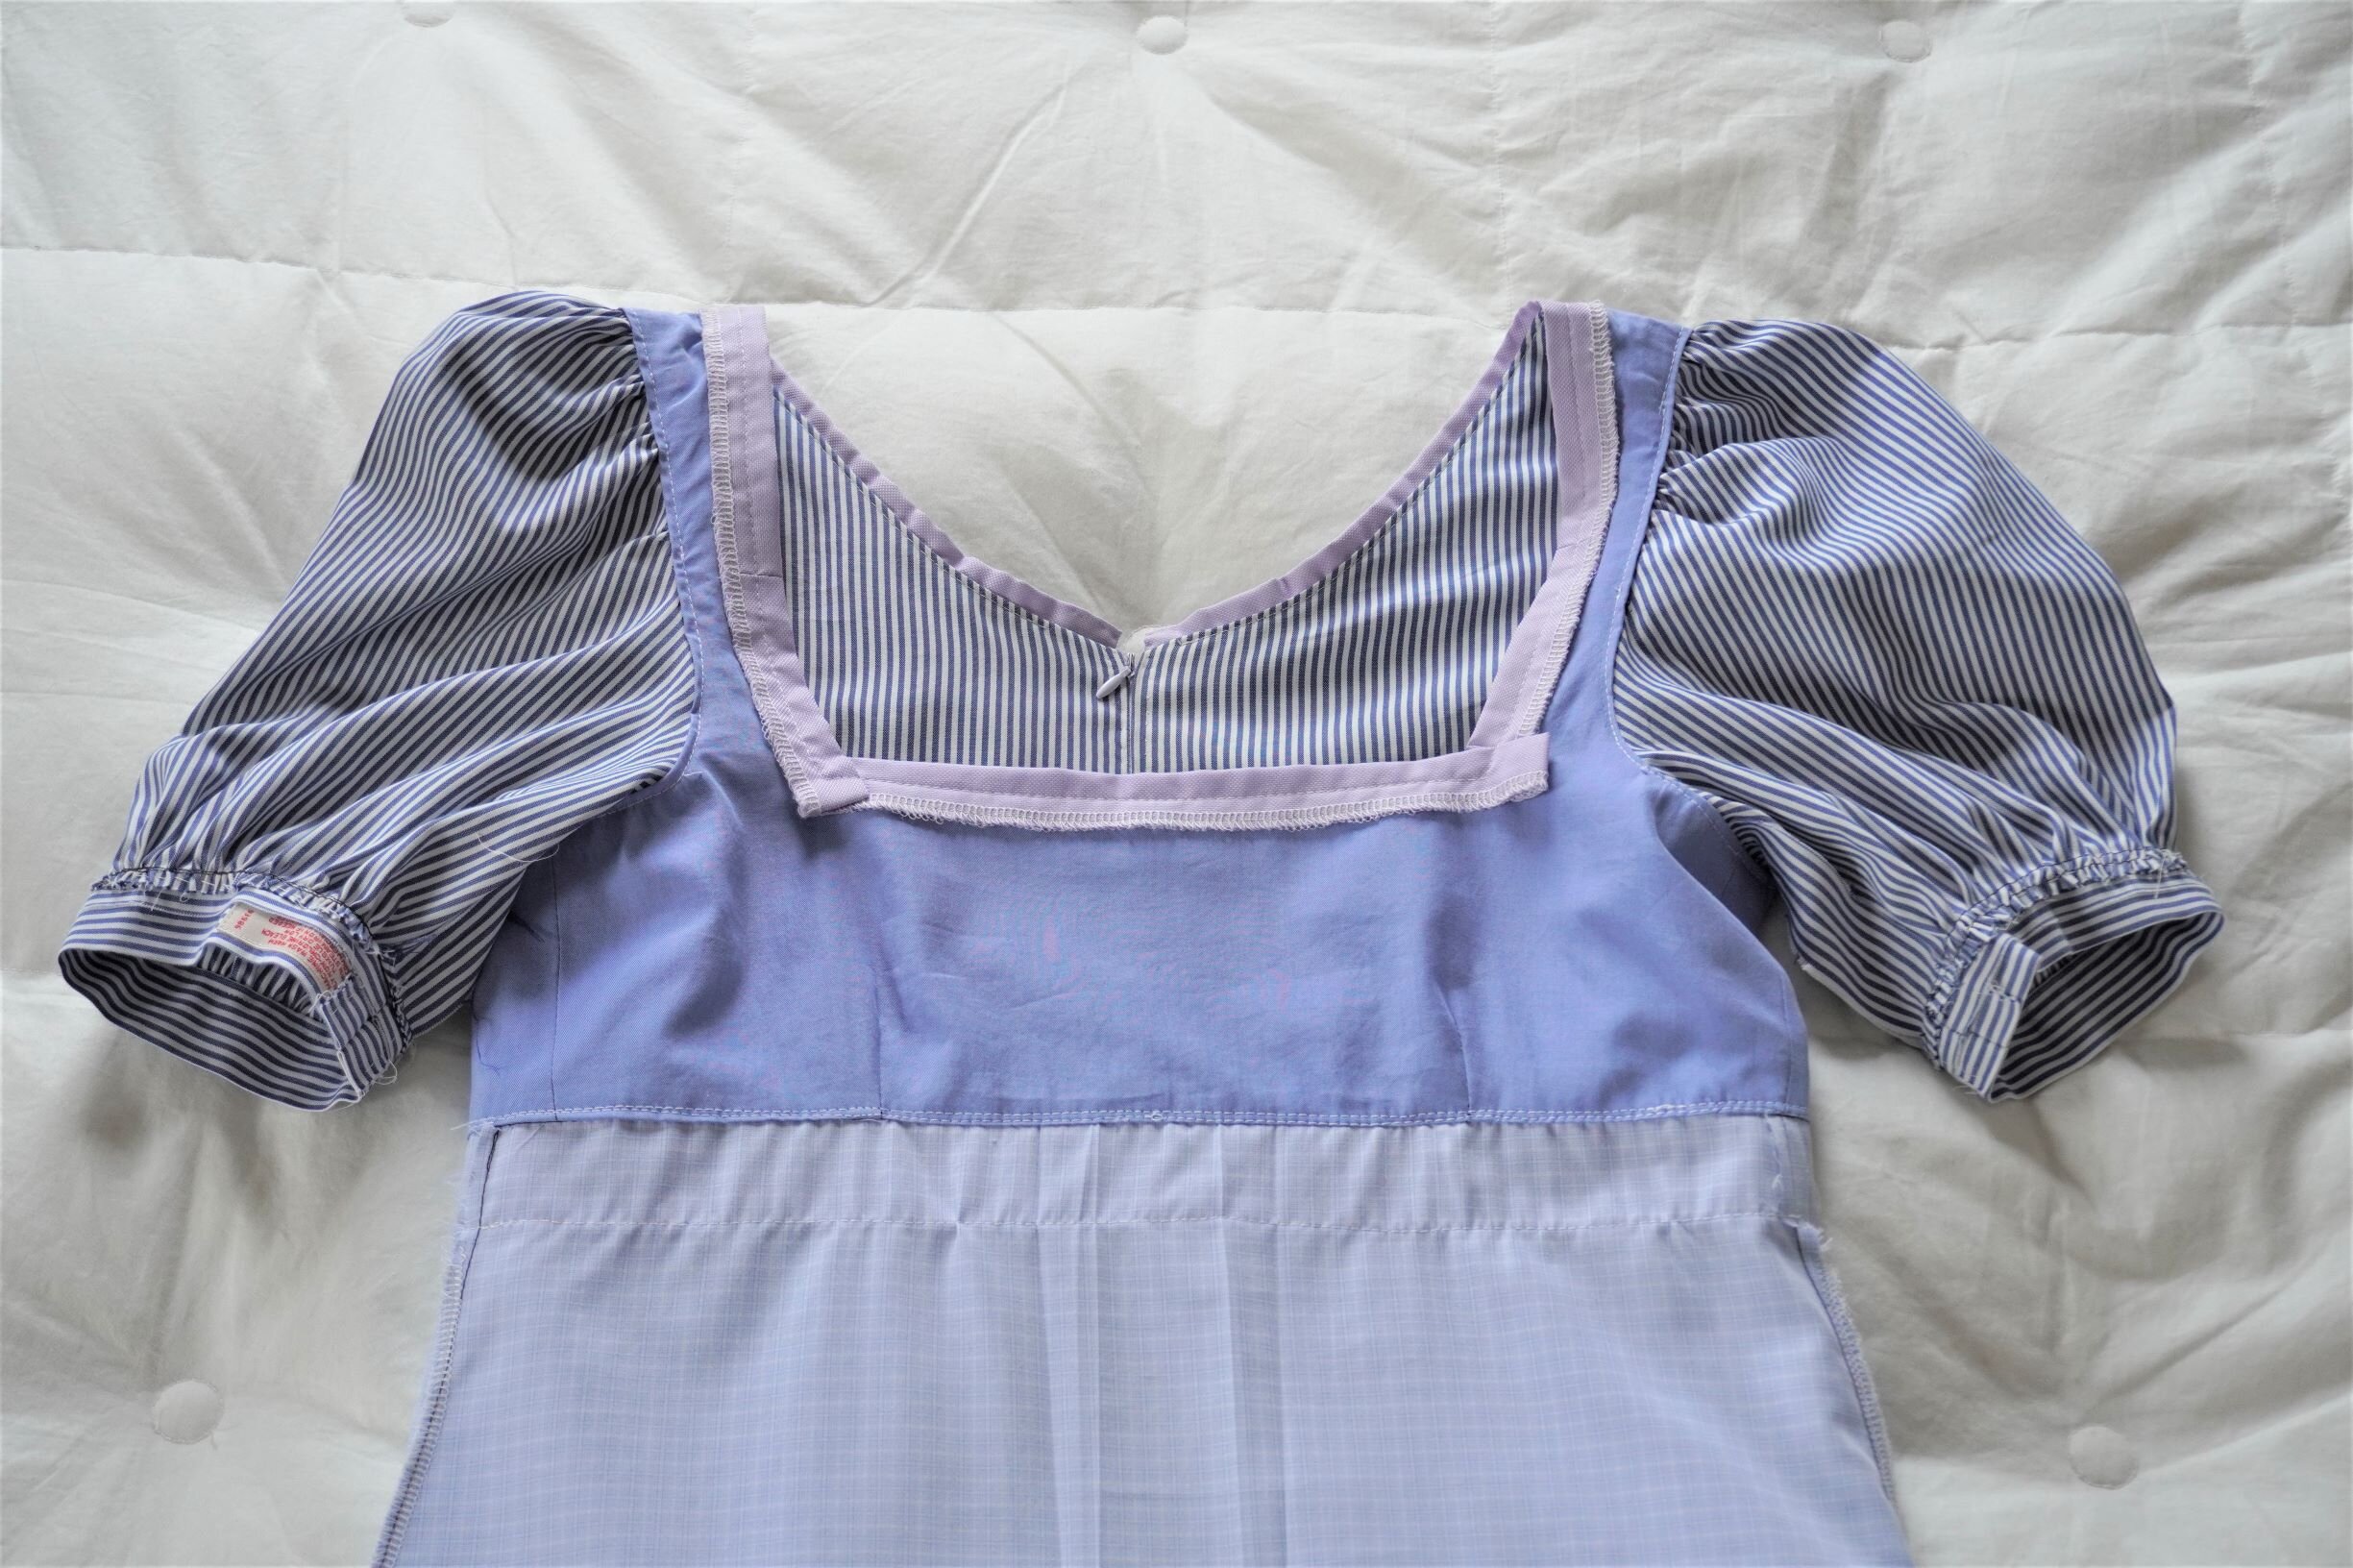
Finally, I used the fabric from the last remaining shirt (the blue one) and lined the bodice with it, to make the dress more comfortable to wear. I didn’t line the skirt because it seemed unnecessary.
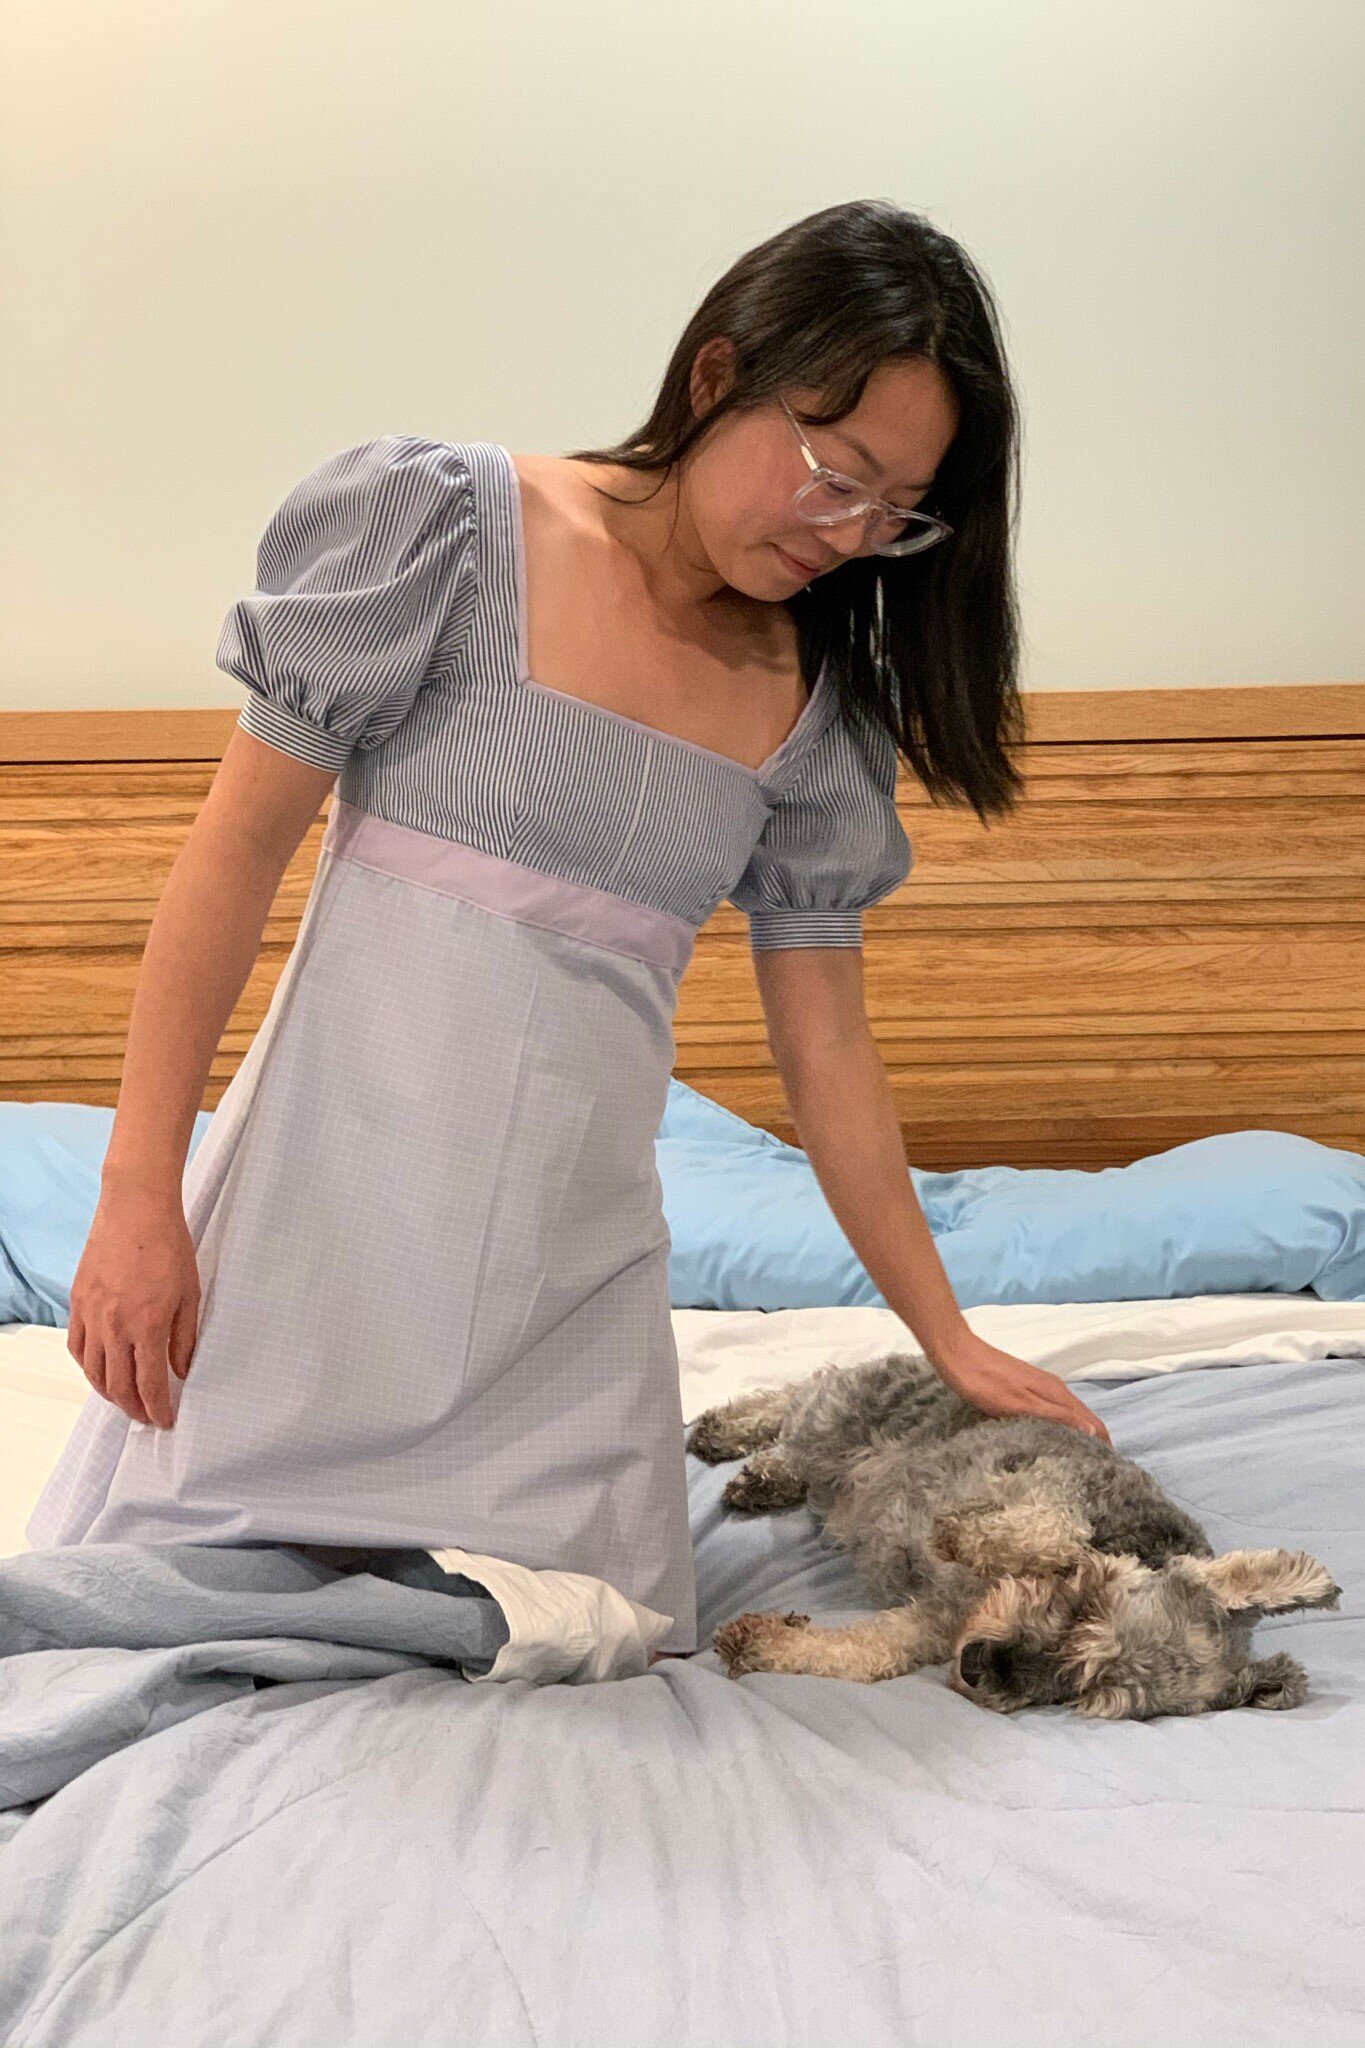
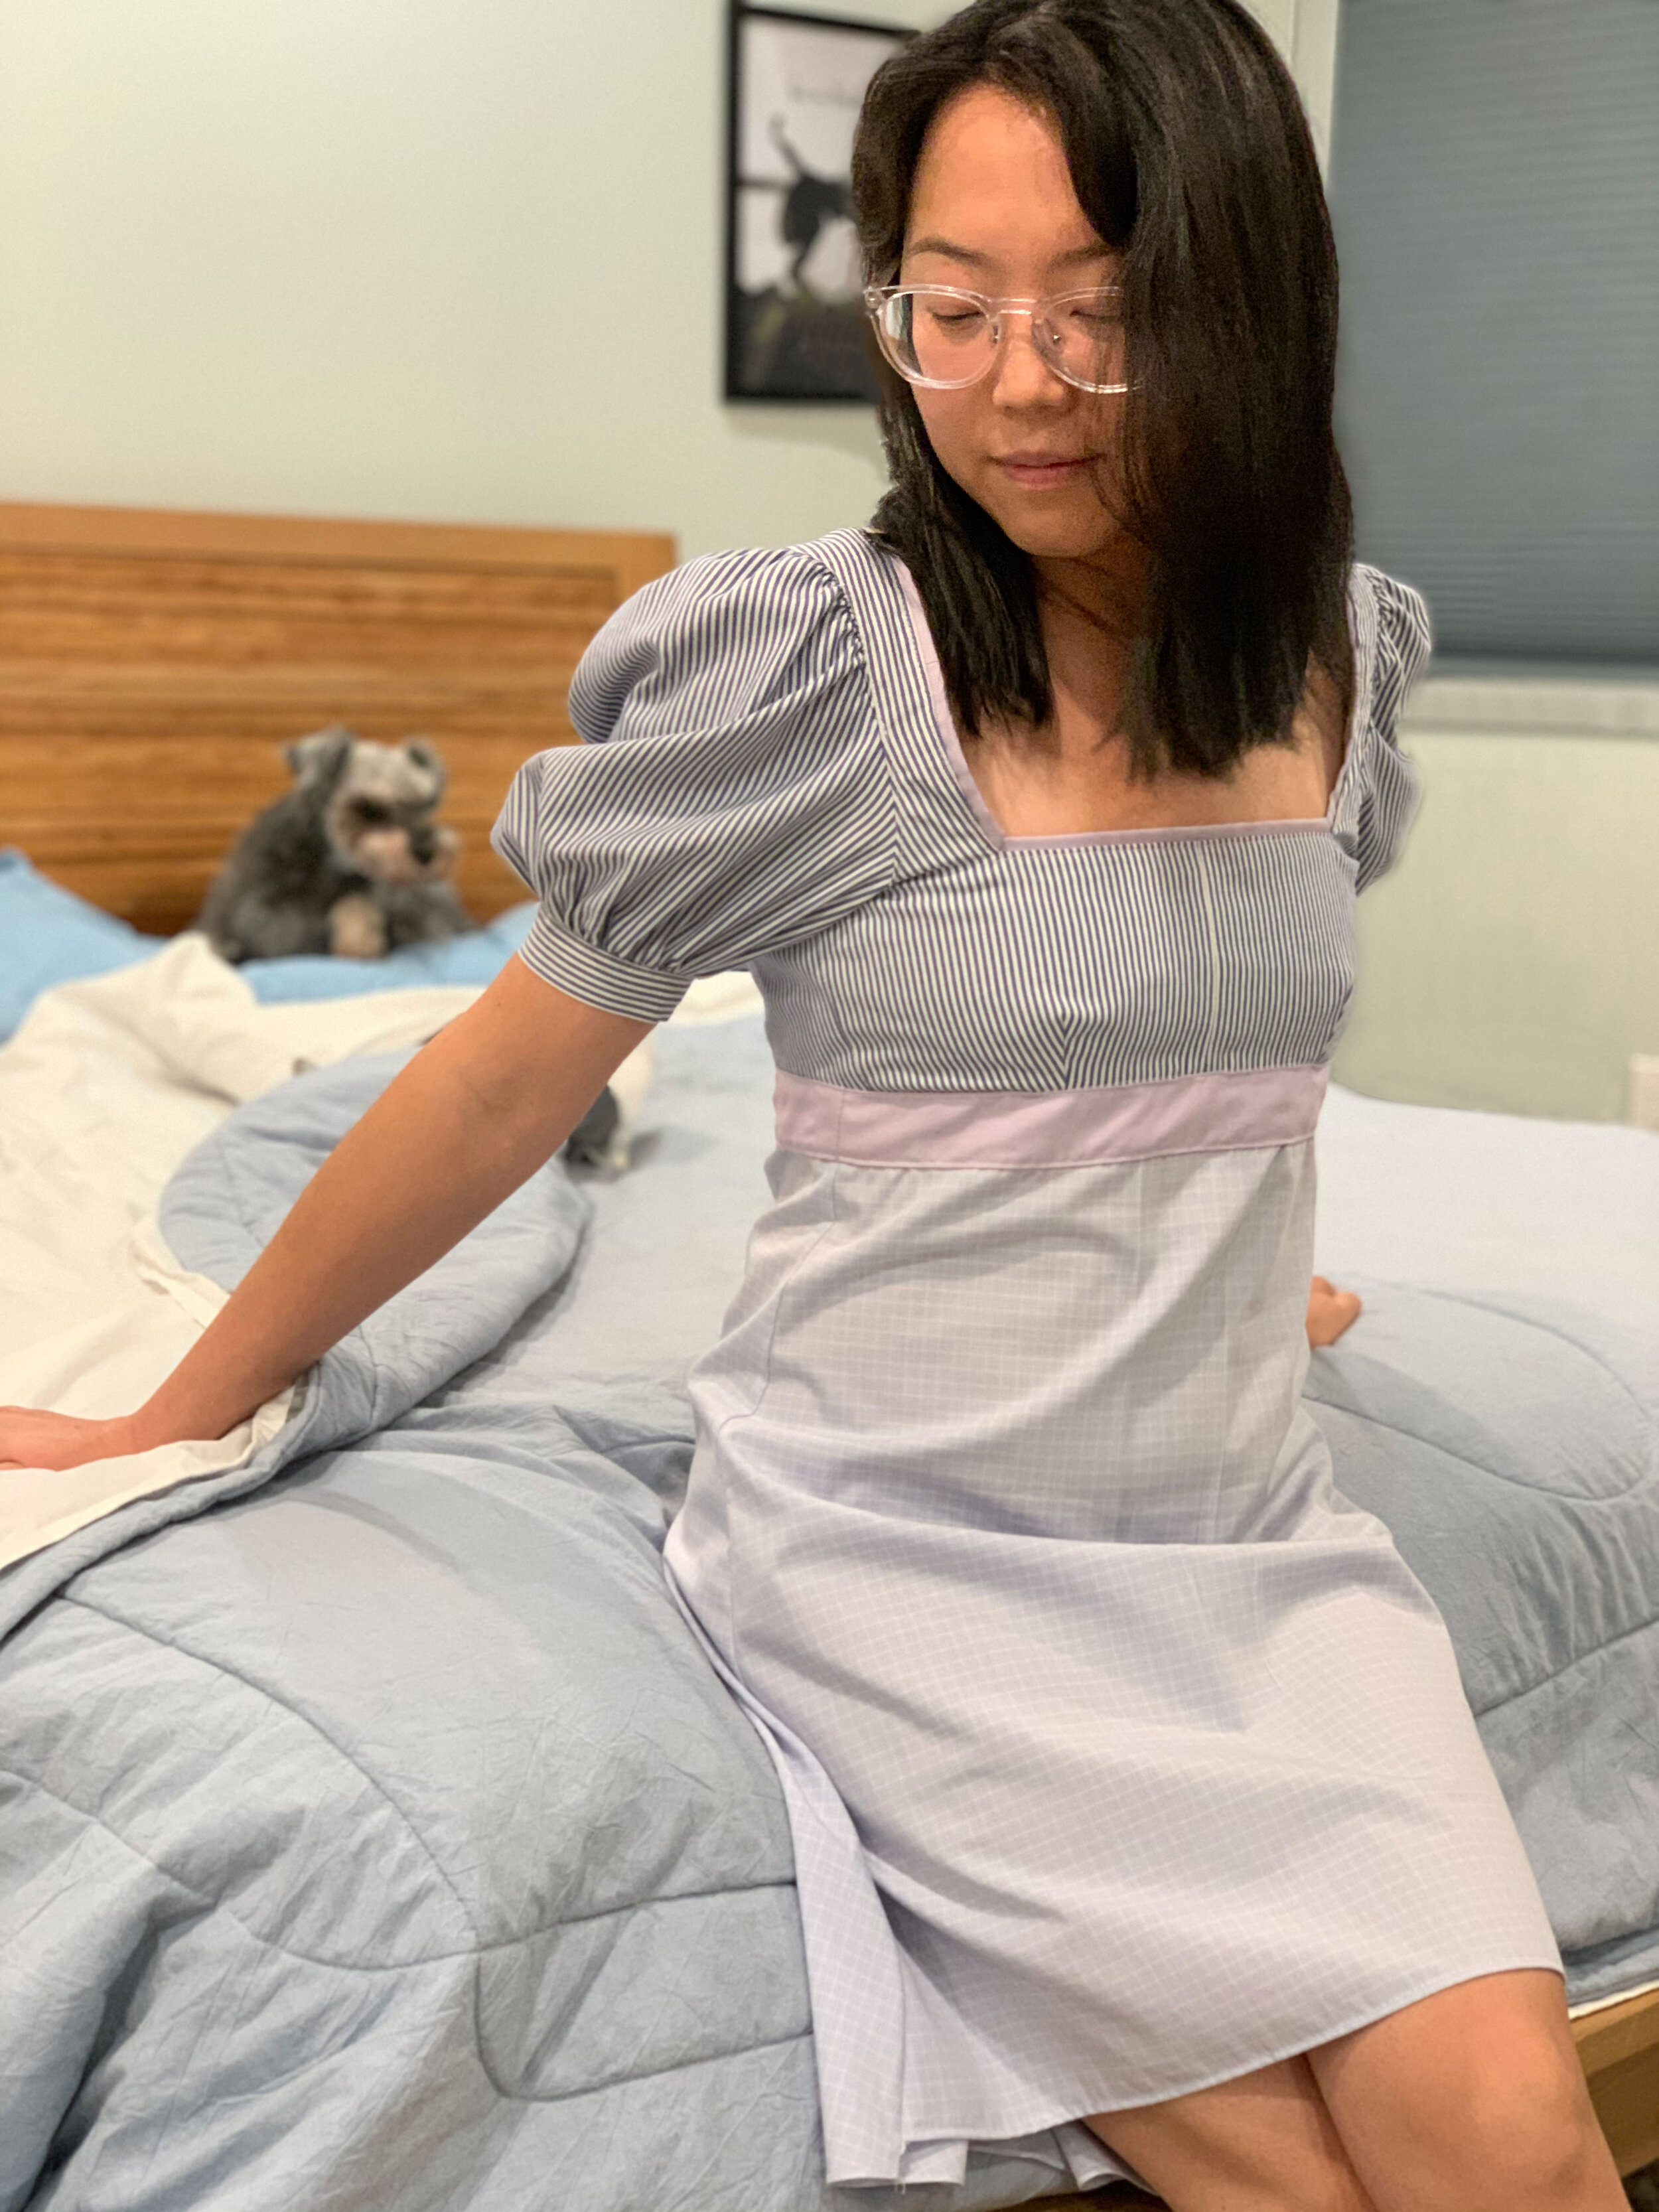
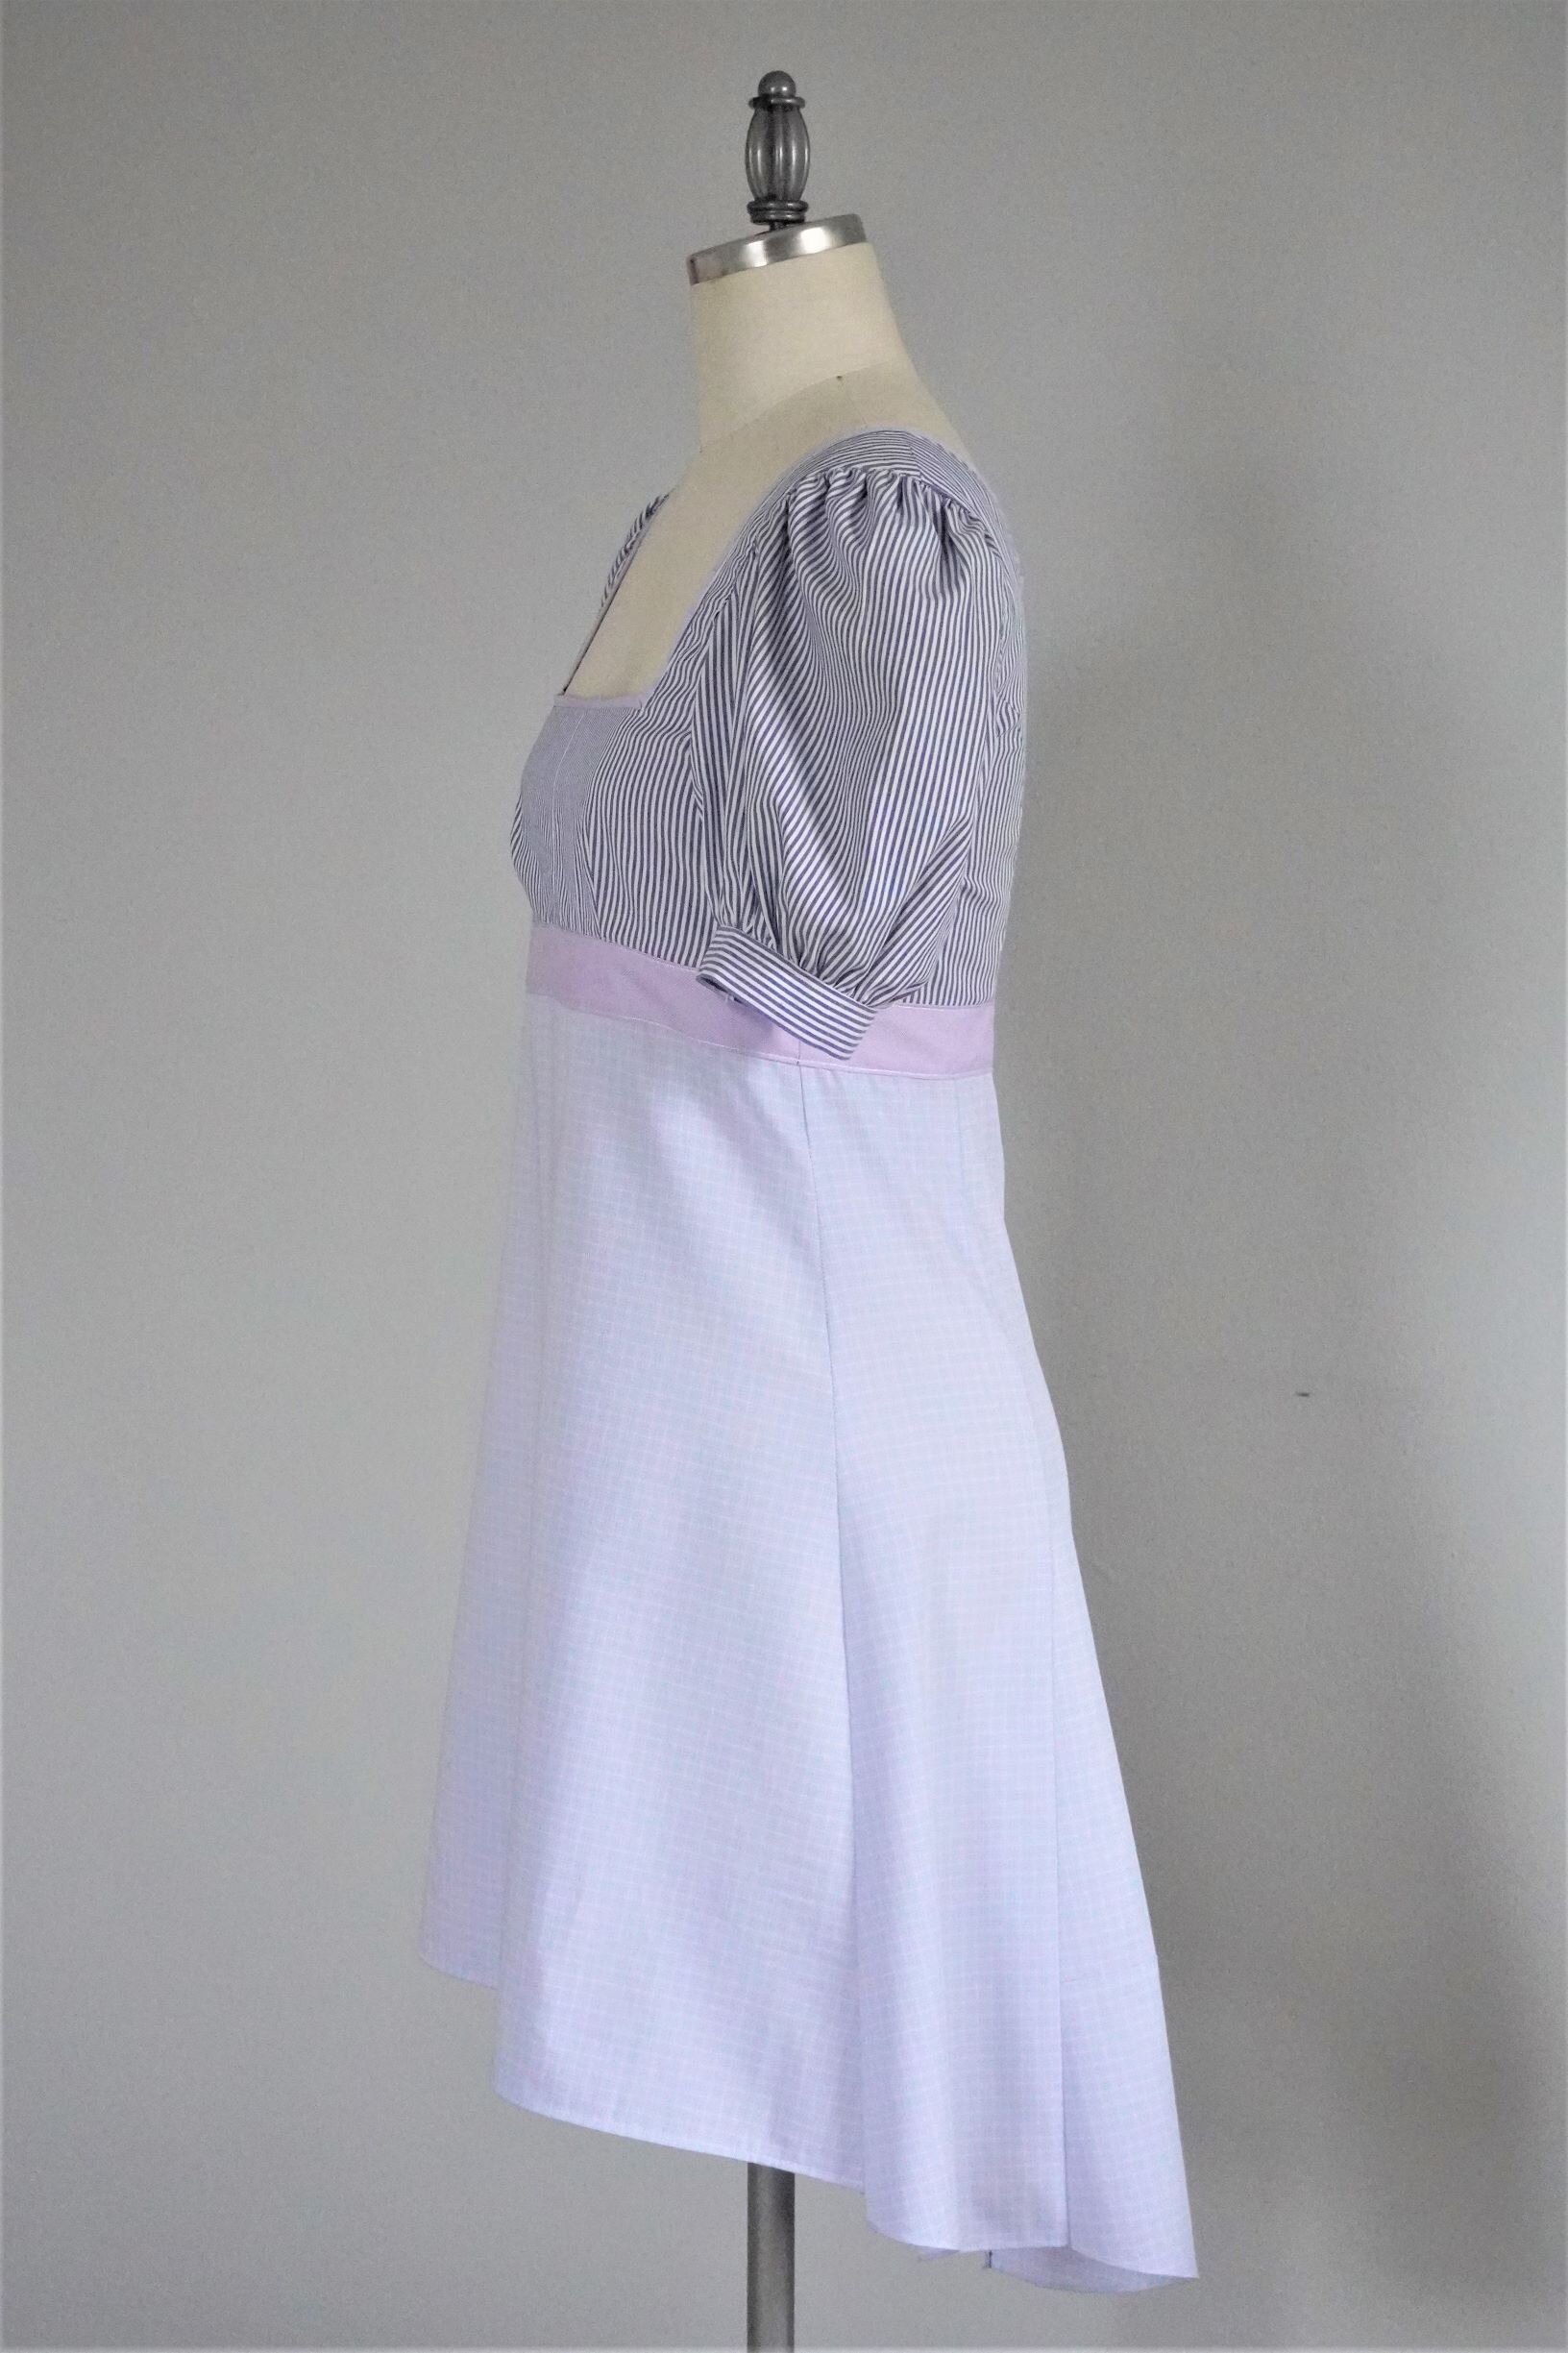
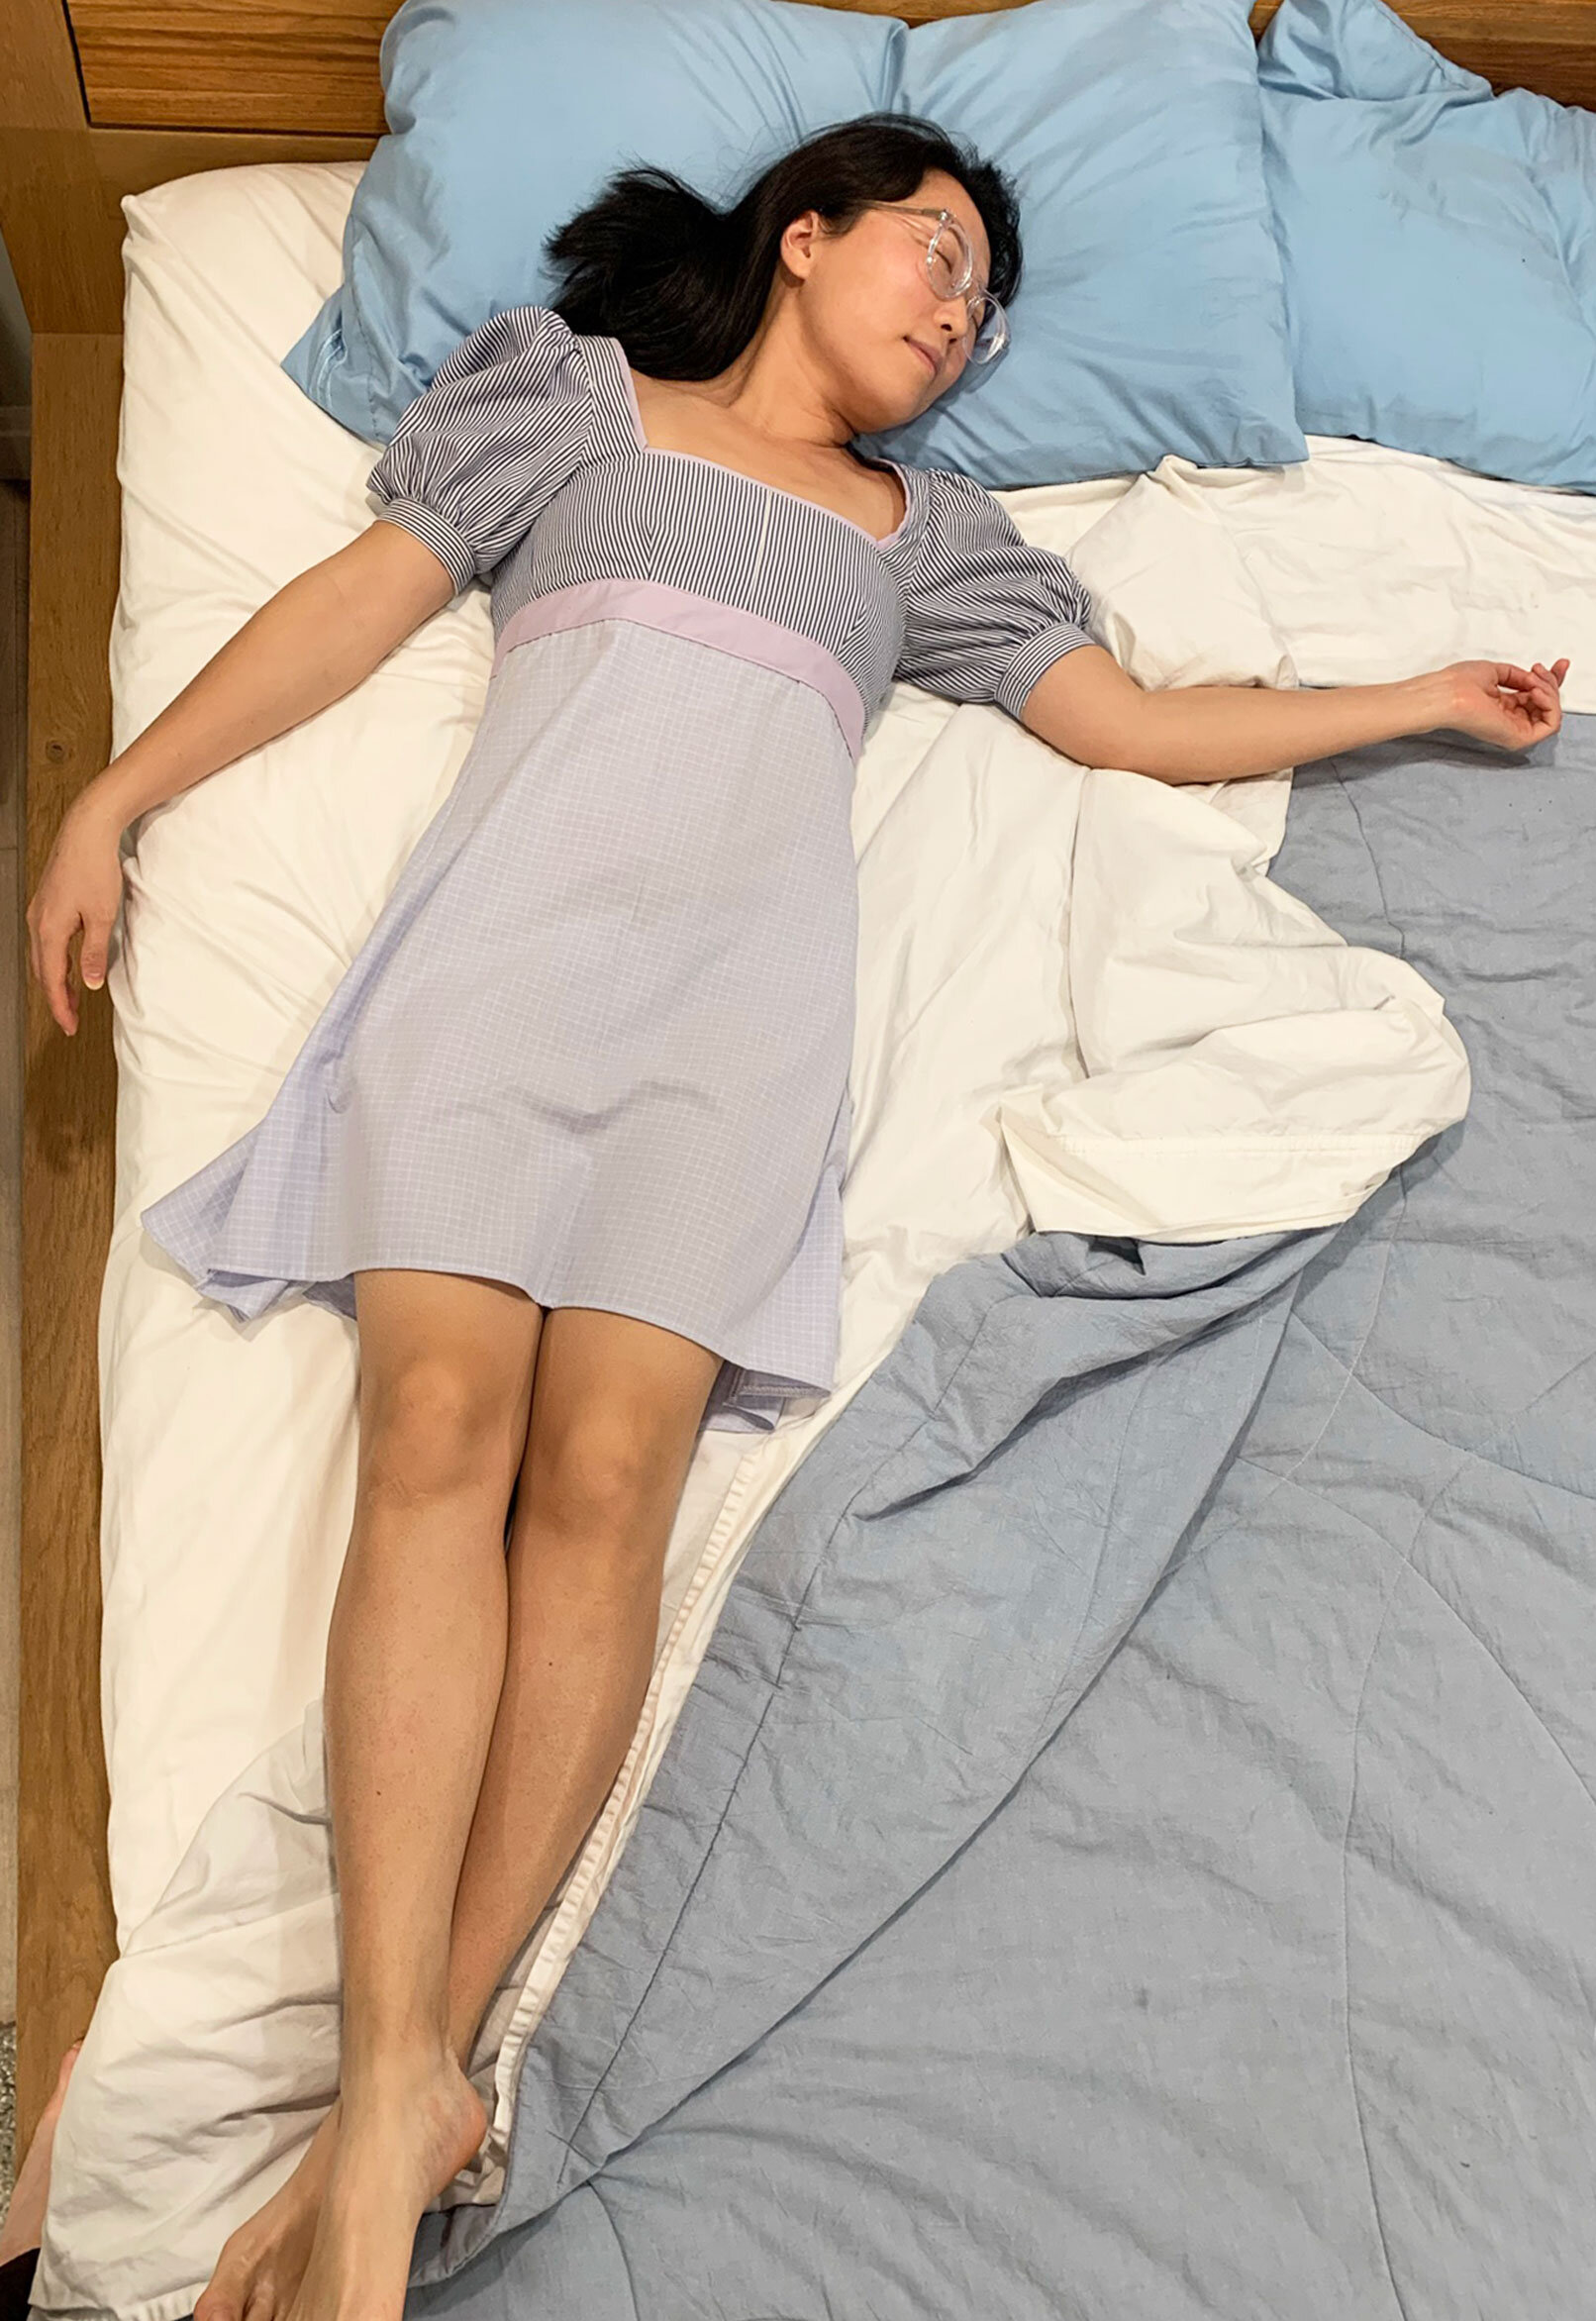
And we’re done! I love the finished nap dress, which is indeed comfortable enough to nap in:
It’s also comfortable enough to wear while going through your self-care regimen, or snuggling with your furry friend:

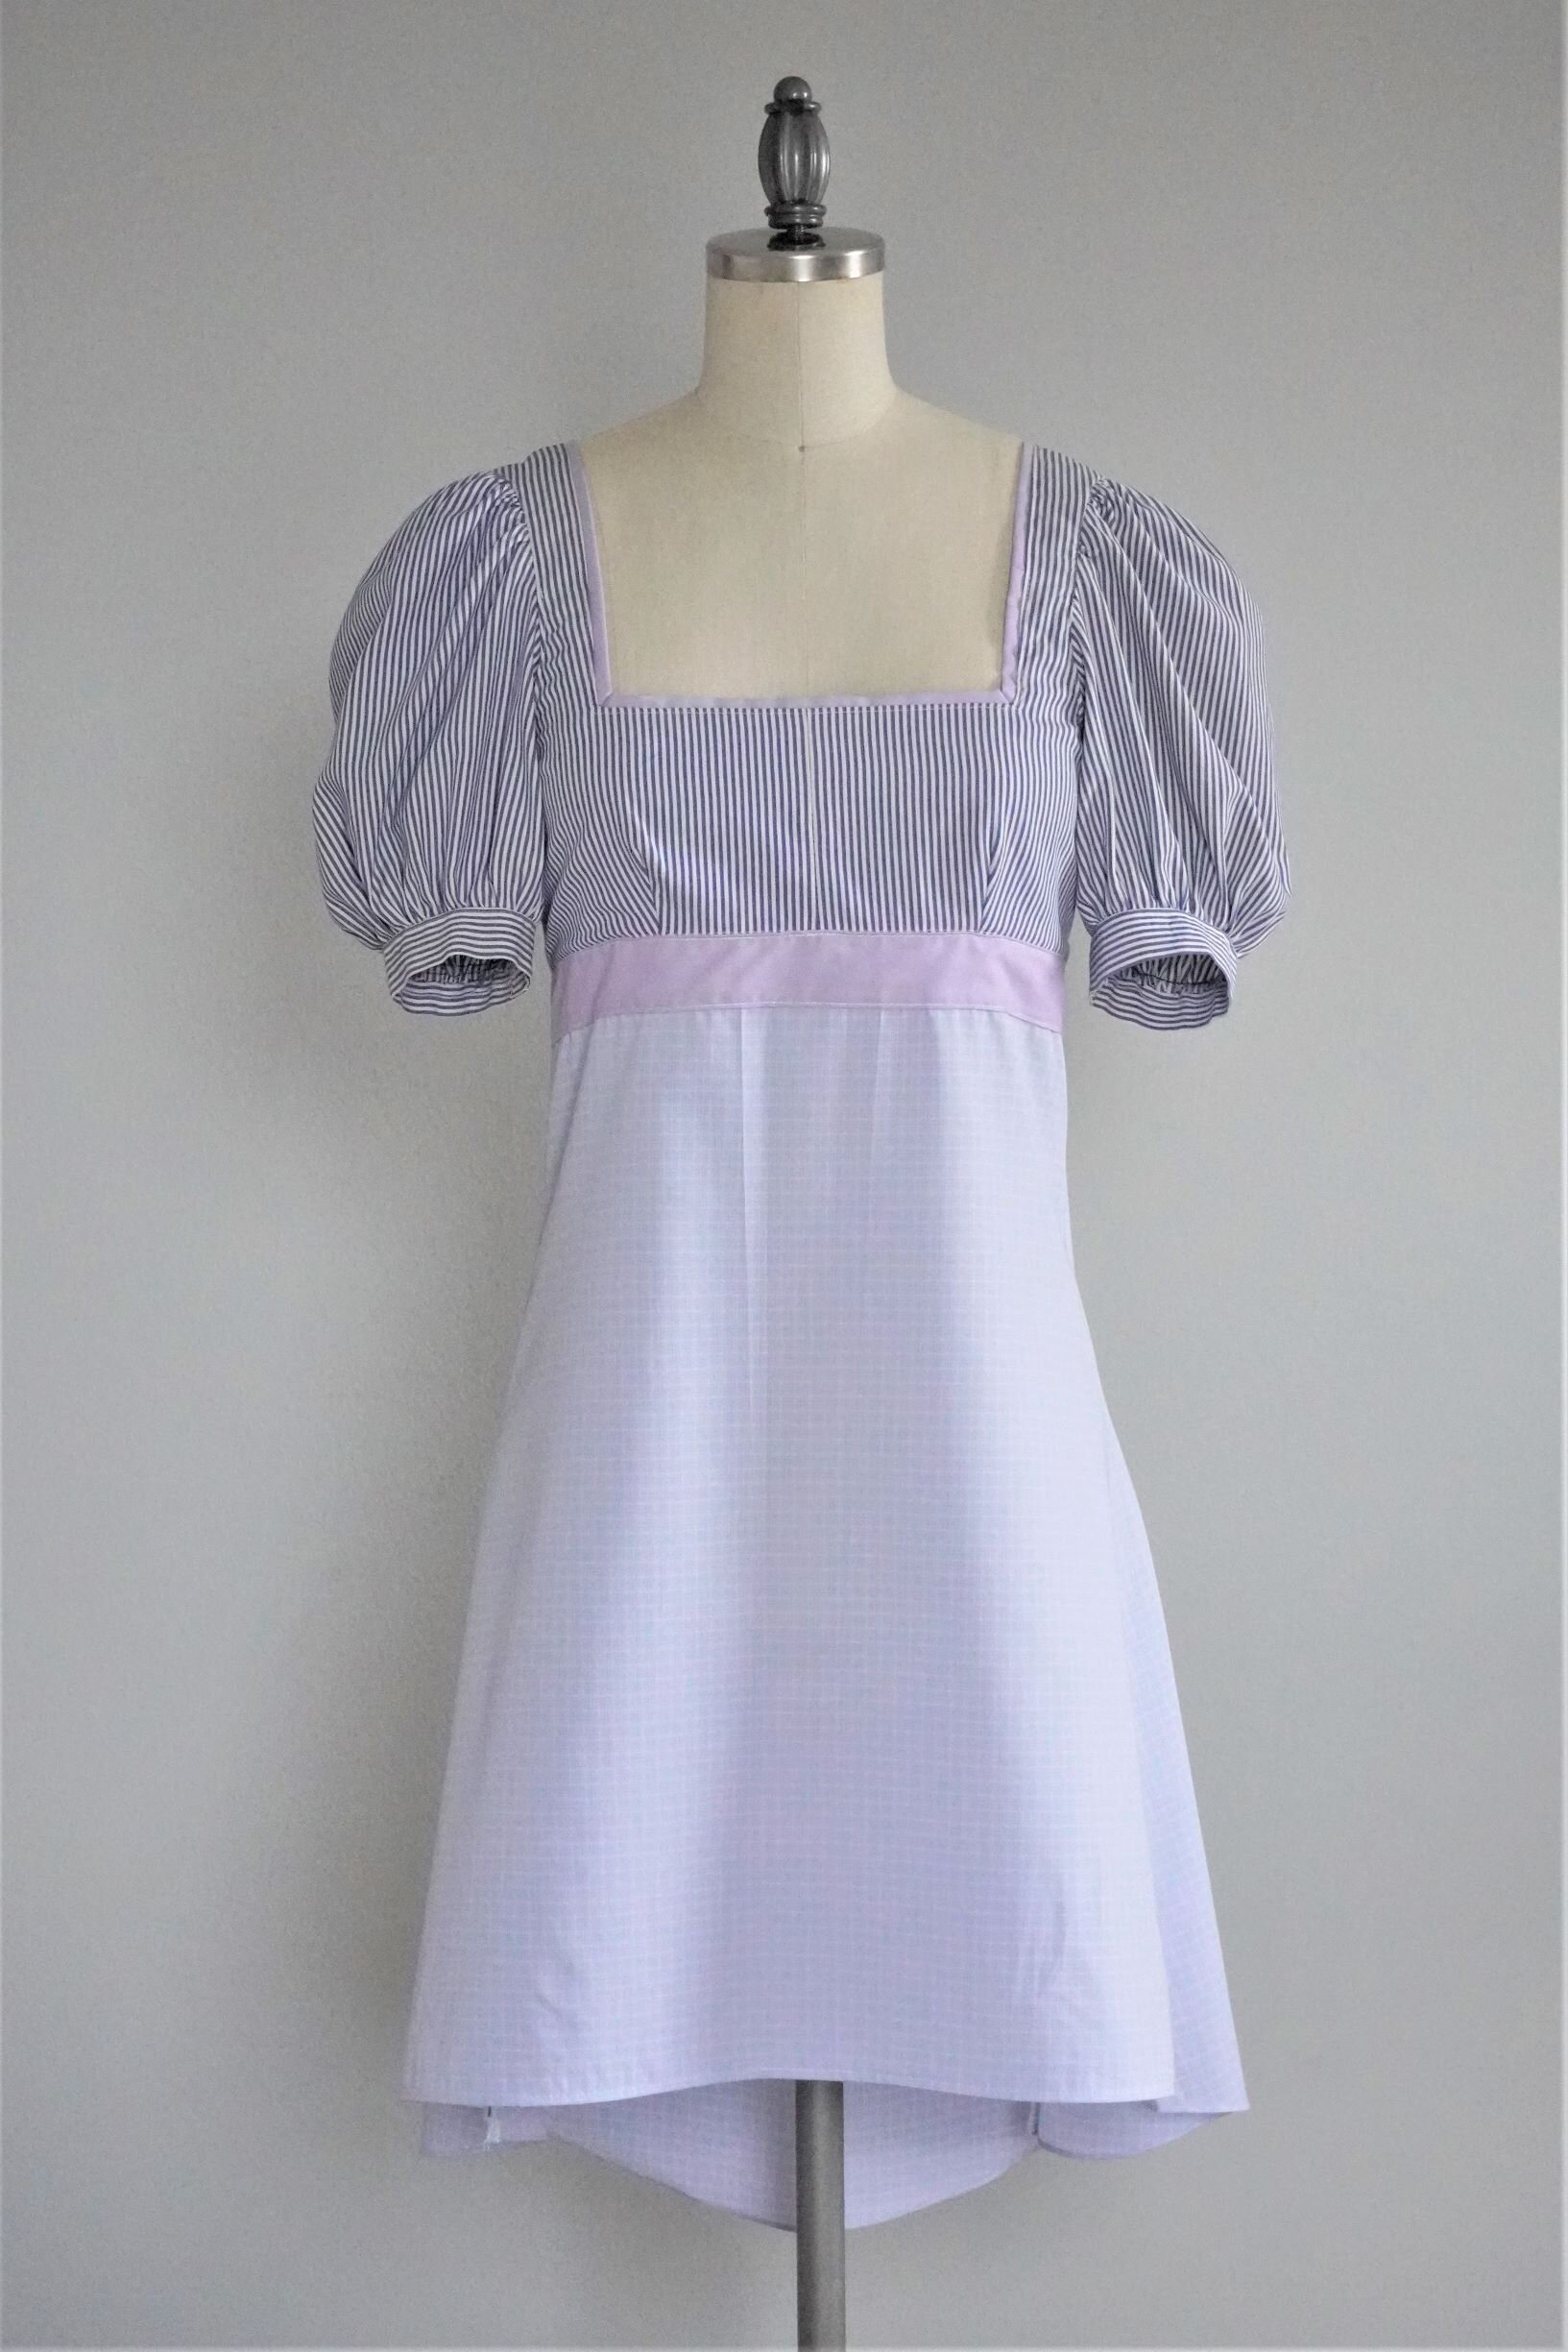
Here are some dress form pics:


Are you inspired to transform some old button-down shirts into nap dresses? Let me know in the comments if you end up making your own nap dress!

