
We are finally on the home stretch of this project! All we have to do is put the last finishing touches on the bag: paint the edges, add the strap holder and add the zipper pull. Let’s get started!
Finishing the Edges
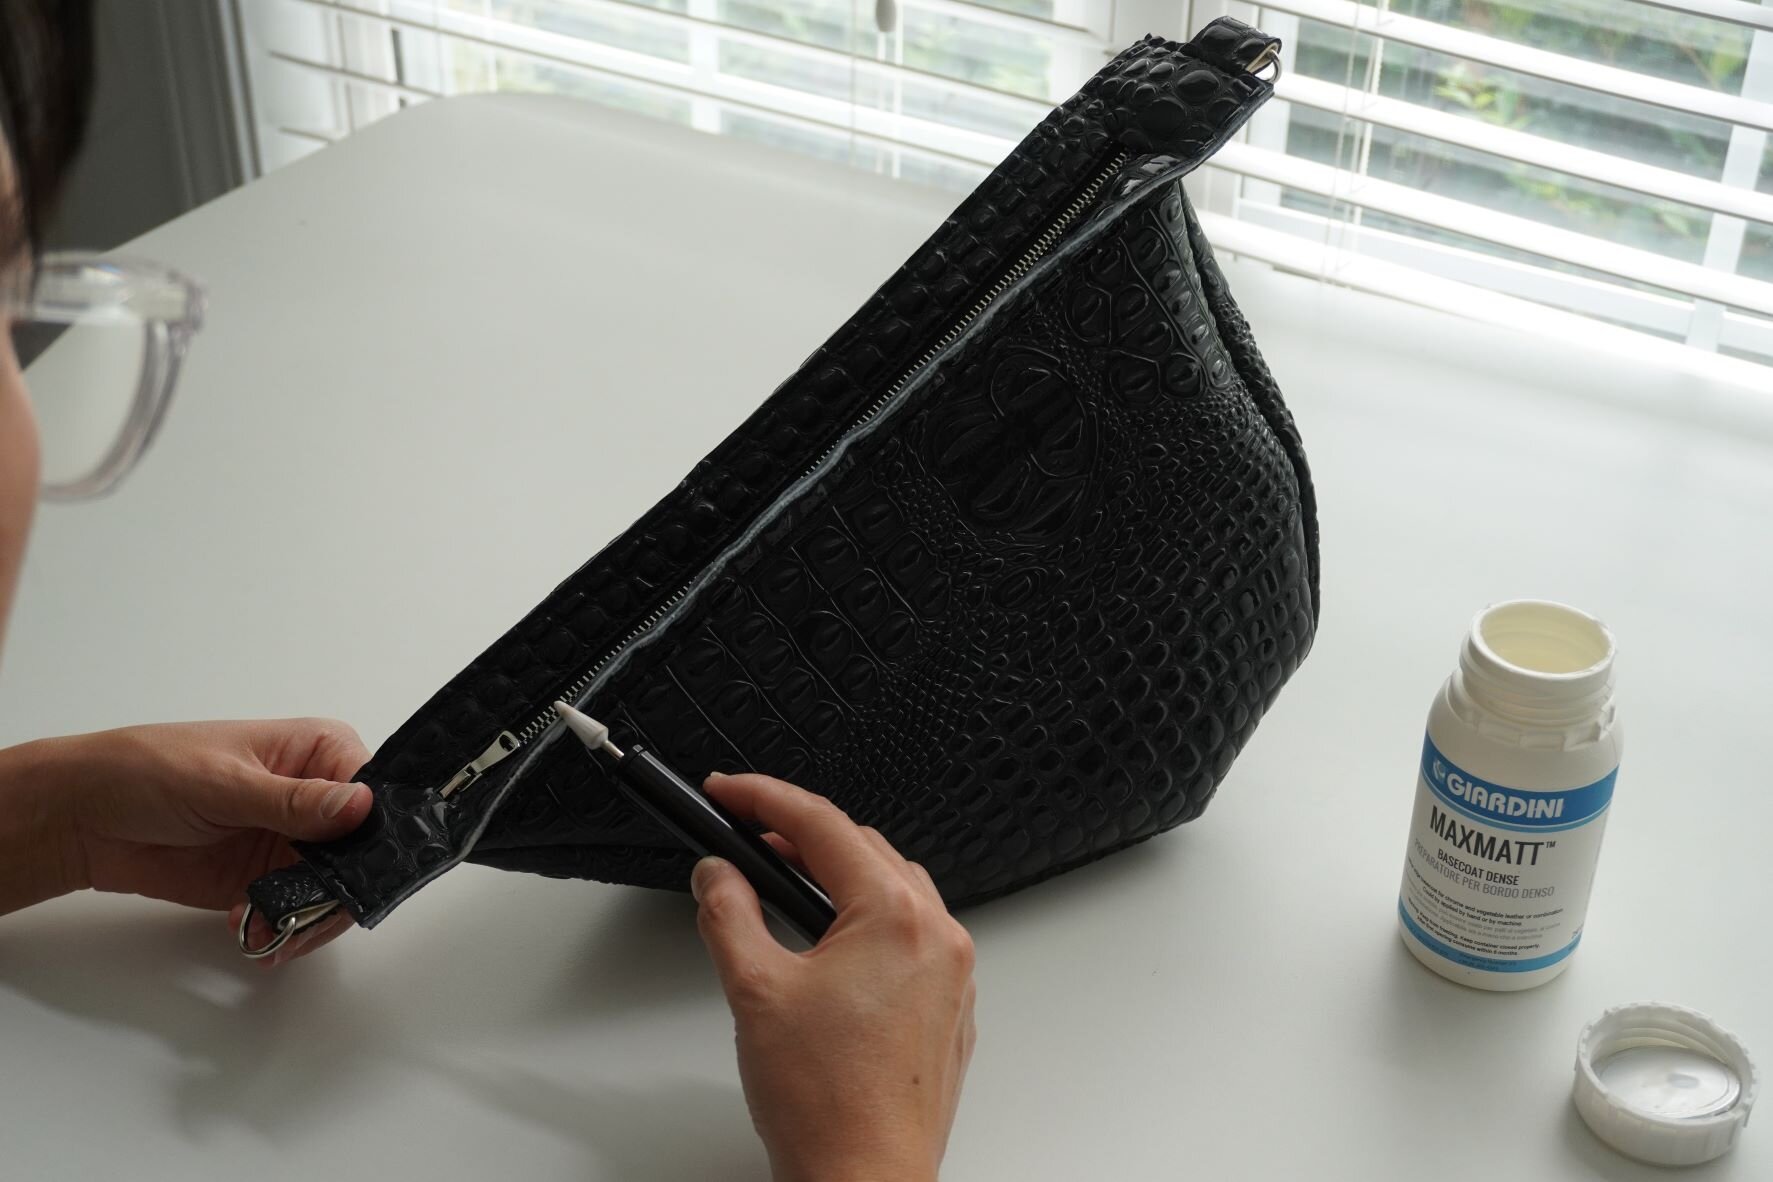
Gather up your base coat, edge paint and paint applicator (go back to the equipment post if you aren’t sure what these items are). Here’s a pic of what I am using:

1. Apply two coats of Giardini dense base coat to the edges of the top piece of the bag. Allow each coat to dry completely before applying the next coat. (It takes much longer for the paint to dry than you think – I recommend leaving it for about 10 minutes). In between each coat, lightly sand the base coat that you just applied with medium-grit sandpaper. This will help the next coat of paint adhere to the previous layer.
Note: normally, I use a simple cosmetic sponge to apply edge paint, but today I decided to apply the edge paint with a roller applicator instead. I like it — I think it makes it slightly easier to ensure that the edge paint doesn’t spill over the edge and mess up your finish.
2. Once the base coats are dry, take some medium grit sandpaper and sand the surface of the base coat to remove any imperfections that are in the edge (such as fibers in the leather, or the ‘ditch’ where the exterior material and the lining material meet). It is super important to get a completely smooth surface at this stage. If you don’t remove the snags and burrs in the edge at this stage, the imperfections will show through the final coats of edge paint.

Full disclosure: I forgot to take a picture of myself sanding down the basecoat, so instead, here’s a picture of myself sanding down the final coat of edge paint.
3. Apply 2-3 coats of your final edge paint, allowing each coat to dry for at least 10 minutes. I ran out of Giardini dense black edge paint (which is what I normally use because I love the dense texture of the paint), so I used some Fiebing’s black EdgeKote instead. Take extra care to ensure that the edge paint does not spill over the edge, as this will look very sloppy.
When you are done, you should have a nice, rounded edge from the layers of paint. This is optional, but you can also buff the edge with a clean piece of cloth to give the edge a burnished finish.

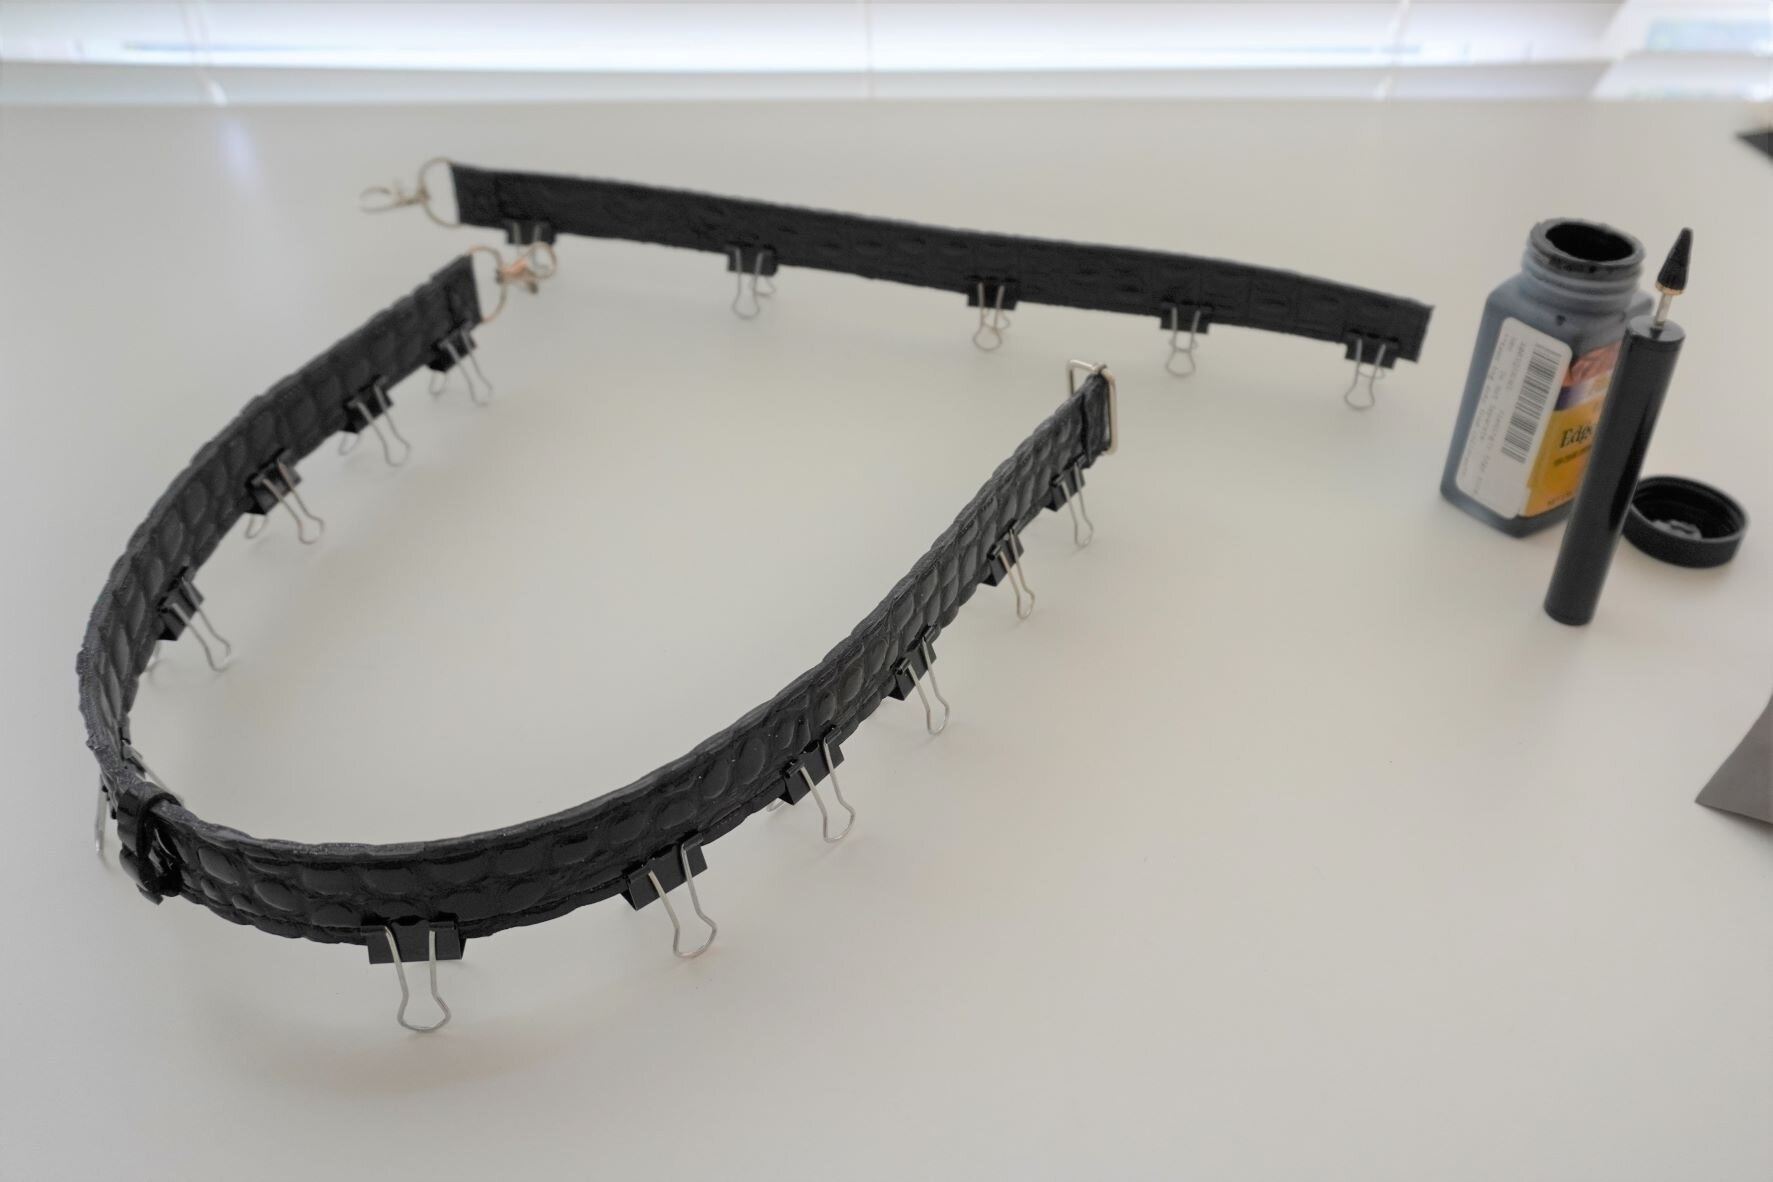
4. Repeat steps 1-3 above with the edges of both strap pieces.
Note: in order to be able to paint both edges of the strap at the same time, I use binder clips to create little ‘stands’ for the strap so that I can turn the edge with wet paint downwards and paint the other edge.
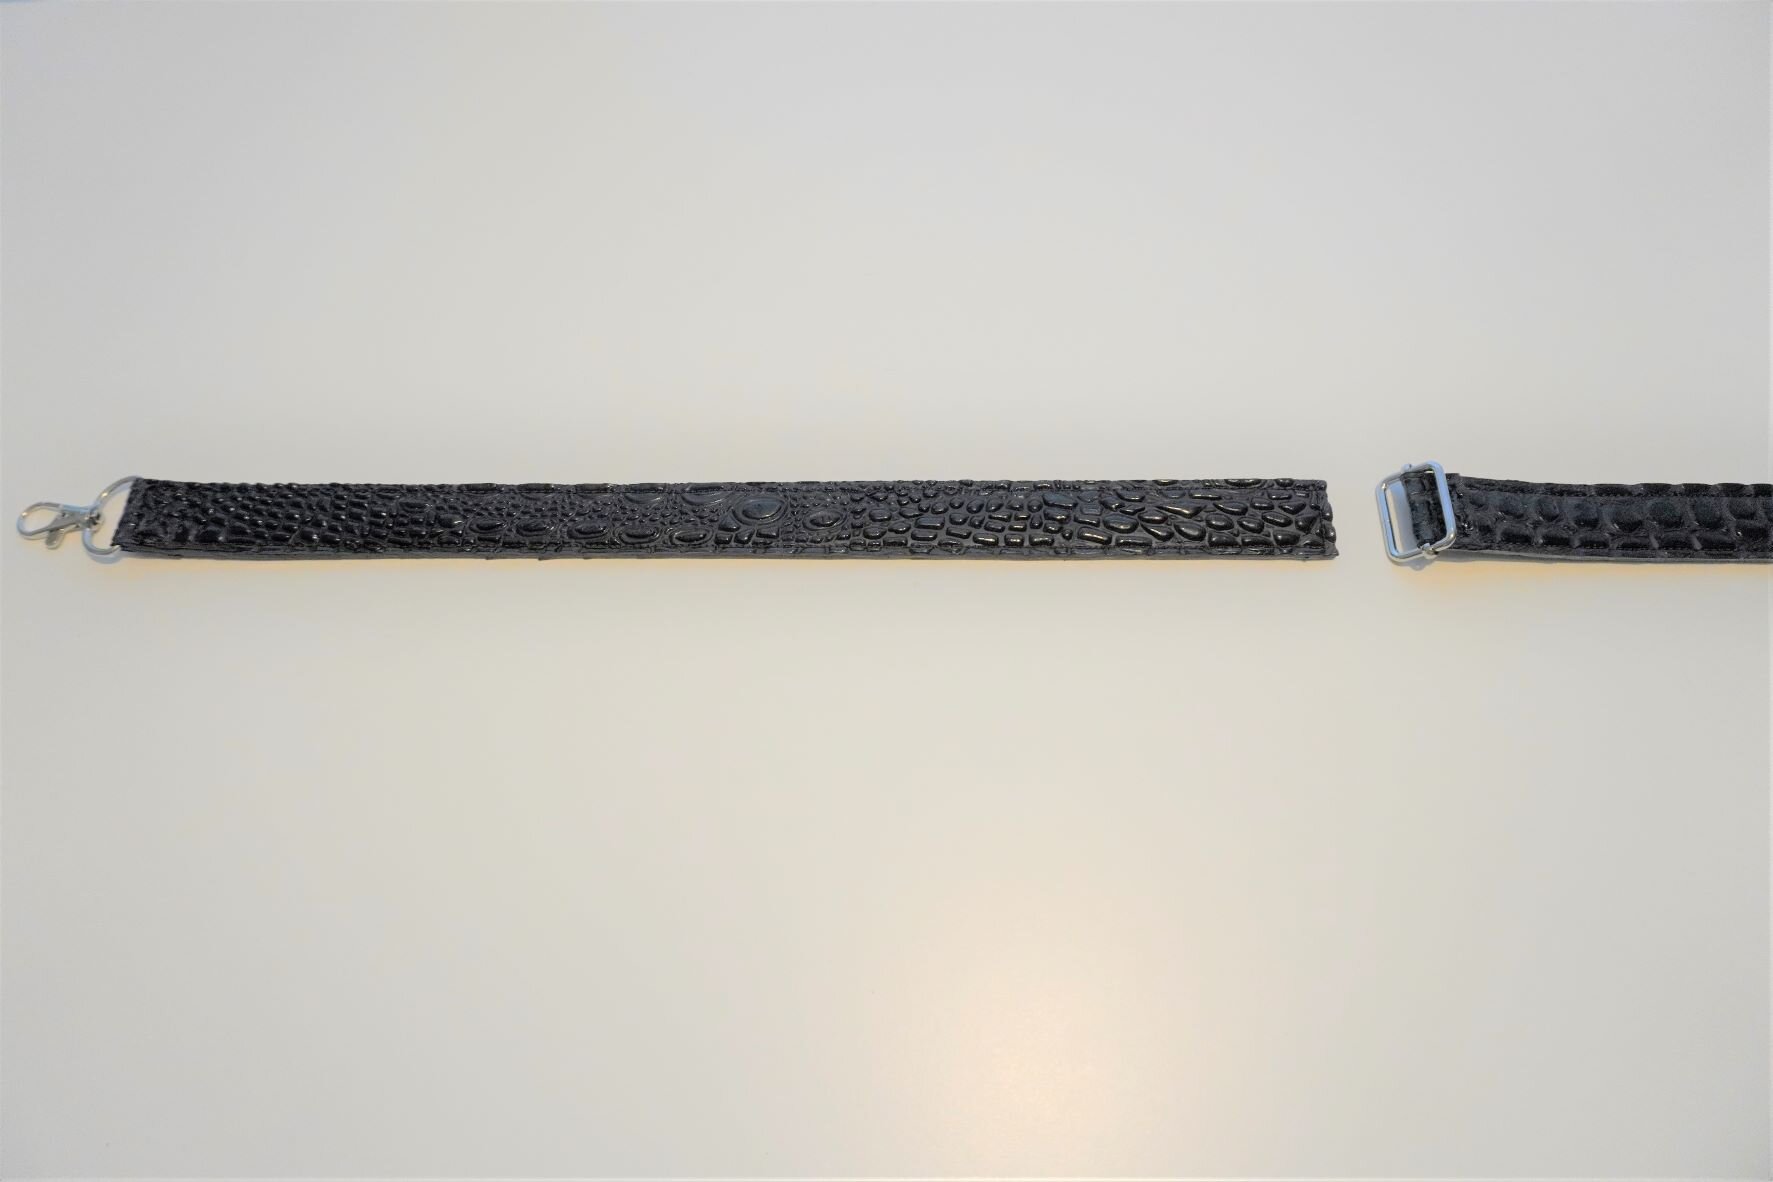
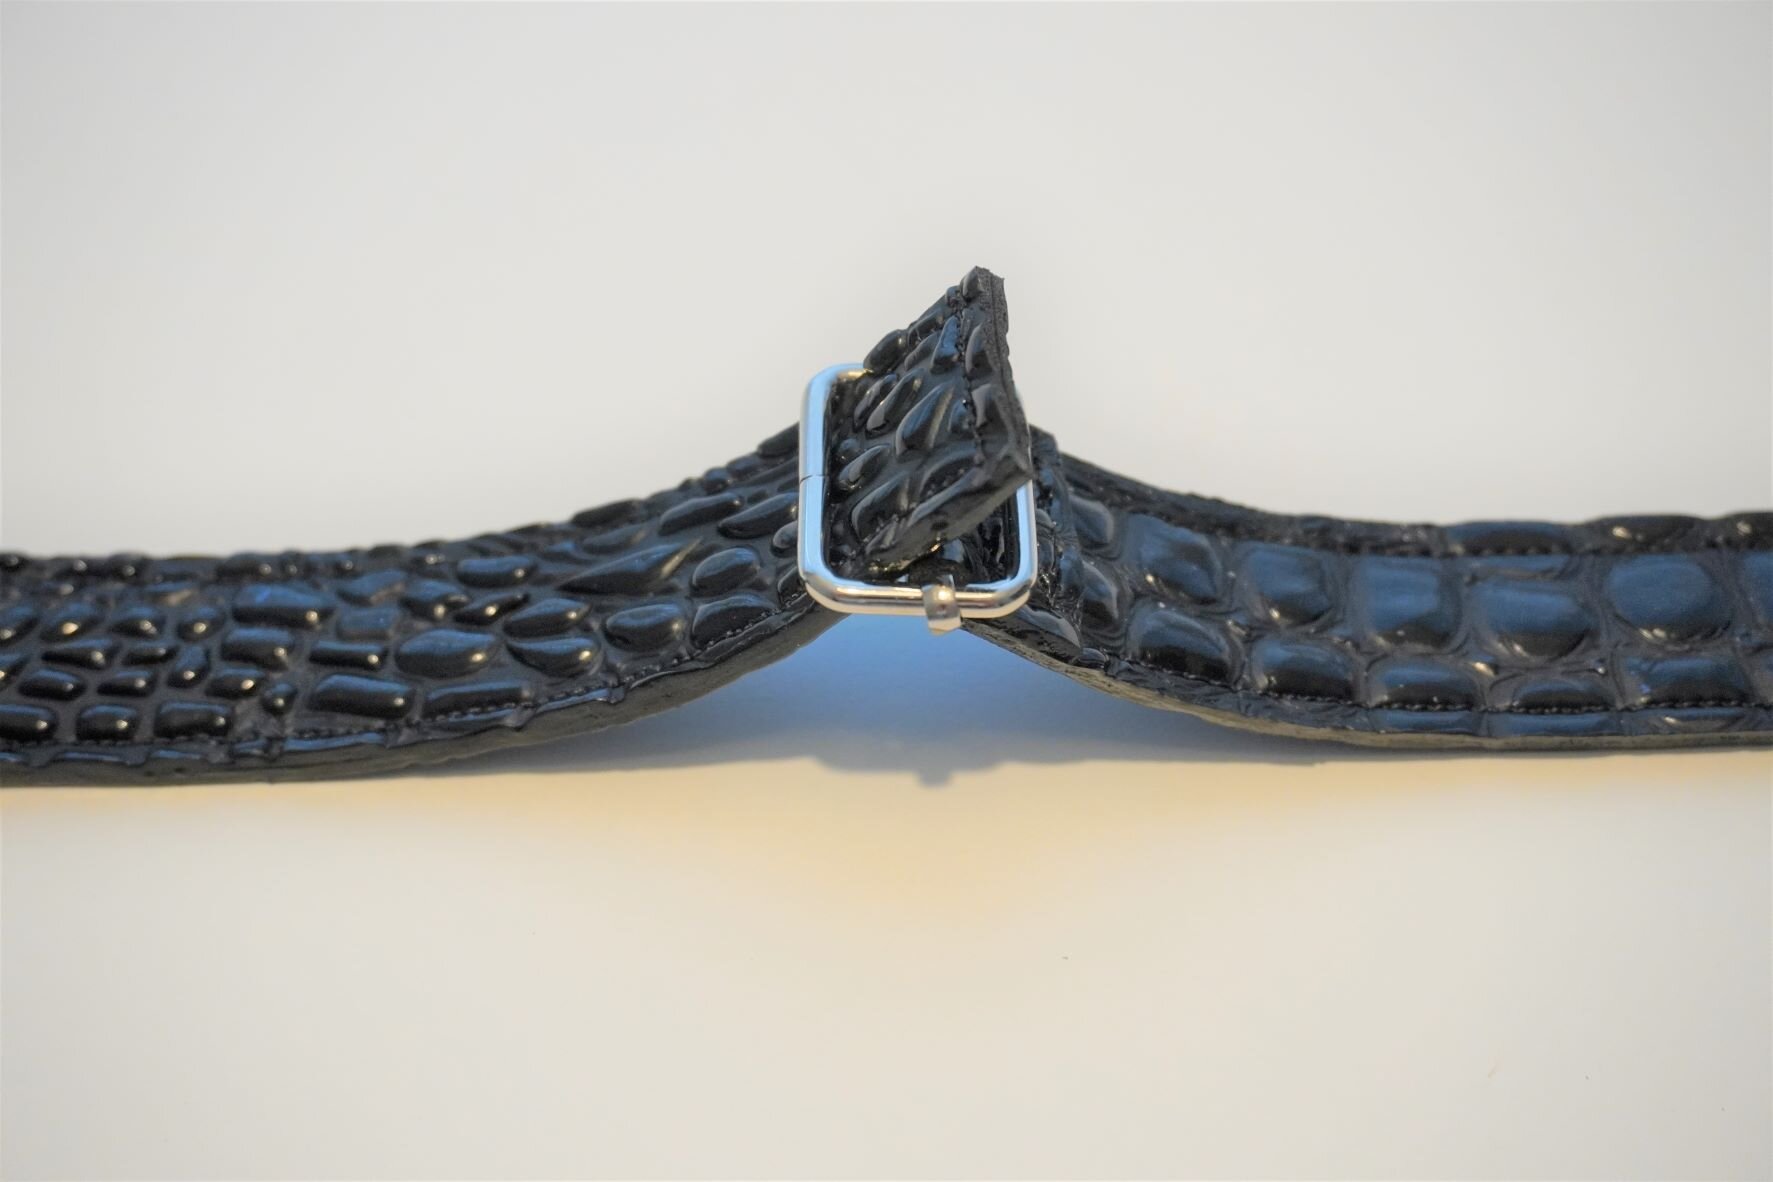
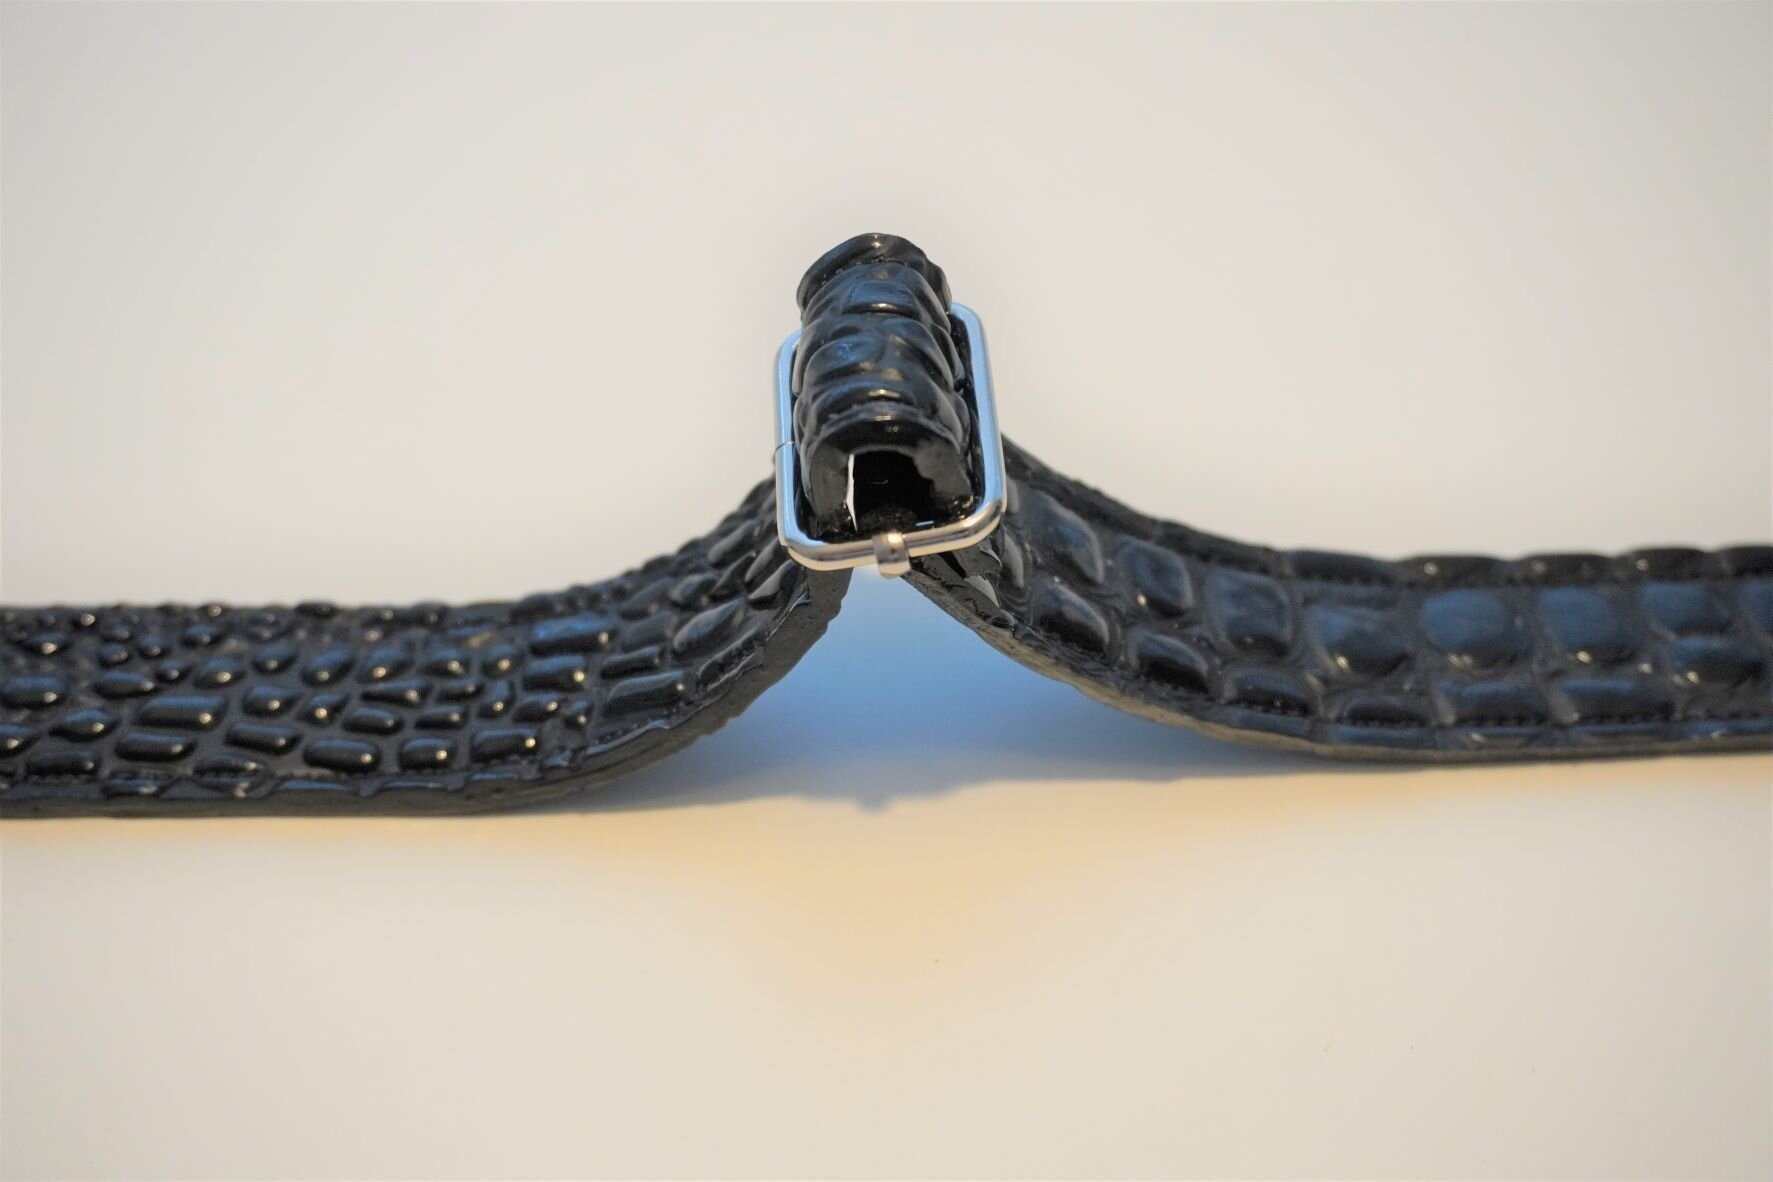
5. Insert the 18-inch strap piece into the slider attached to the 26-inch strap piece. You will want the strap to come from behind the slider, over the middle bar, and then back behind the slider.
Add the Strap Holder
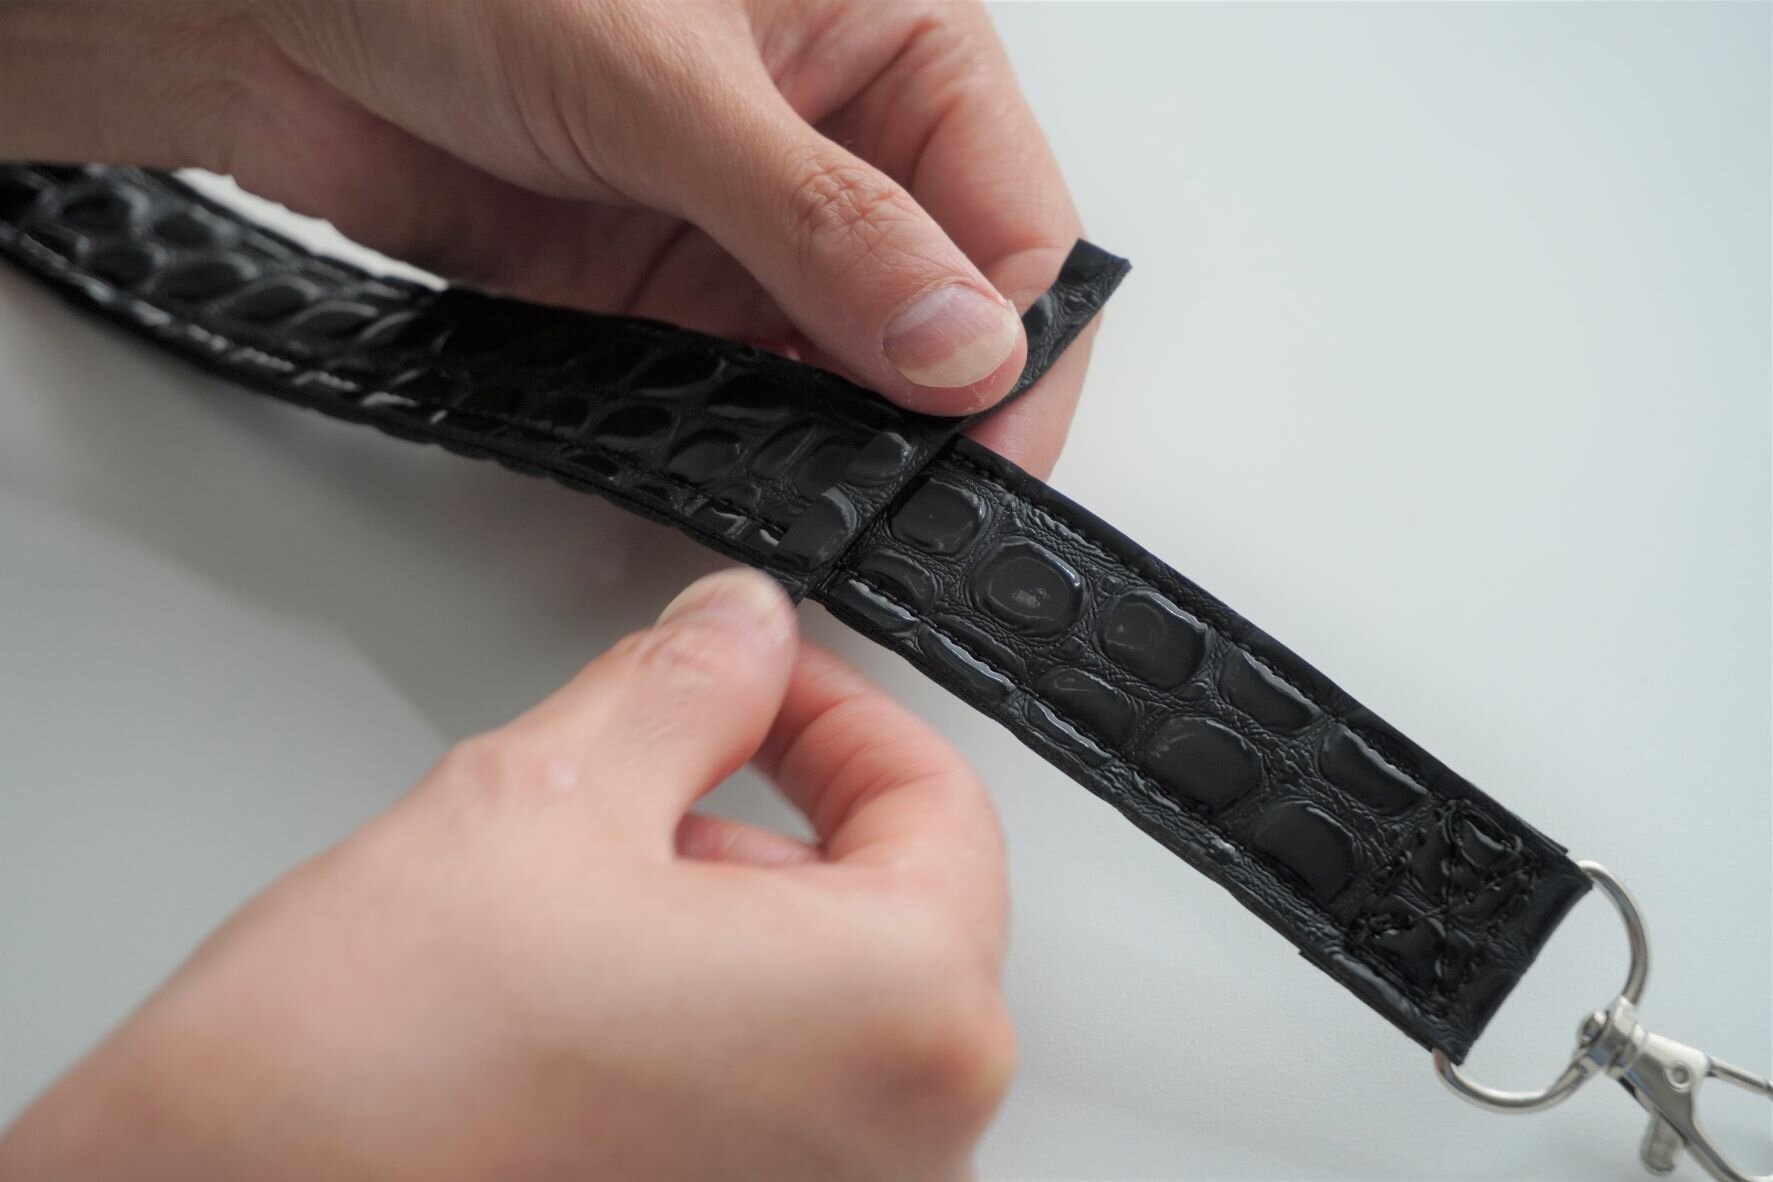
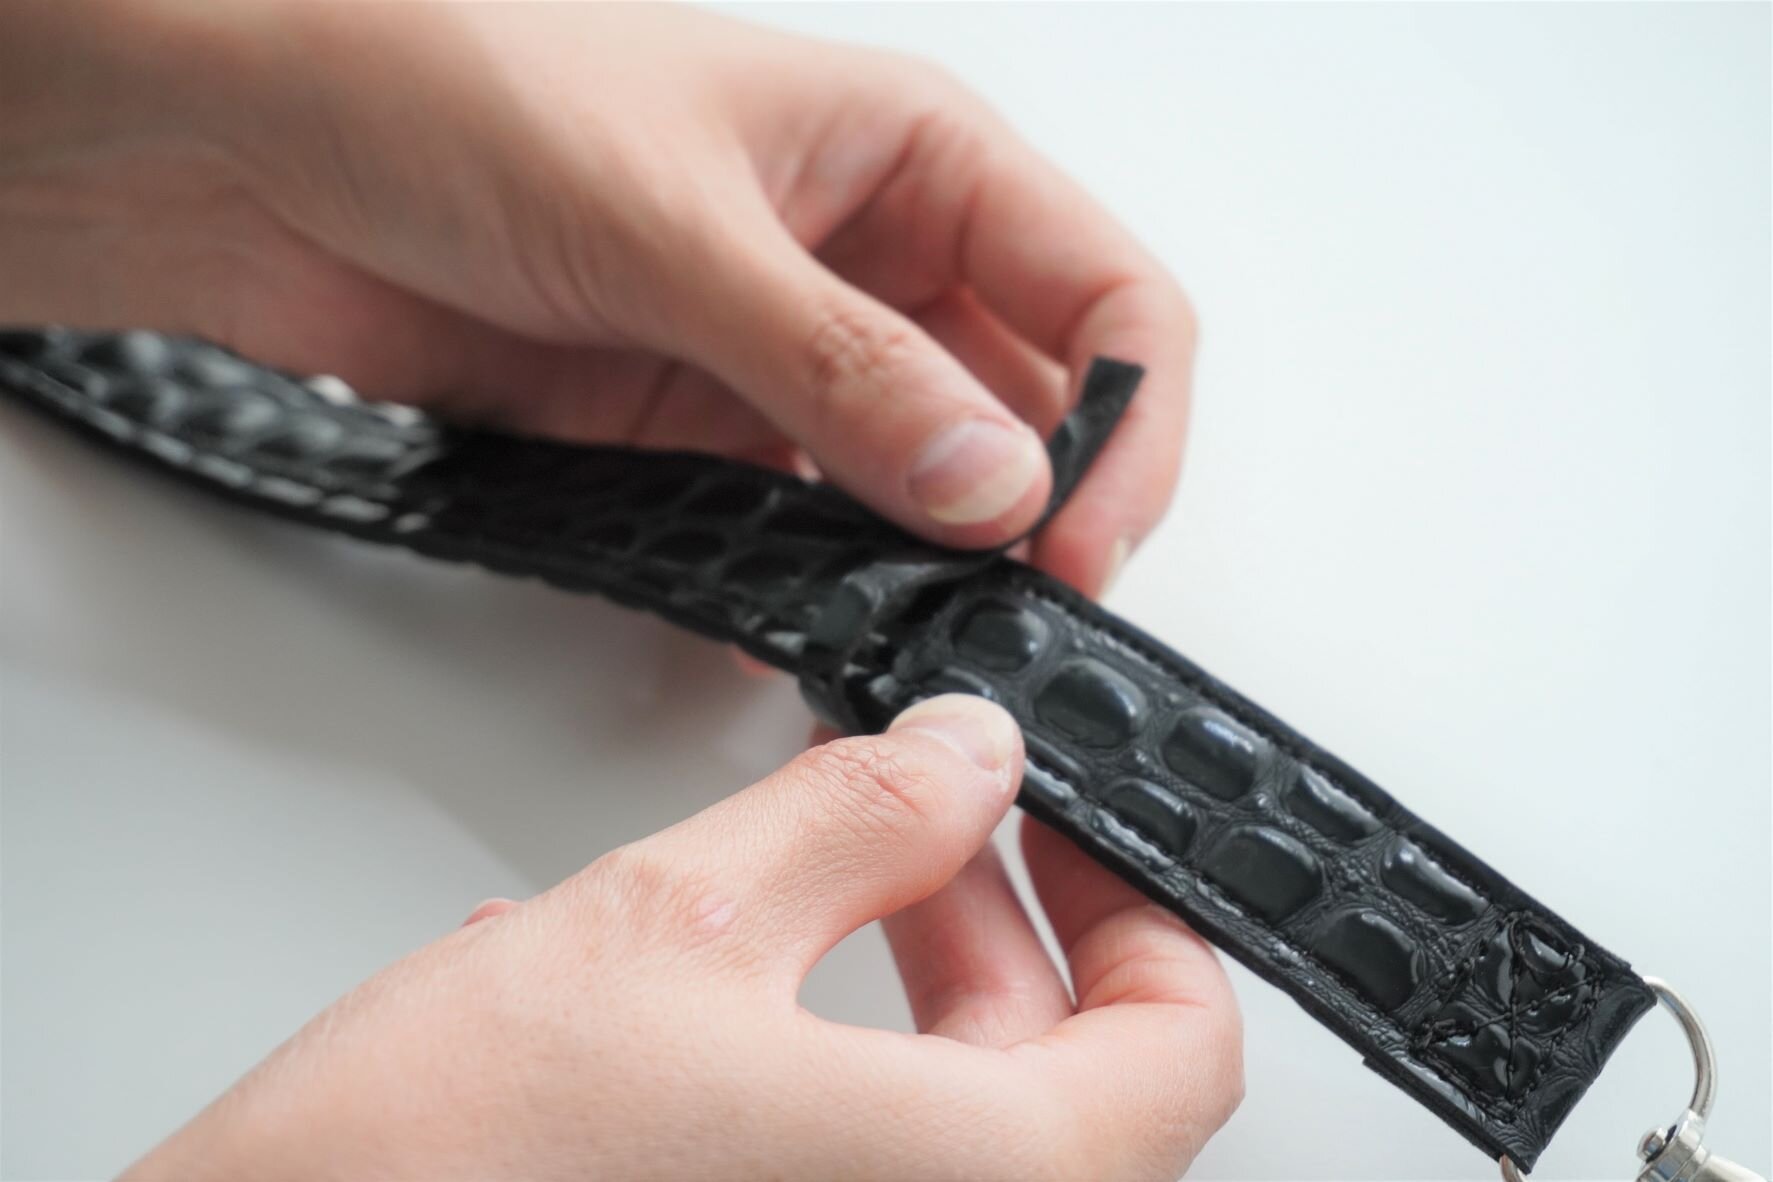
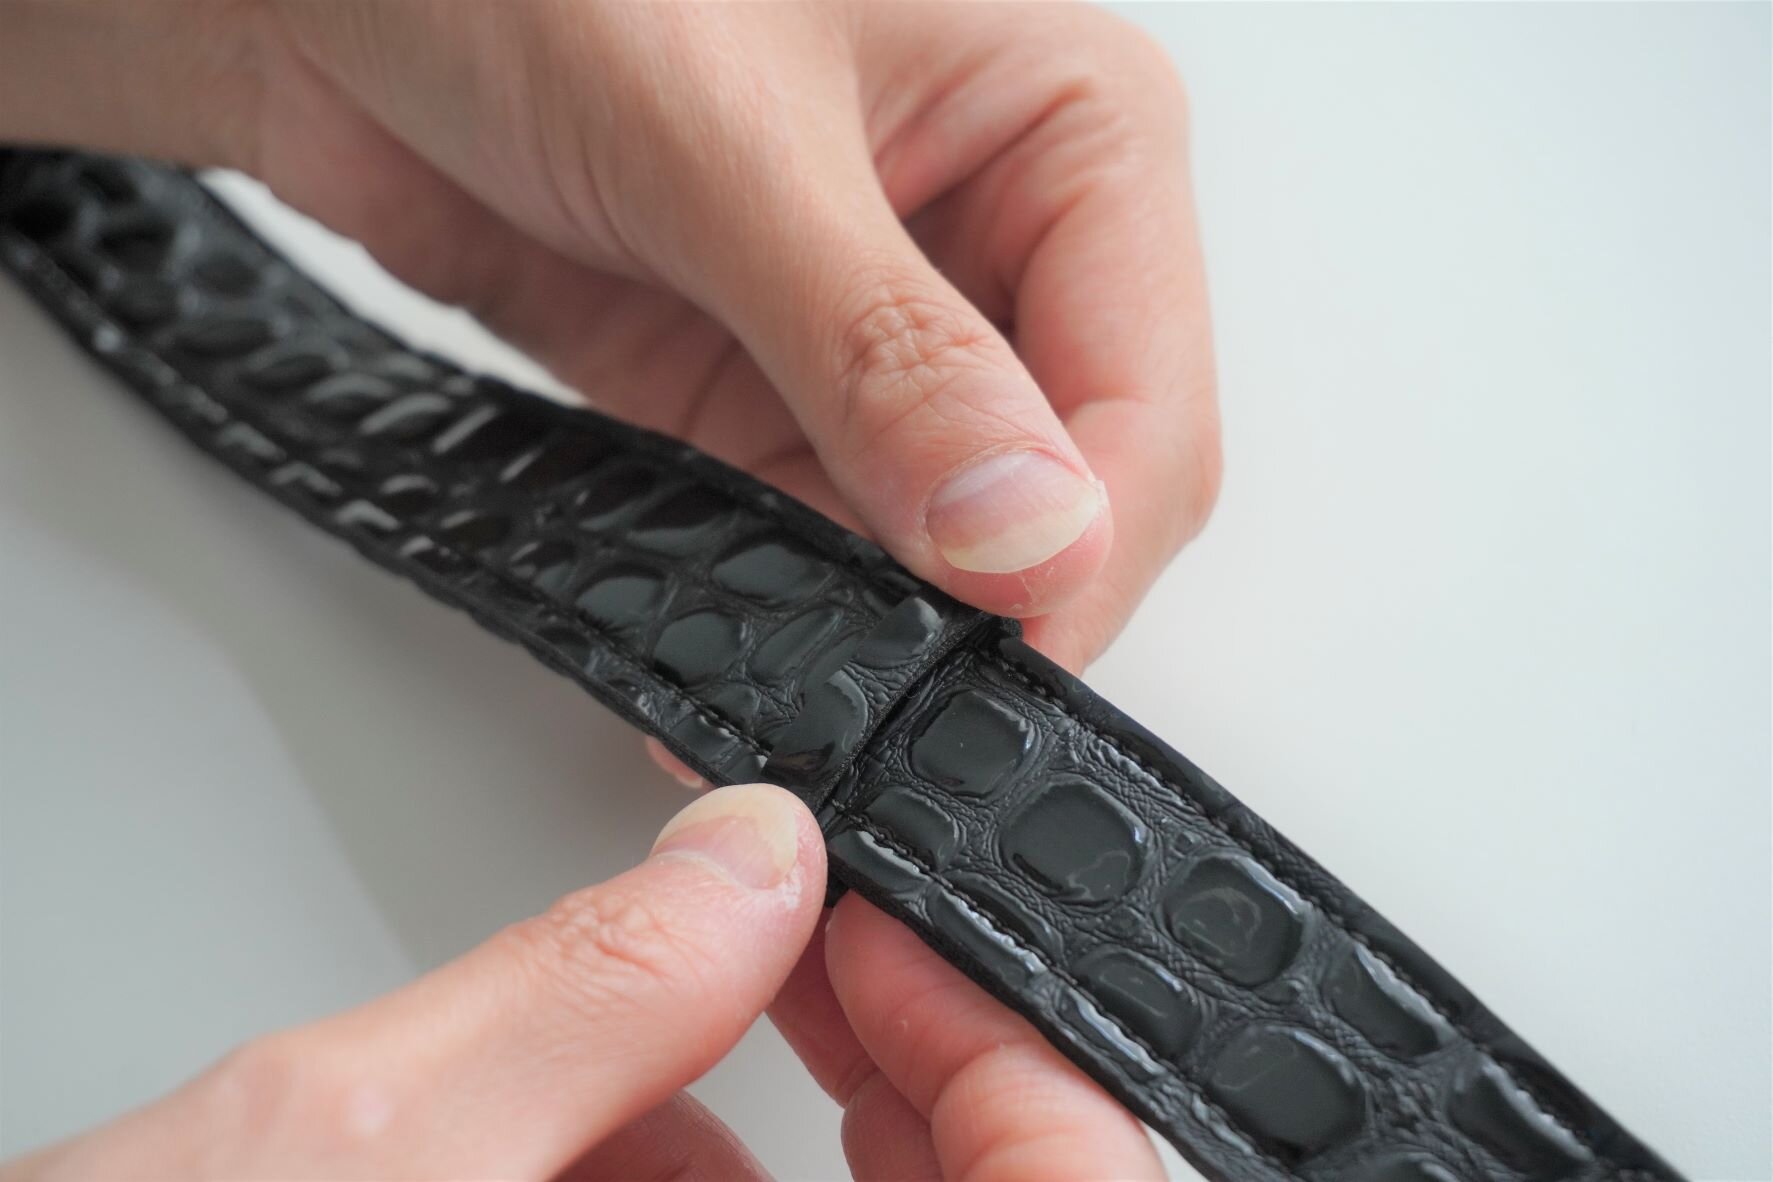
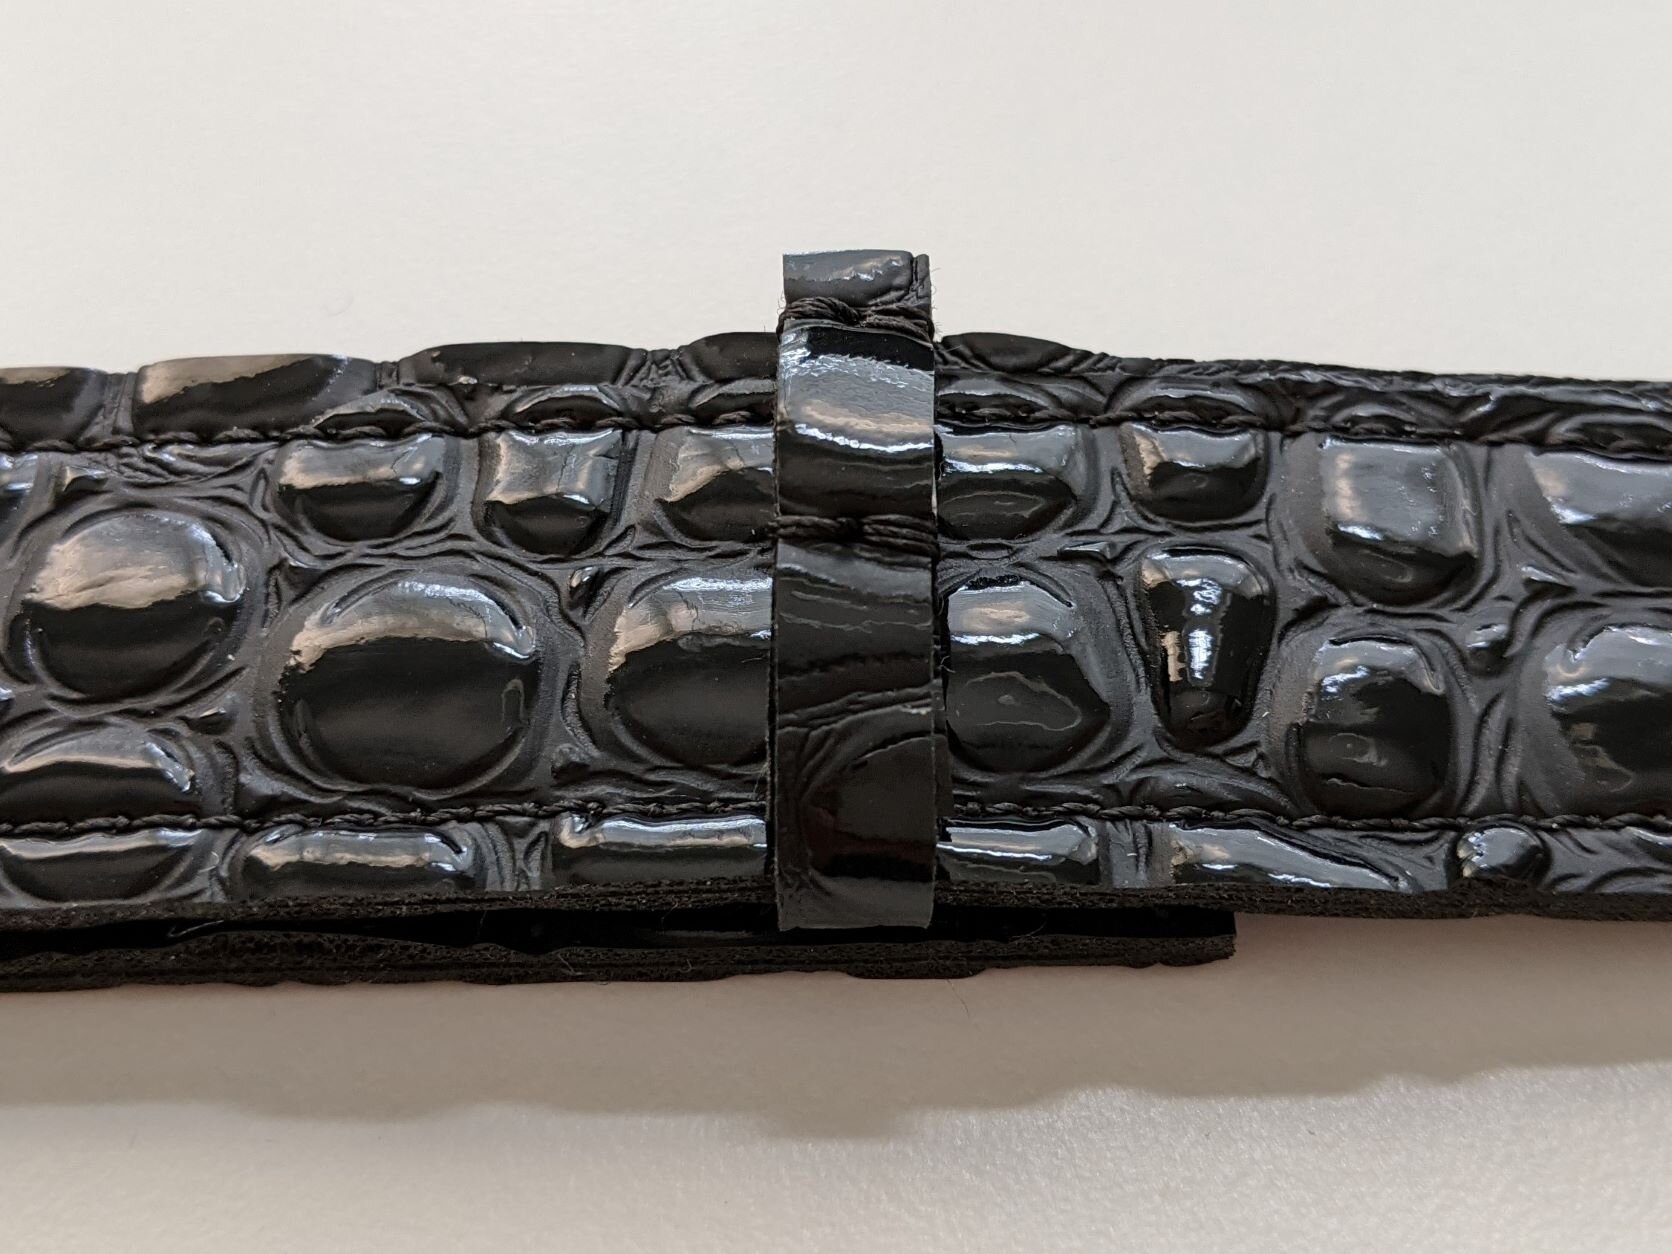
1. Take the 3¾ inch strip you cut out earlier and wrap it around the part of the strap where the excess strap length will lay. Overlap the ends of the strip, making sure that you leave enough room under the strap holder to tuck the excess strap length through the holder. Hand-stitch the ends together to secure.
Note: I like to insert the needle in the middle of the strip, pull through to the other side, then bring the thread around to the original side (so the thread forms a loop around the edge) and insert the needle through the middle again. I repeat this several times, making loops around both edges of the strap holder.
Add the Zipper Pull
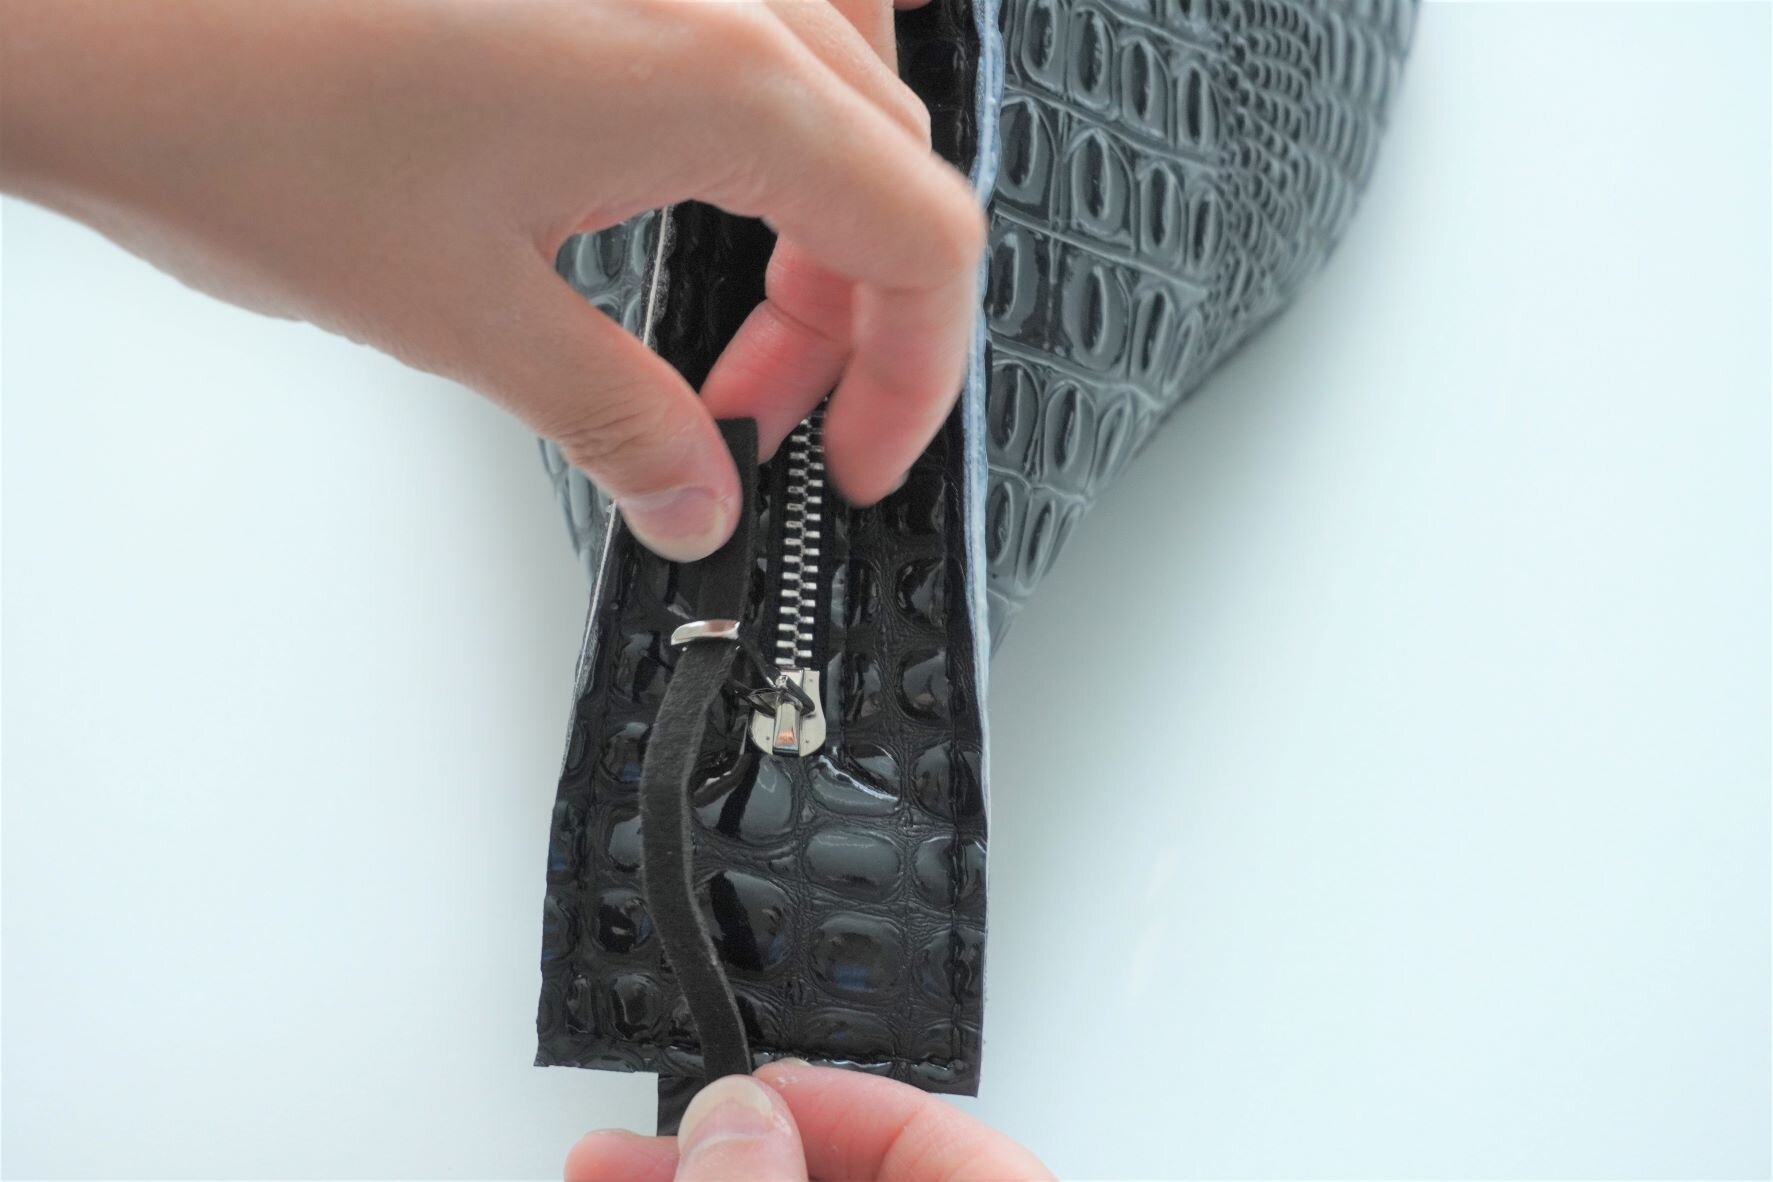
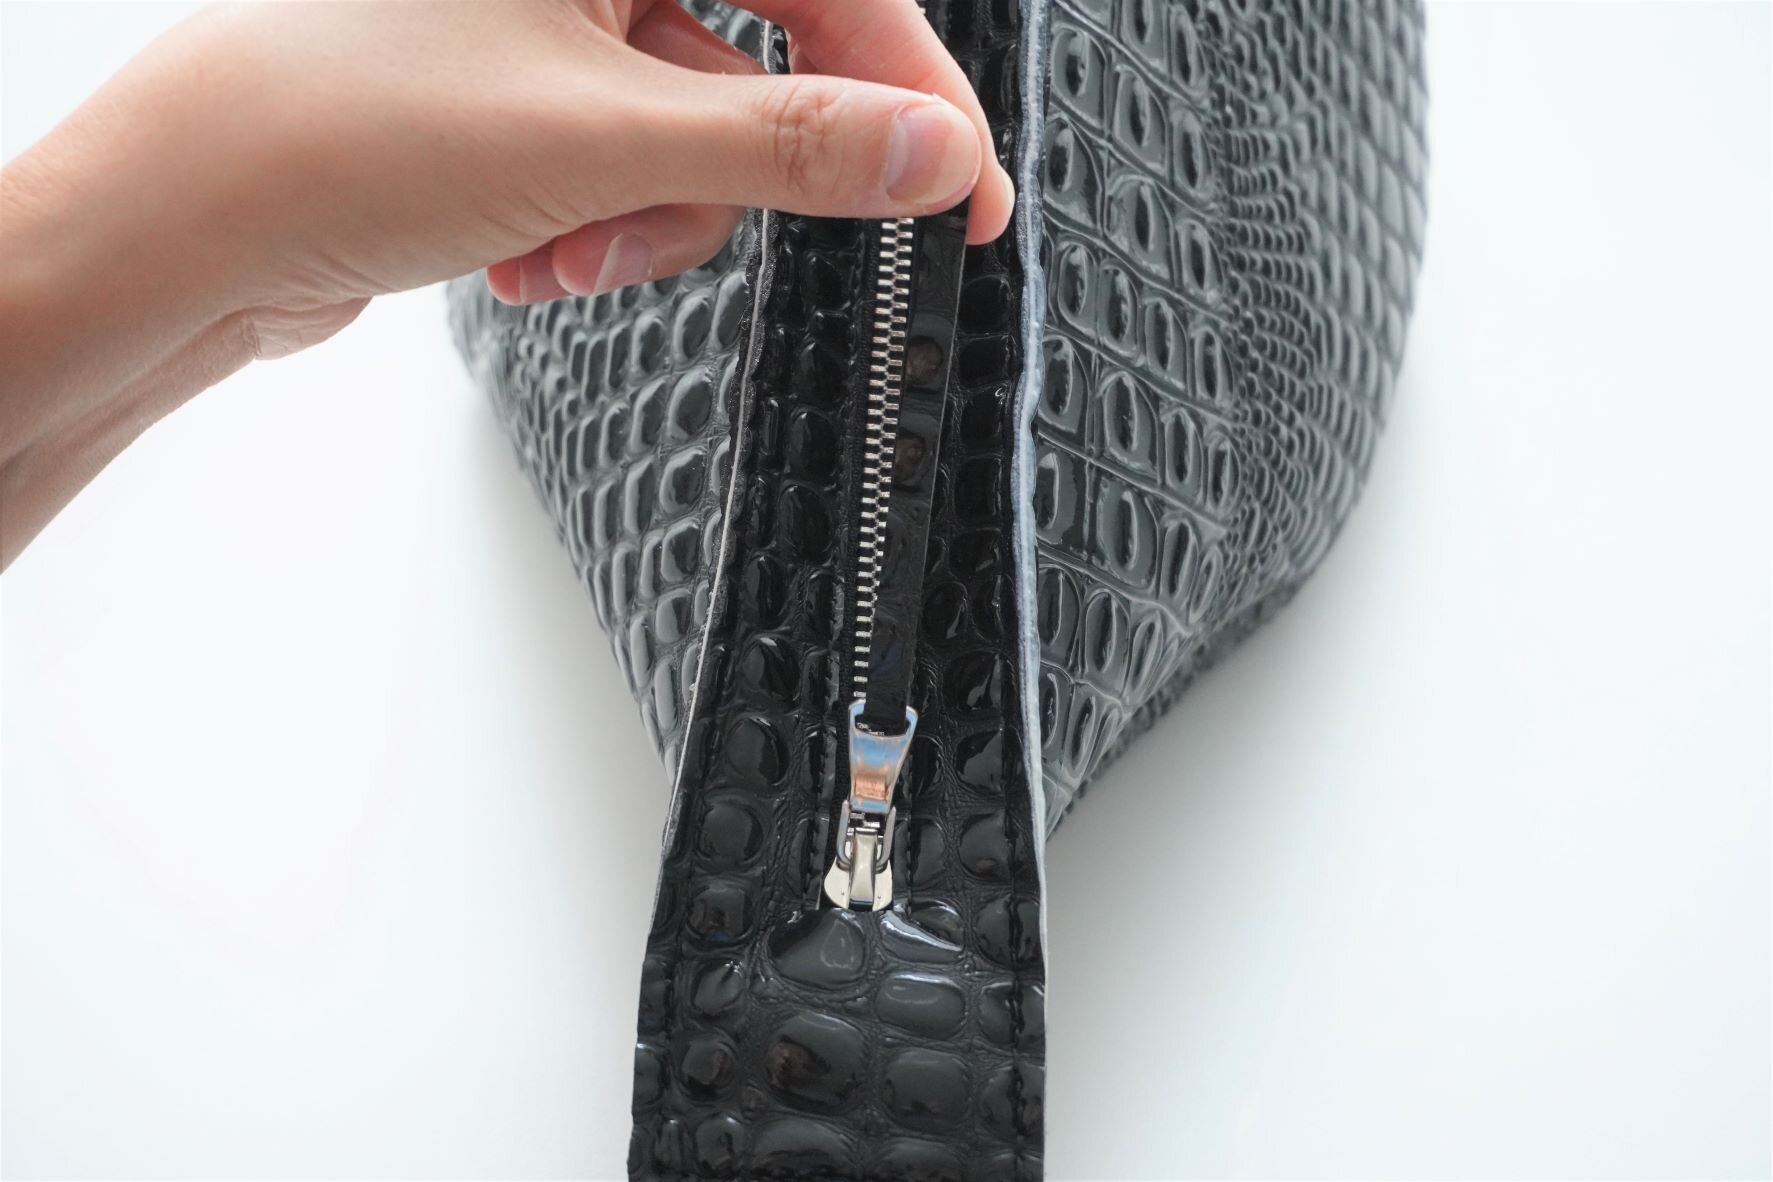
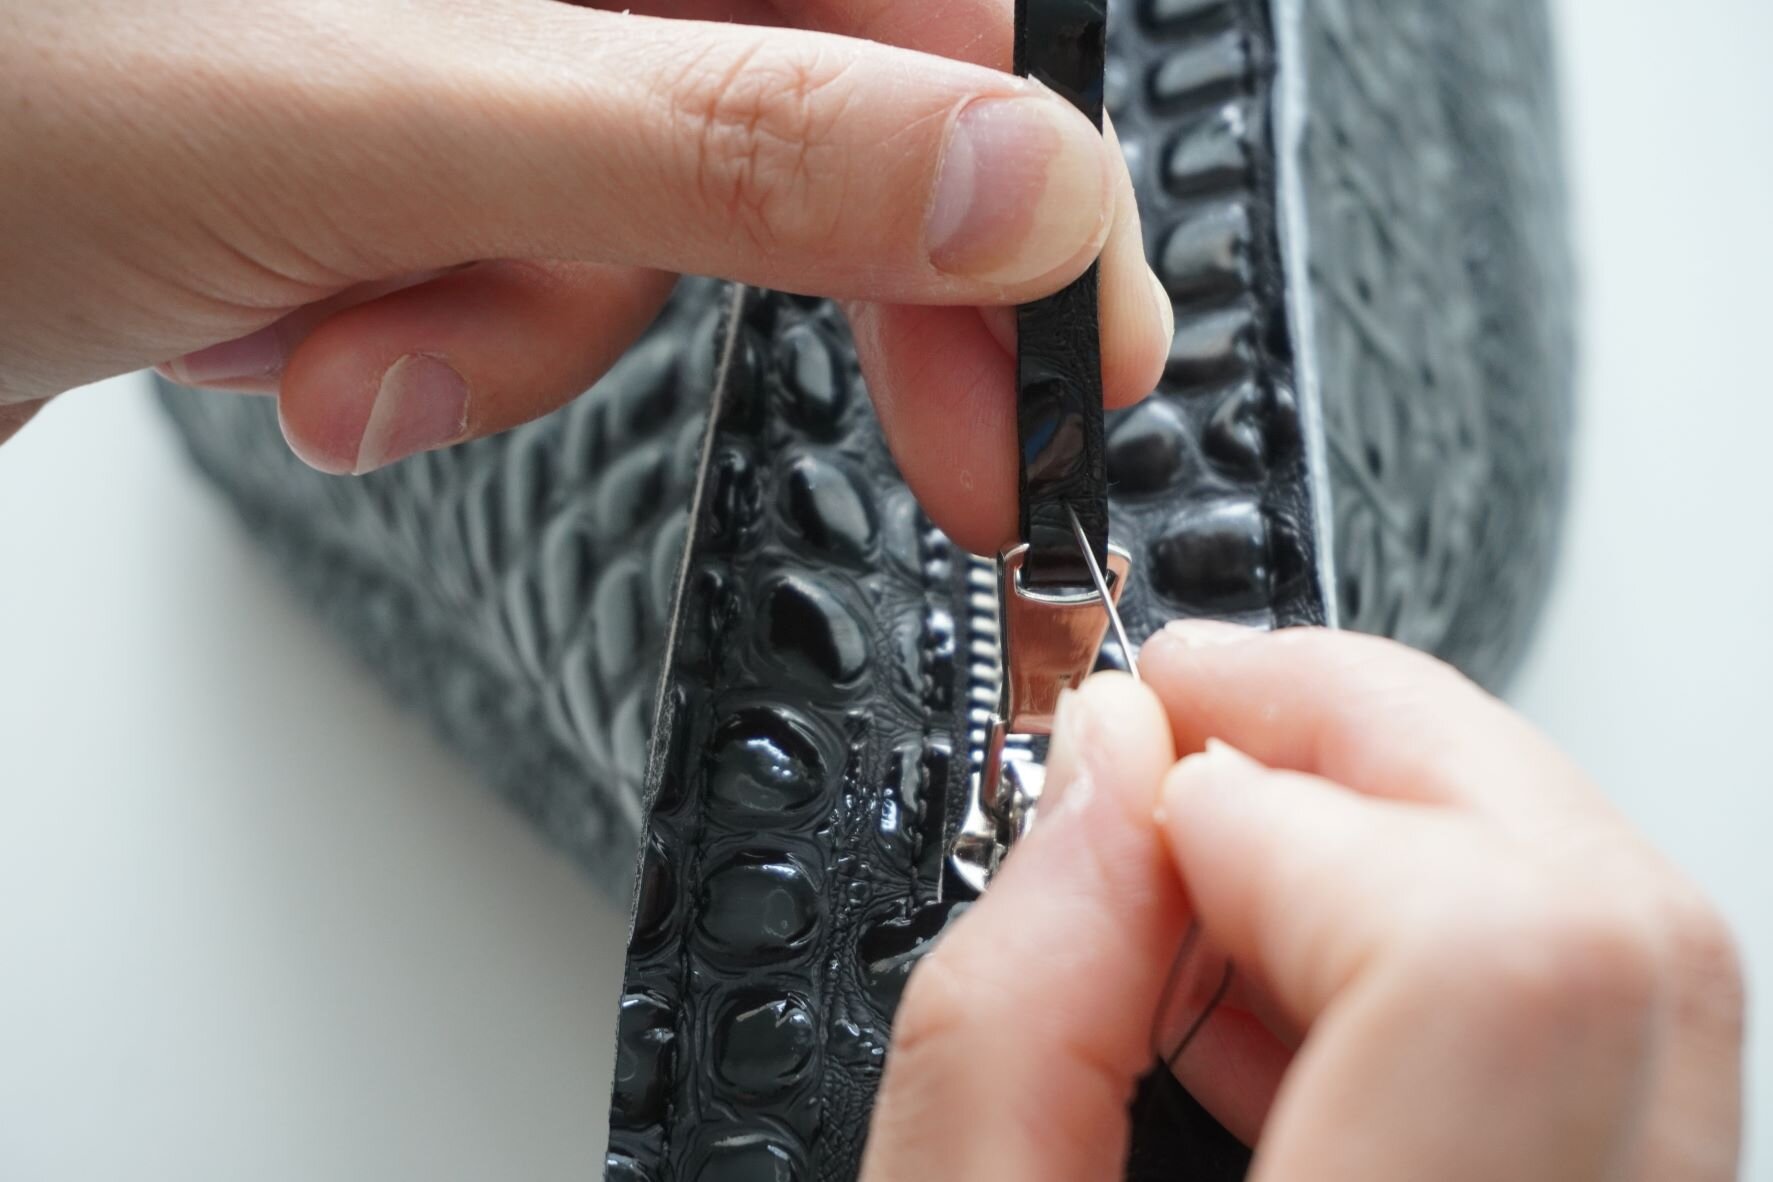
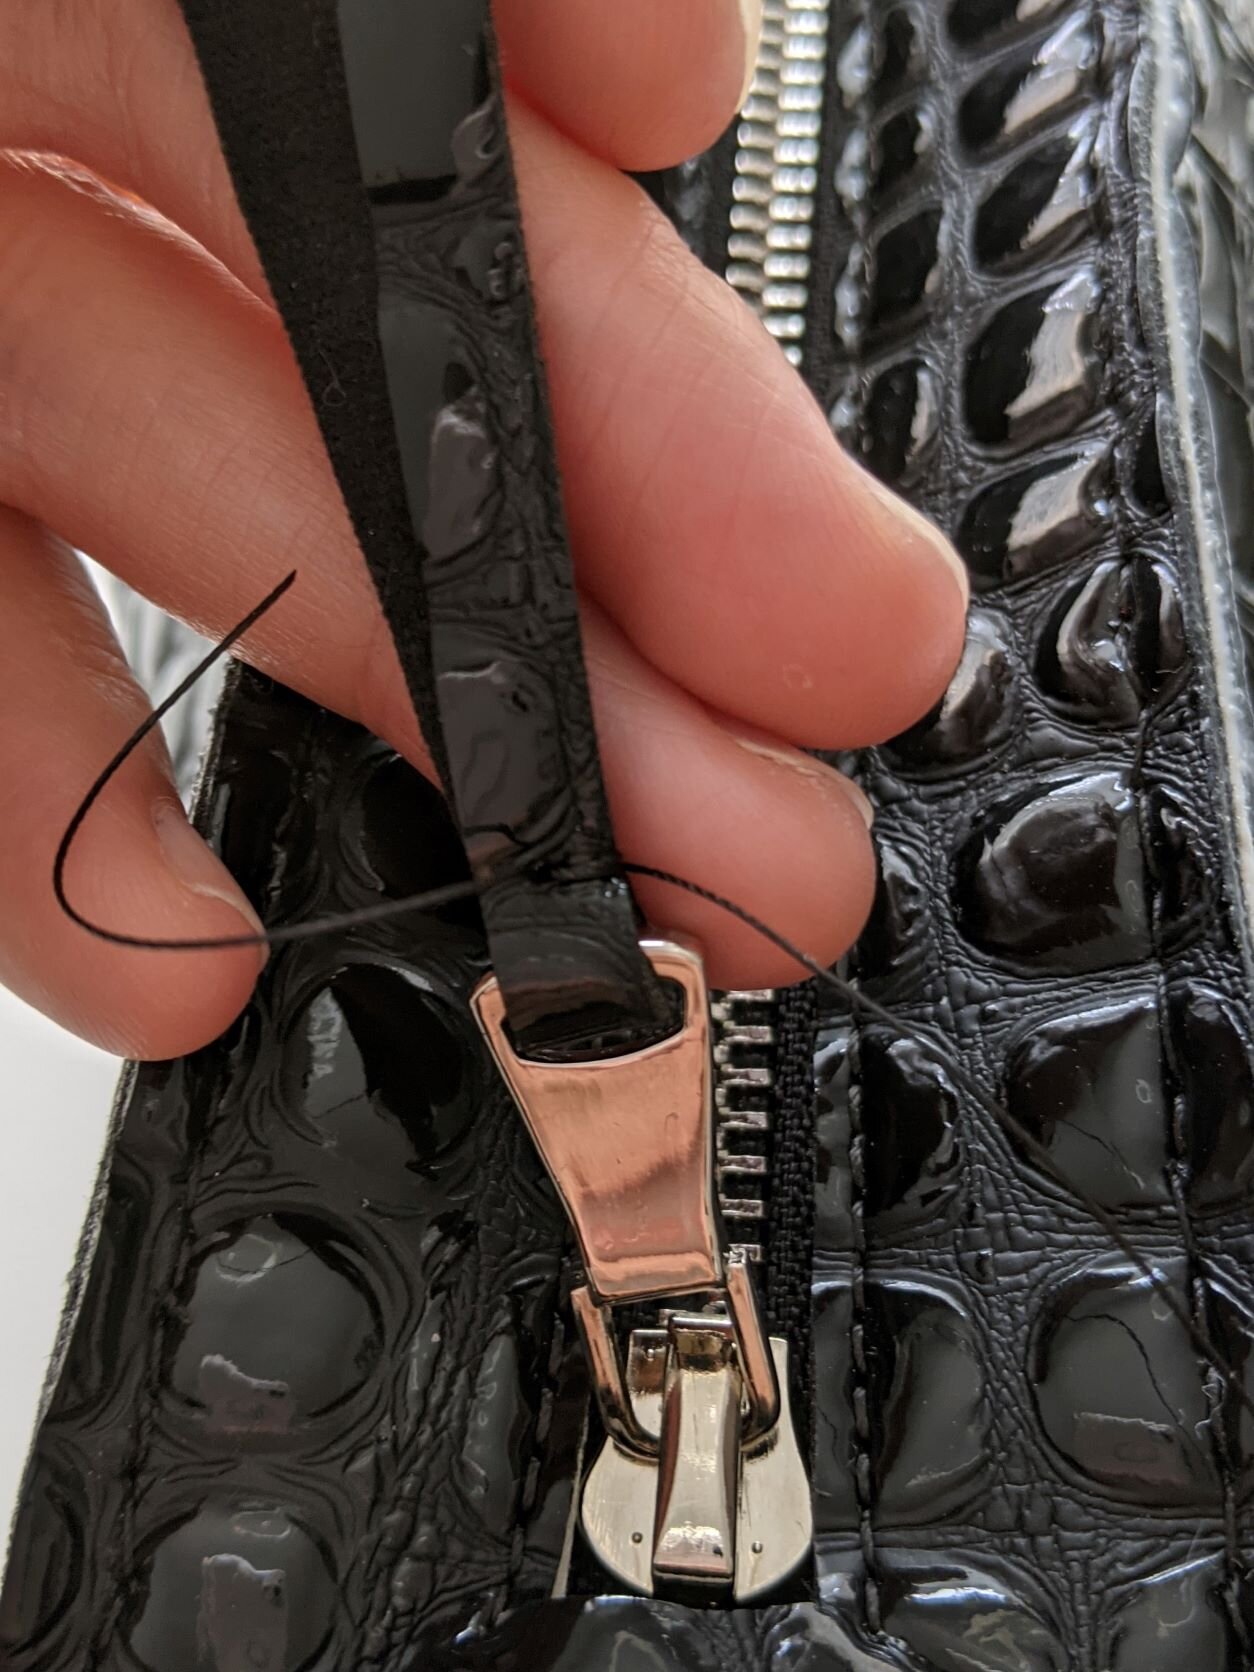
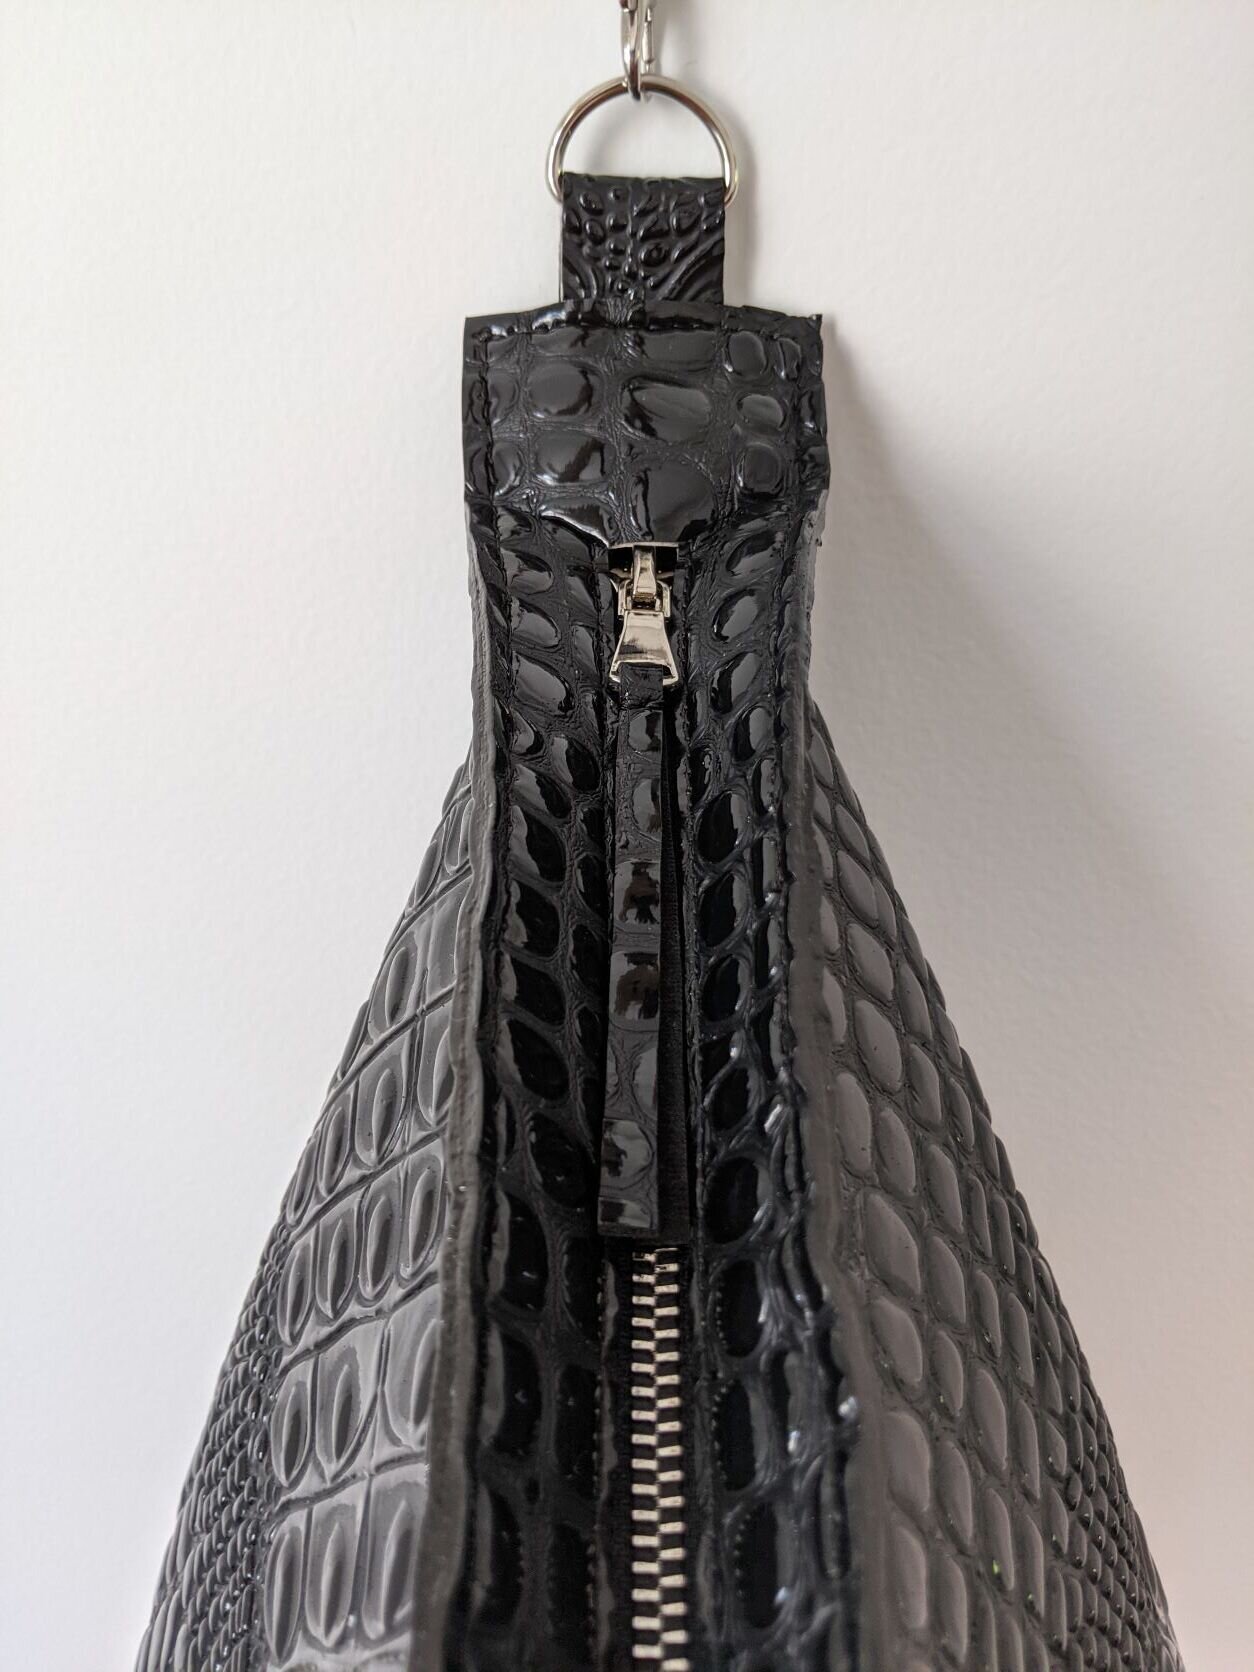
1. Take the 7-inch strip you cut out earlier and feed it through the hole in the pull on your zipper. Pull the strip halfway through the pull, until you have basically folded the strip in half. Hand-stitch the two halves of the strip together just underneath the zipper pull. (Again, as noted above, I use the technique where I insert the needle into the middle of the strip and make loops around both edges.)
Note: the zipper pull is optional, but I find it gives the bag a nice finishing touch and it also makes it much easier to open the zipper.
And that’s it! The sling bag is finally done. If you’d like to show off your creation, please post a pic of the bag to Instagram and tag me (@sab_made_in_brooklyn). I’m looking forward to seeing all of your makes!!!


