
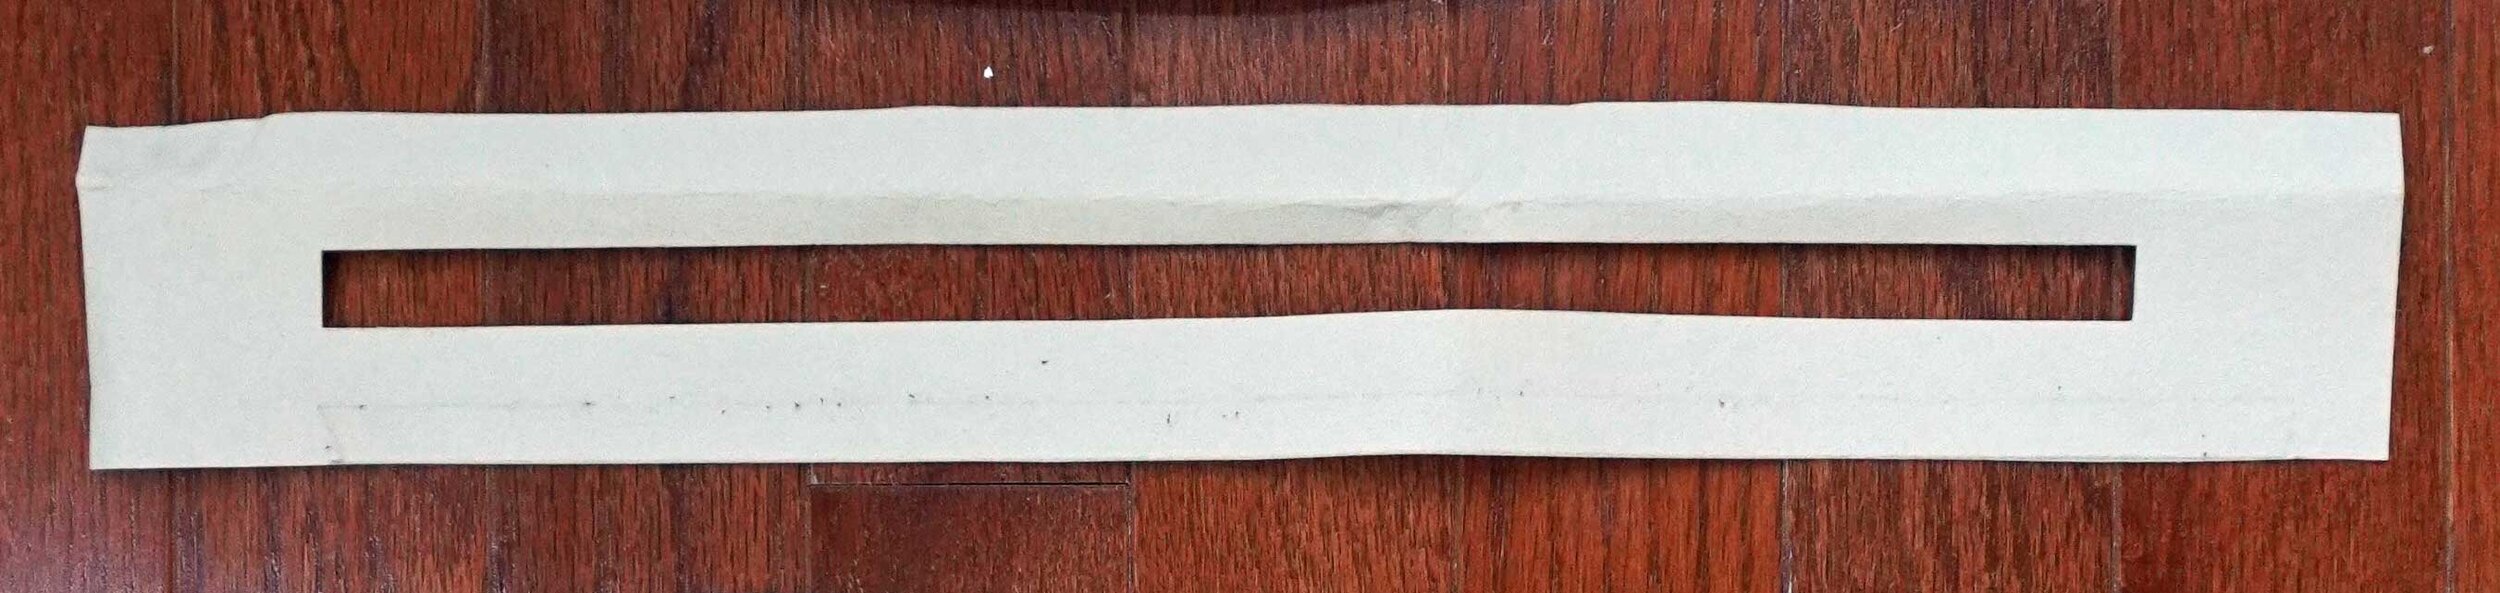
Now that we have all of our materials and equipment, let’s move on to cutting out the pieces and prepping them for construction. To do that, you’ll first need to print out and assemble the pattern (available here). If you’ve never worked with PDF patterns before, check out this tutorial from Colette to learn how to assemble the pattern.
Once all of the tiles are assembled, the pattern should look like this:

When I’m working with bag patterns, I like to glue the paper pattern to something a bit stiffer like poster board or cardboard, as this makes the pattern a bit more durable and easier to cut with. That said, this step is optional and is probably only necessary if you plan to use the pattern more than once.
Once you have your pattern pieces cut out, we can get started on cutting out the pieces.
Cutting the Pieces
Exterior Material
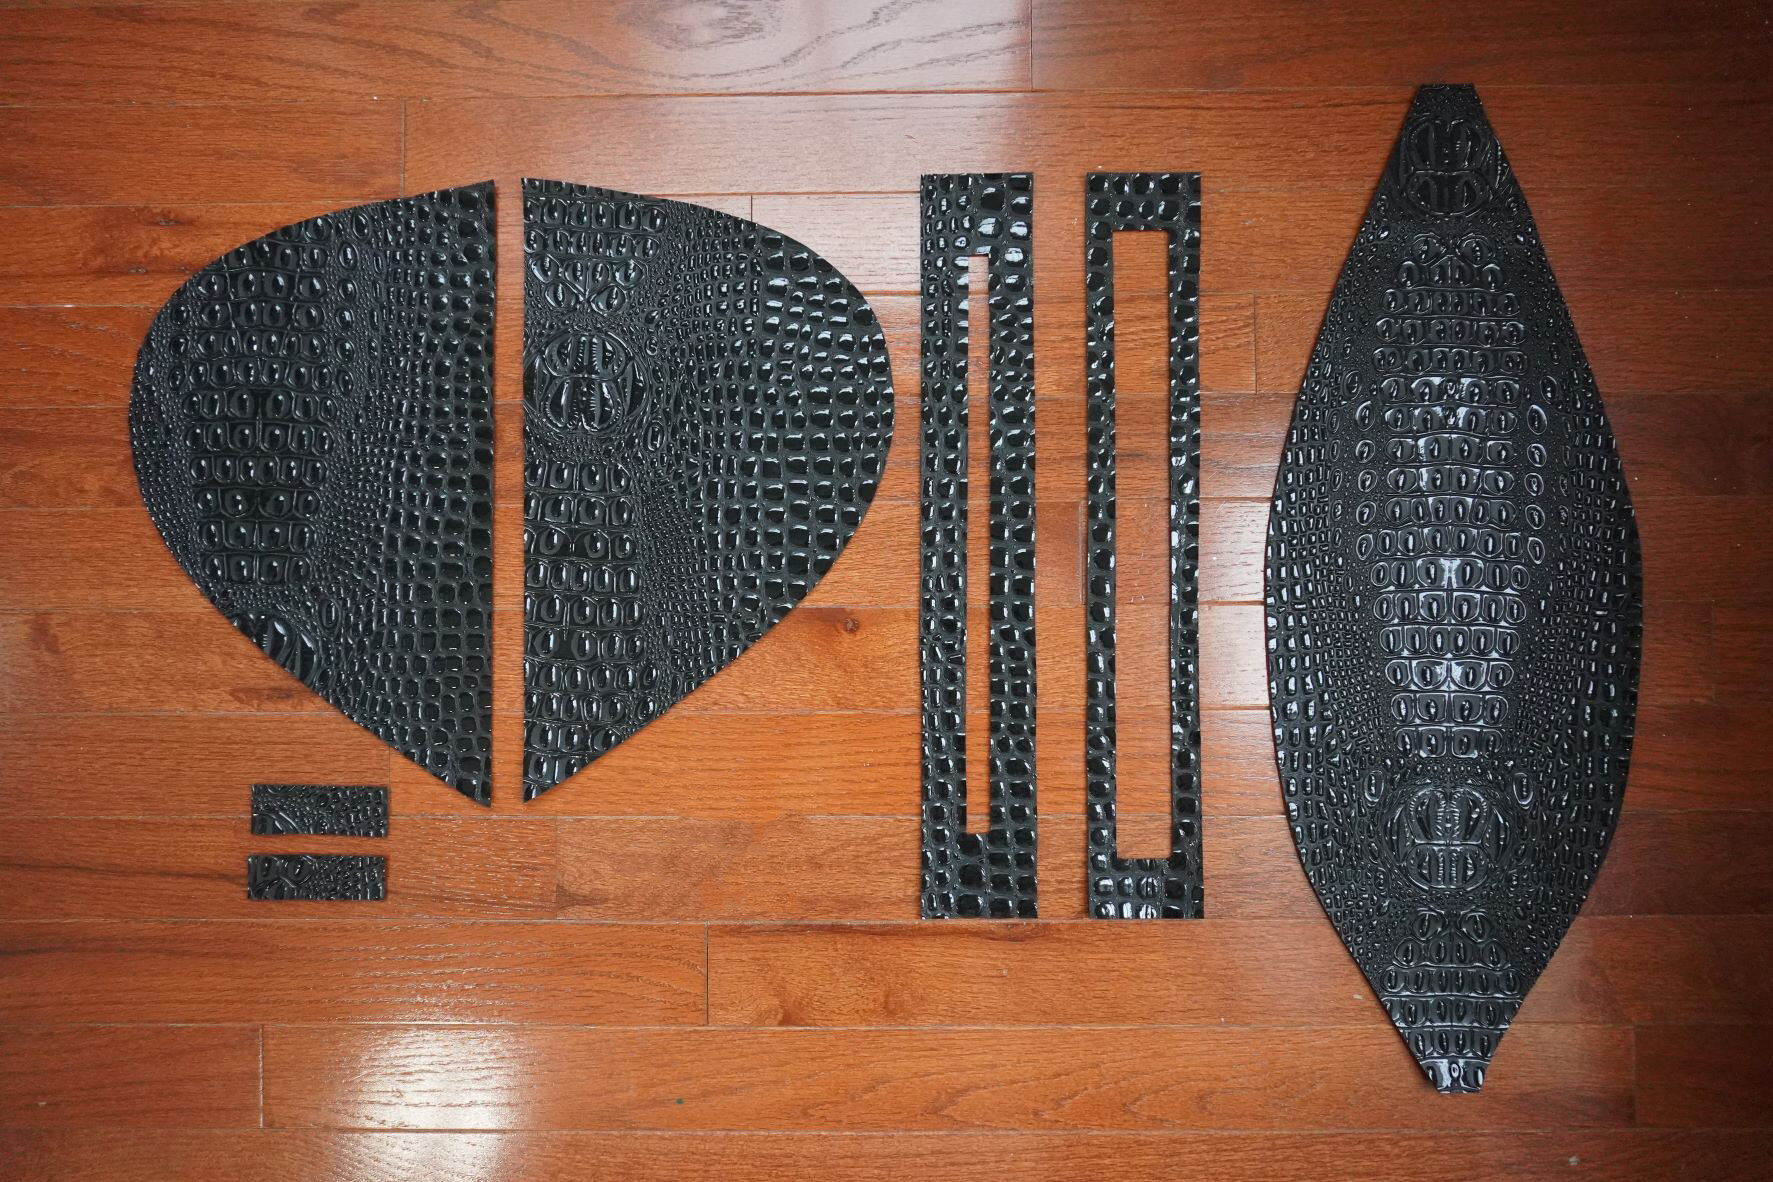
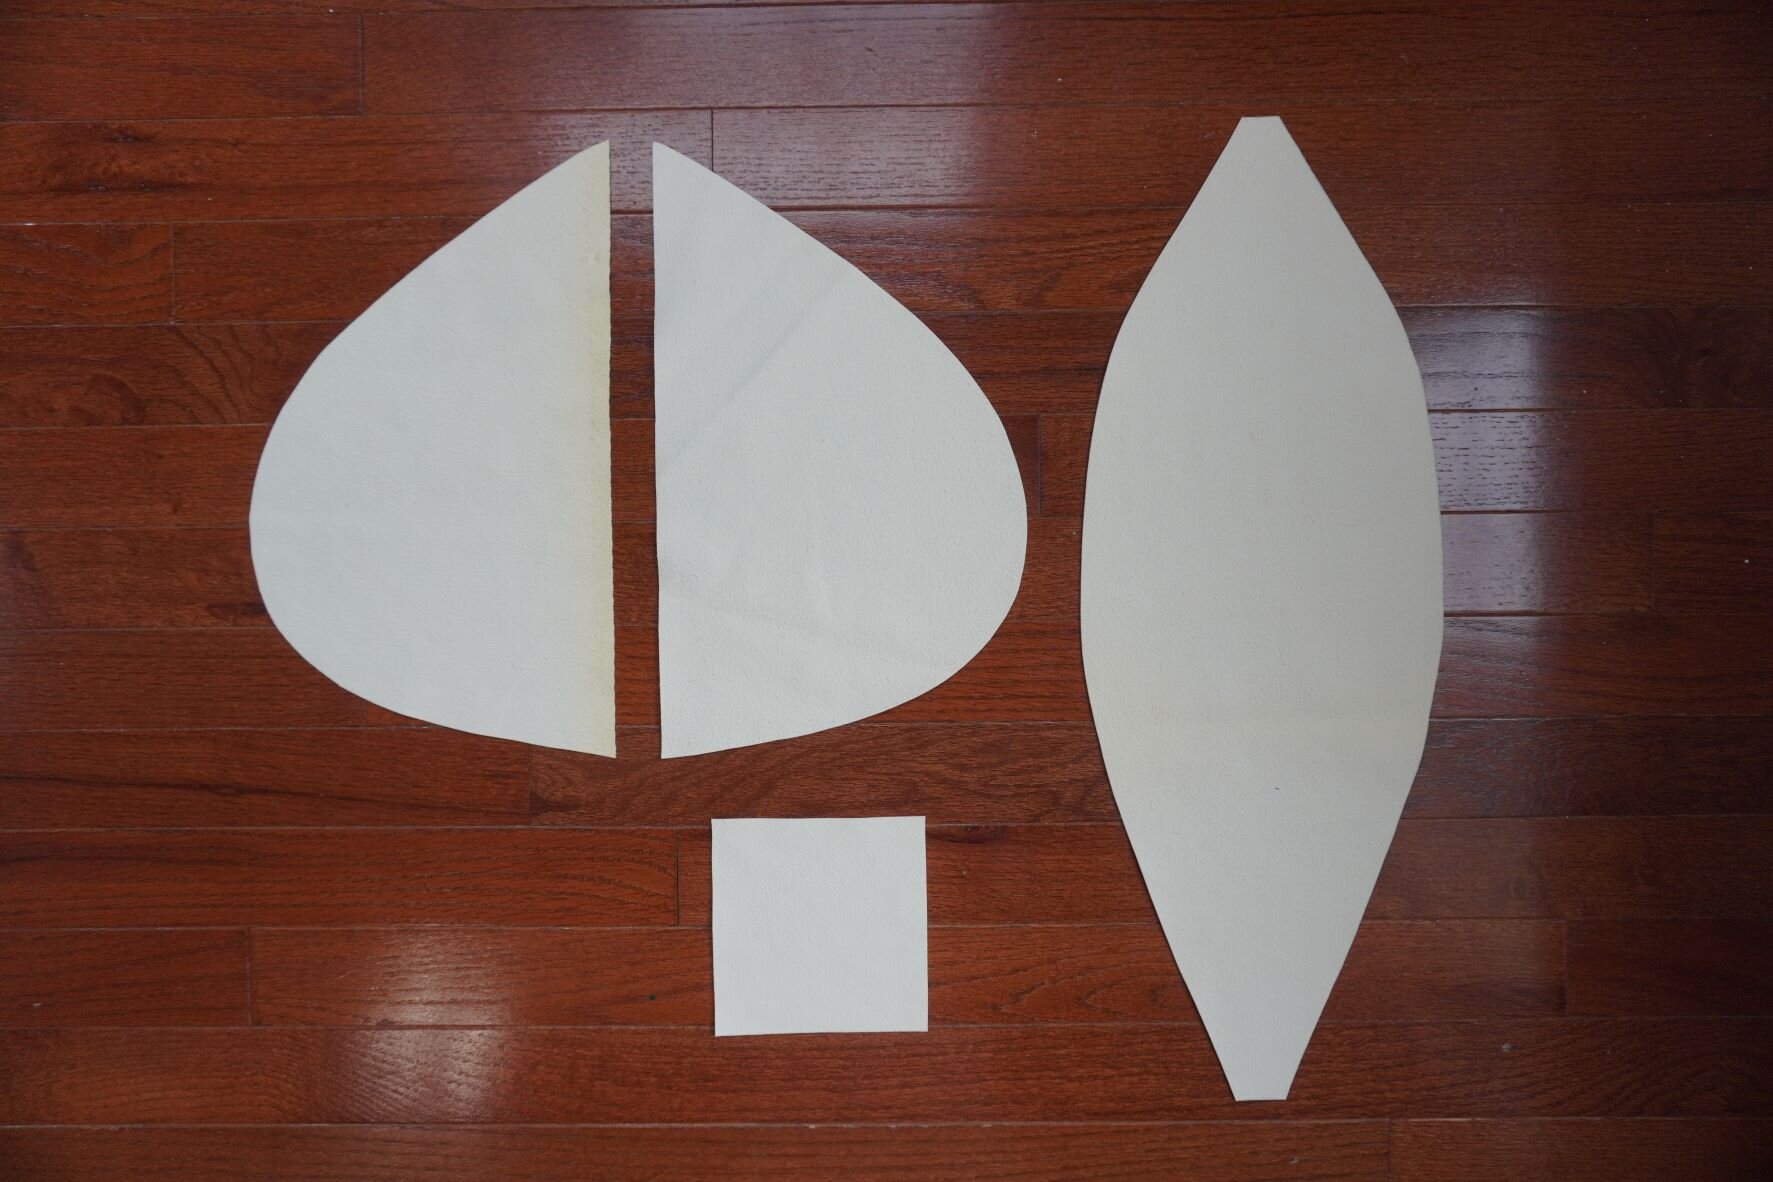
1. Cut from the exterior material the following pieces:
Two side pieces
Bottom piece
Upper part of top piece
Lower part of top piece
Two loop pieces
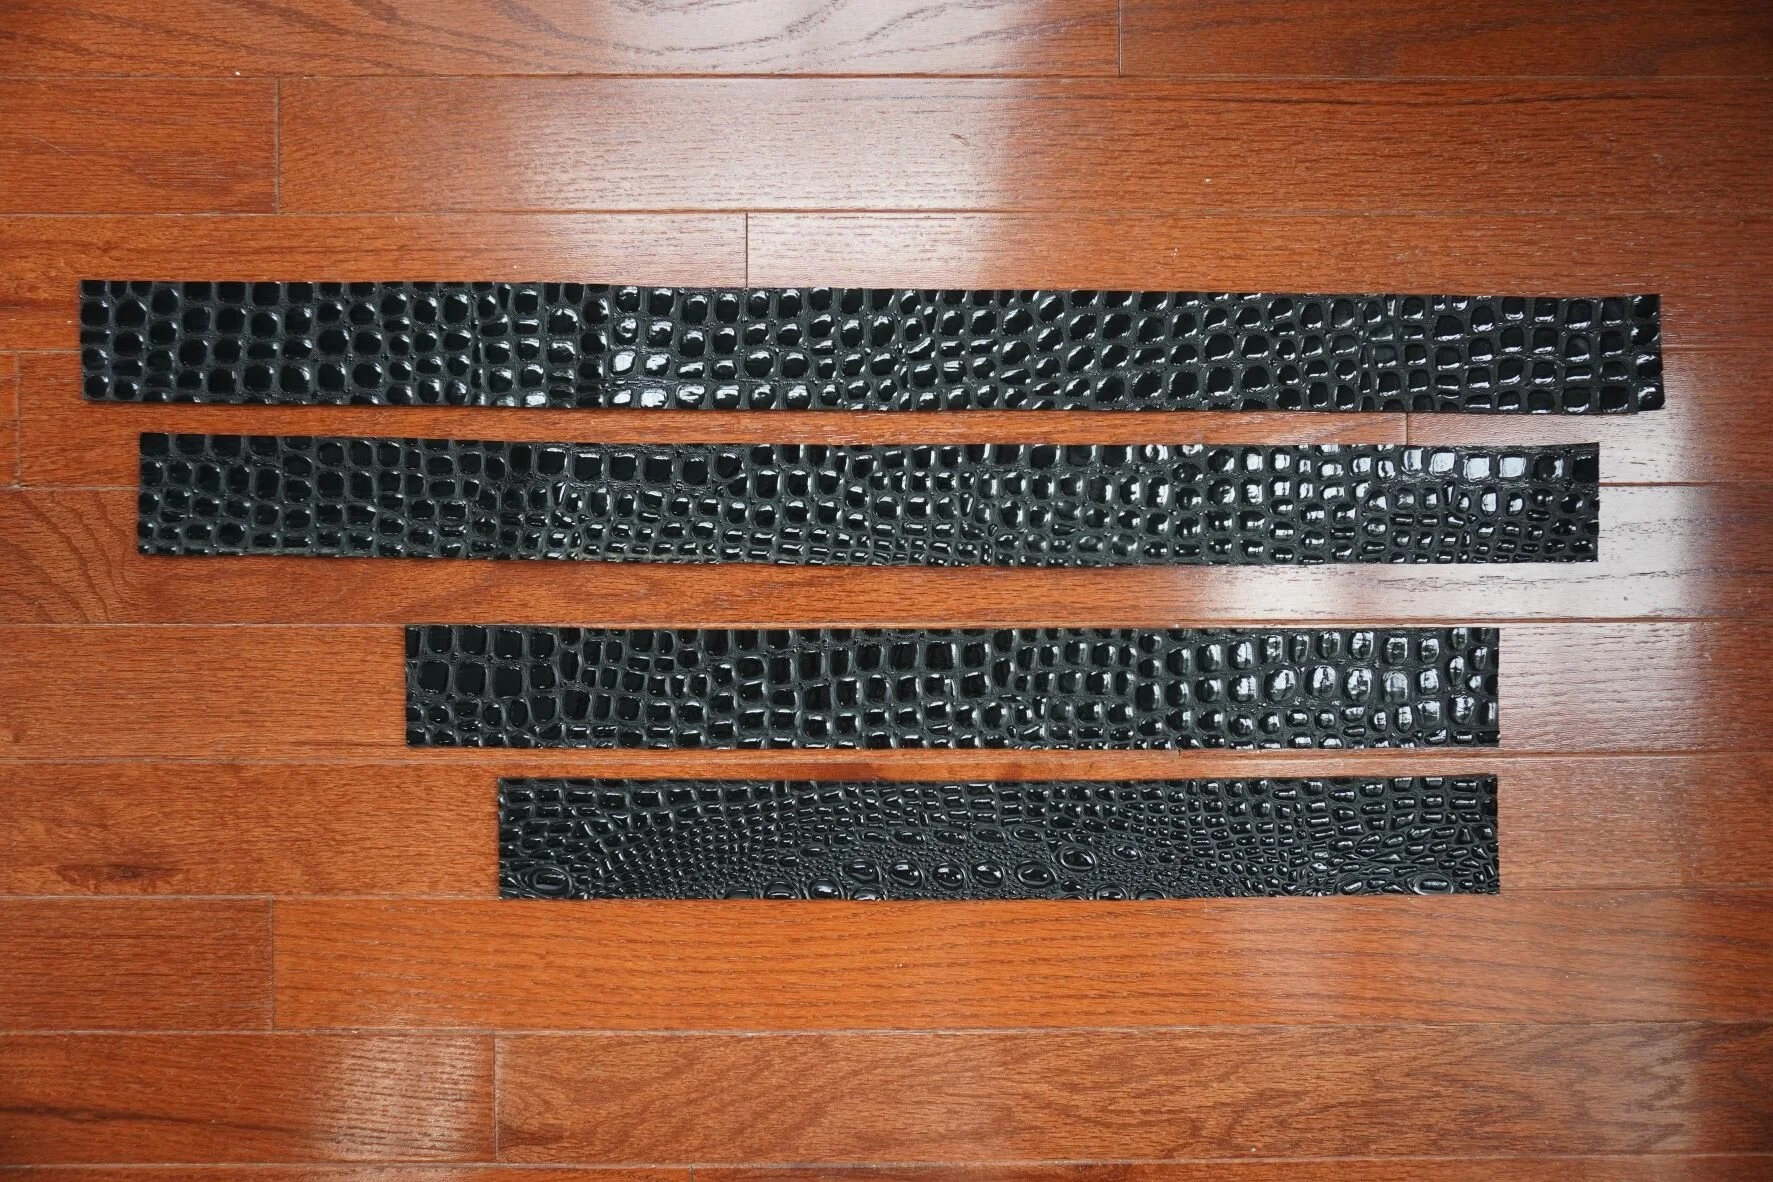
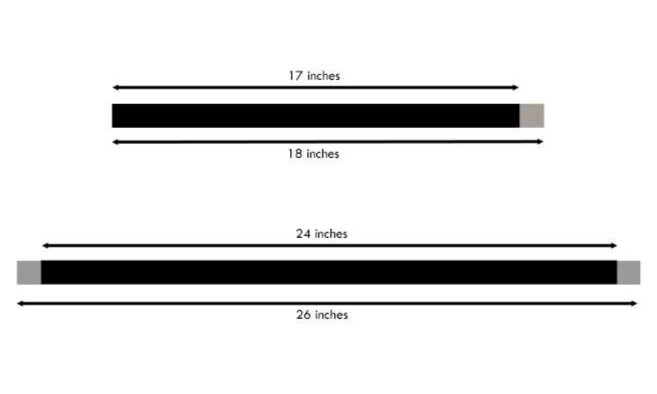
2. Cut from the exterior material four long strips for the straps. (Note: there are no pattern pieces for the straps.) The dimensions of the strips should be as follows:
1.5 inches wide x 18 inches long
1.5 inches wide x 17 inches long
1.5 inches wide x 26 inches long
1.5 inches wide x 24 inches long
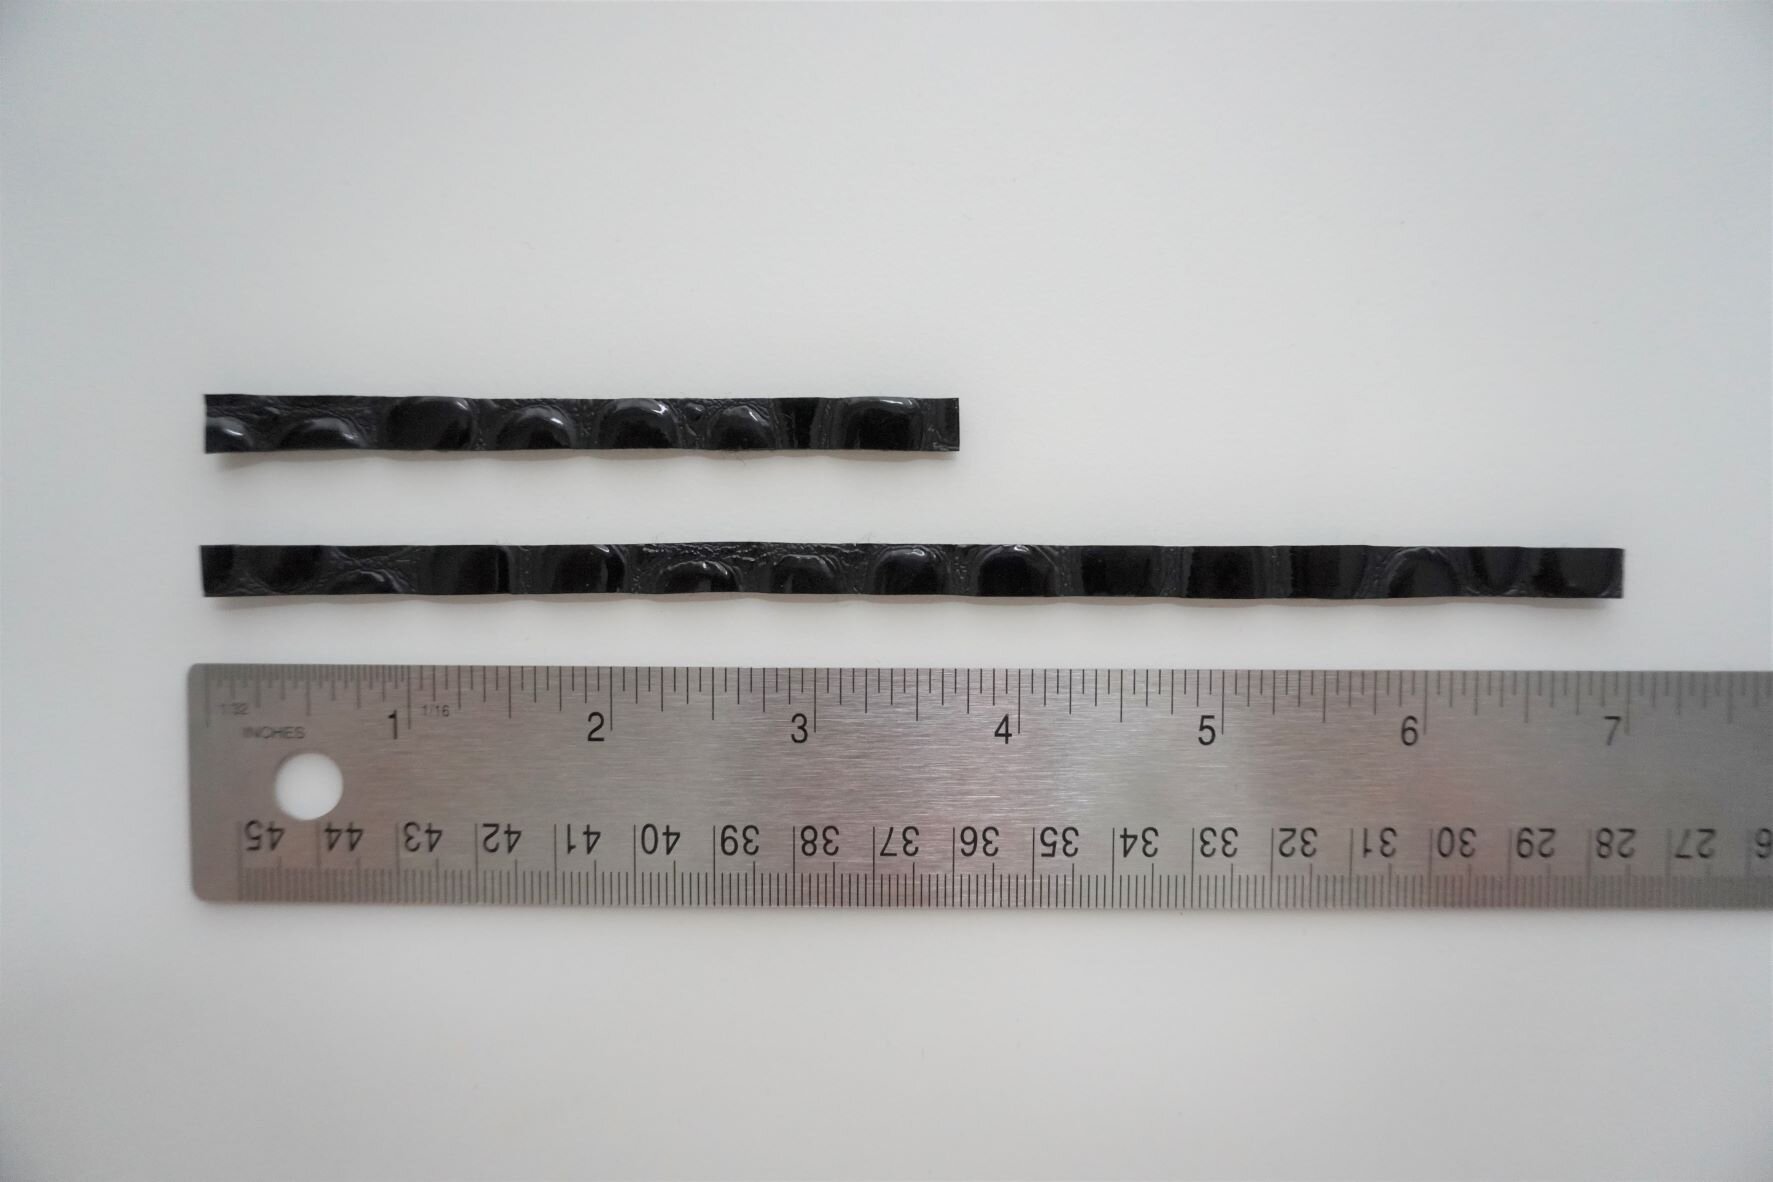
3. Cut from the exterior material two more small strips with the following dimensions:
¼ inch wide x 3¾ inches long. This strip will become the strap holder that prevents the extra length in your strap from flapping around.
¼ inch wide x 7 inches long. This will become the zipper pull.
Interfacing
1. From the Decovil Heavy interfacing, cut one upper part of top piece. Note: why we need to interface the top, but not the bottom and sides of the bag? Because we want the top to stay nice and flat at all times, whereas we want to let the sides and bottom ‘slouch’ a bit to give the bag a casual look.
Lining Material
1. Cut from the lining material the following pieces:
Two side pieces
Bottom piece
Pocket
Two loop pieces
Sorry, I forgot to include the loop pieces in this pic!
Prepping the Pieces
Now that the pieces are all cut out, we need to do some work prepping the pieces for sewing. Much of this prep work involves gluing various pieces together with either leather glue or rubber cement, so it is worth taking a few minutes to explain the difference between the two:
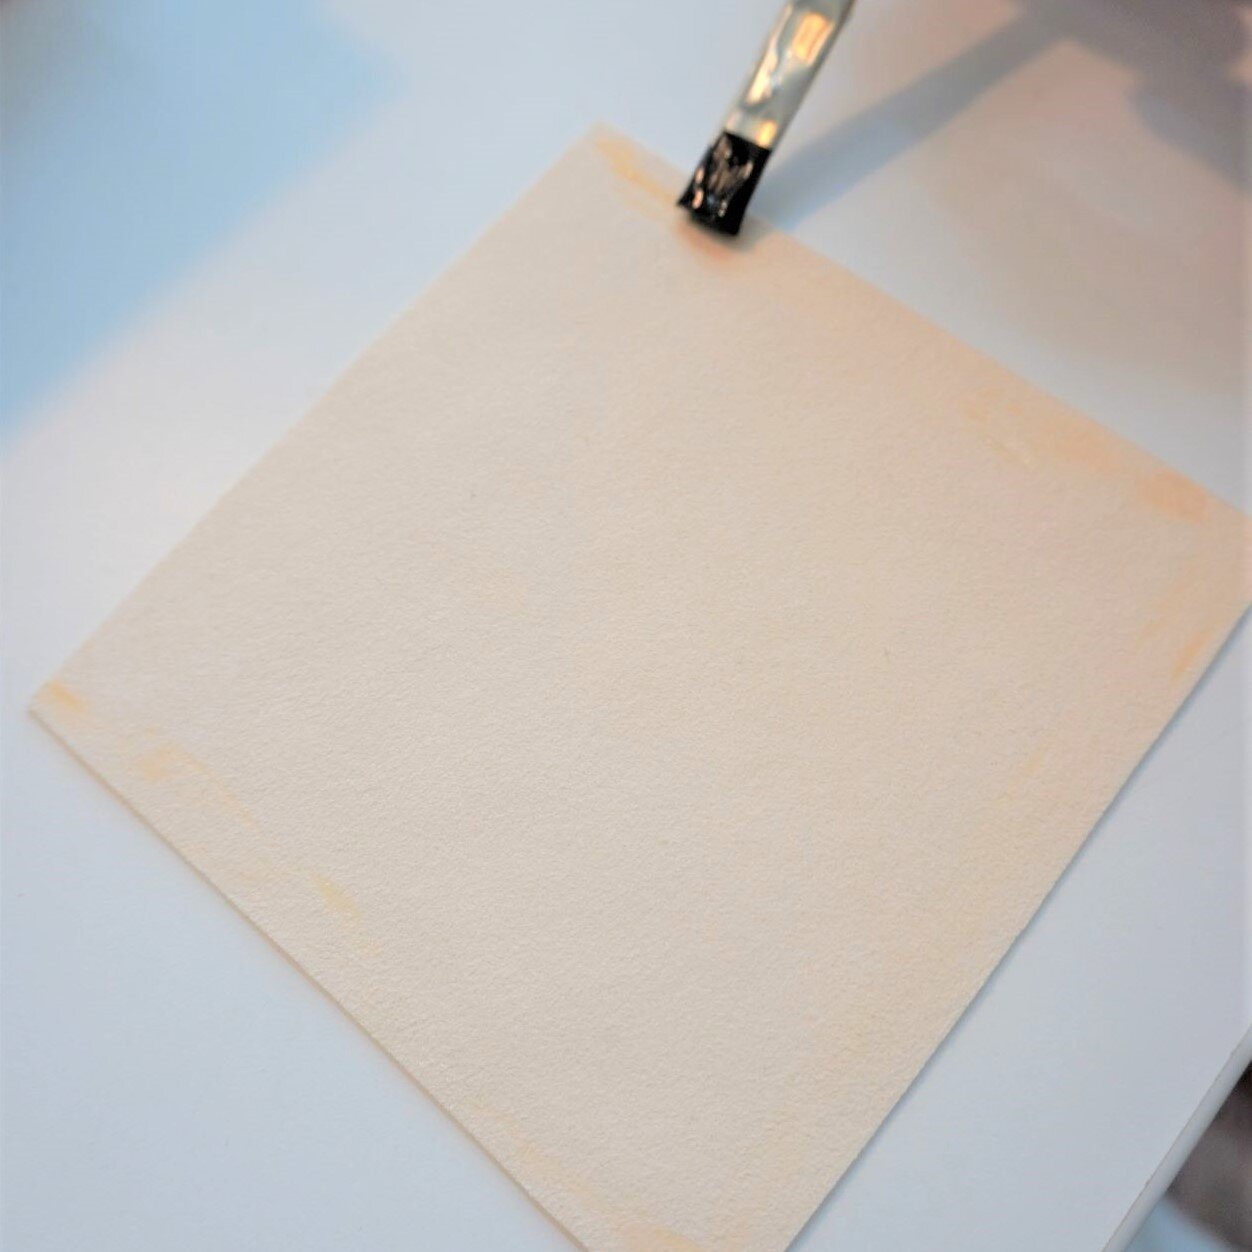
Leather glue is used to permanently glue together two pieces of material. Apply a thin coat of glue to one of the surfaces that you plan to stick together. Use a plastic knife or other glue applicator (like this one) to spread the glue so it is spread all the way to the edge of the material. (This is very important, because if the two layers are not stuck together at the edge, it will be impossible to get a clean edge once you start edge painting.)
Rubber cement is used to temporarily hold two pieces of material together in preparation for sewing them together. With rubber cement, you need to apply thin coats to both of the surfaces you want to stick together, and you need to let them dry for a minute or two before you stick them together.
With that background on adhesives out of the way, let’s start prepping the pieces of our sling bag.
1. Glue the interfacing piece to the upper half of top piece. You can do this either by applying a thin layer of leather glue or by ironing the Decovil directly onto the leather (which works because Decovil has adhesive on one side). I prefer the first method because I often find that the fusible backing on the Decovil isn’t sticky enough, but it all depends on the type of material you are working with. You can always start by ironing the Decovil onto some scrap material to see if it is sticky enough, and switching to glue if necessary.
Once the interfacing is glued on, clean up any edges where the two layers do not lay flush using a rotary cutter and cutting mat. This is very important, so please don’t skip this step. If you don’t take the time to do this clean-up work now, it will be much more difficult (if not impossible) to get a nice clean finish on those edges later.
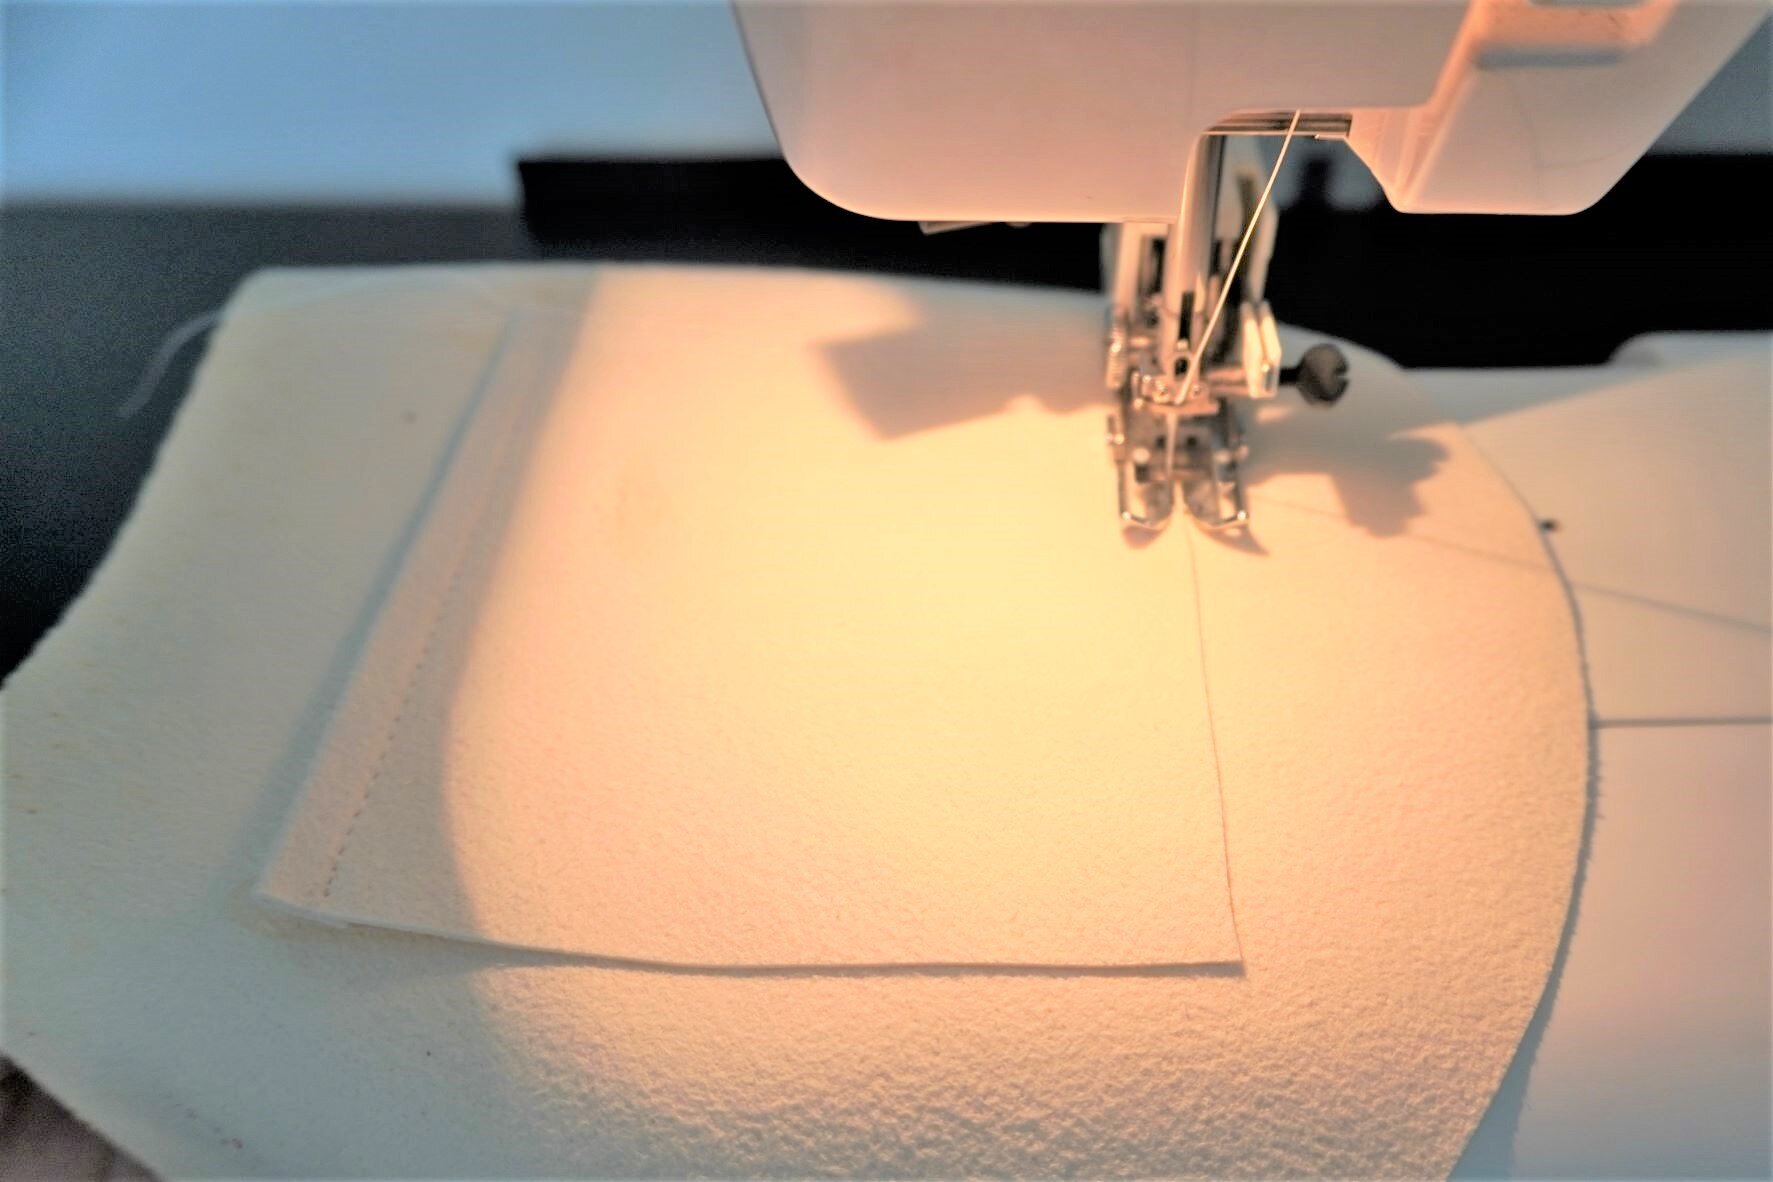
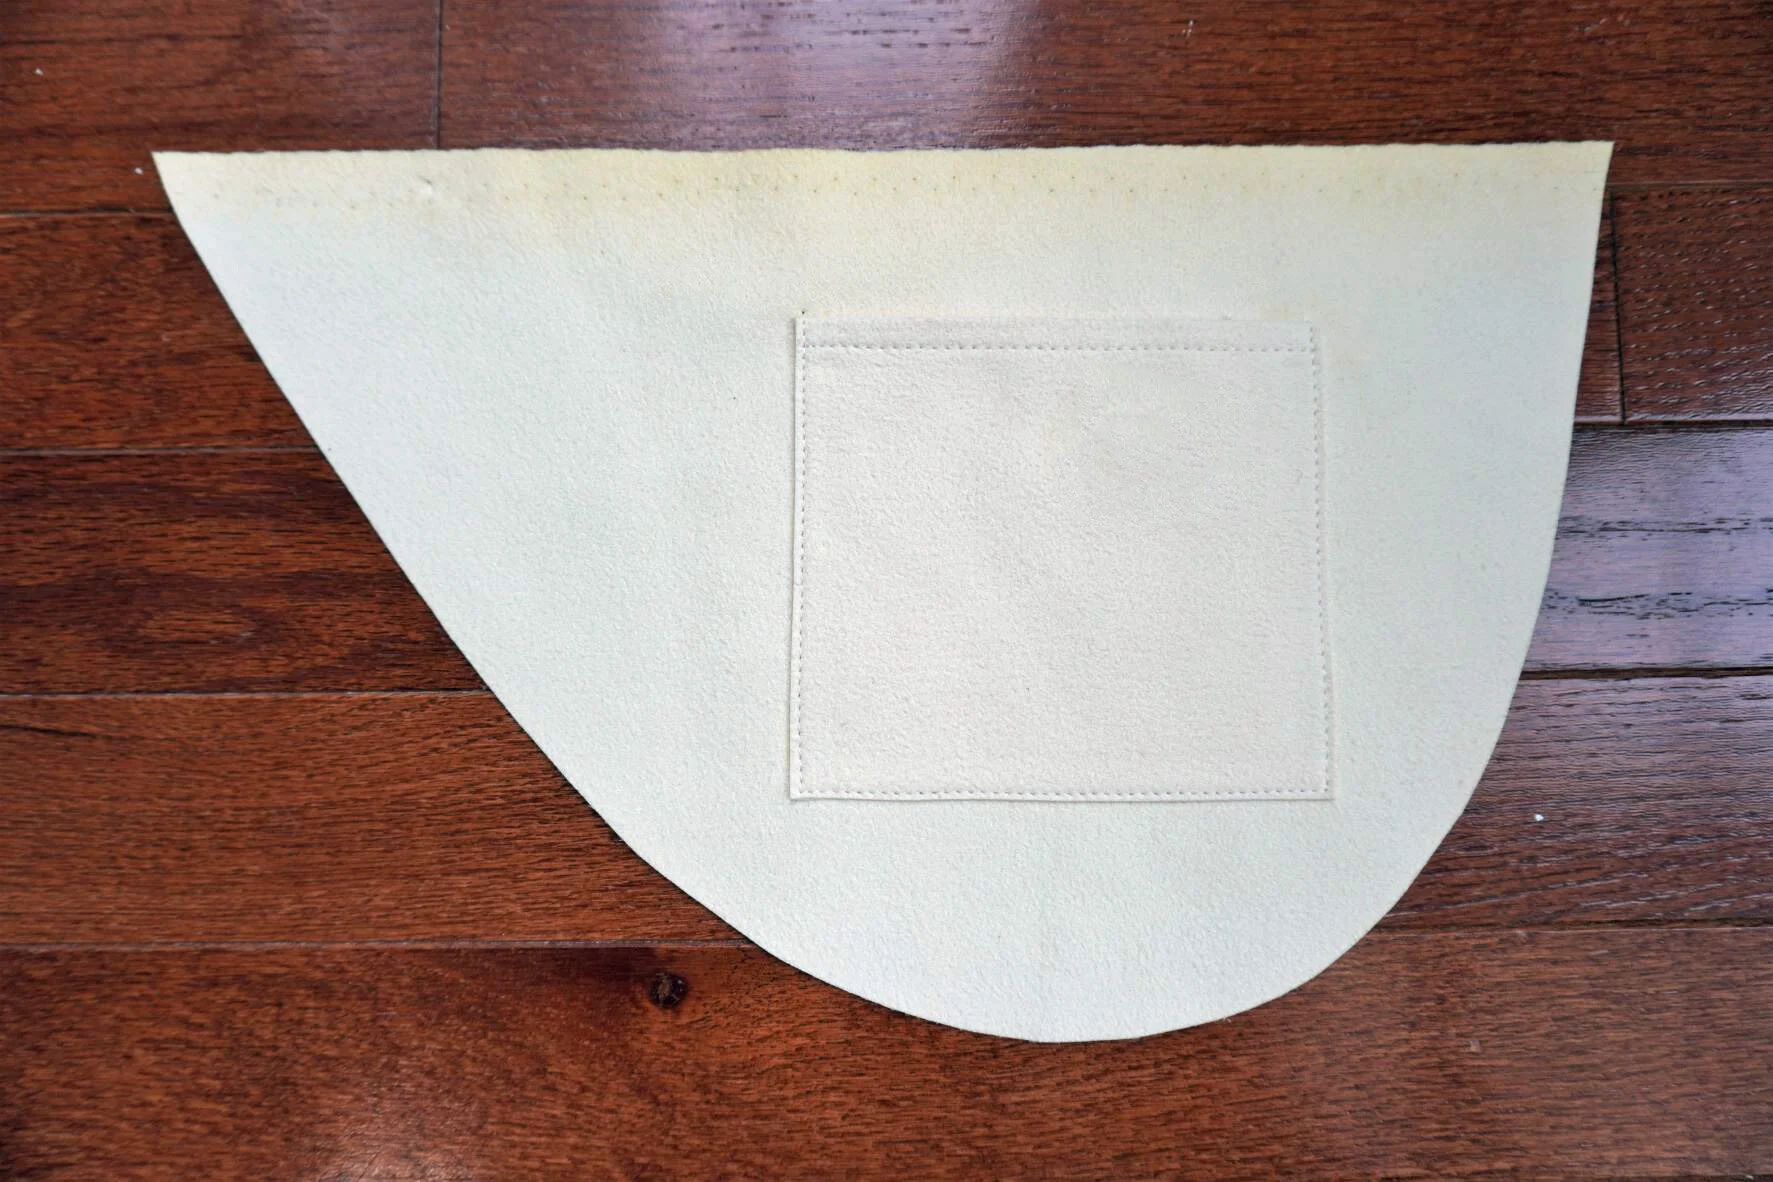
2. Sew pocket to lining of one of the sides. First, you’ll need to finish the top of the pocket. To do this apply rubber cement to the top ½ inch of the pocket, on the wrong side. Fold 3/8 inch of the top edge over to the inside, then topstitch down about ¼ inch from the top.
Next, apply rubber cement to the other three sides of the pocket, and to the area on the side lining piece where you plan to sew the pocket. You can place the pocket anywhere, but I like to place the pocket about 1 inch below the straight edge, positioned horizontally near the middle. Once you’re satisfied with the positioning of the pocket, stick the pocket in place and topstitch down about 1/8 inch from the edge of the pocket. Note: unlike in garment sewing, there is no need to fold the edges of the pocket towards the inside because leather, faux leather and faux suede materials do not fray.
3. Glue the lining to bag pouch pieces. Take the two lining side pieces and the lining bottom piece and glue them to their corresponding exterior pieces using leather glue. Allow to dry for at least a few hours, to allow the glue to form a full bond. I usually apply the glue and stick the lining piece on, then weigh down the glued pieces with some large books and weights and let dry overnight.

4. Glue the strap pieces together. Take the 17- and 18-inch straps and glue them together so that the edges lay flush on one end and there is an inch on the other end where there is only one strap piece. Now take the 24- and 26-inch straps and glue them together so that there is an extra inch on both ends.
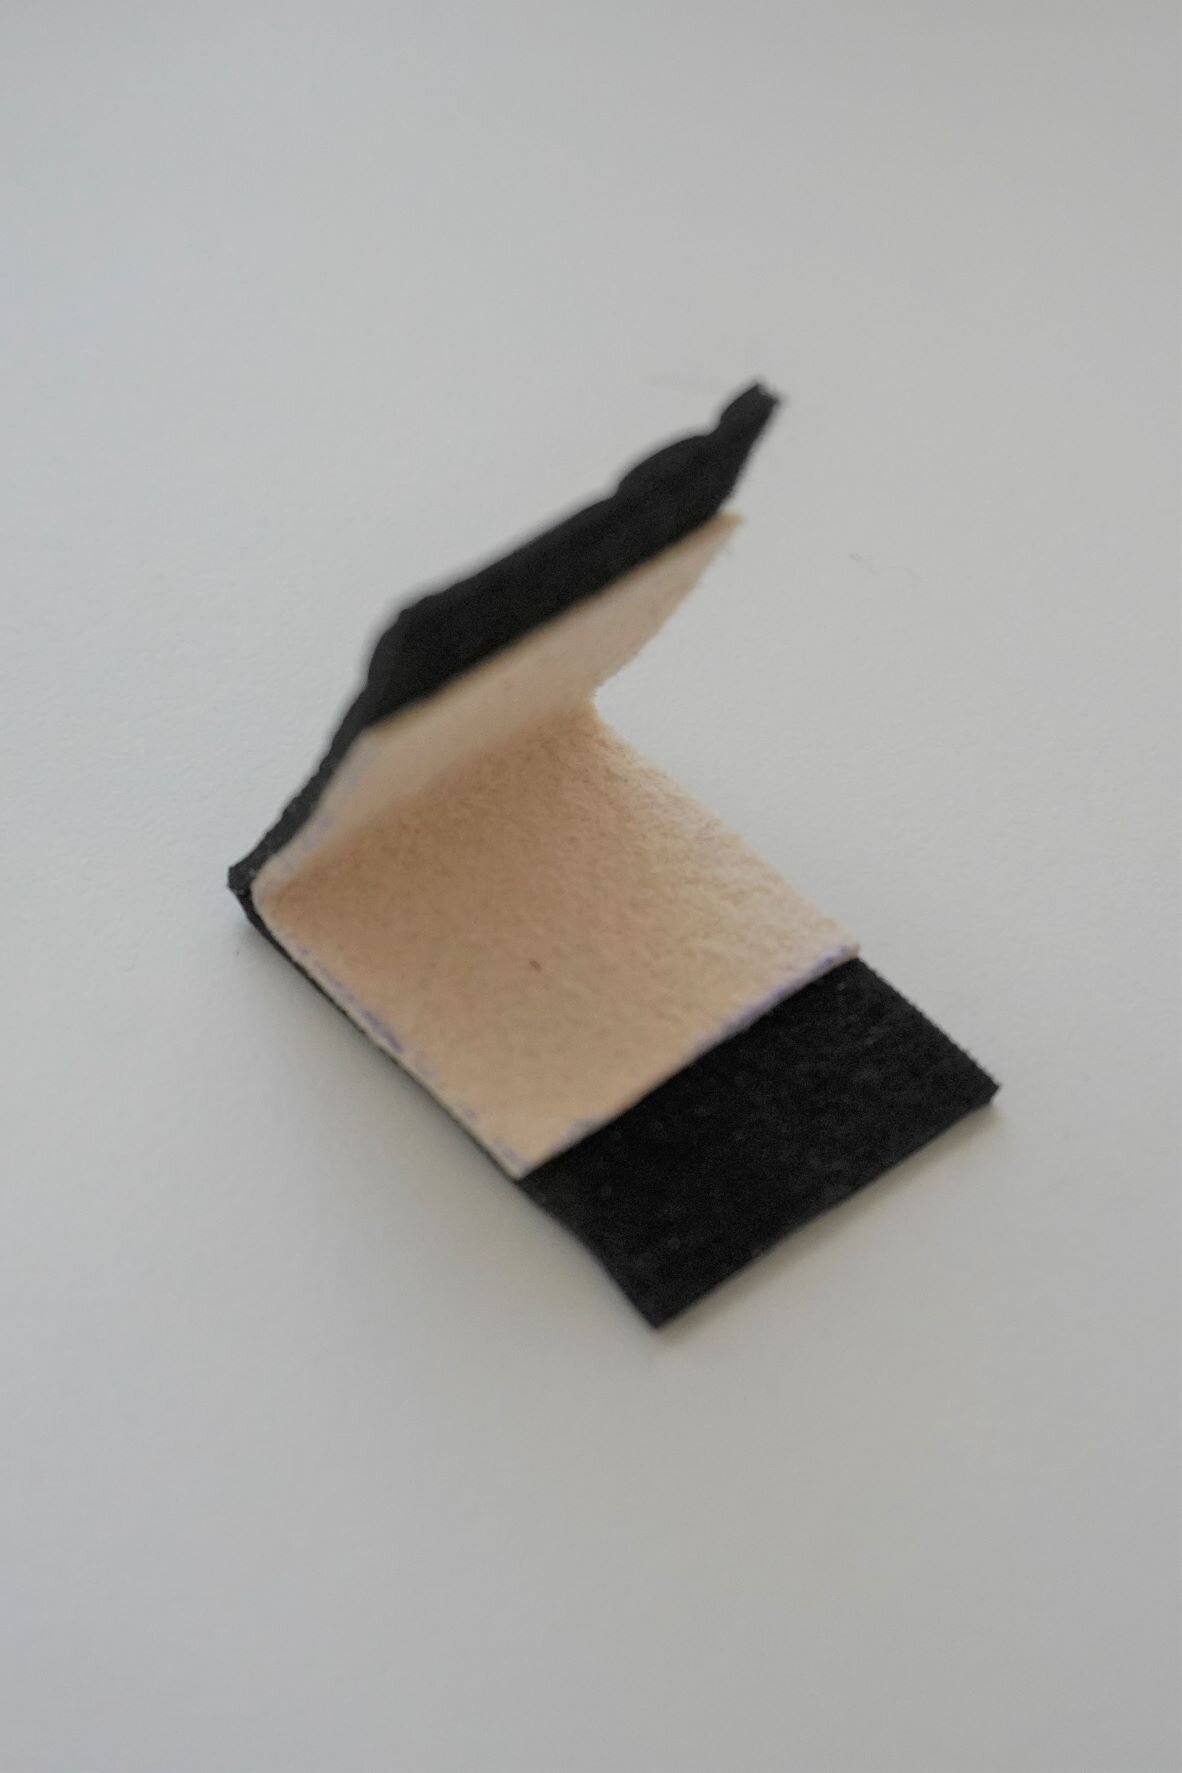
5. Prepare the loop pieces. Trim one inch off of the lining loop pieces, so they are now two inches long. Using leather glue, glue the lining to the exterior loop pieces, positioning the lining in the middle of the exterior loop piece (so there is about a ½ inch on either end of the loop that is not lined). While the glue is still wet, fold the loop in half and adjust the lining piece so there are no bubbles or wrinkles at the fold. (This is similar to adjusting for turn of cloth in garment sewing.) Once the lining piece is in the right place, place the folded loops under a book or other heavy object and leave the loop to dry for a few hours in the folded position.
And that’s it! We have now cut and prepped all of our pieces. Now we can finally get to the fun part: constructing the bag!


