
Now that we’ve collected our materials and cut and prepped the pieces, it’s now FINALLY time for the fun part: sewing the bag together! The construction on this sling bag is actually quite easy – just follow the simple steps below.
Installing the zipper
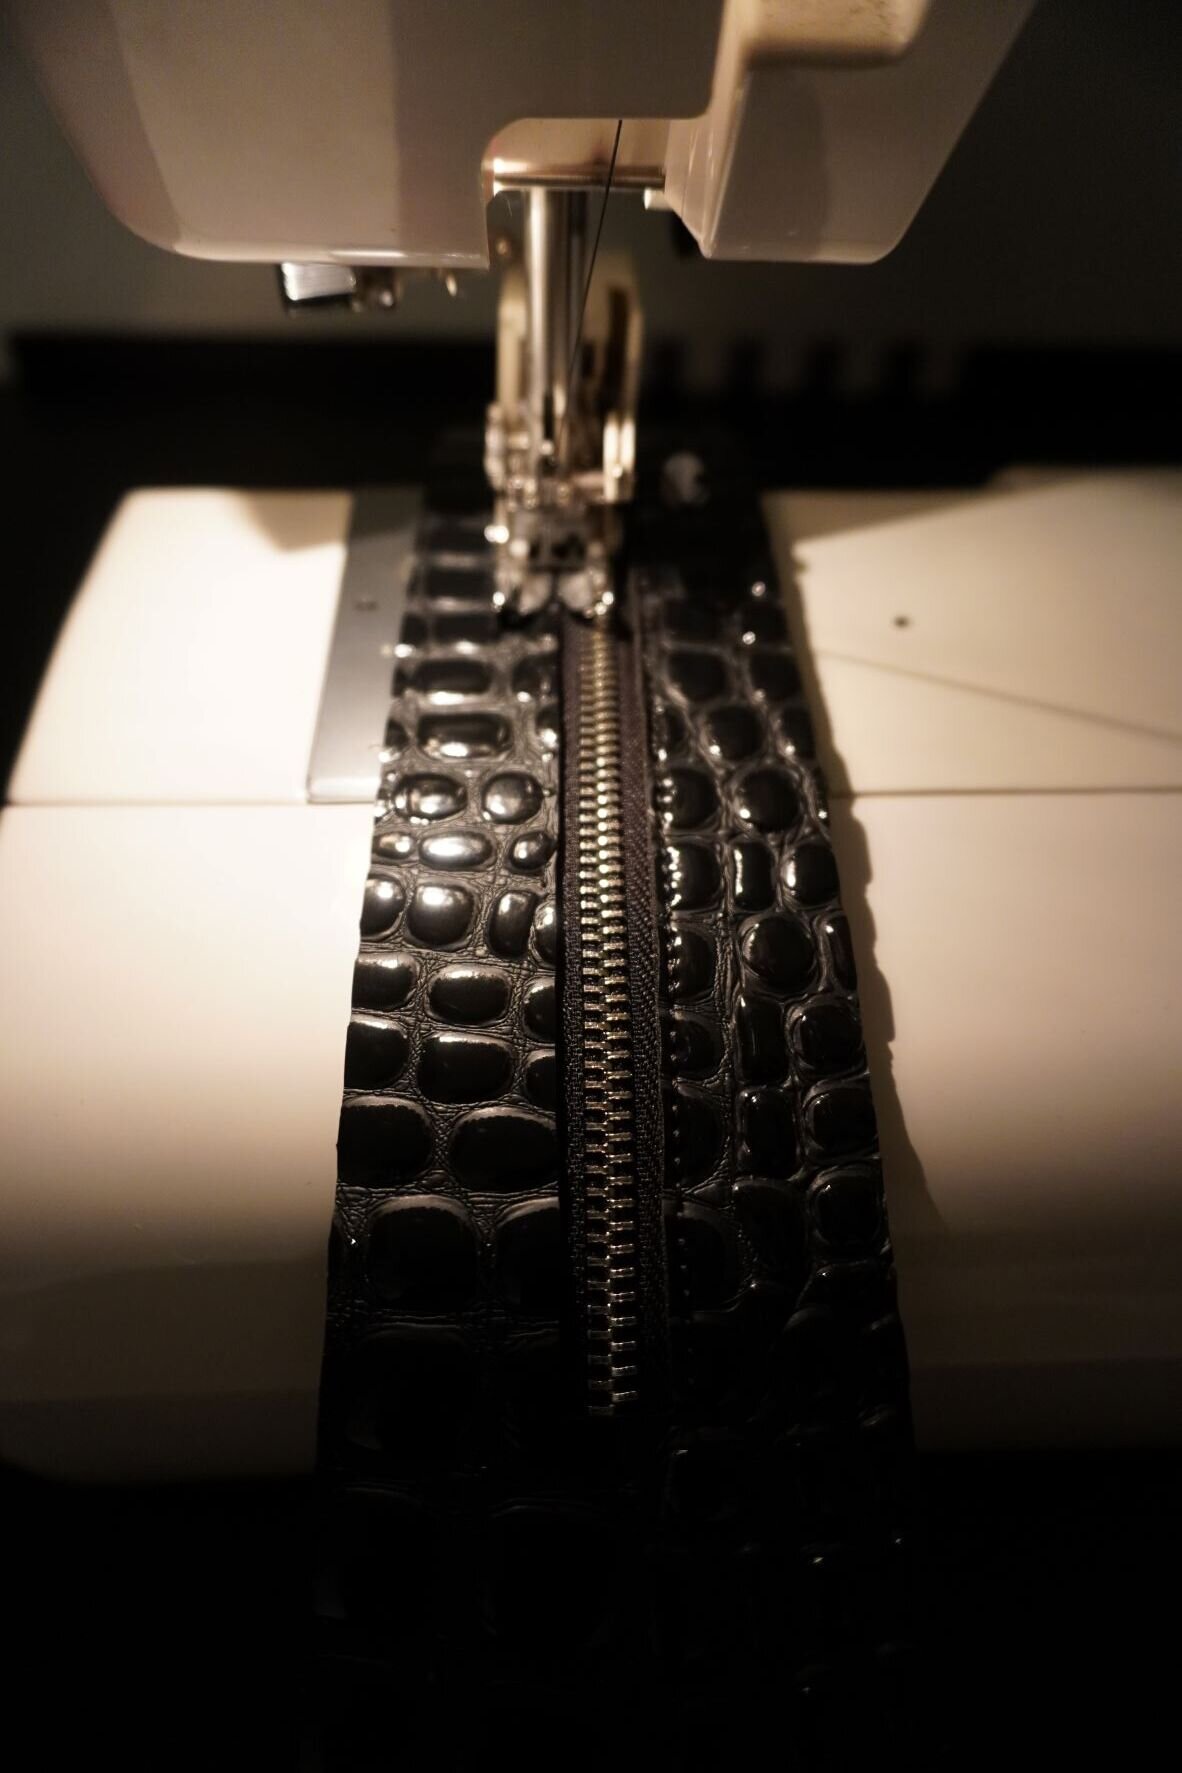
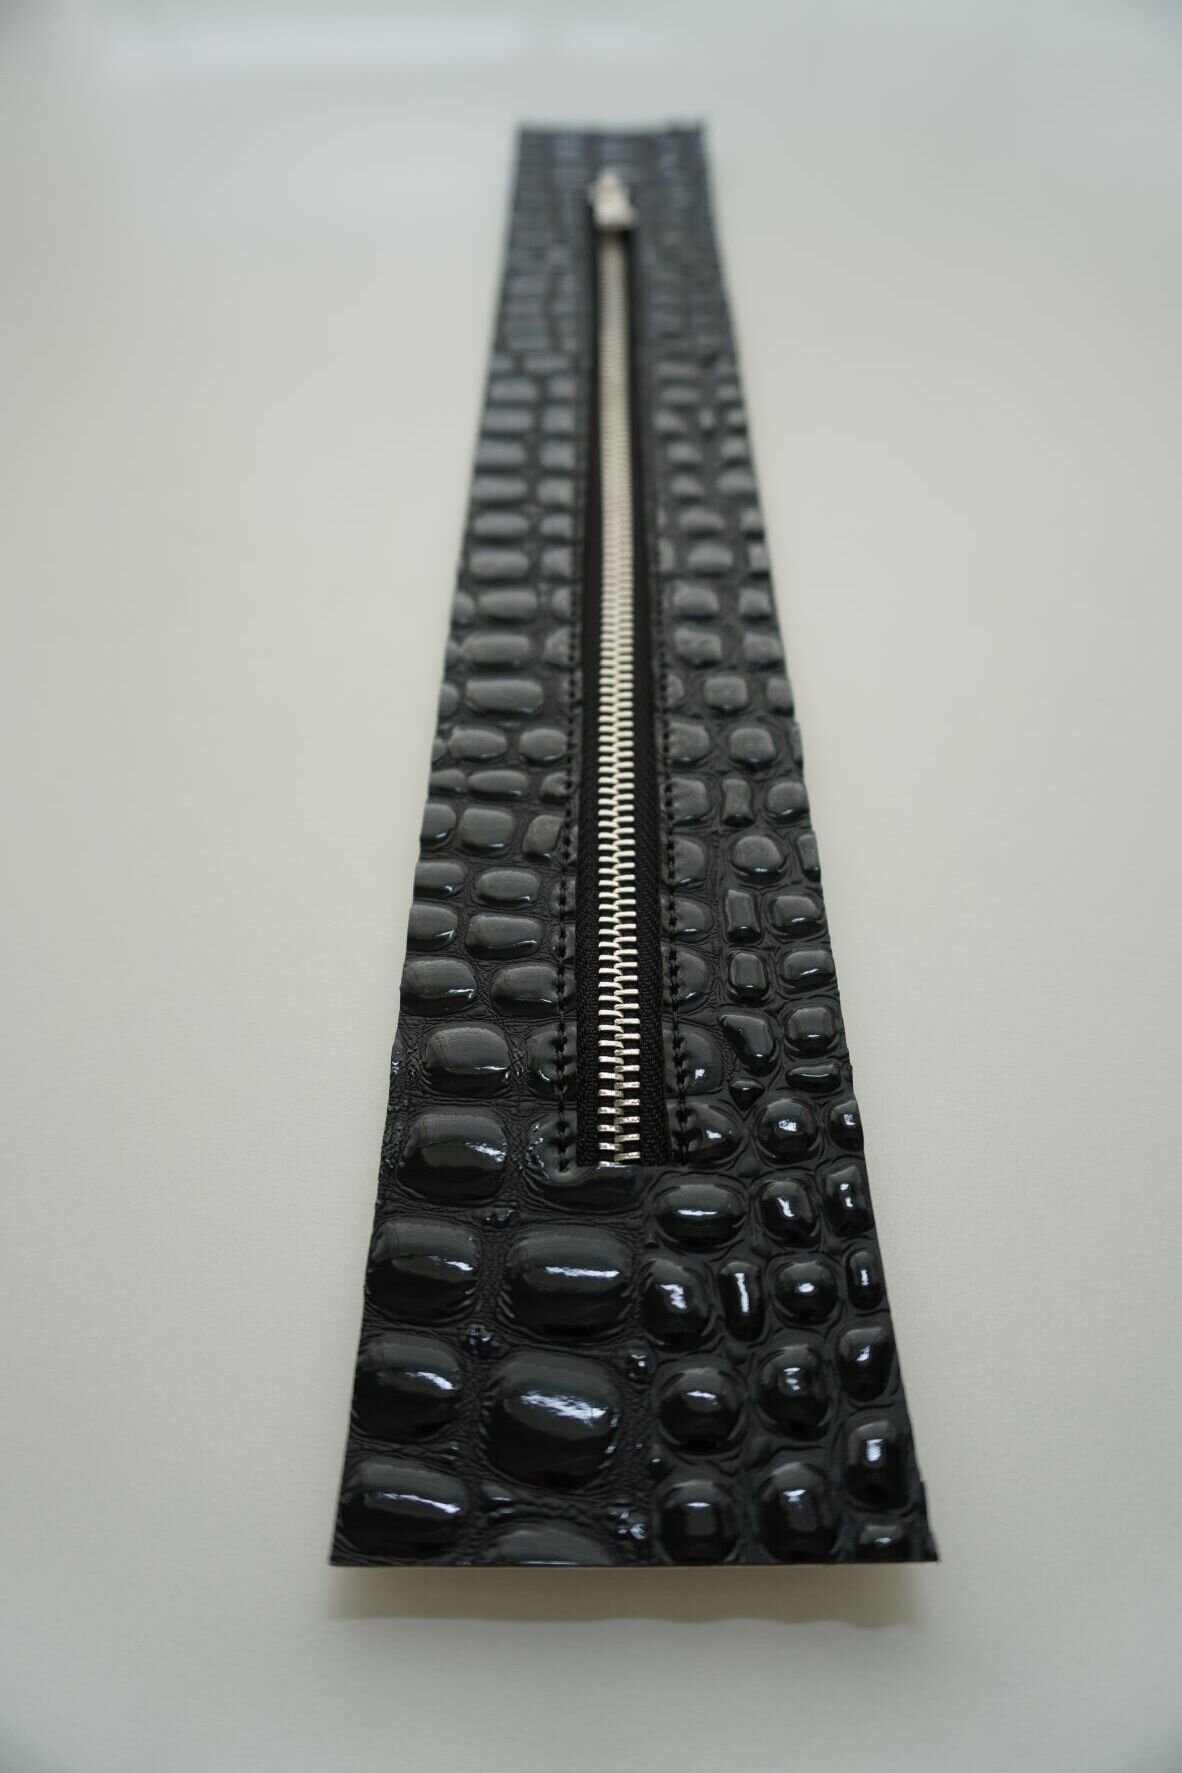
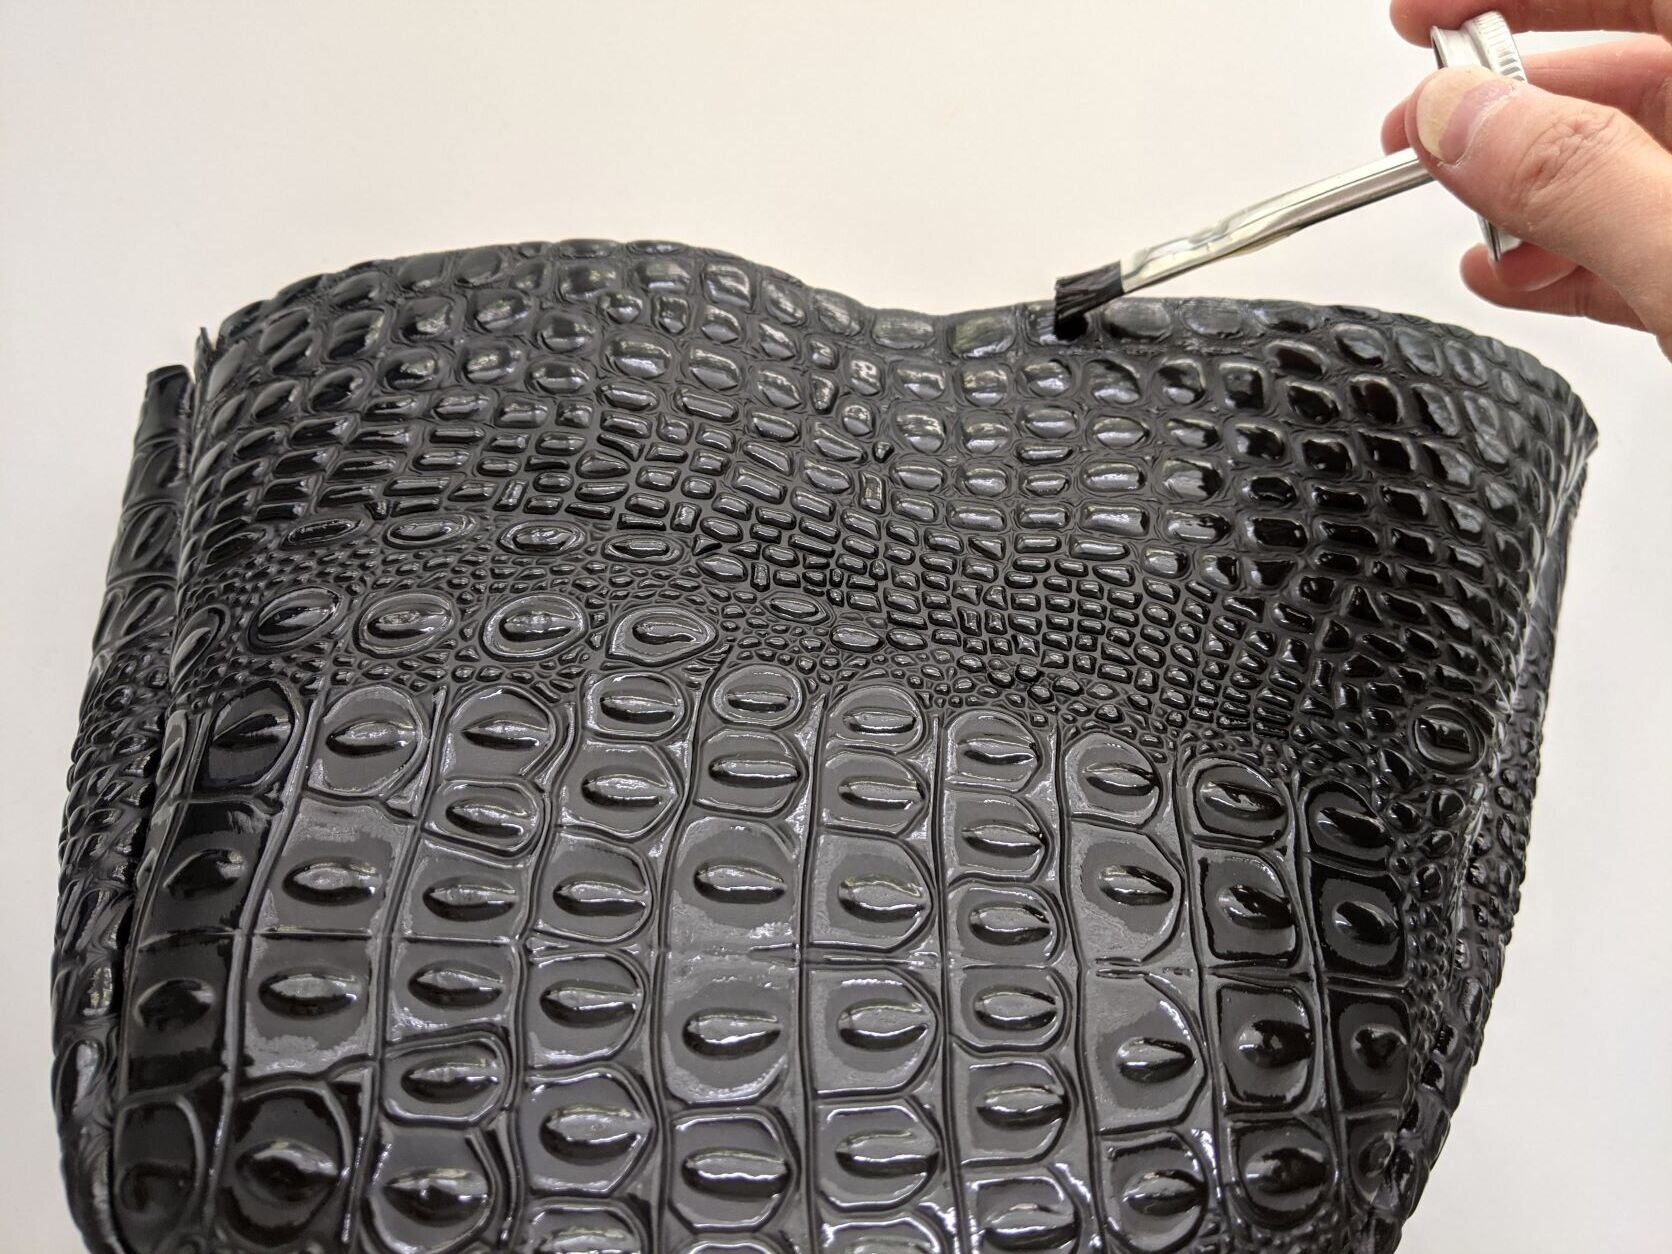
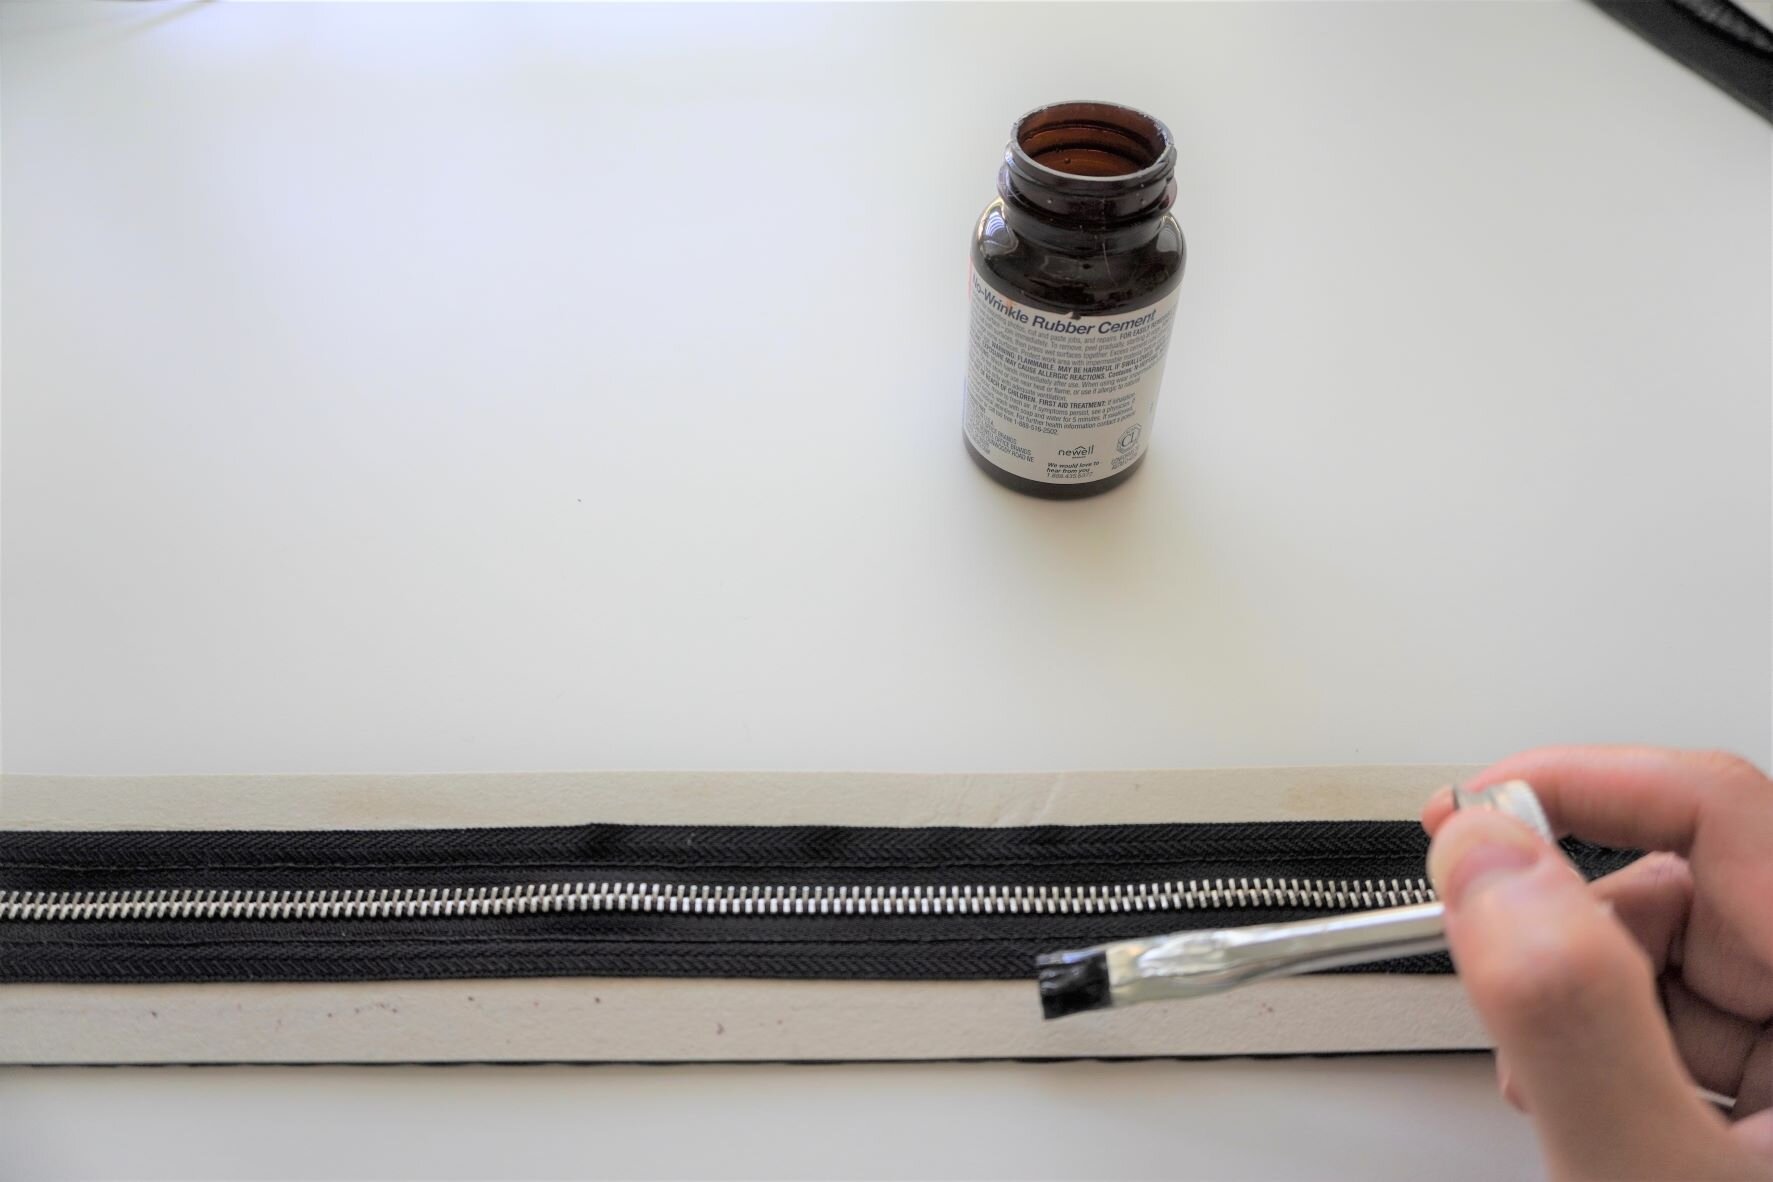
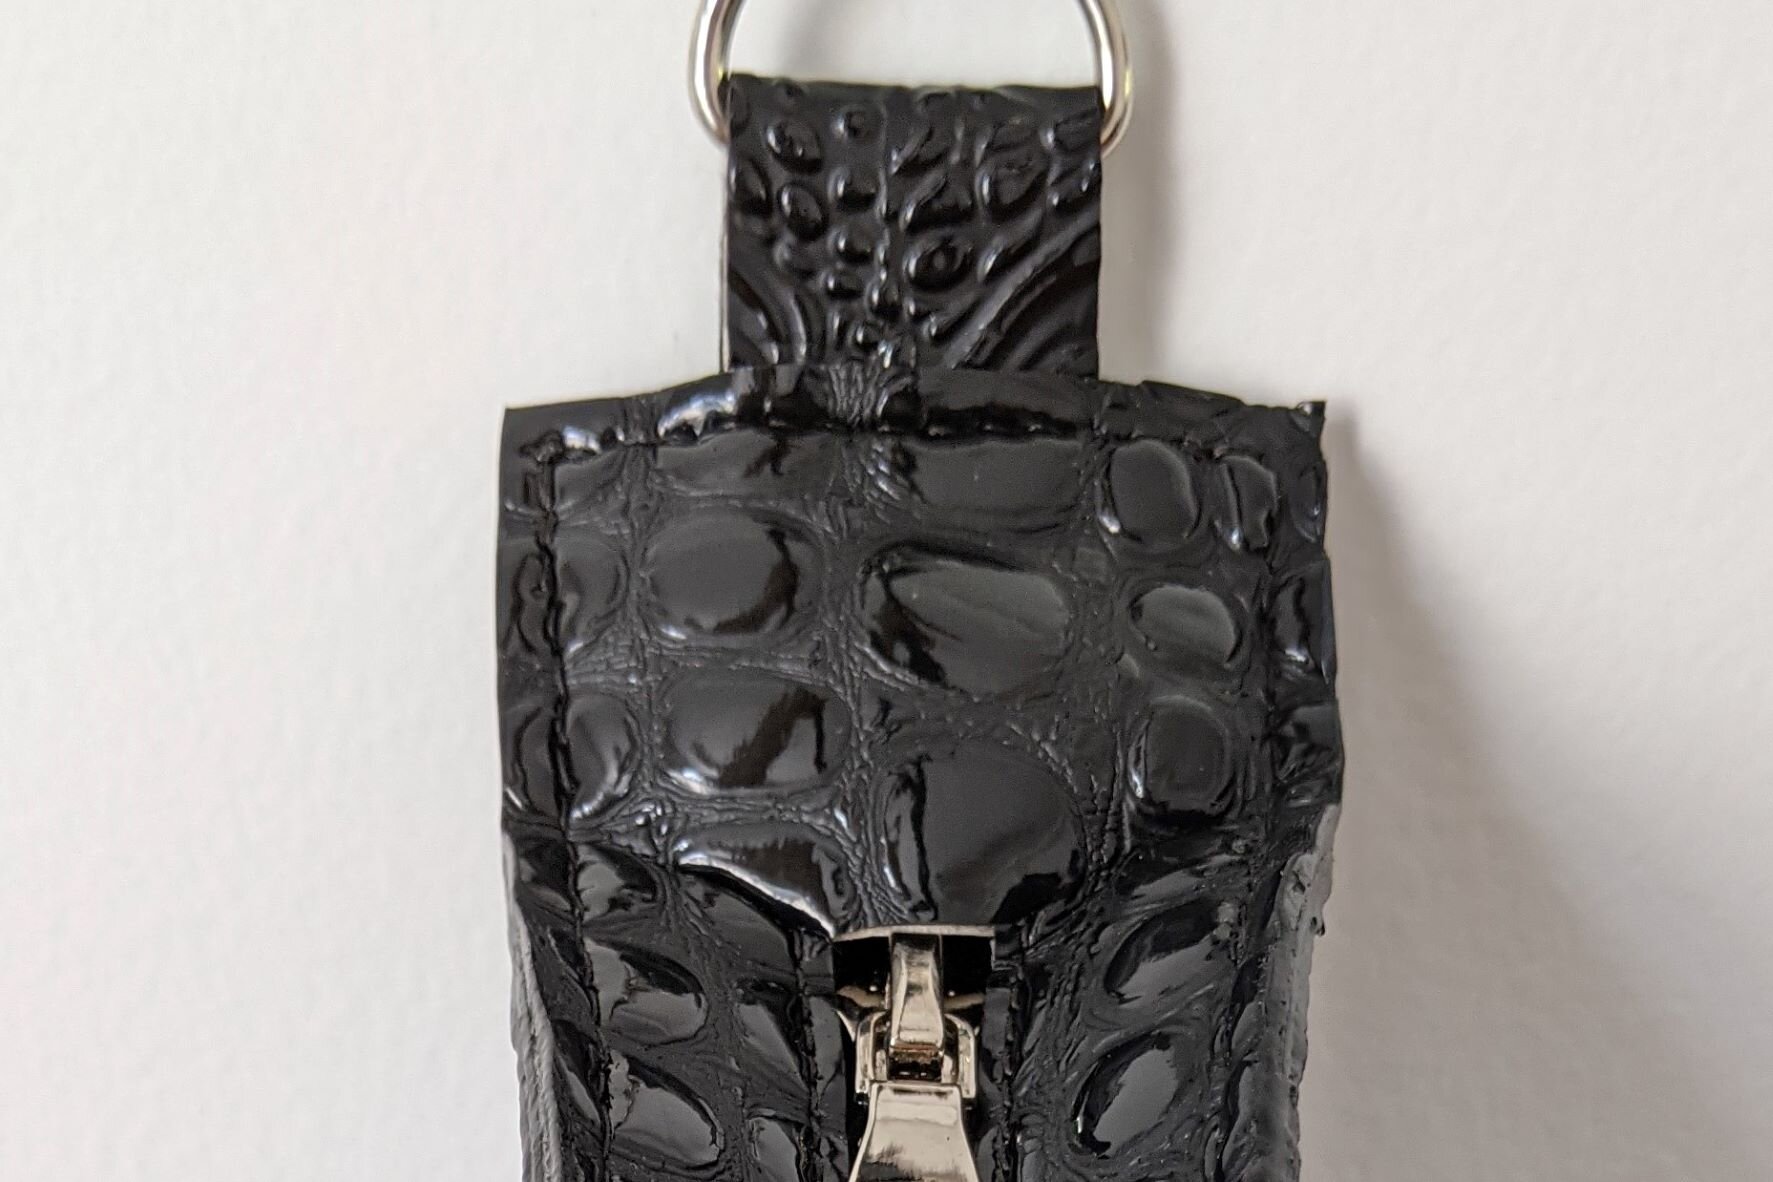
1. Apply rubber cement to zipper tape and around the edges of the cutout hole in the upper part of top piece. Stick the zipper to the upper part of top piece, positioning the zipper so that the teeth are centered in the middle of the hole.
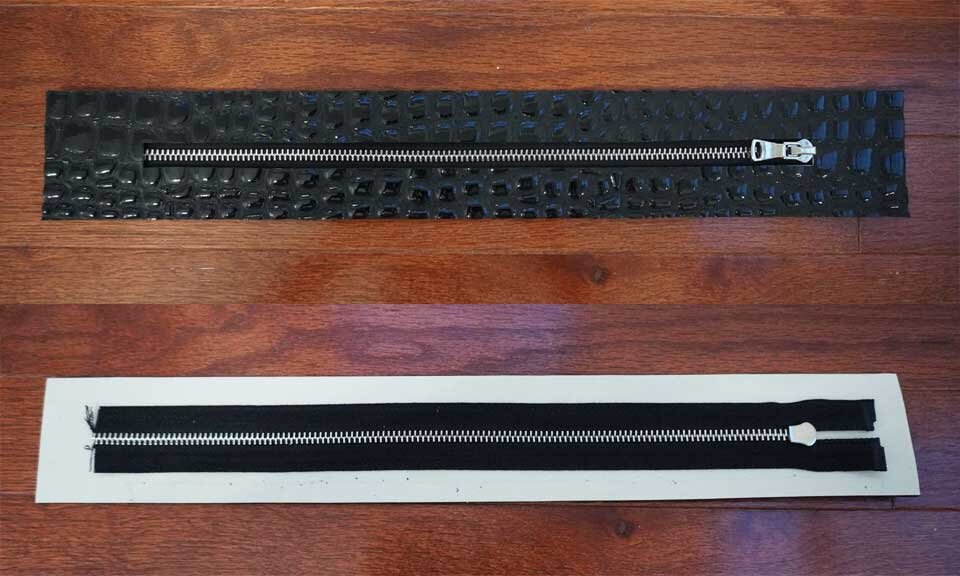
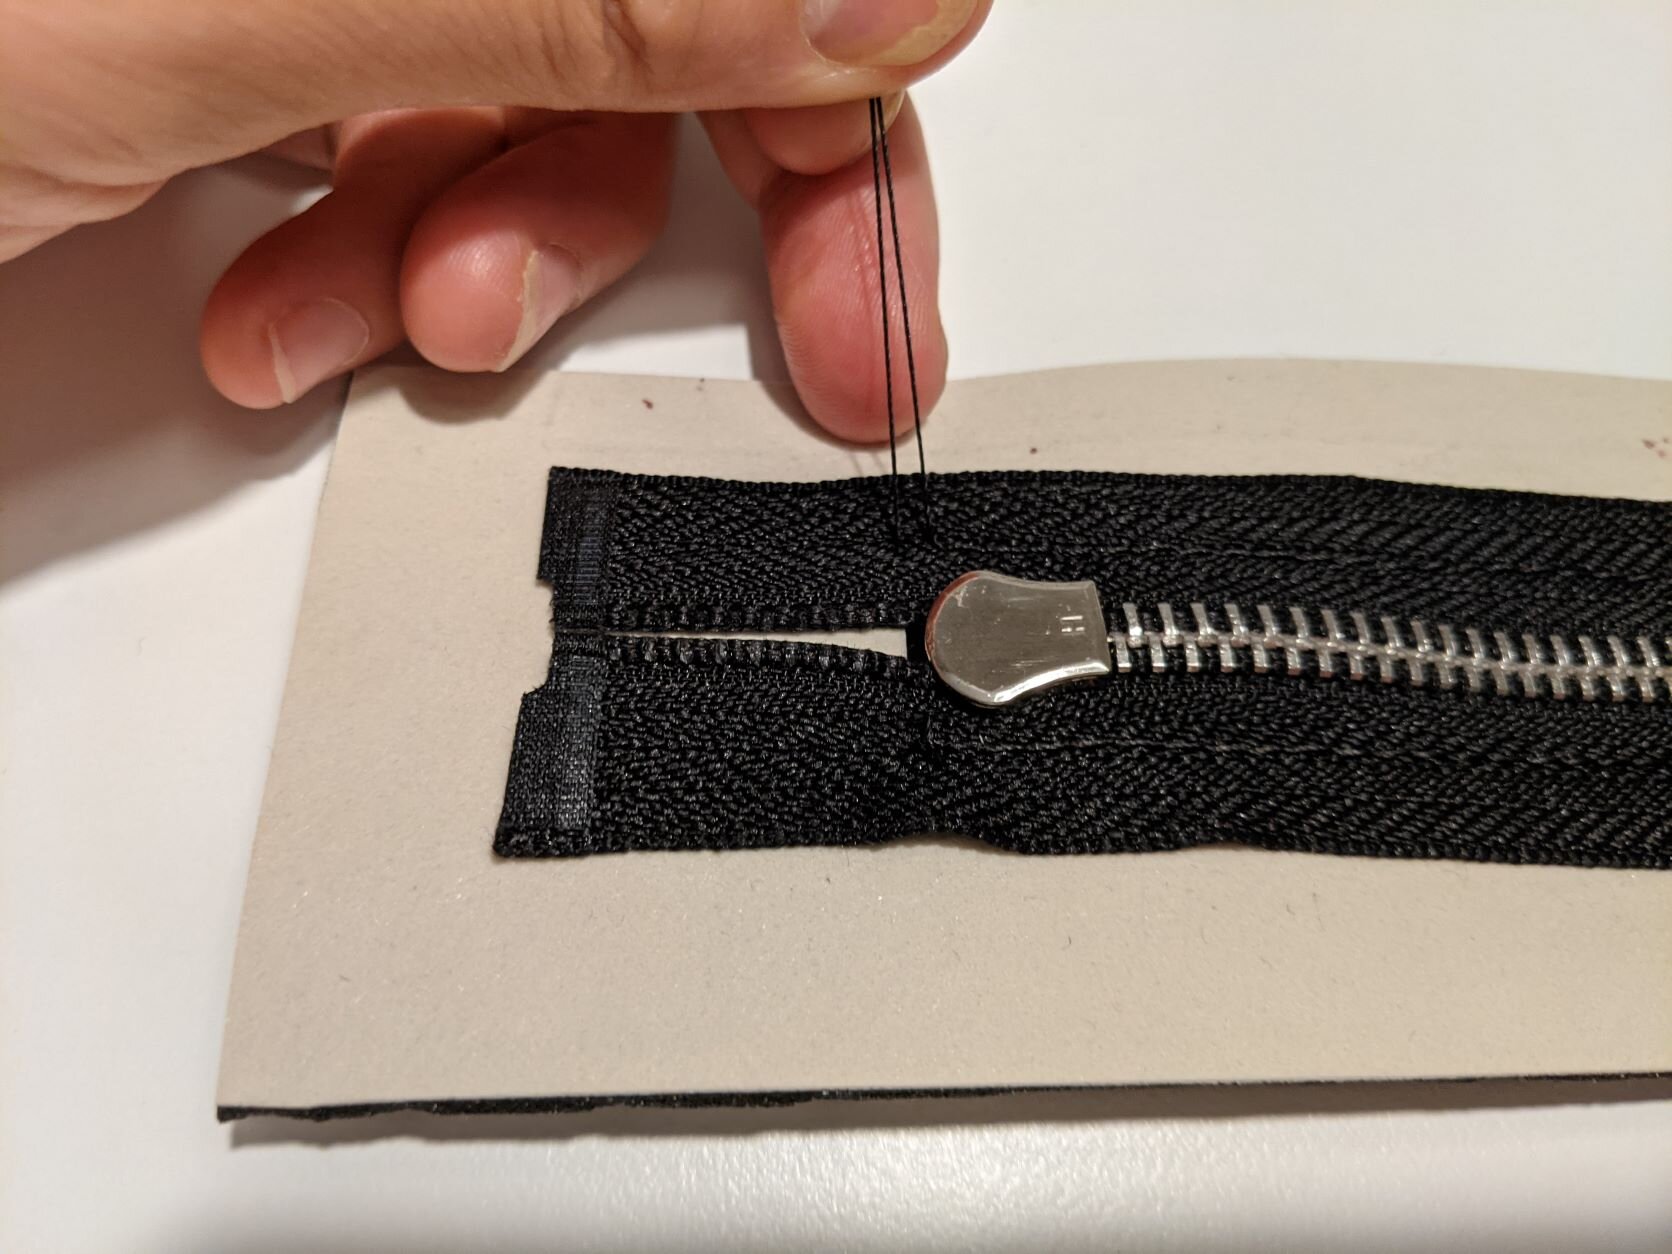
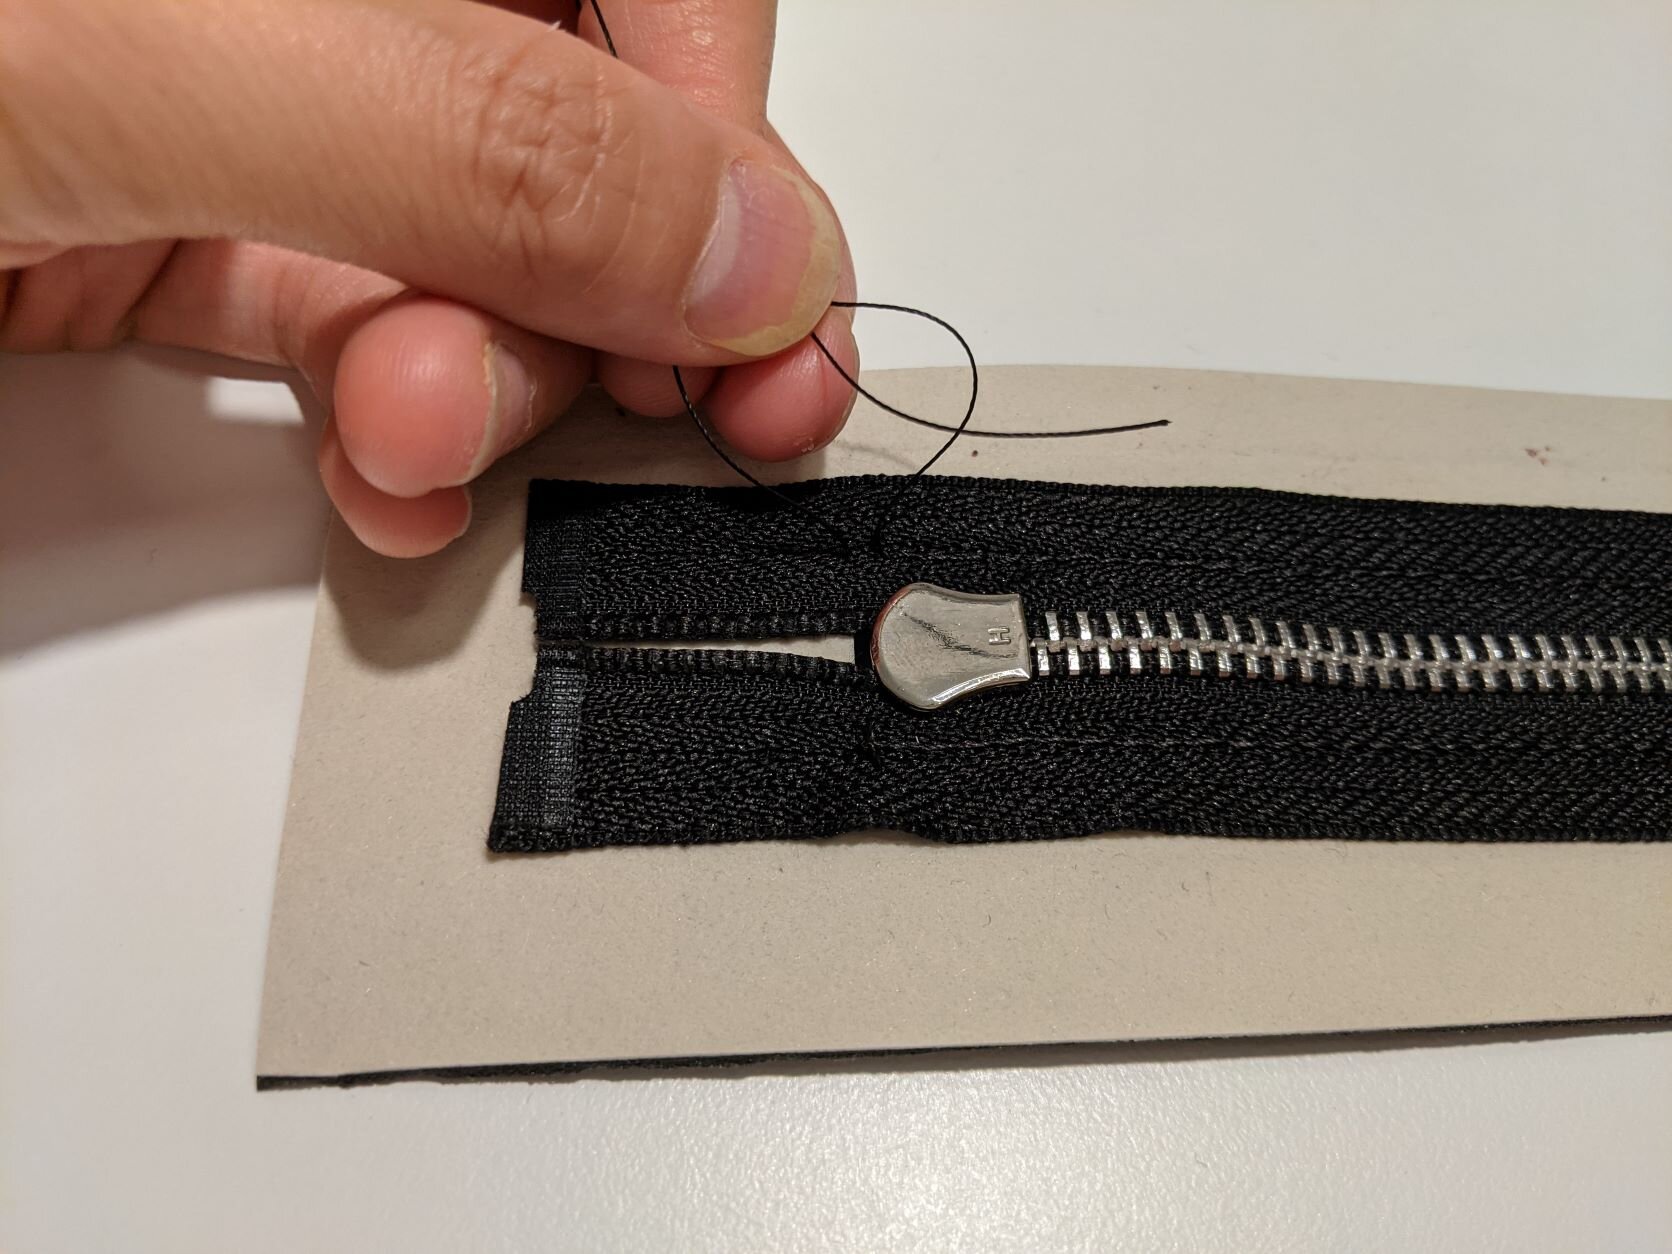
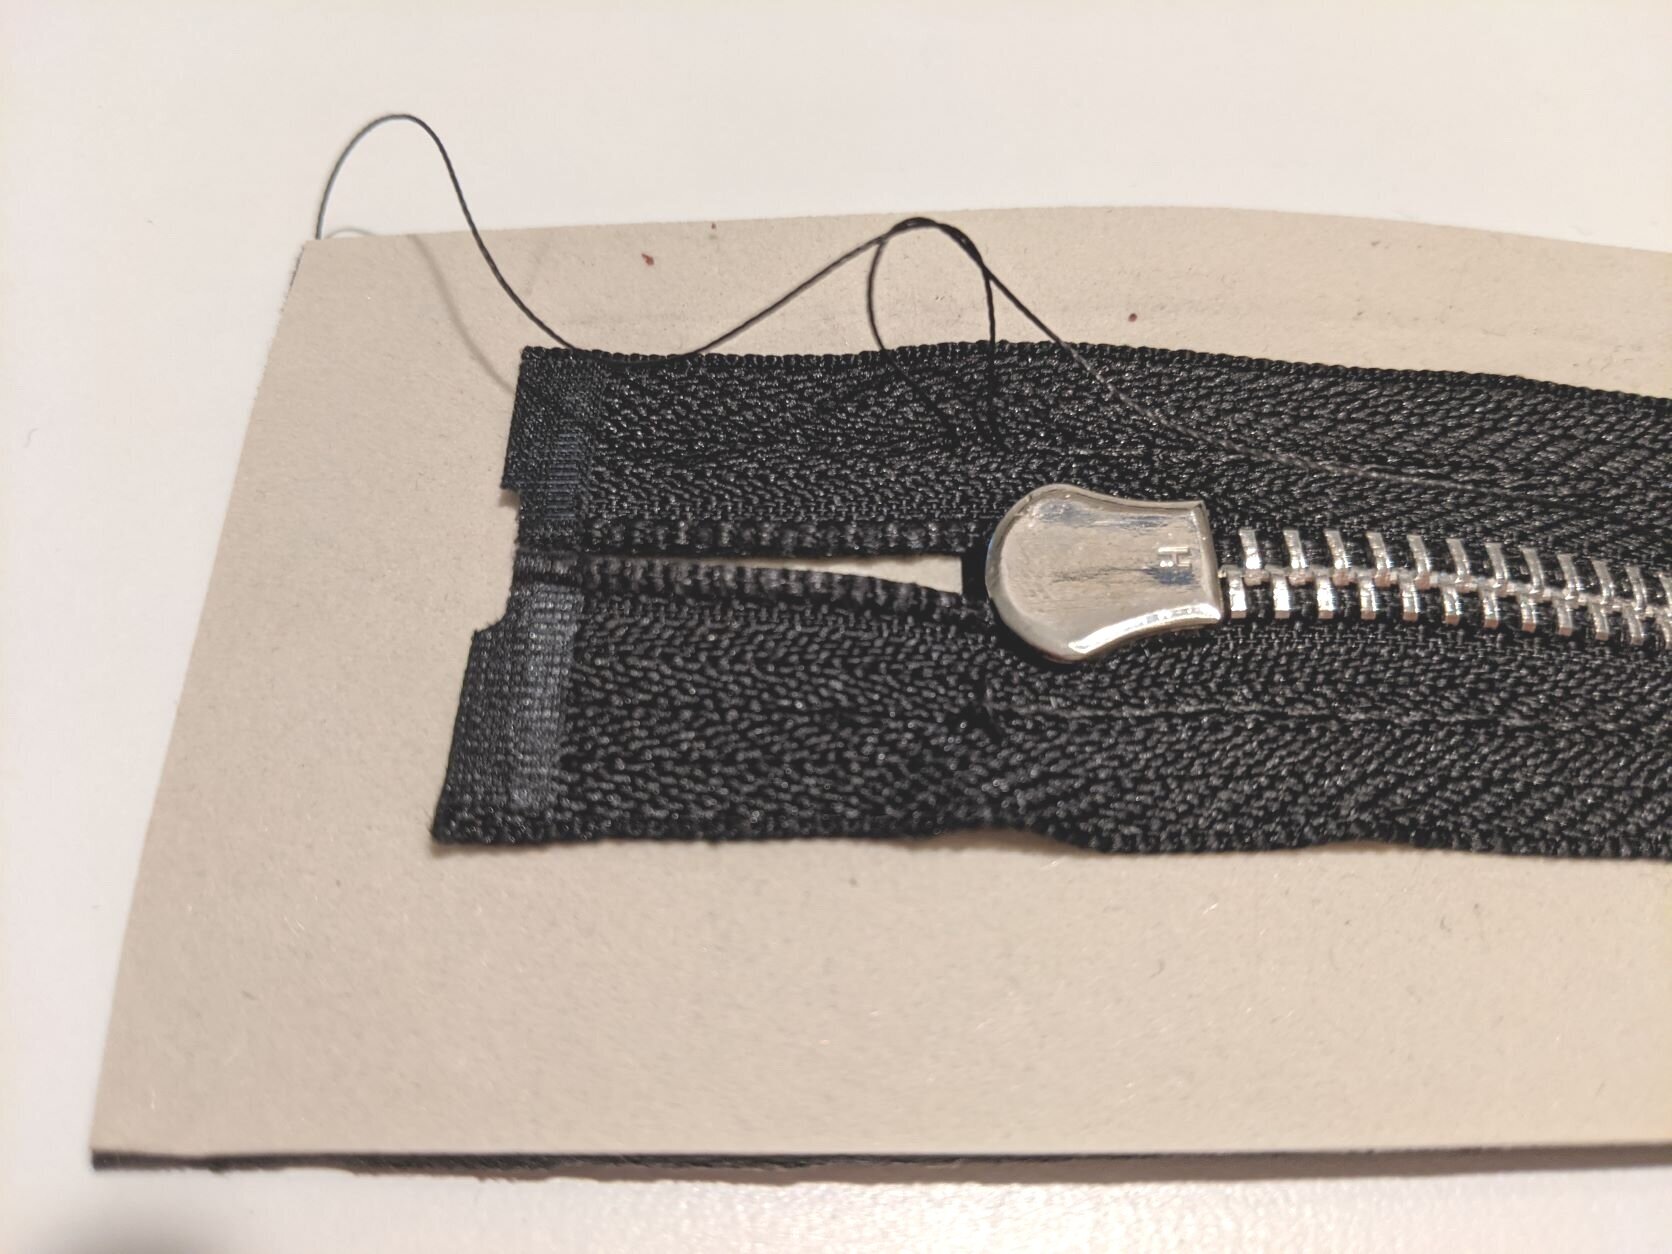
2. Using a longer stitch length (I use a stitch length of 3), topstitch around the edge of the cutout hole to secure the zipper. DO NOT backstitch at the beginning and end of your seam – that will result in an unsightly clump of thread that we don’t want in such a highly visible part of the bag. Instead, secure the beginning and end of your seam by pulling both threads to the wrong side, tying a double knot and trimming the excess thread. This will give you a much cleaner line of stitching on the right side.
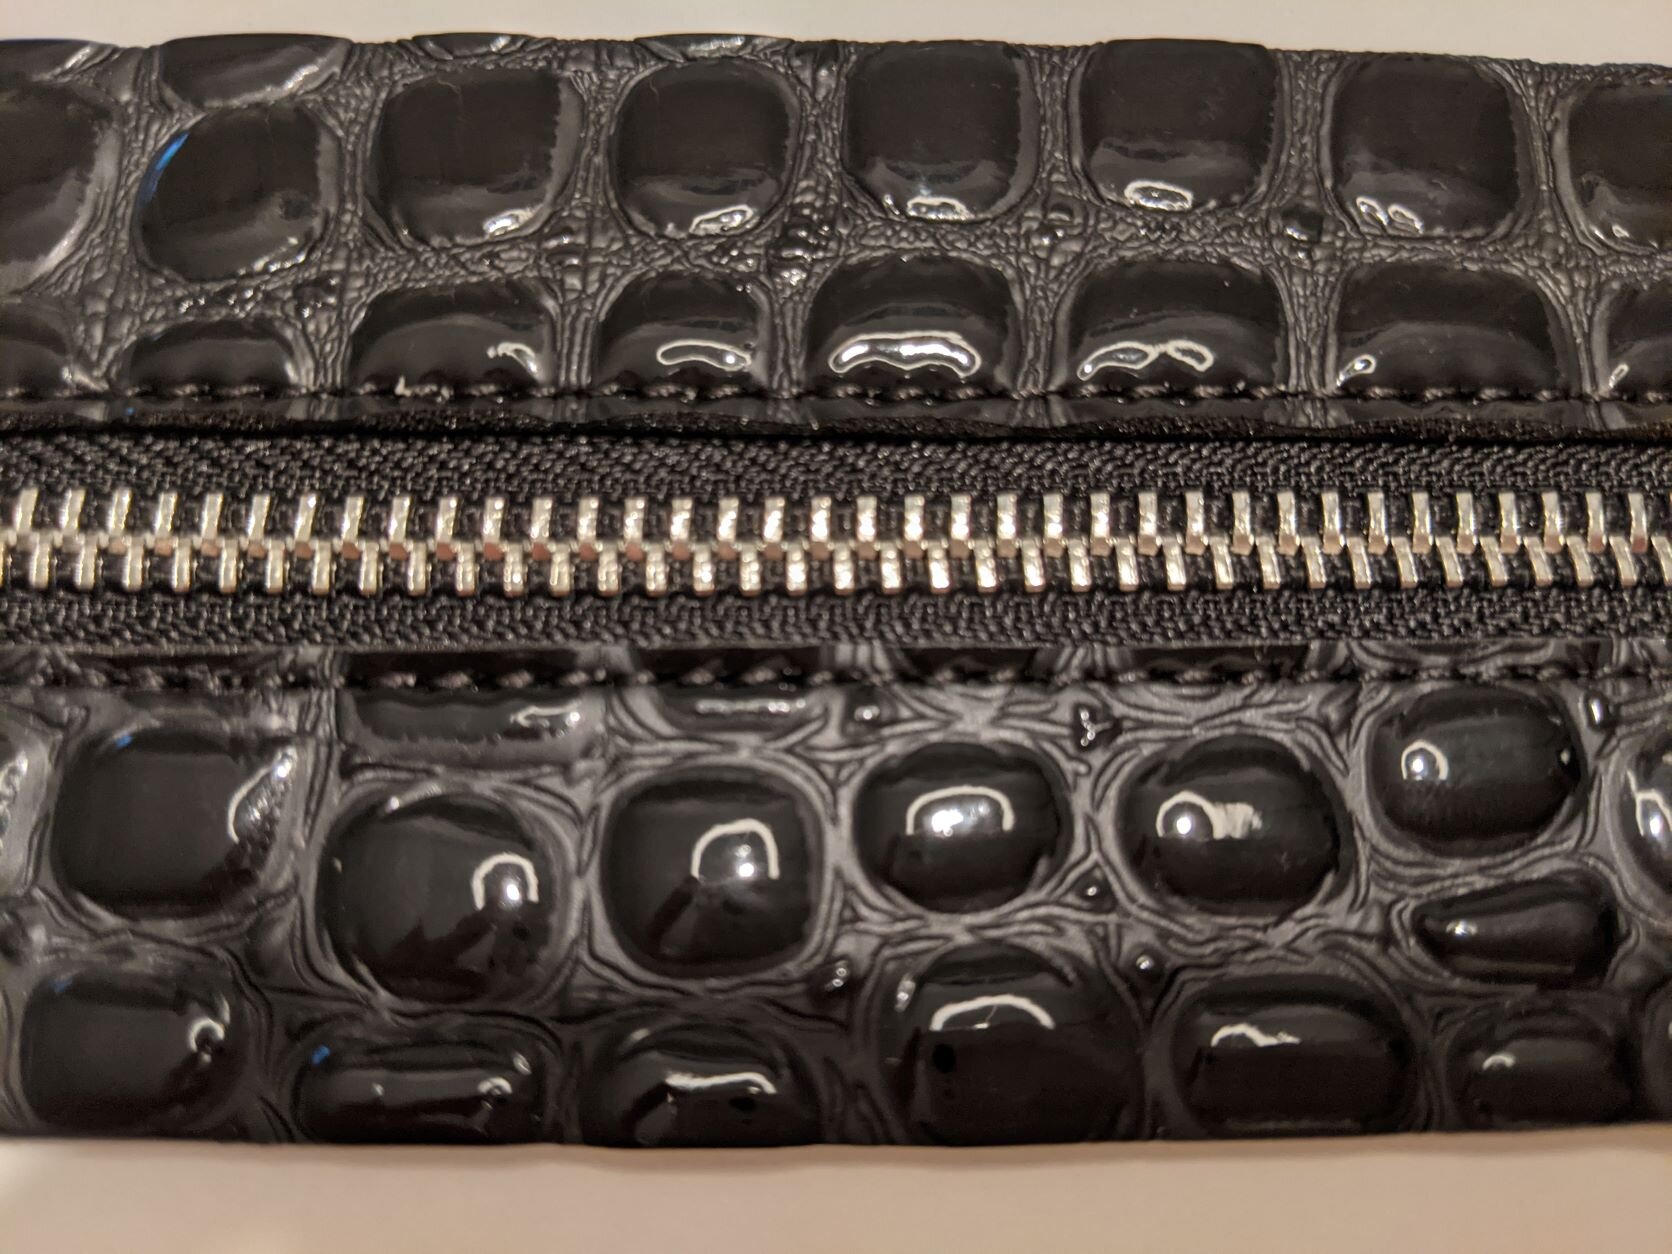
Here are some pics showing how to secure the beginning and end of your seam by tying a double knot. To get both threads to the same side, simply pull the thread that is on the side you want to bring the threads to. That should bring up a loop with the thread from the other side. Use a seam ripper or pin to pull the loop through to the right side.
Sewing the bag pouch
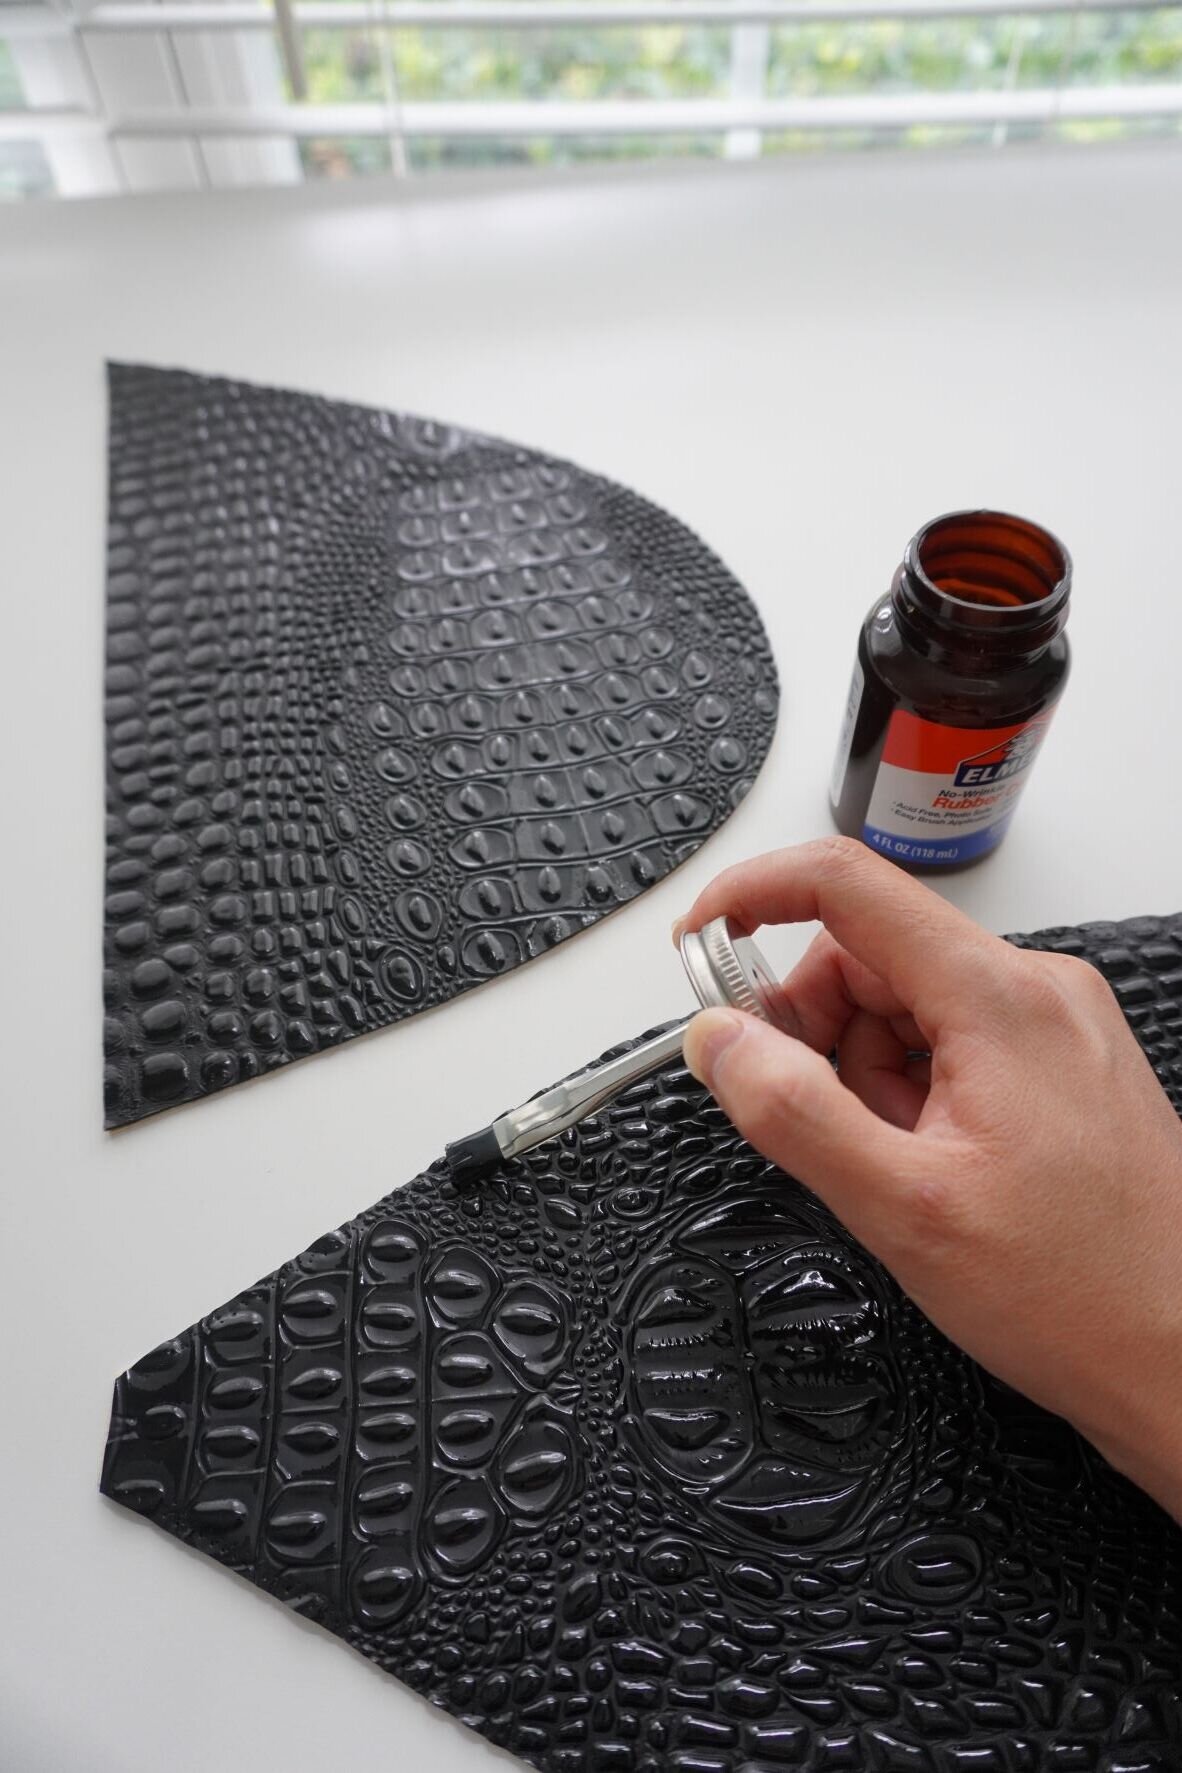
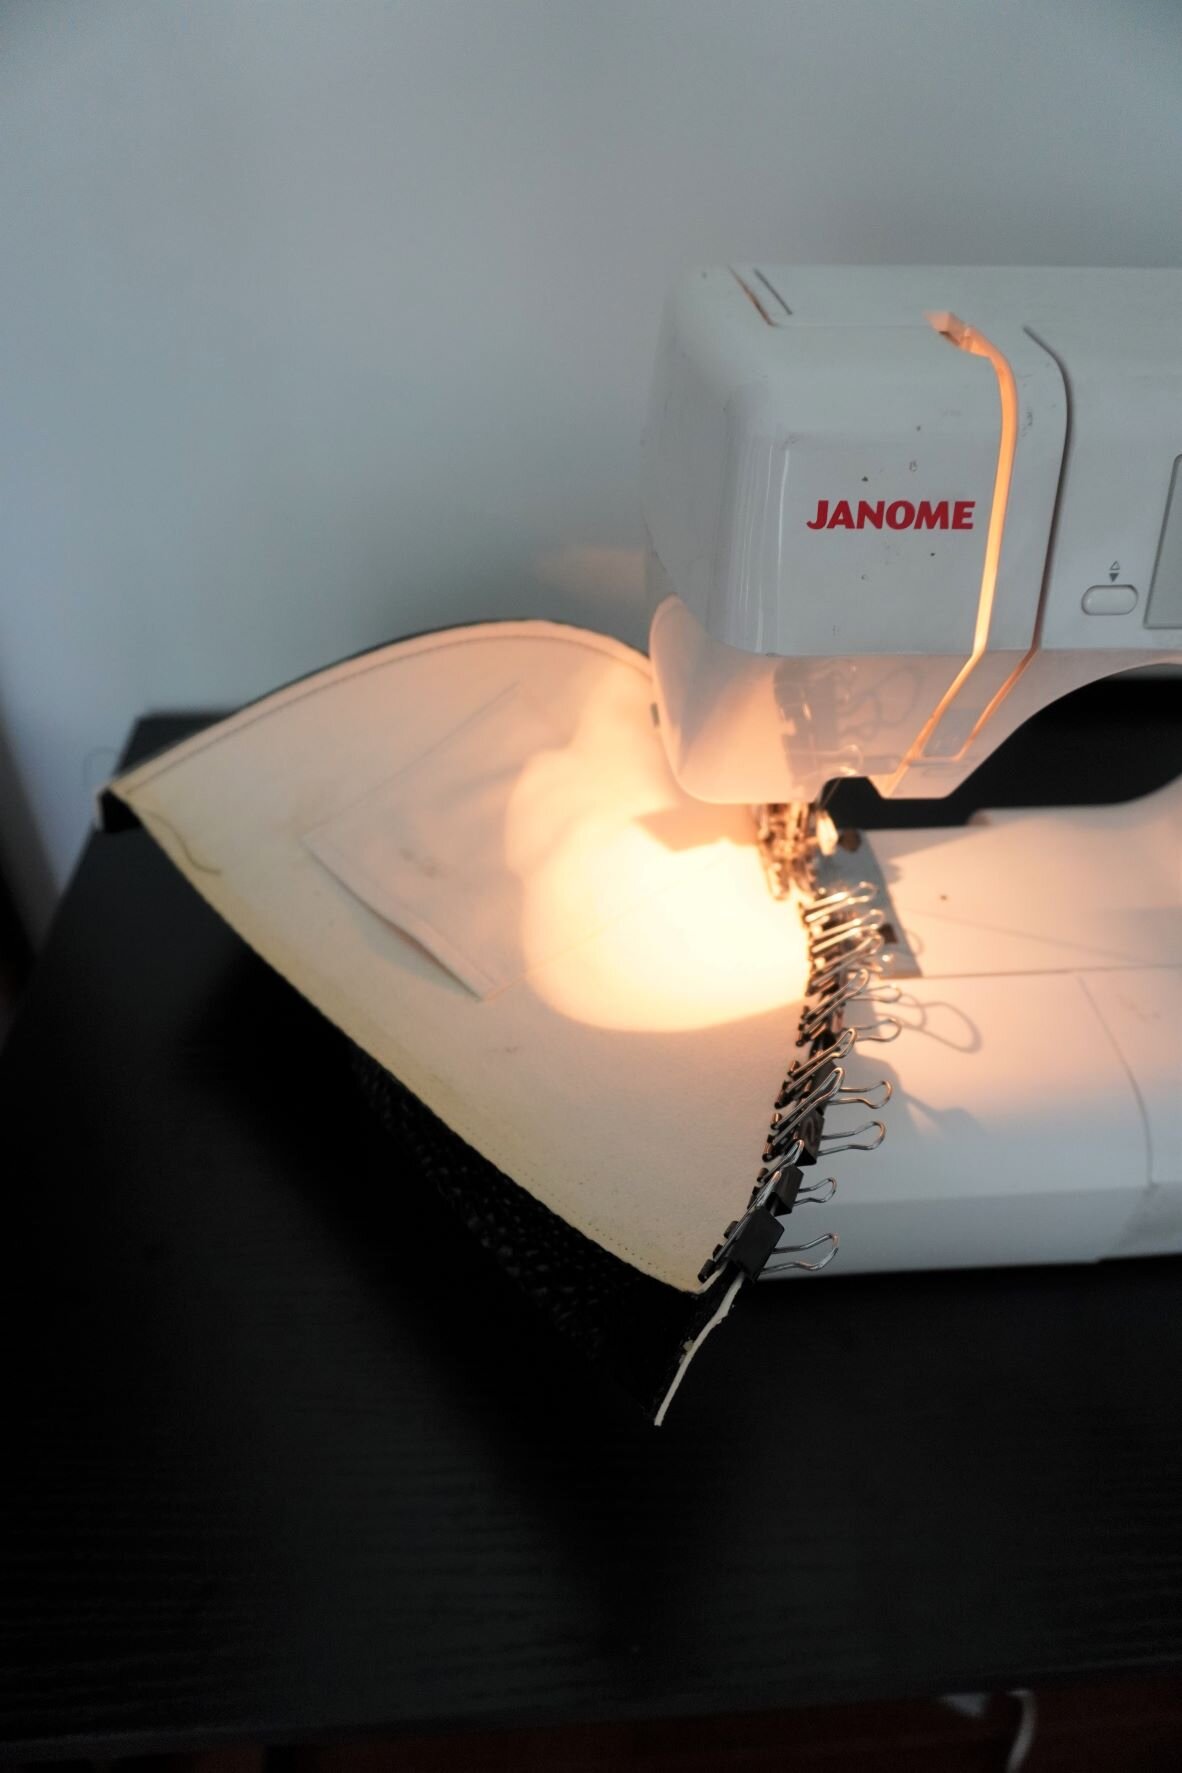
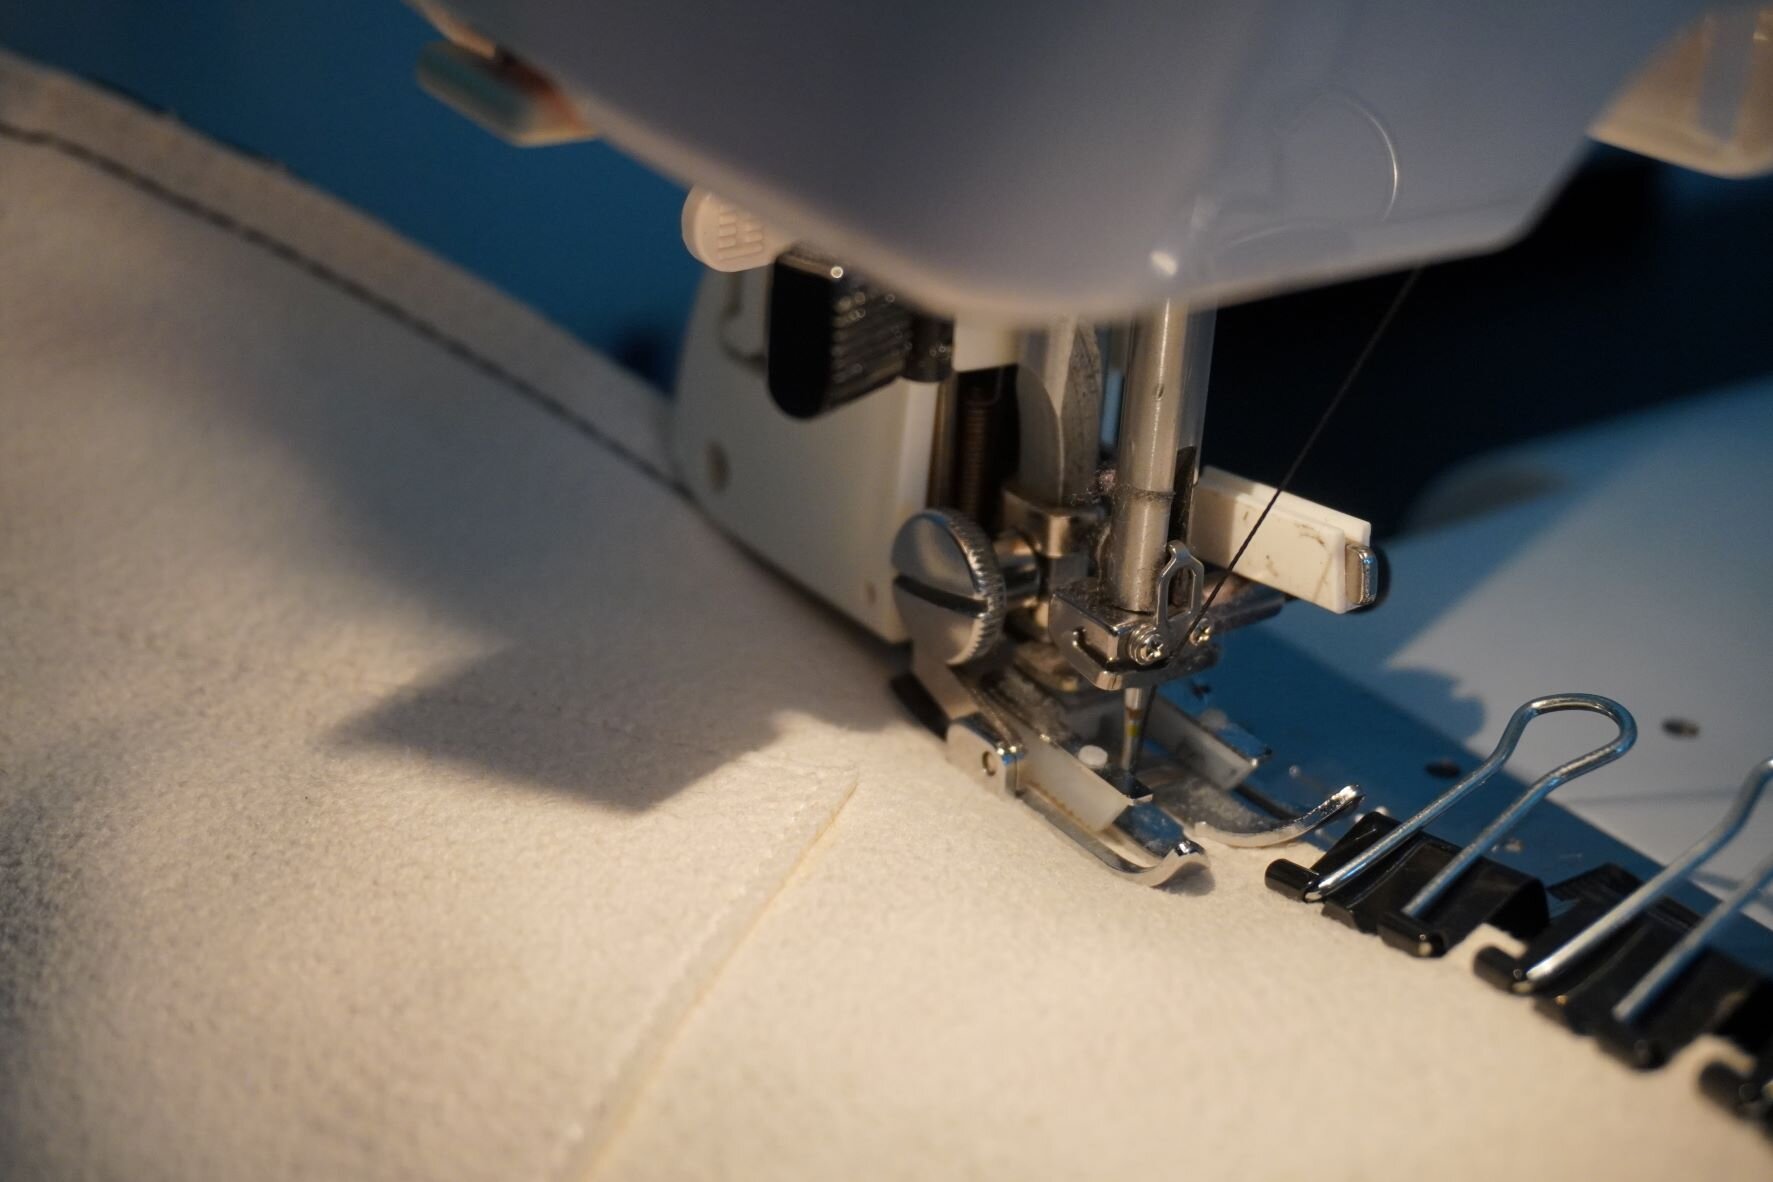
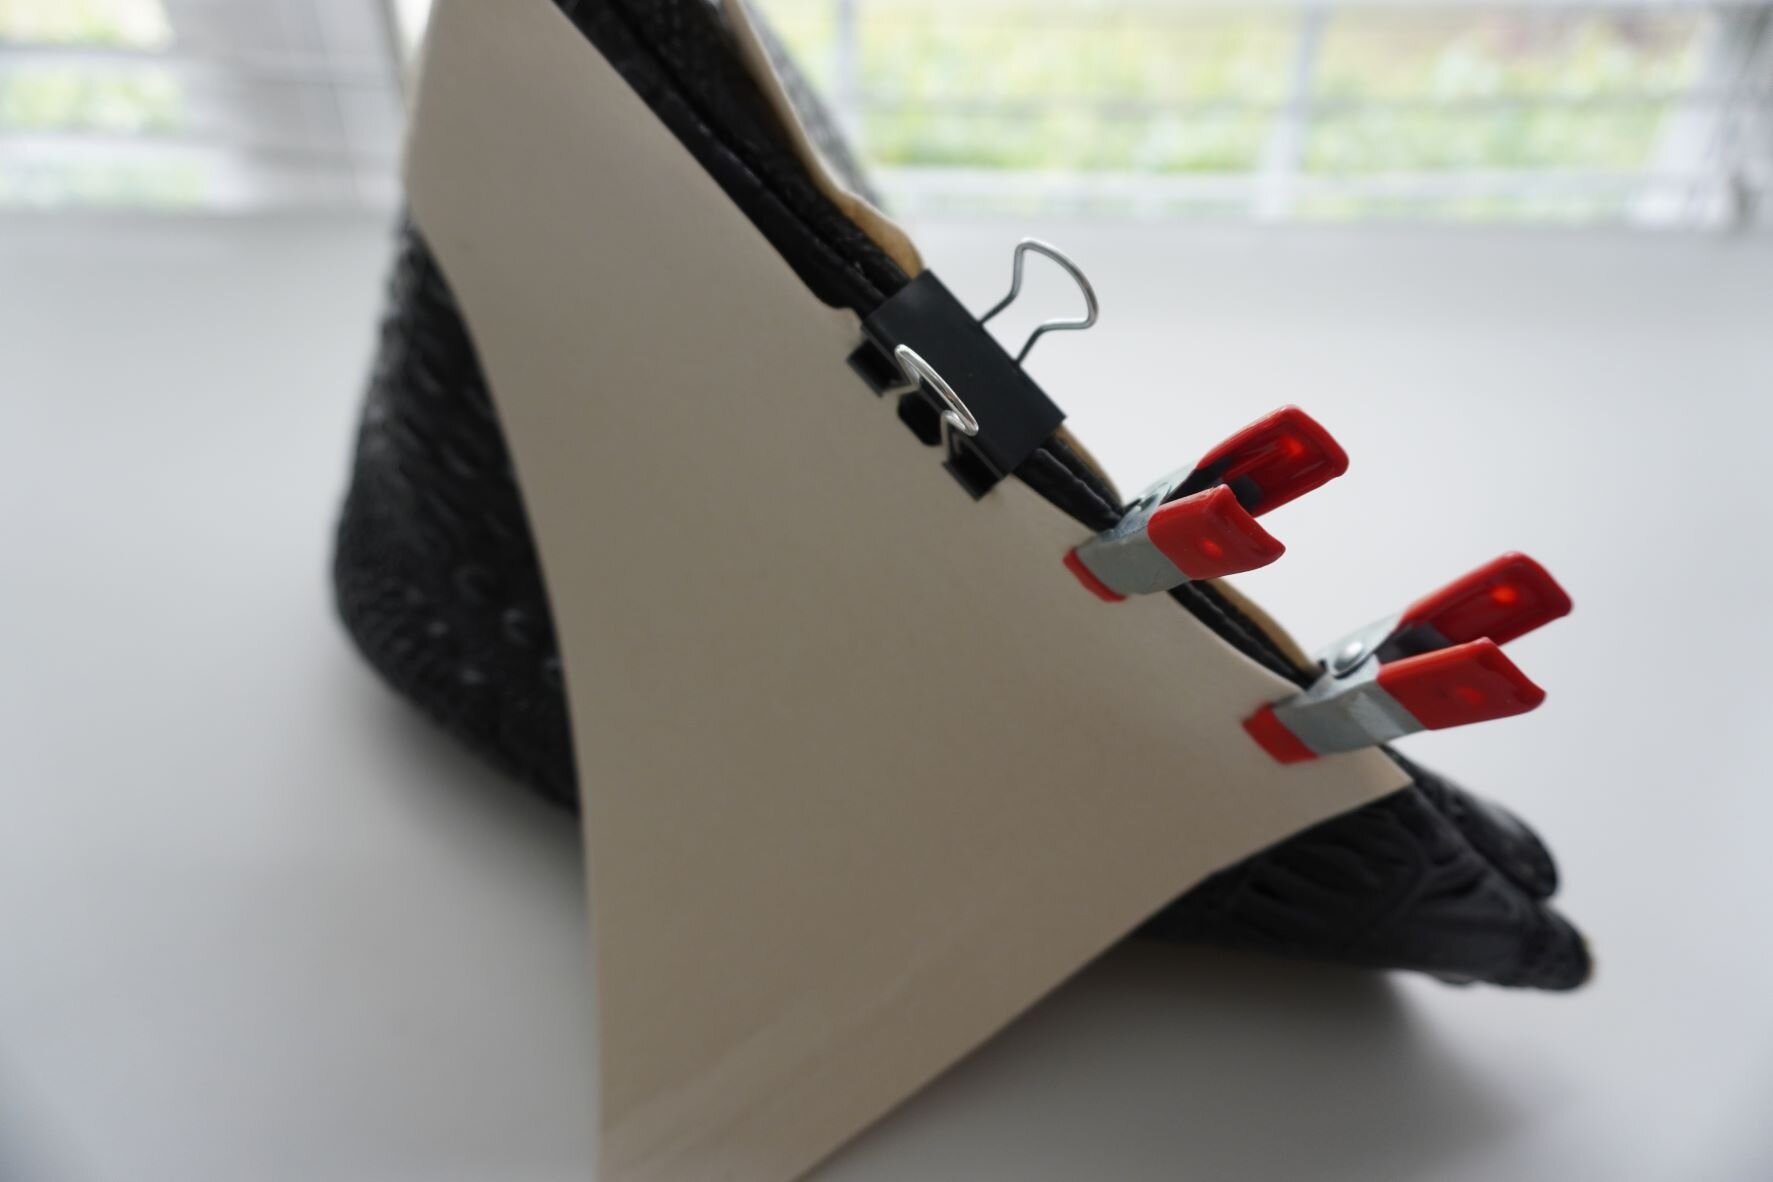
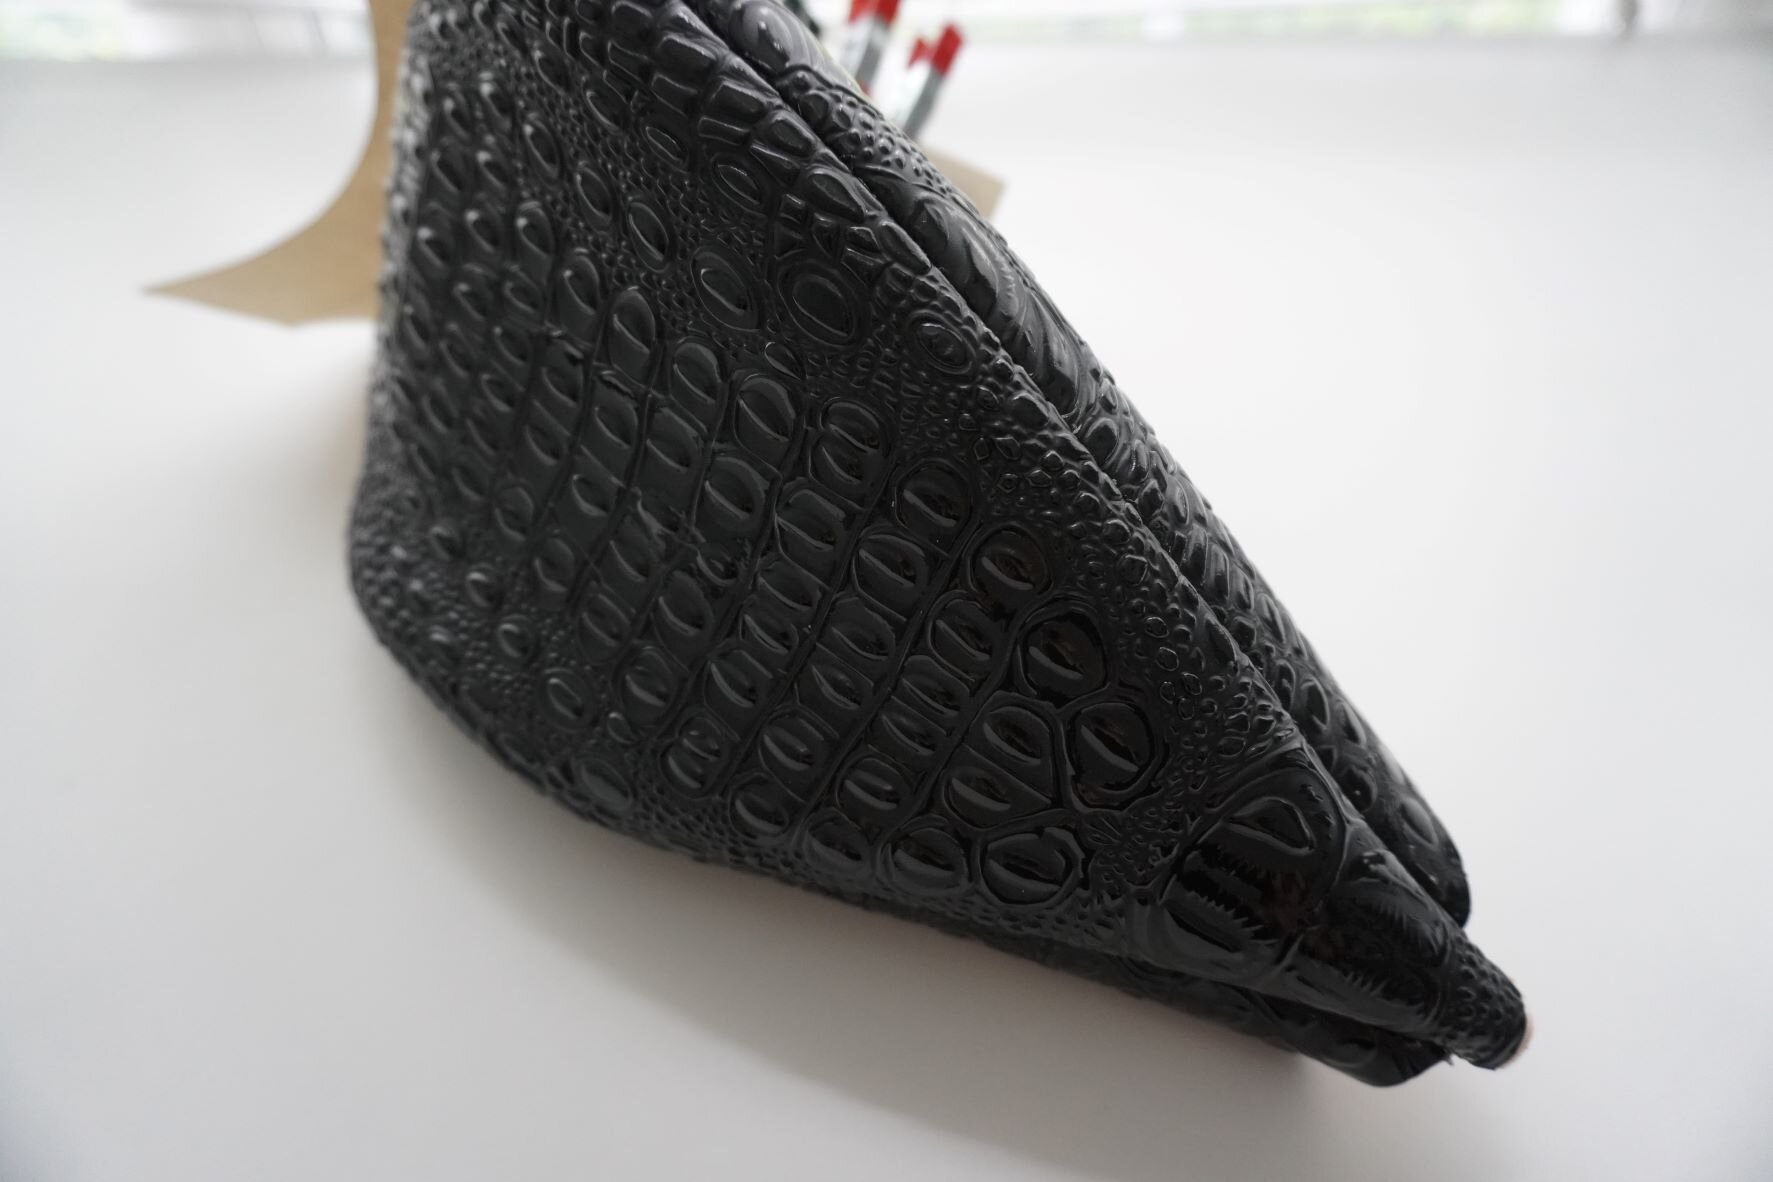
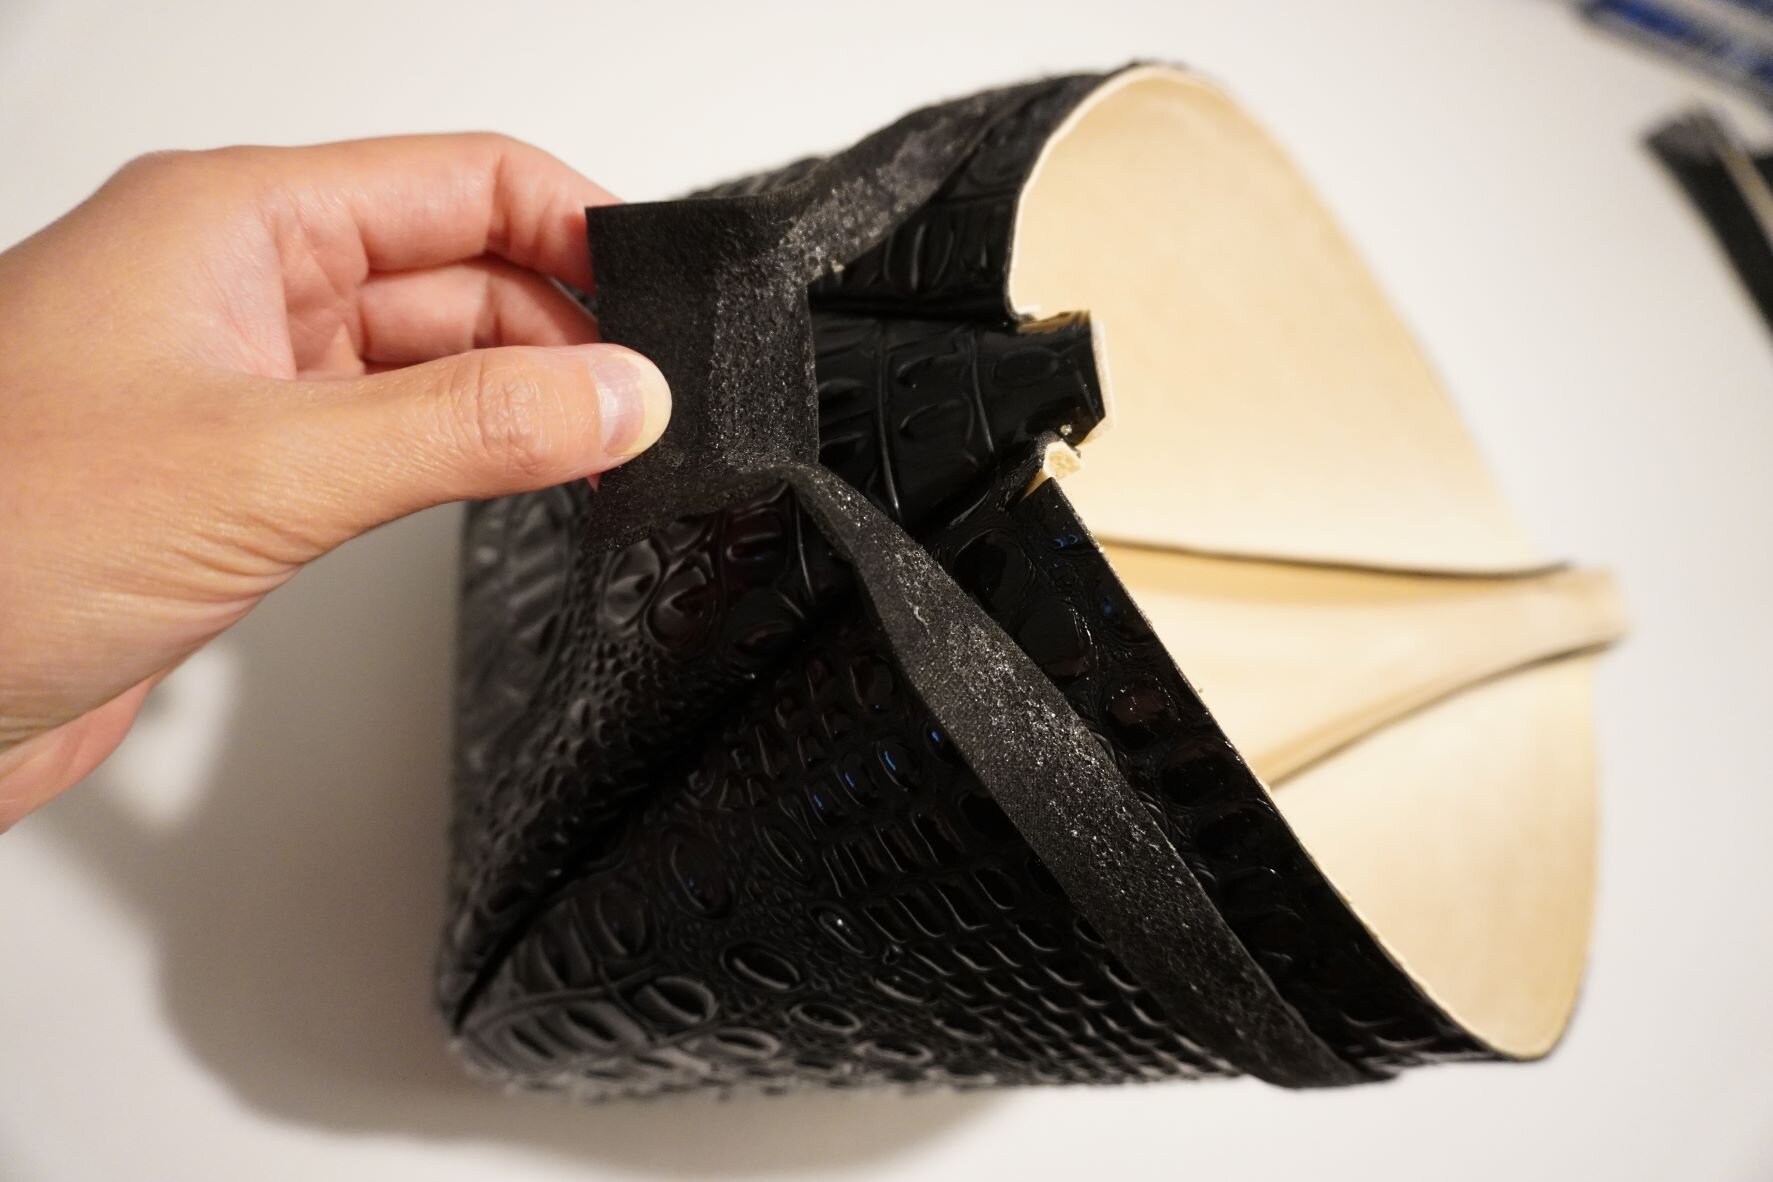
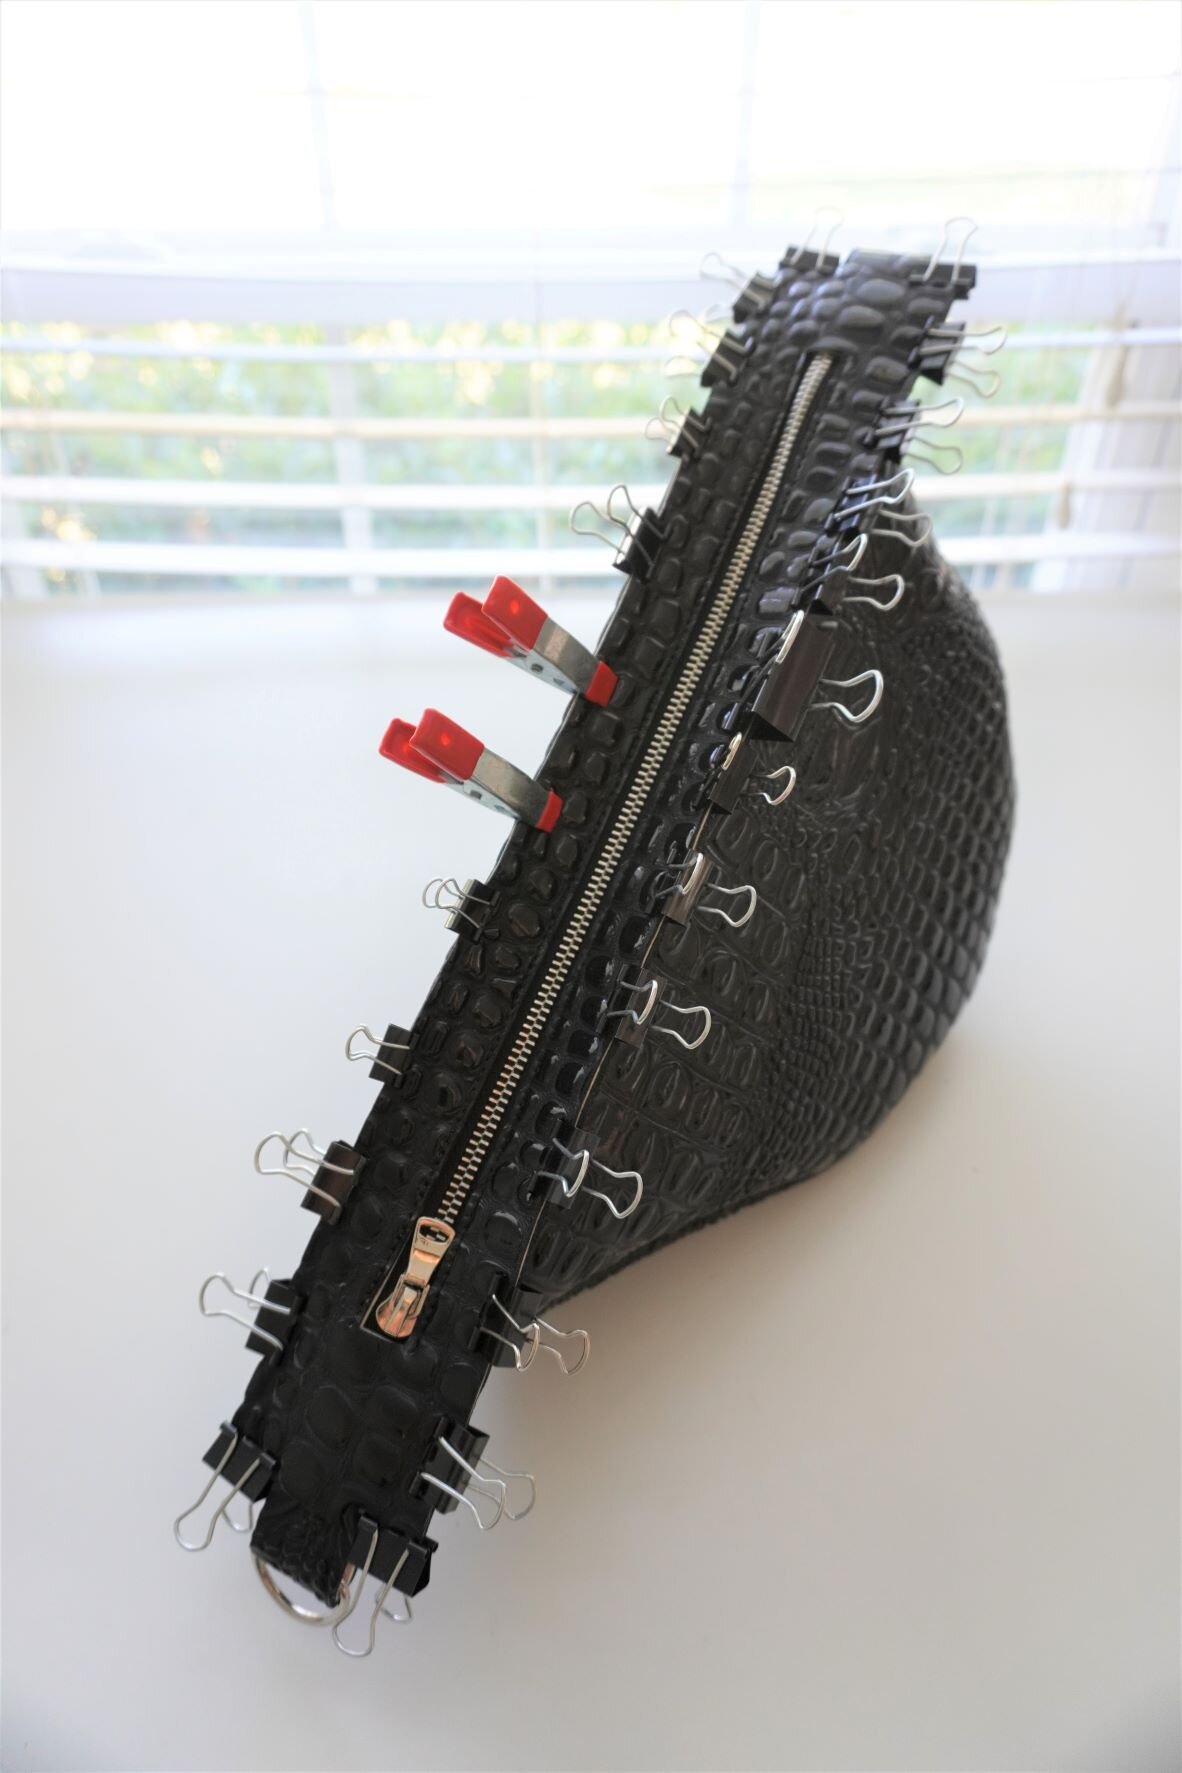
1. Apply rubber cement to the curved edges of the side pieces and the bottom piece on the exterior side. Stick the side piece to the bottom piece, right side to right side. The fat part of the bottom piece aligns with the fat part of the side piece, and vice versa. Note that the bottom piece will extend past the side piece by about ½ inch on either side – that is intentional! Once you have the pieces stuck together, secure the pieces together with some binder clips. Be very liberal in your use of clips – it is very easy for the pieces to slip out of alignment along the curve, so use as many clips as possible to hold the pieces together.
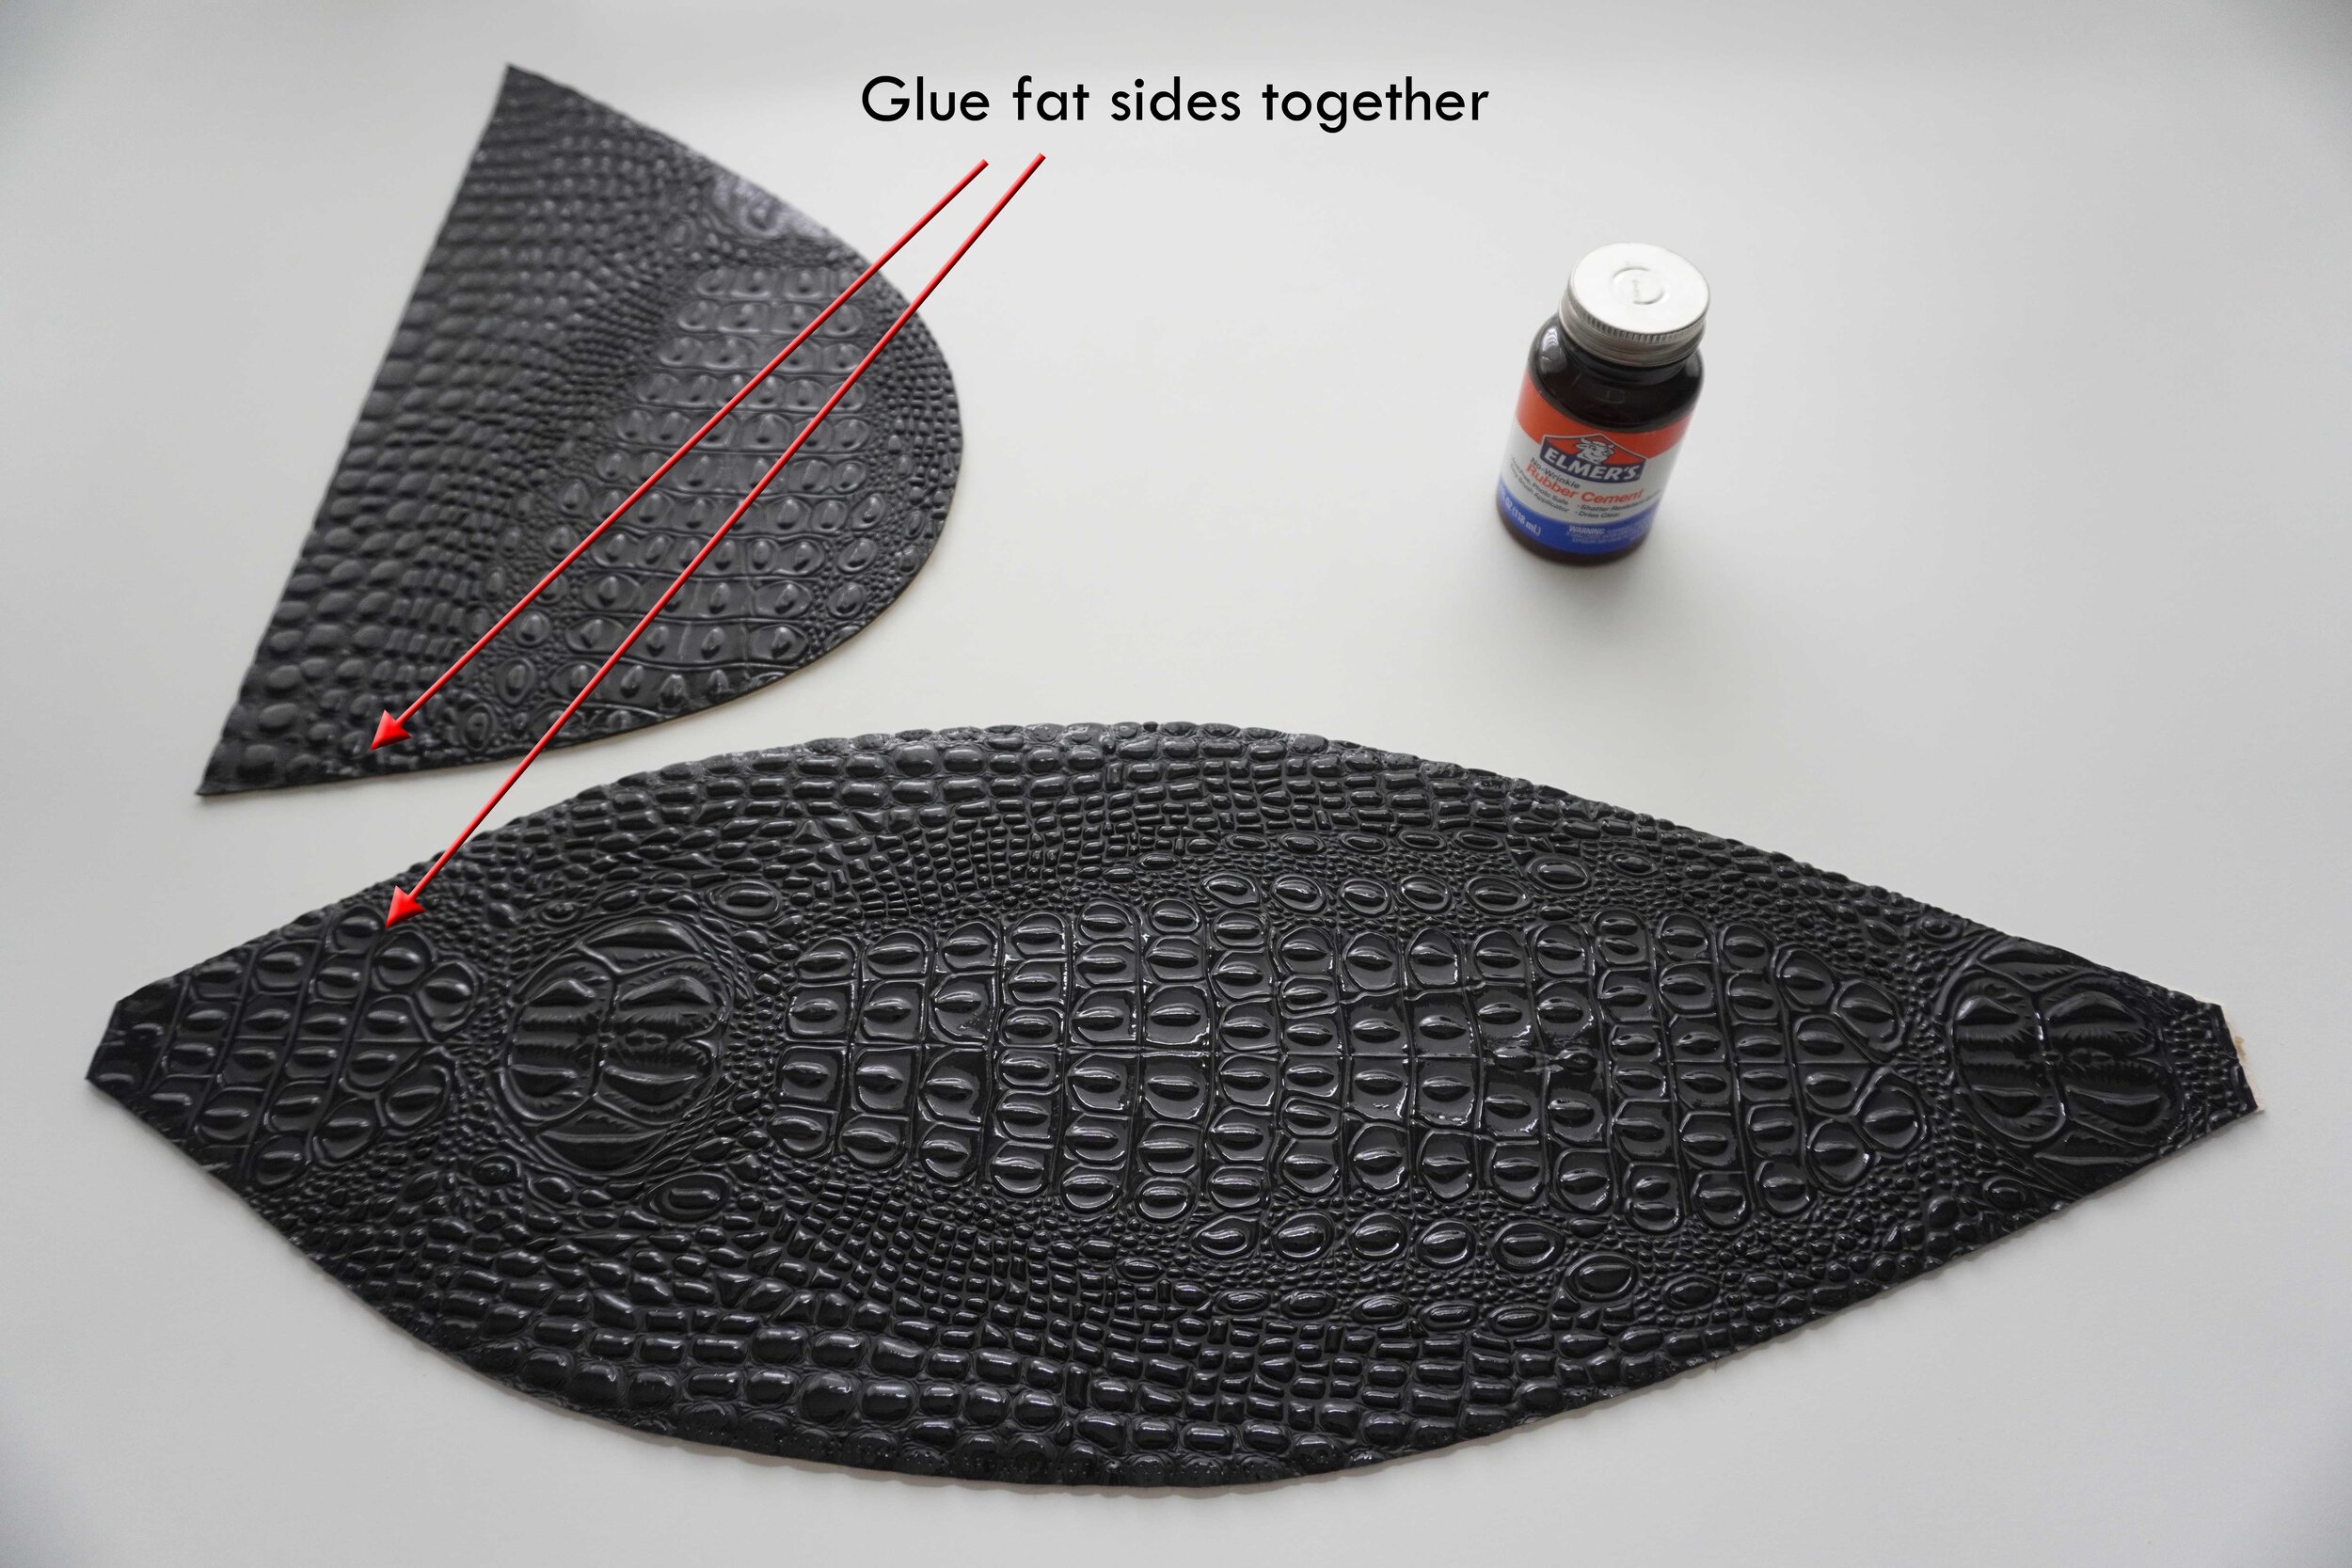
2. Sew the pieces together with a ¼ inch seam allowance. Leave 3/8 inch on either end of the sides free. Just as you did before, DO NOT backstitch at the beginning and end of your seam. Instead, secure the beginning and end of the seam by tying a double knot.

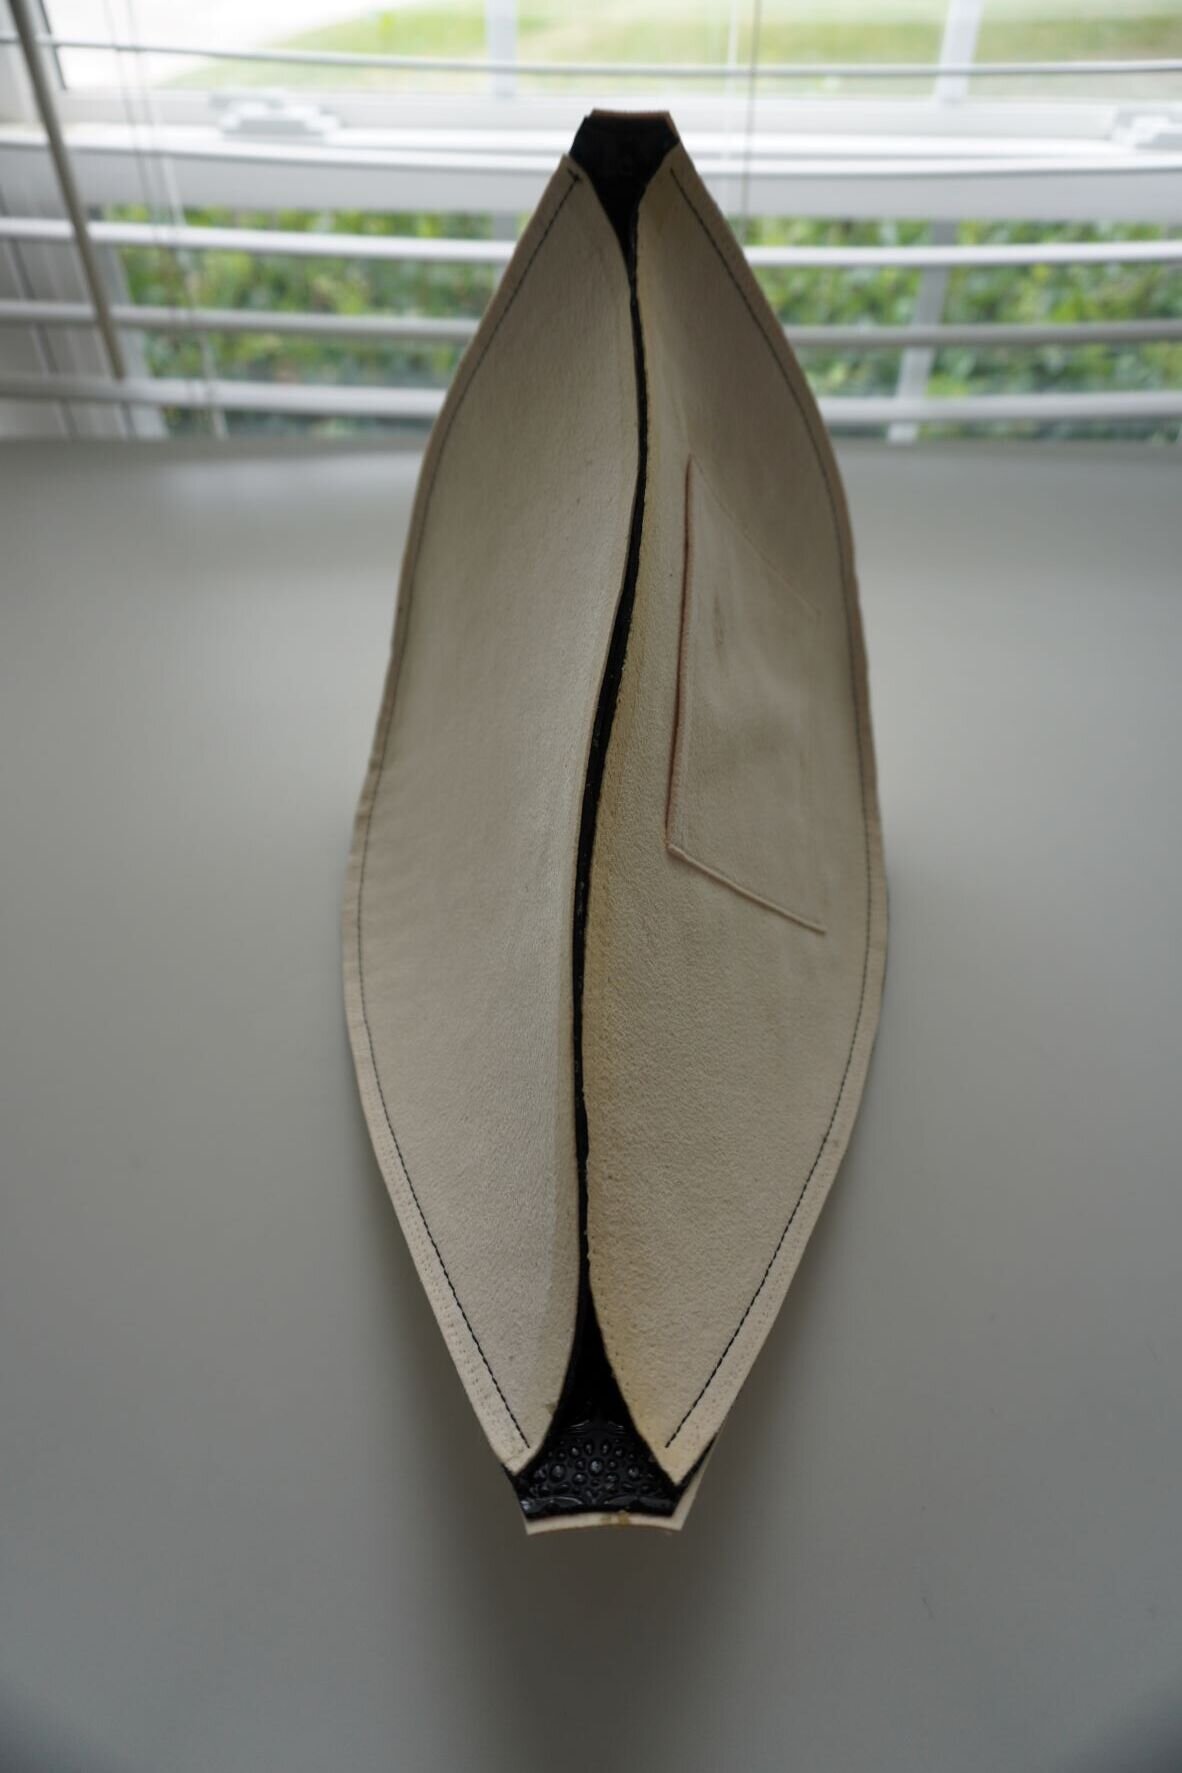
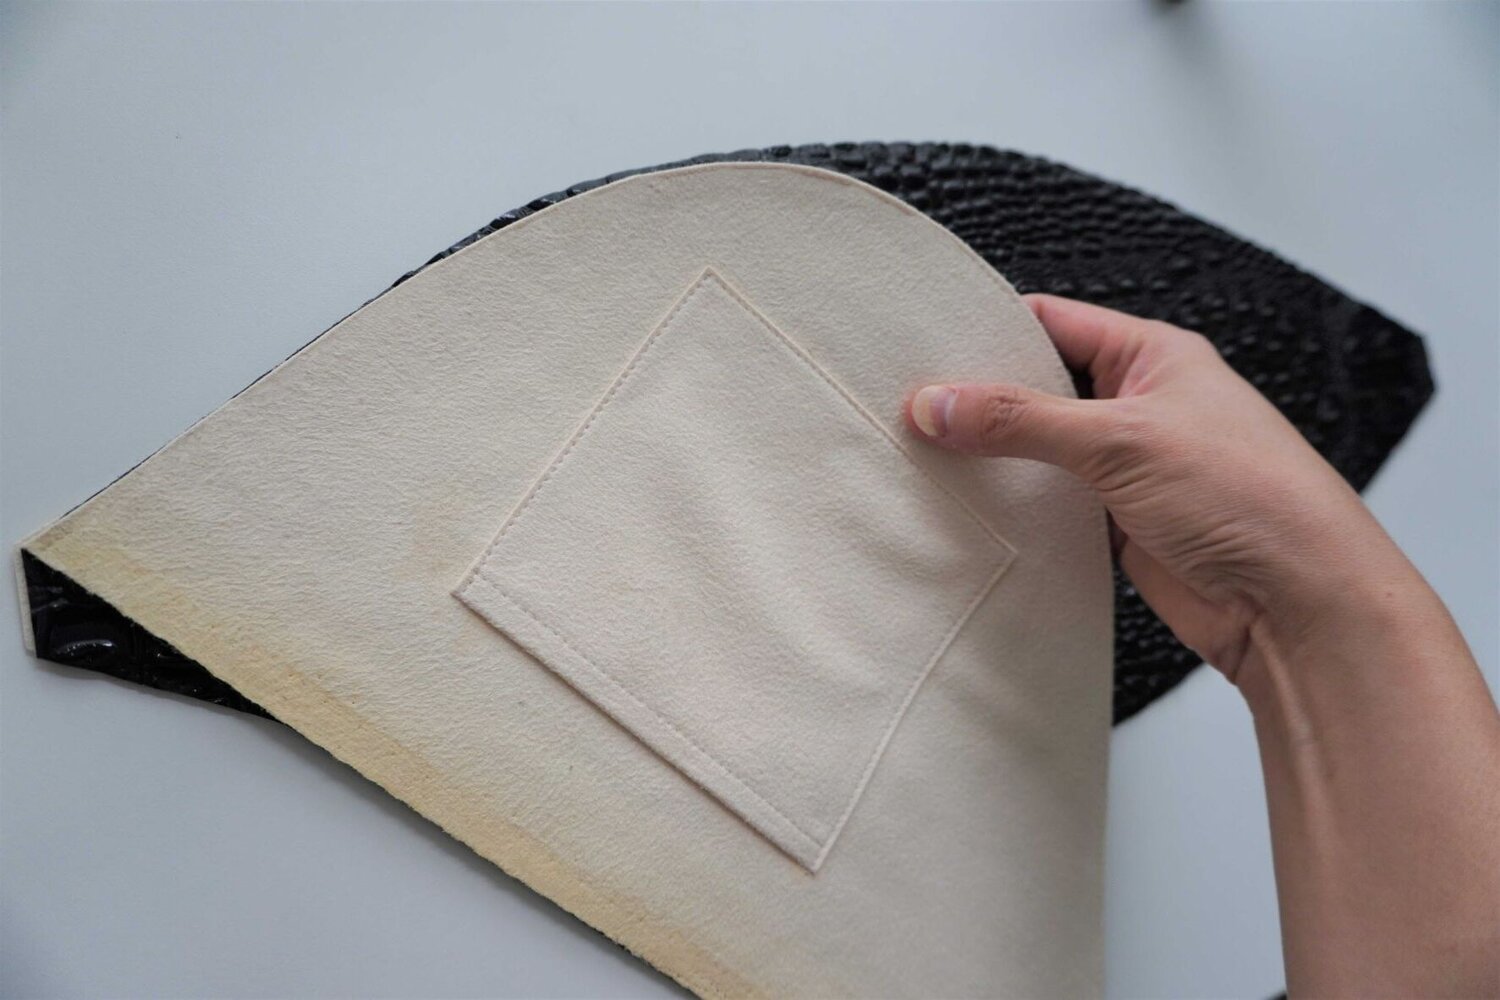
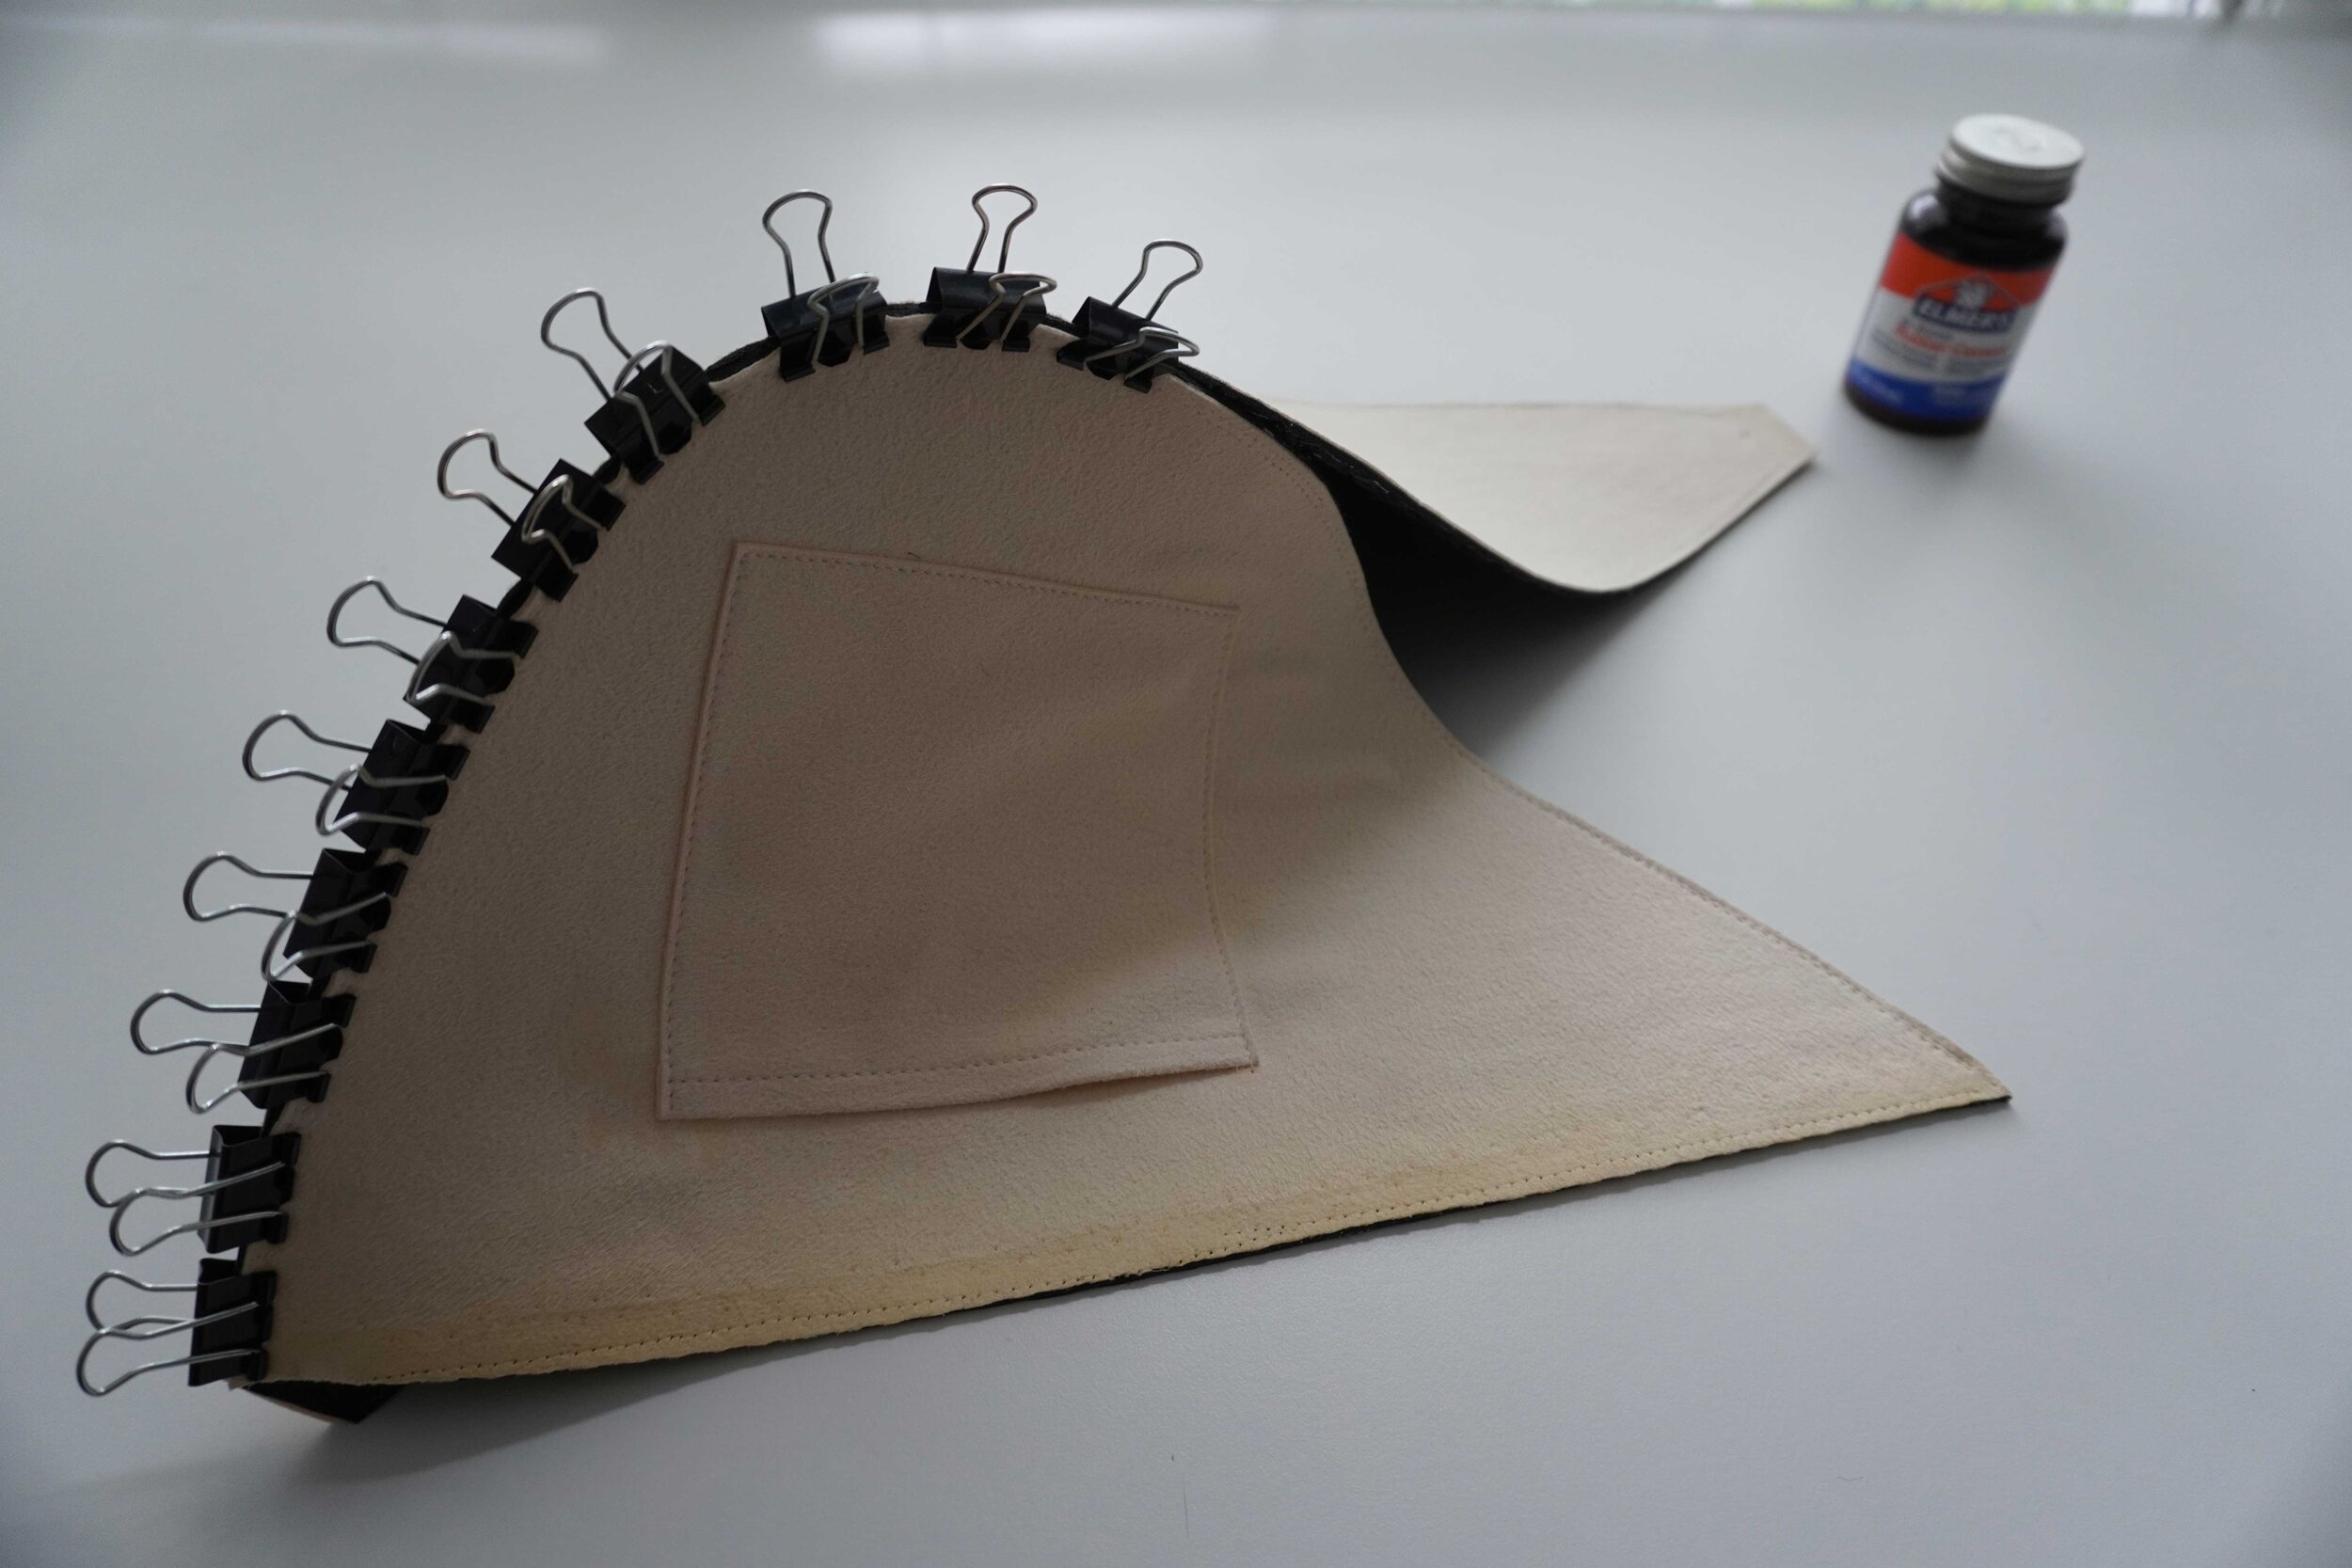
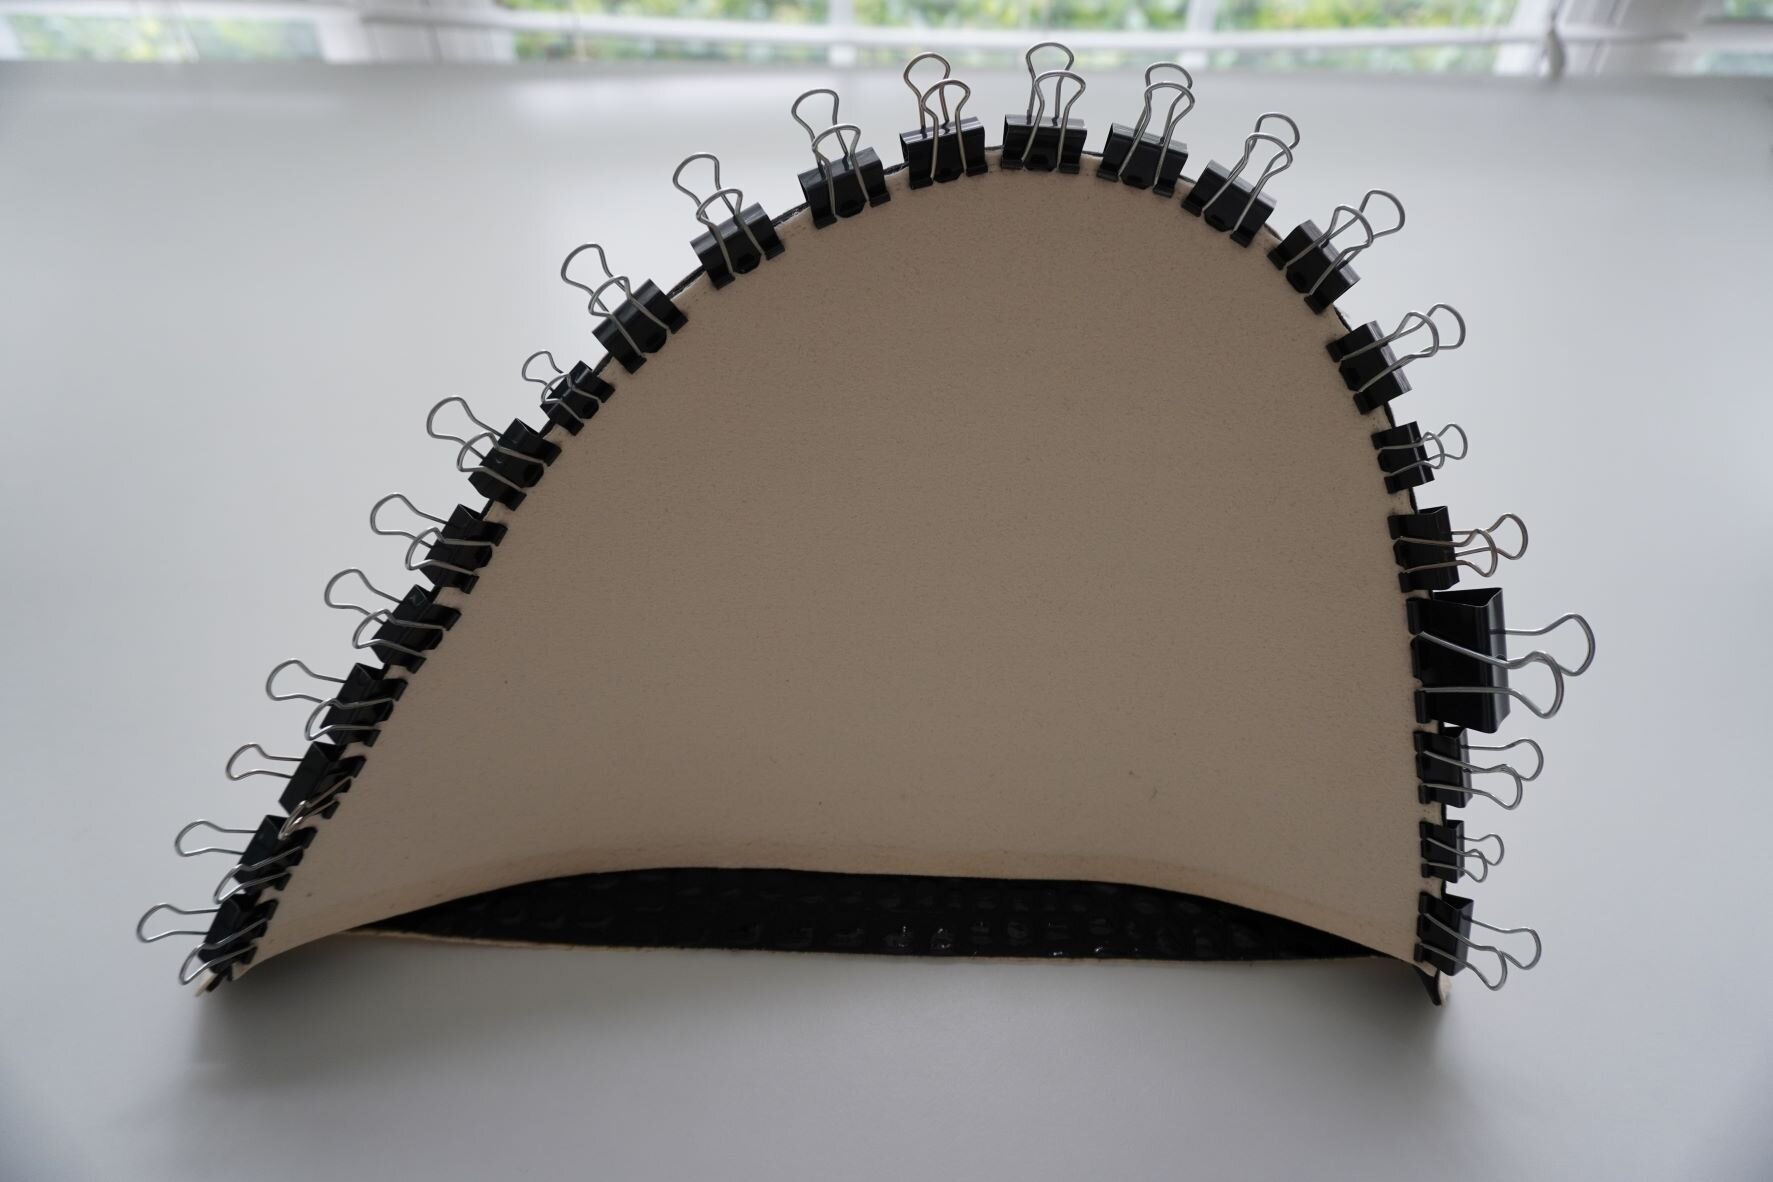
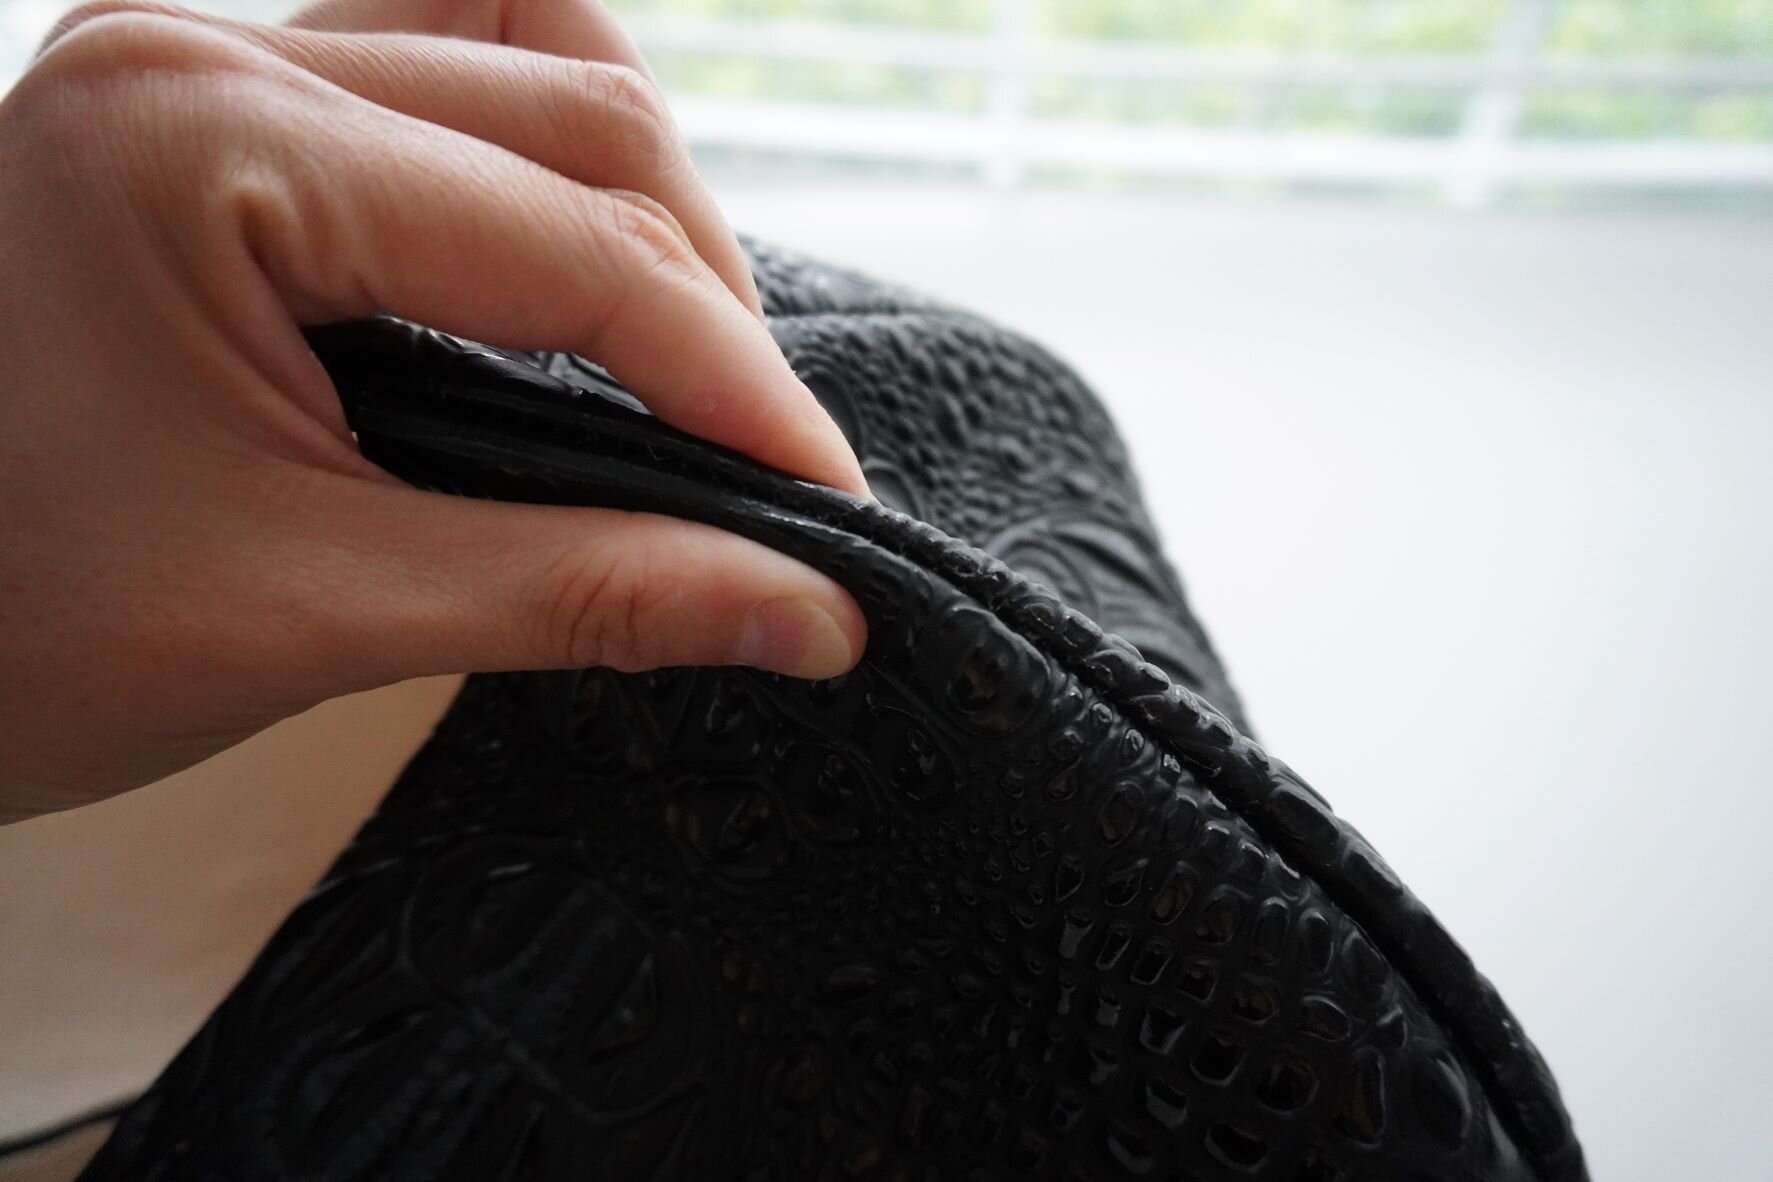
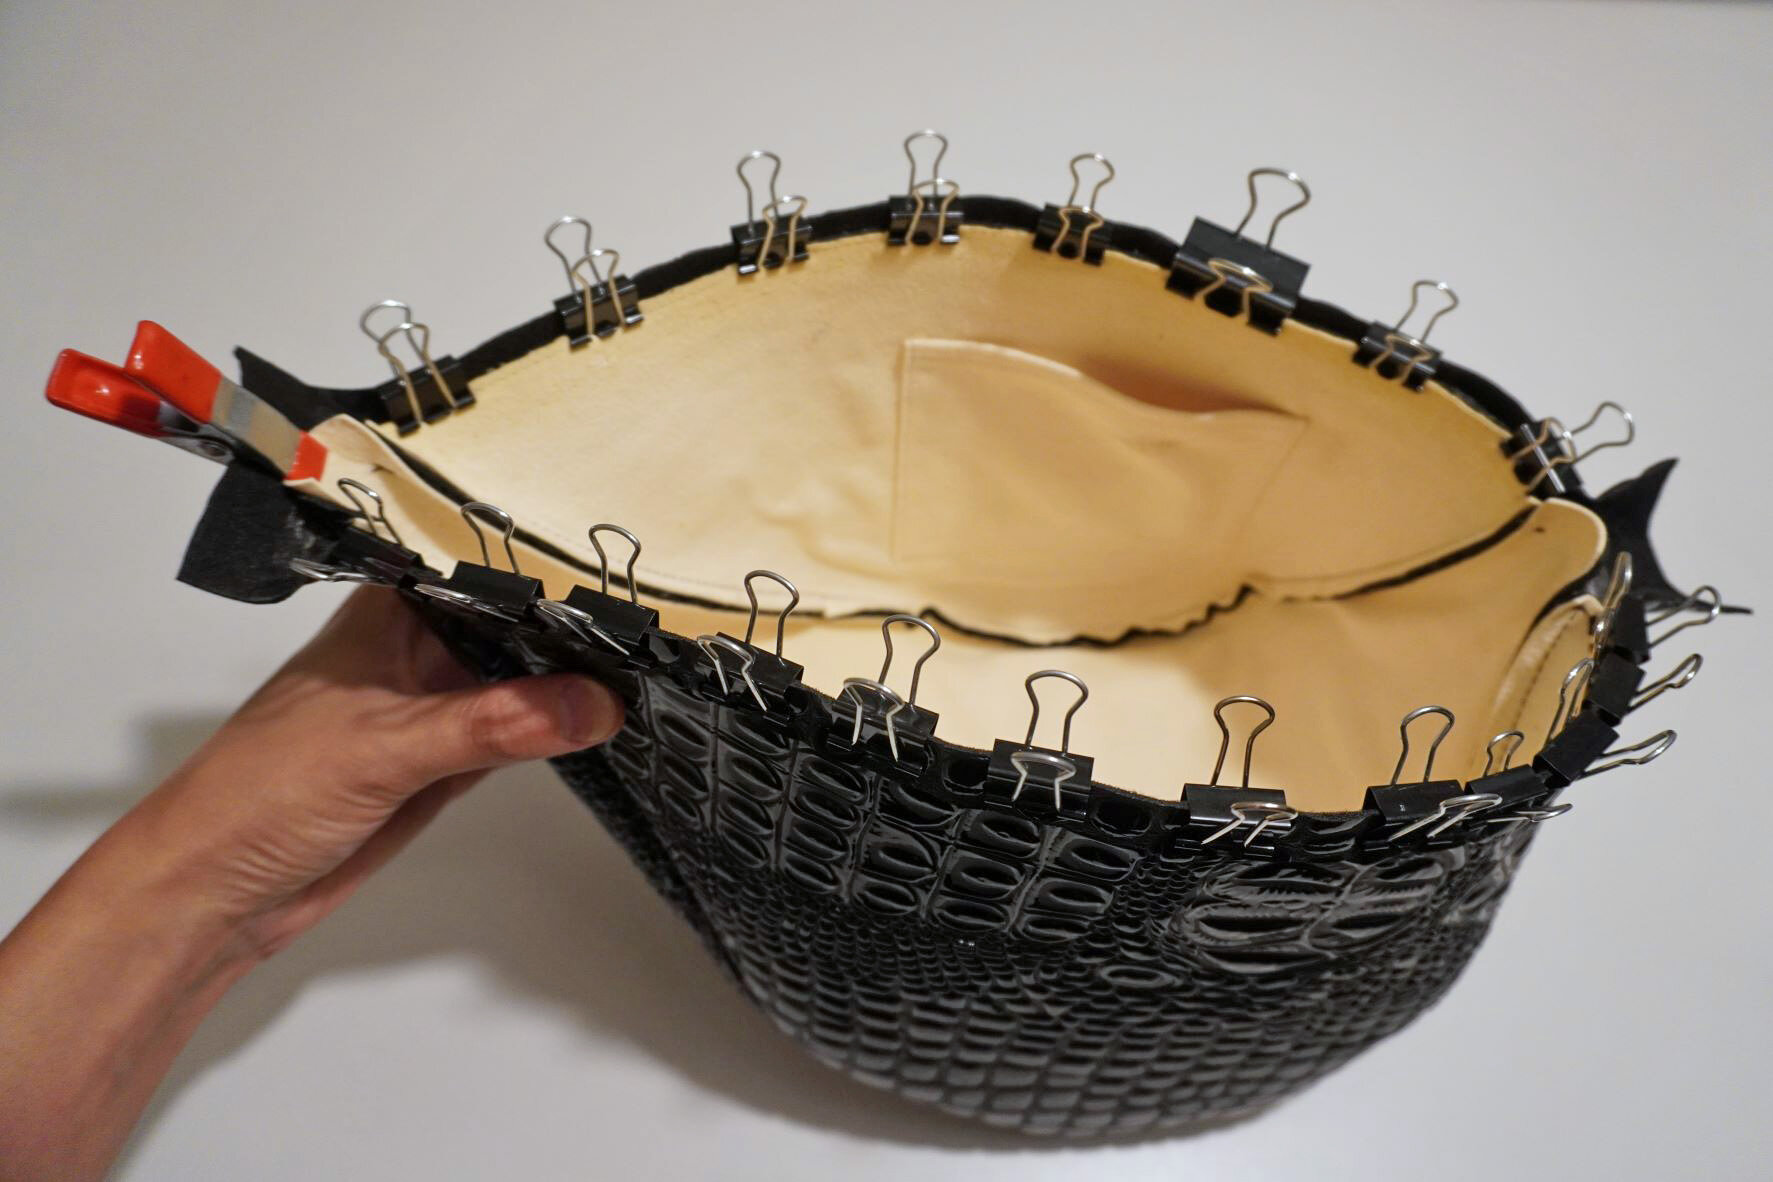
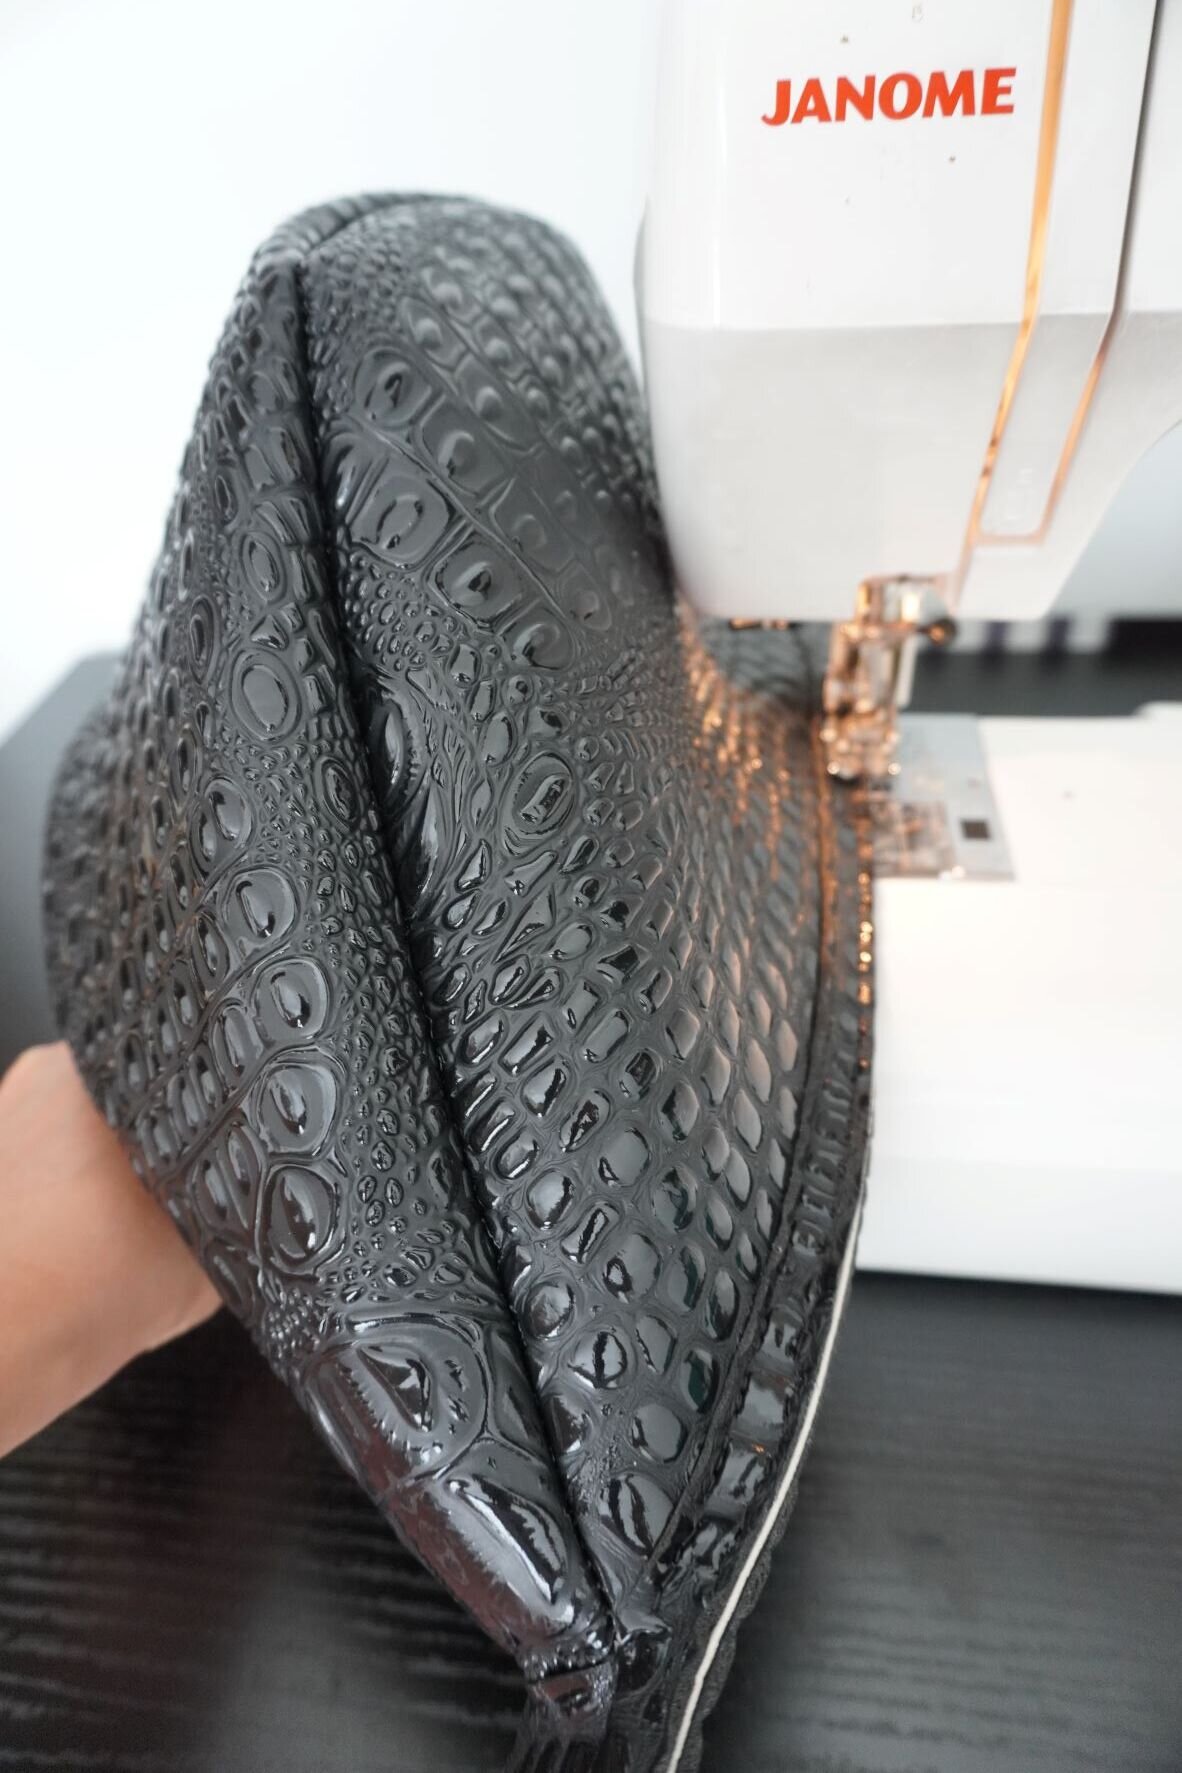
3. Turn bag right-side out and finger press along the seam. If there are any stubborn parts of the seam where you can’t get the material to turn out properly, I like to place two pieces of interfacing on either side of the seam and use a few clips to secure the seam in place. (The pieces of interfacing are there so that the clips don’t leave indentations in the leather.) If I leave the pieces clipped like that for a little while (maybe 20-30 minutes), the seam stays turned-out afterwards.
Constructing the top of the bag
1. Apply rubber cement to the top straight edge of the side and bottom pieces on the exterior side.
2. Apply rubber cement to the wrong side of the lower part of top piece.
3. Stick the bag pouch to the lower part of top piece as follows:
a. Insert the bag pouch into the cutout in the lower part of top piece. Make sure that the wrong side of the top piece is facing up.
b. Overlap the edge of the side pieces over the sides of the cutout in the lower part of top piece, then press down to stick together. Secure with clips. The exterior side of the side pieces should now be glued to the lower part of top piece.
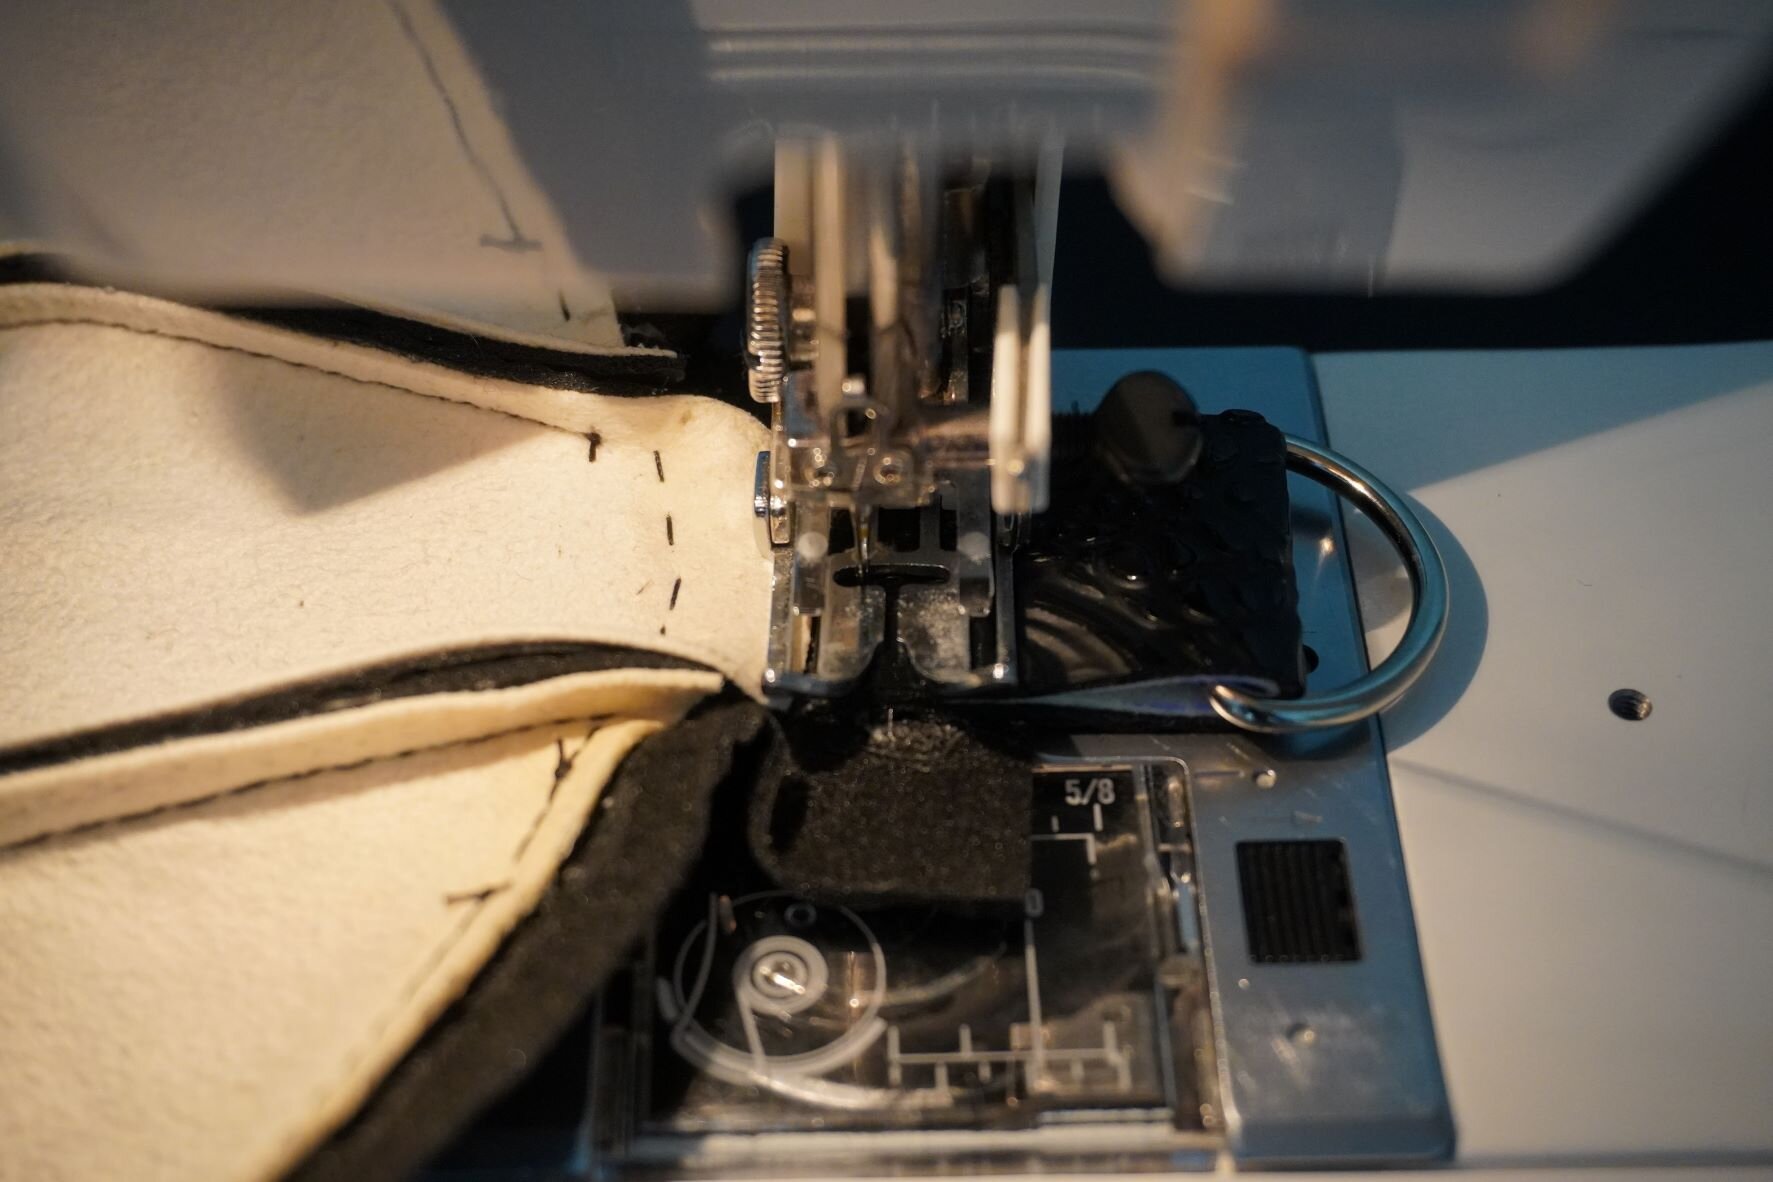
4. Topstitch along the side of the cutout in the lower part of top piece to secure the bag pouch.

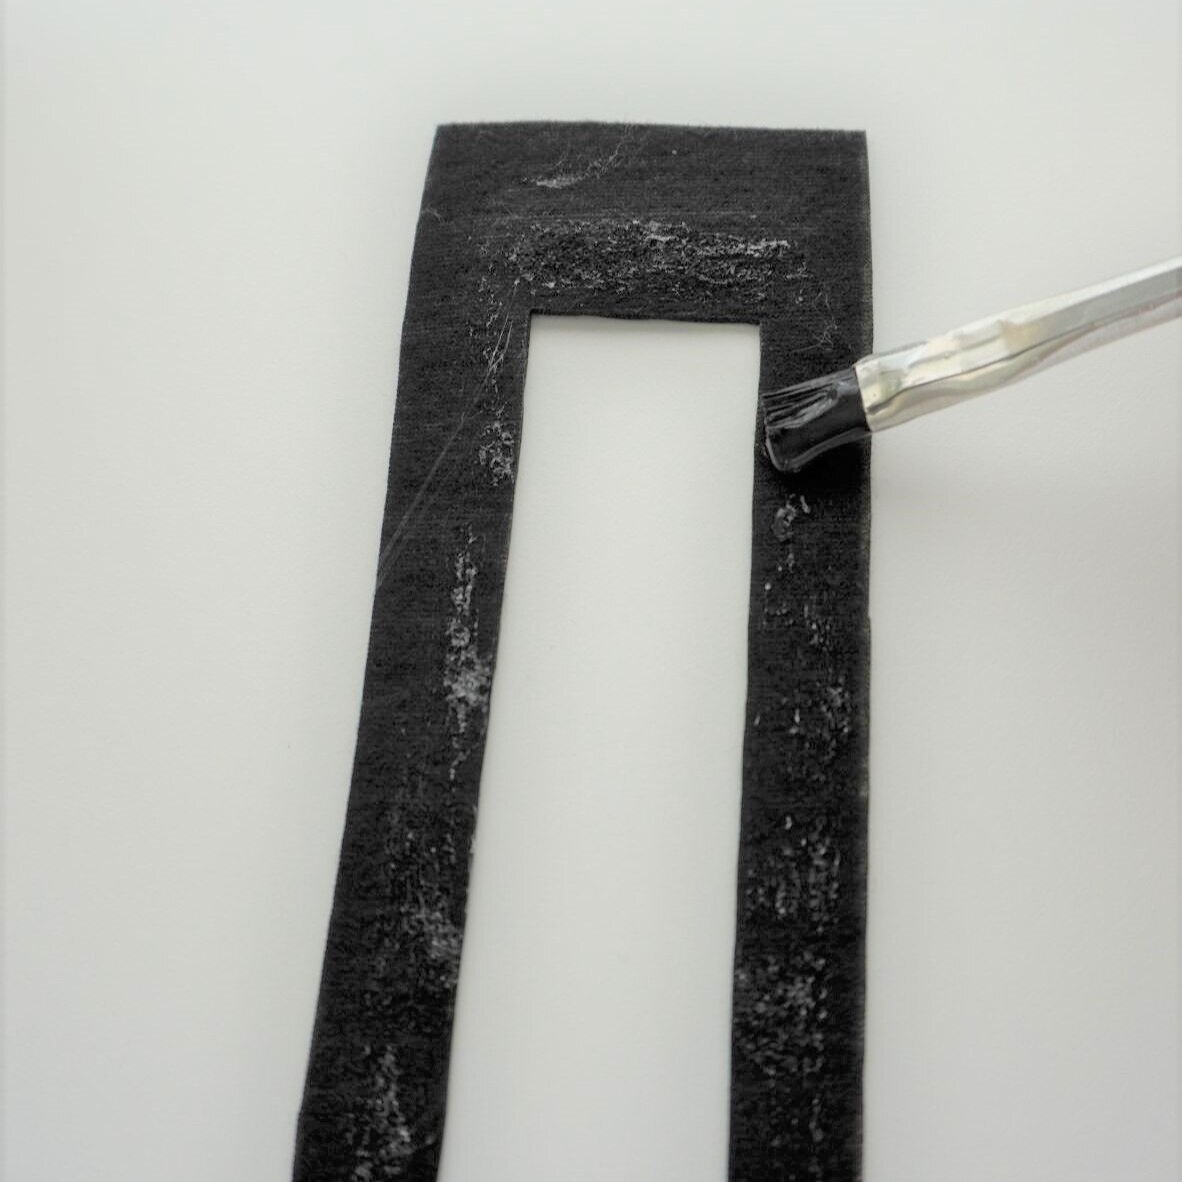
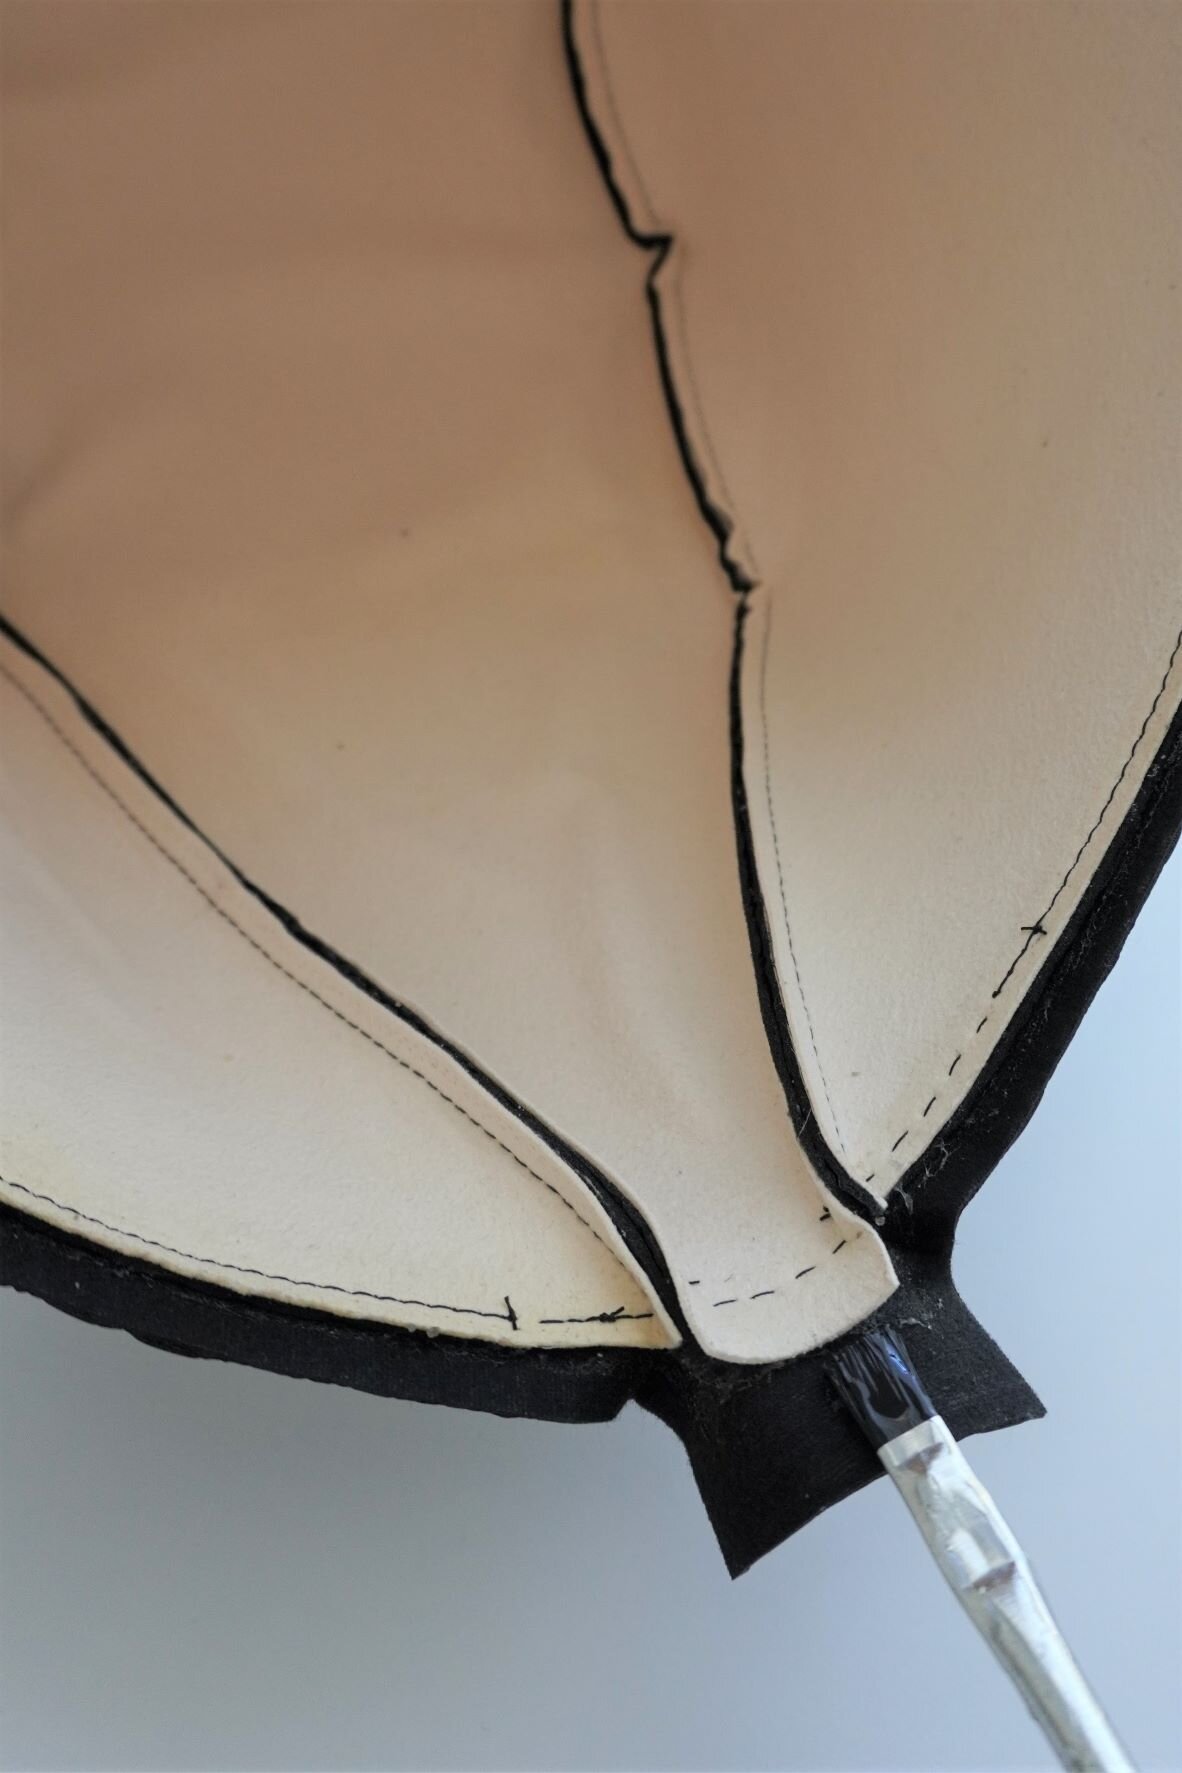
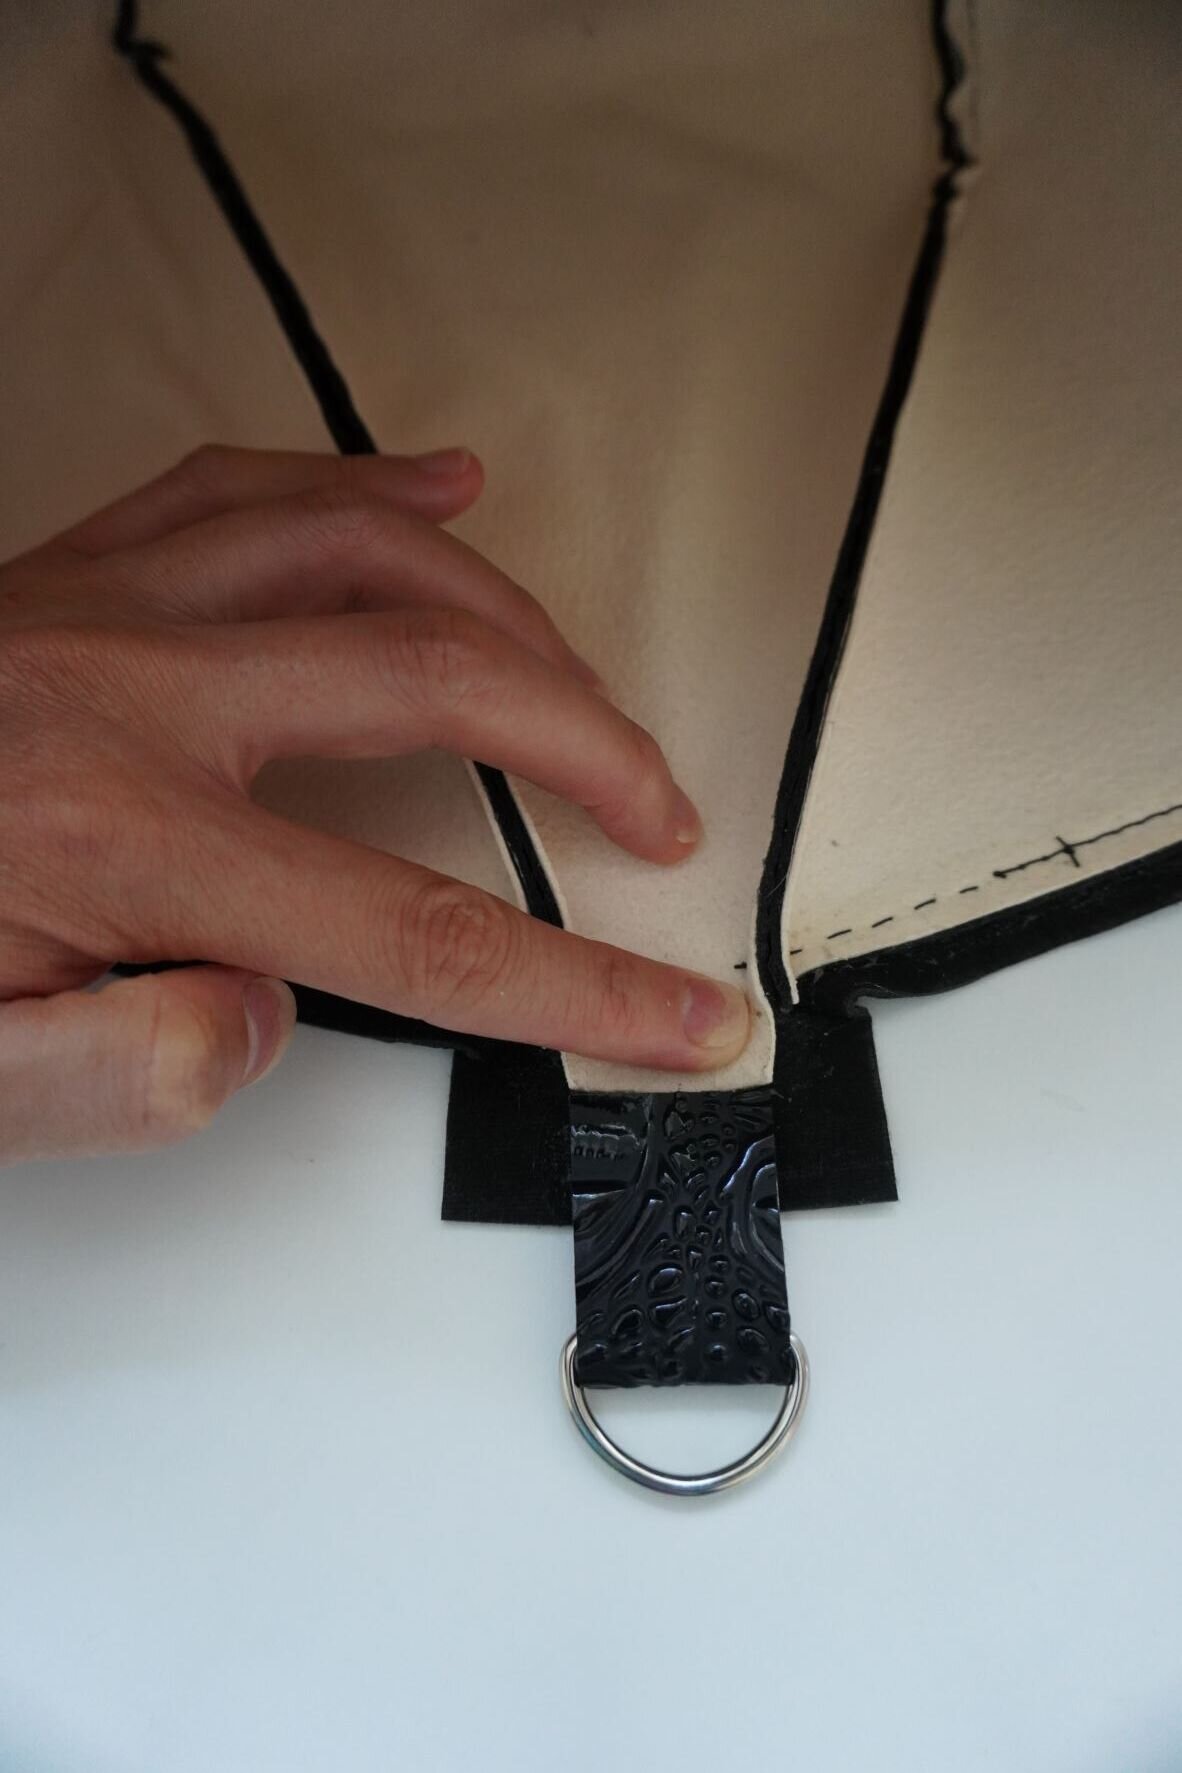
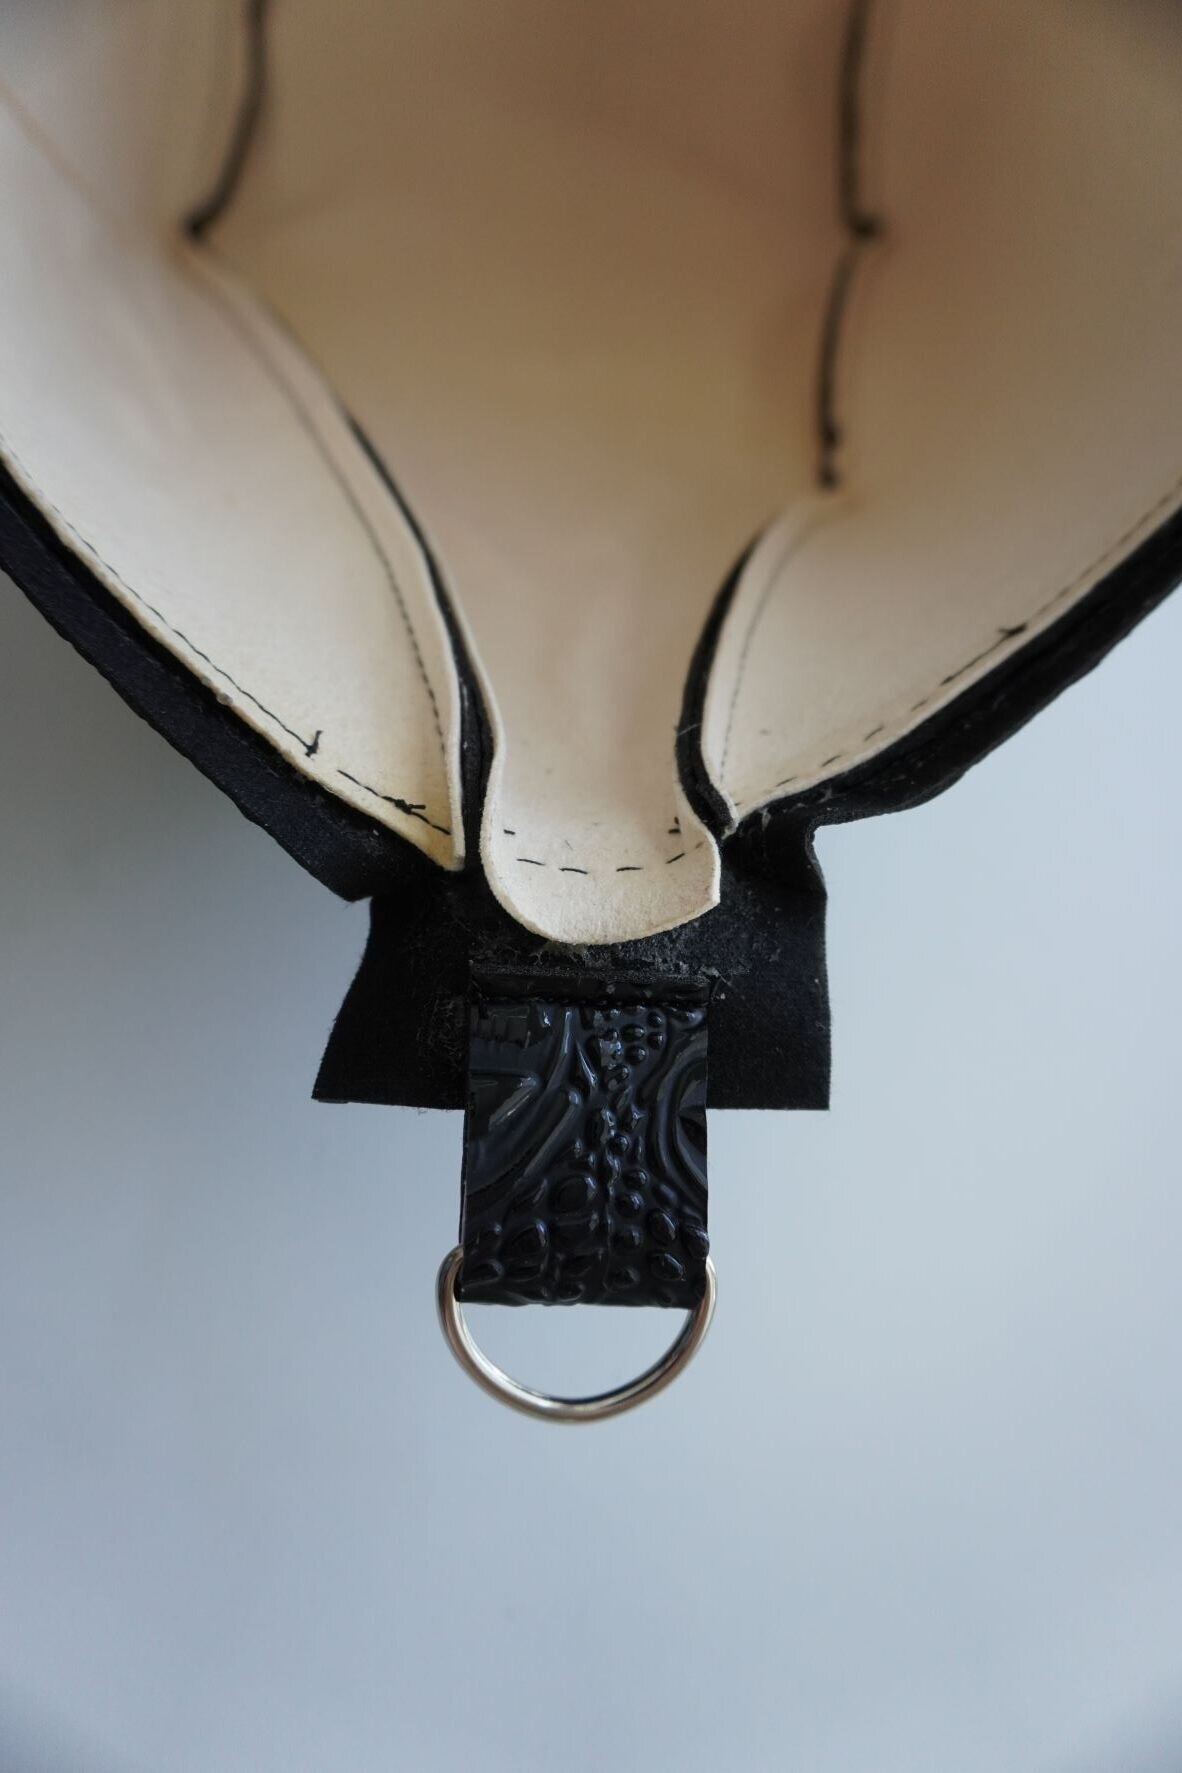
5. Take the folded loops you cut out and prepped previously, and insert the D-rings so that they sit in the folds of the loops. Glue the folded edges of the loop together using rubber cement.
6. Apply rubber cement to the bottom of the loop and to the short edges of the bottom piece. Stick the loops to the bottom piece, then topstitch down about ¼ inch from the edge of the loop.
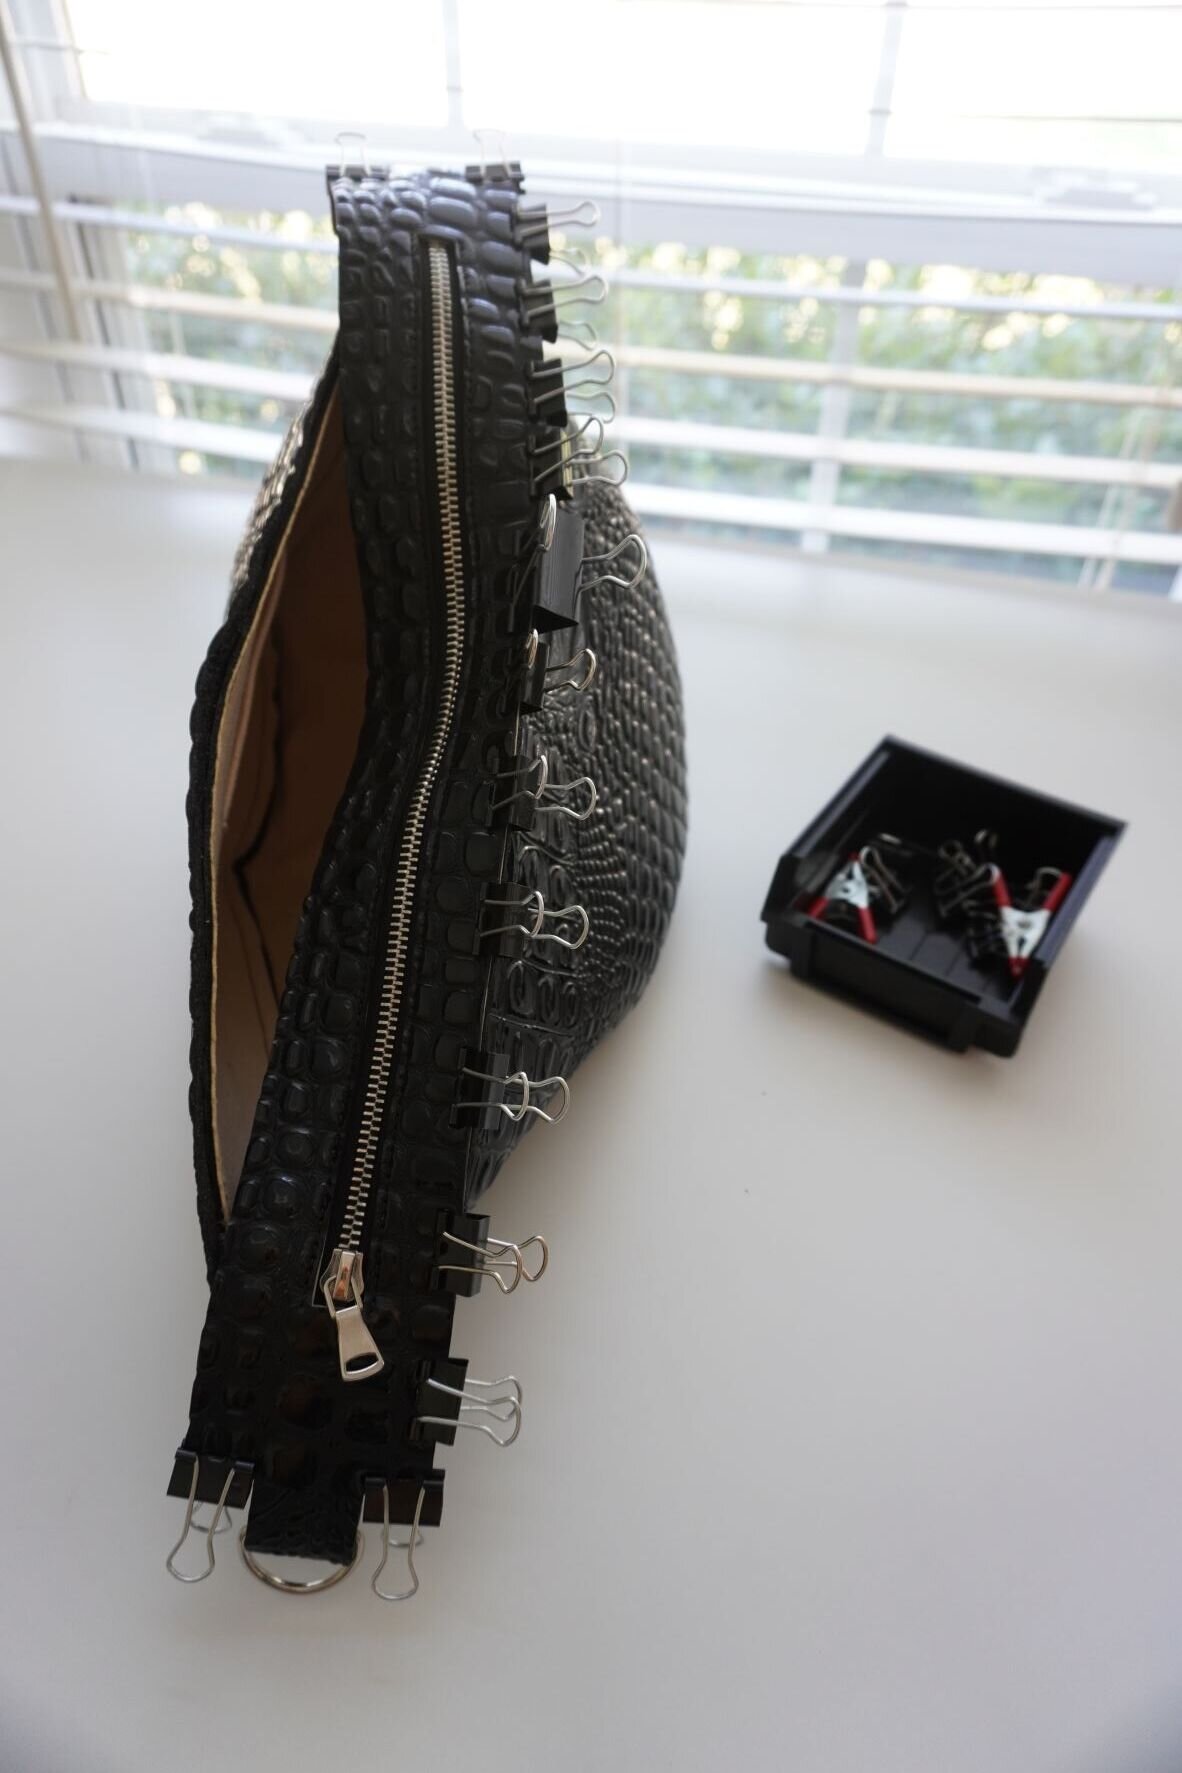
7. Apply rubber cement to the wrong sides of the lower and upper parts of the top pieces. Stick the two halves of the top together, making sure you align the edges very carefully. If your edges are not properly aligned, it will be impossible to get a clean edge later on when we get to edge-painting.
8. Topstitch along the sides of the top piece to secure the two halves together. The topstitching will hold the two halves of the top together, and it will also secure the loops in place. Here’s a closeup of the topstitching on my bag:
Note: Depending on how stiff your materials are and the shape of your sewing machine, you might find it difficult to feed the top through the sewing machine. Personally, I find it easier to sew with the top facing down and the pouch of the bag sticking up, because the top is a flat surface and it is easier to feed through the machine.
If your materials are really too thick to stitch with your sewing machine, you can hand-stitch this portion using some punching irons and a cutting mat. I’ll write up a separate blog post describing how to do that.
Making the Straps
1. Take the strap pieces that you glued together previously, and stitch down both sides of the straps using a 3/8 inch seam allowance.

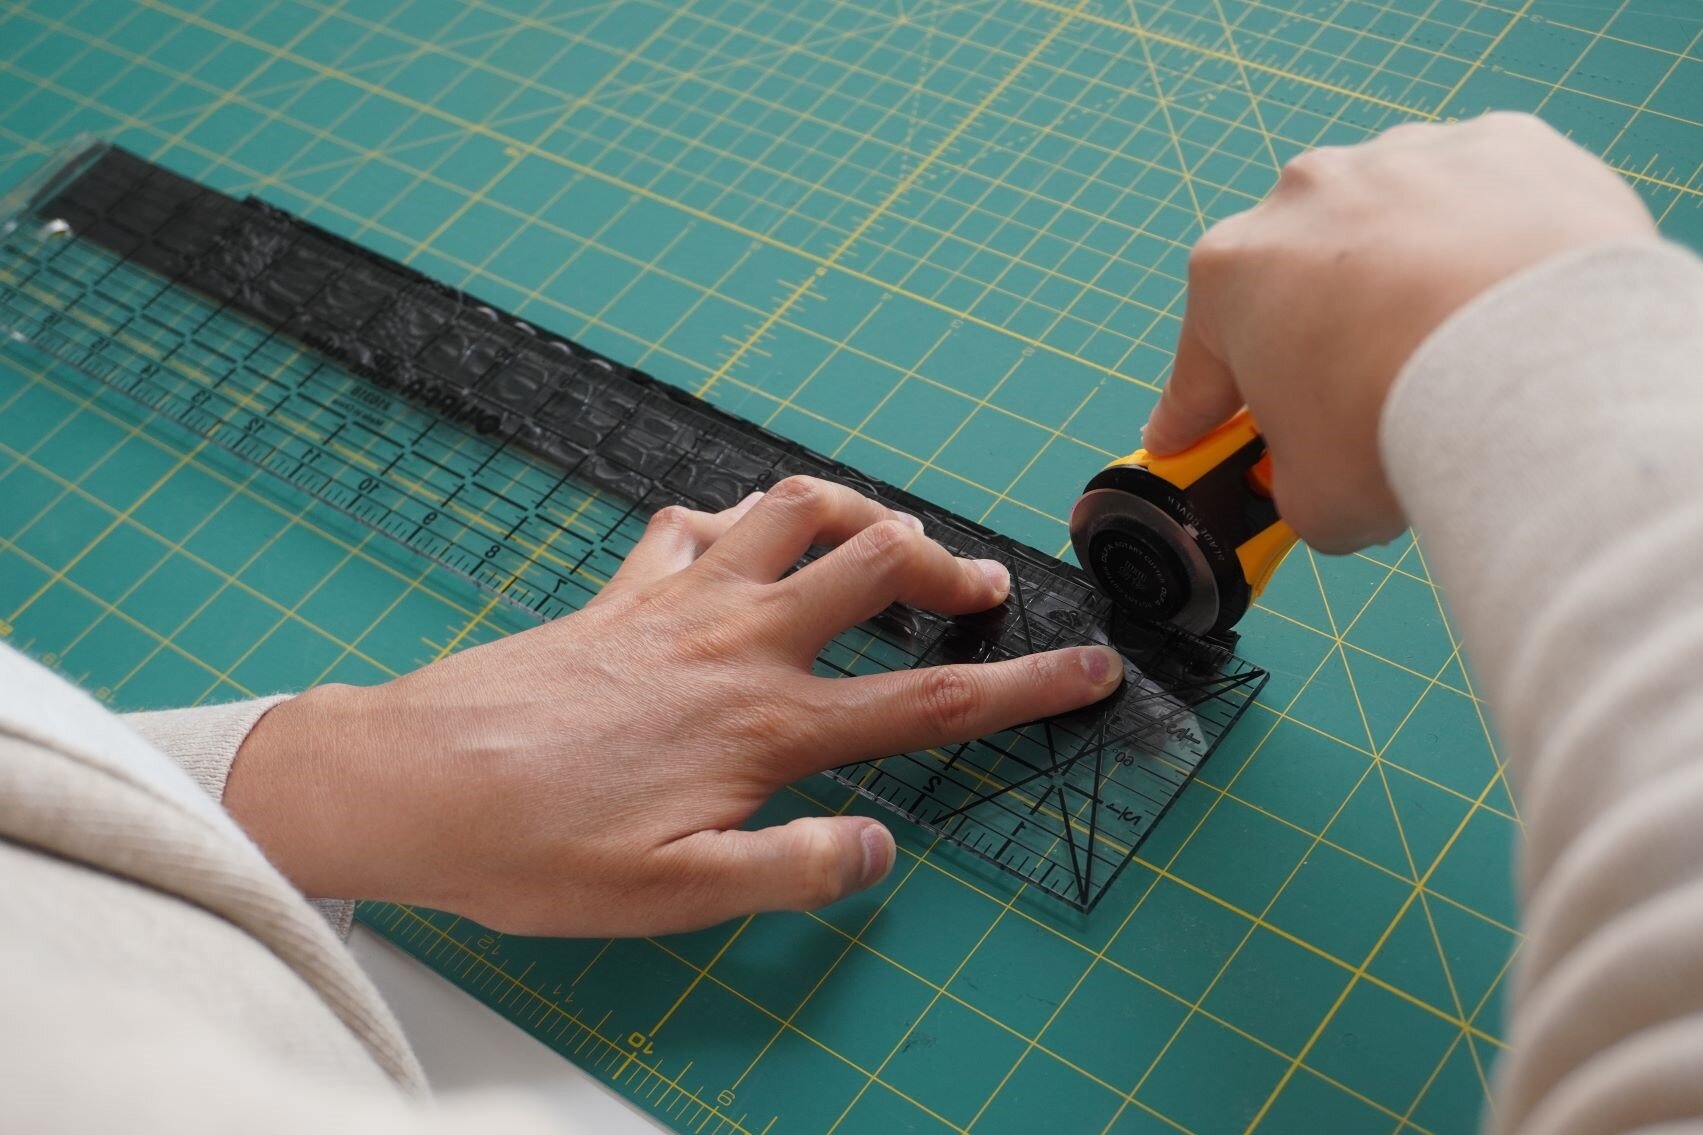
2. Using a rotary cutter, trim ¼ inch off of both sides. You should now have a strap that is 1 inch wide with topstitching about 1/8 inch from the edge.
a. Note: cutting the initial strips wider than the finished width, and then trimming it down, gives us a perfectly flush edge on both sides of the strap. This will help us achieve a clean edge when it comes to edge-painting.
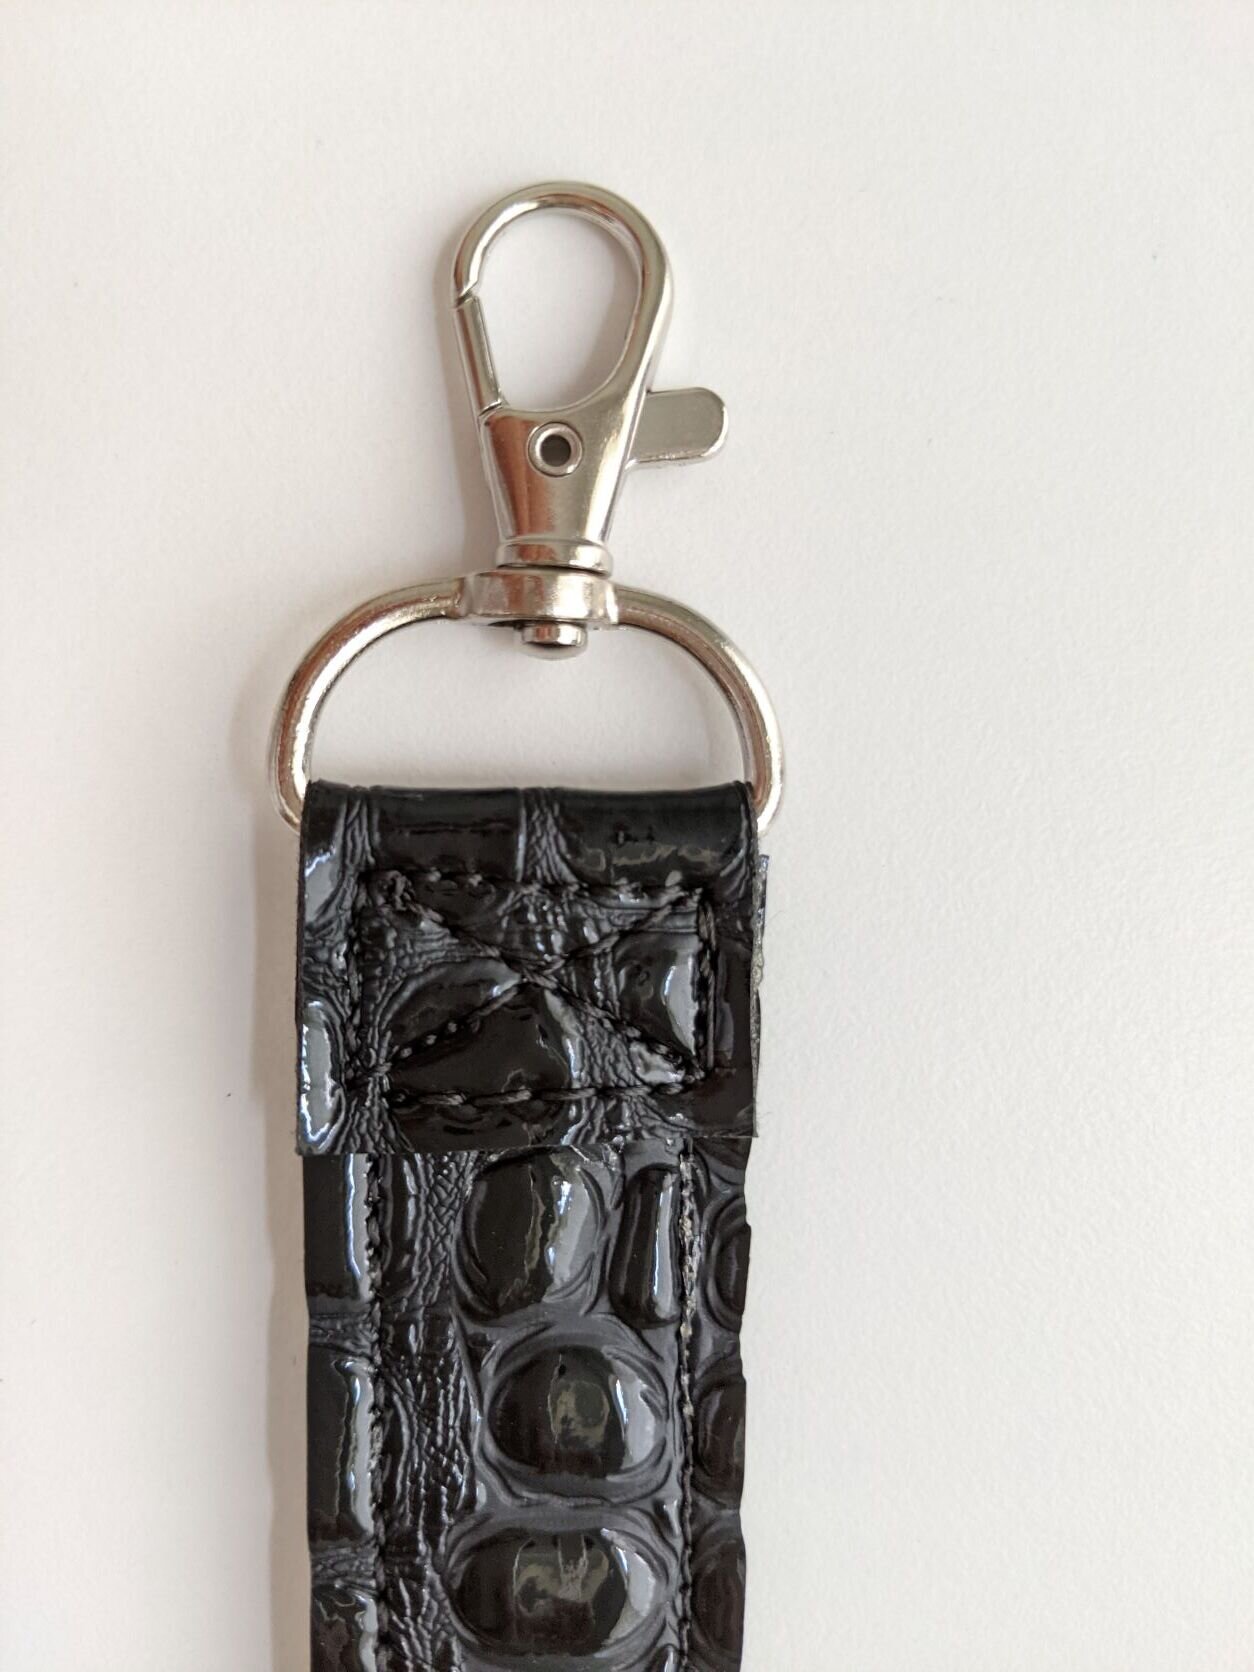
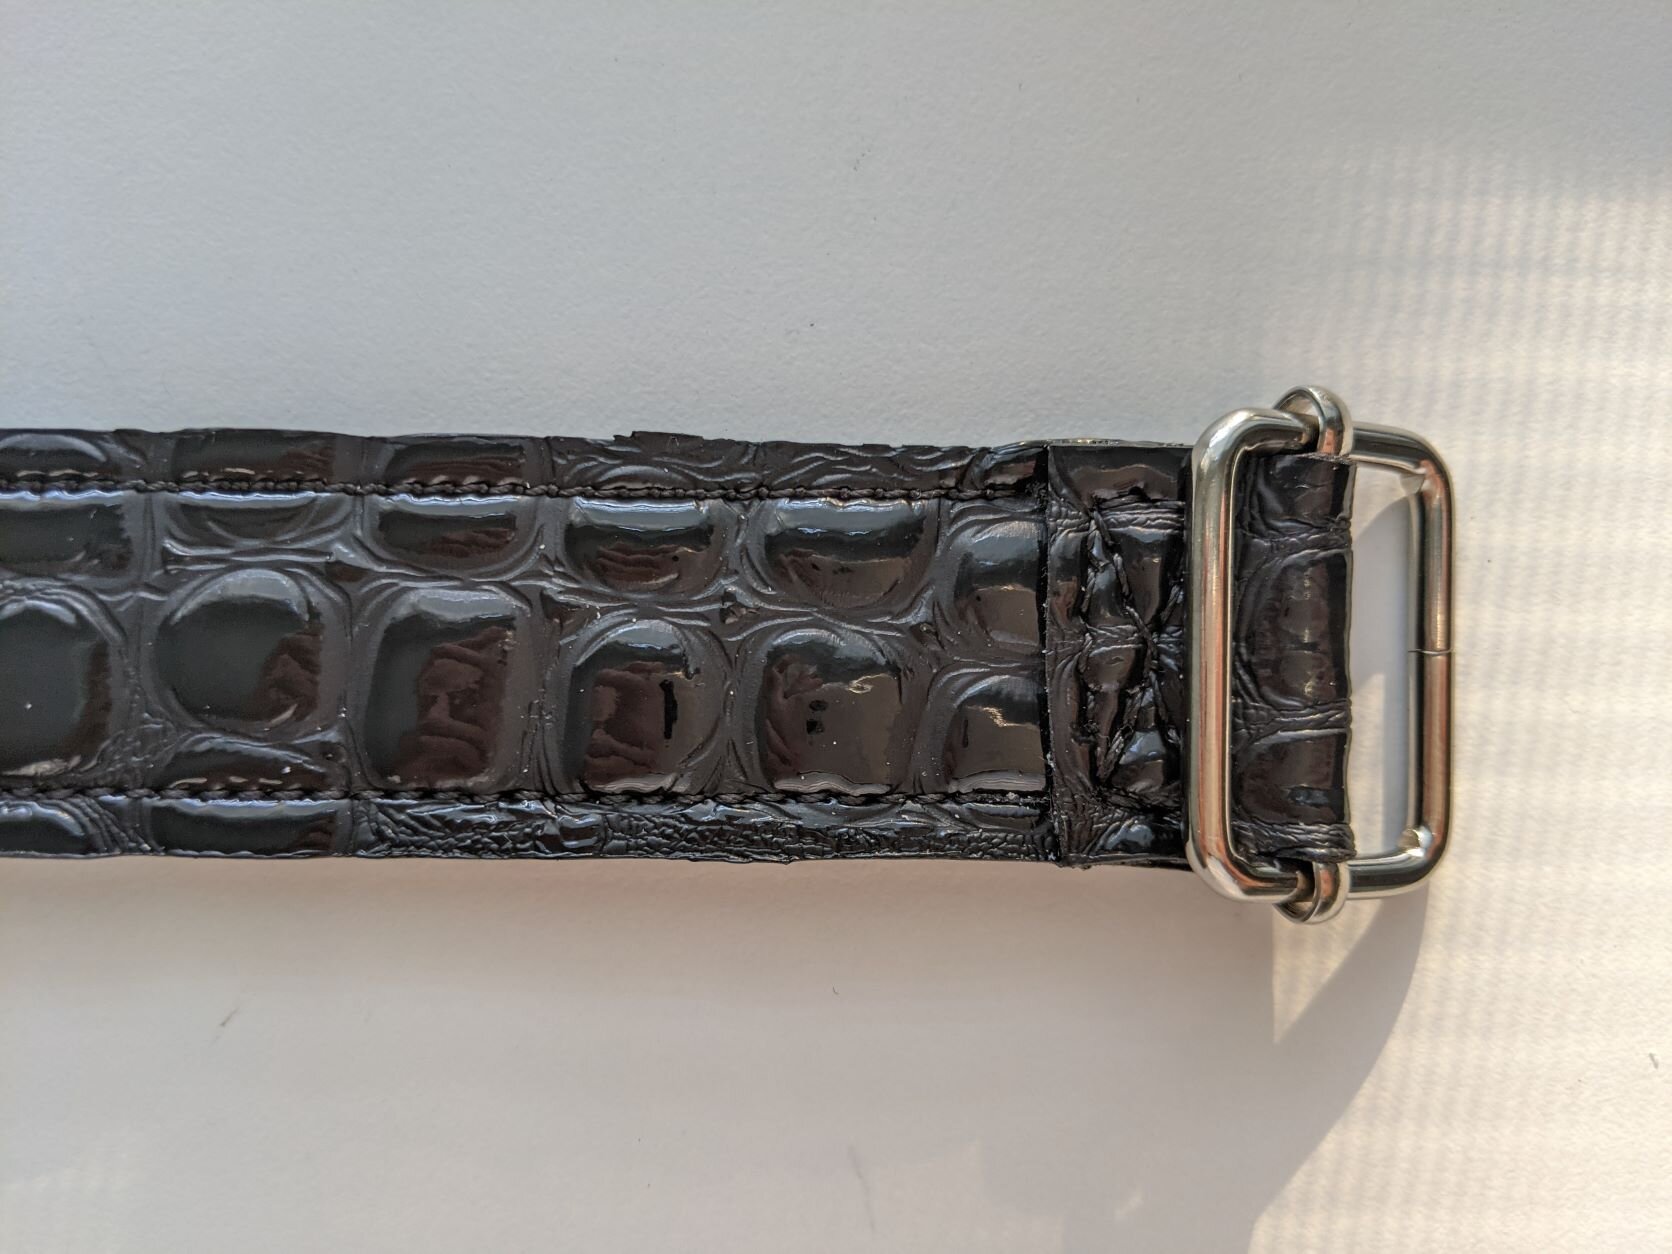
3. Take the 18-inch long strap and insert it into a swivel ring. Apply rubber cement to the end of the strap and also to the inch before the swivel ring. Fold the extra inch of the strap over the swivel ring and stick down. Topstitch through both layers of the strap, sewing a rectangle with an X in the middle.
a. Note: we stitch an X to make the strap more secure. If we just stitch two lines of horizontal stitching across the strap, the strap may tear at those stitching lines, so instead we want to distribute the strain across the strap more evenly by sewing a rectangle followed by the X inside.
4. Take the 26-inch long strap and insert it into the other swivel ring. Apply rubber cement to one end, then fold the extra inch over the swivel ring and stick in place. Secure by stitching a rectangle with an X.
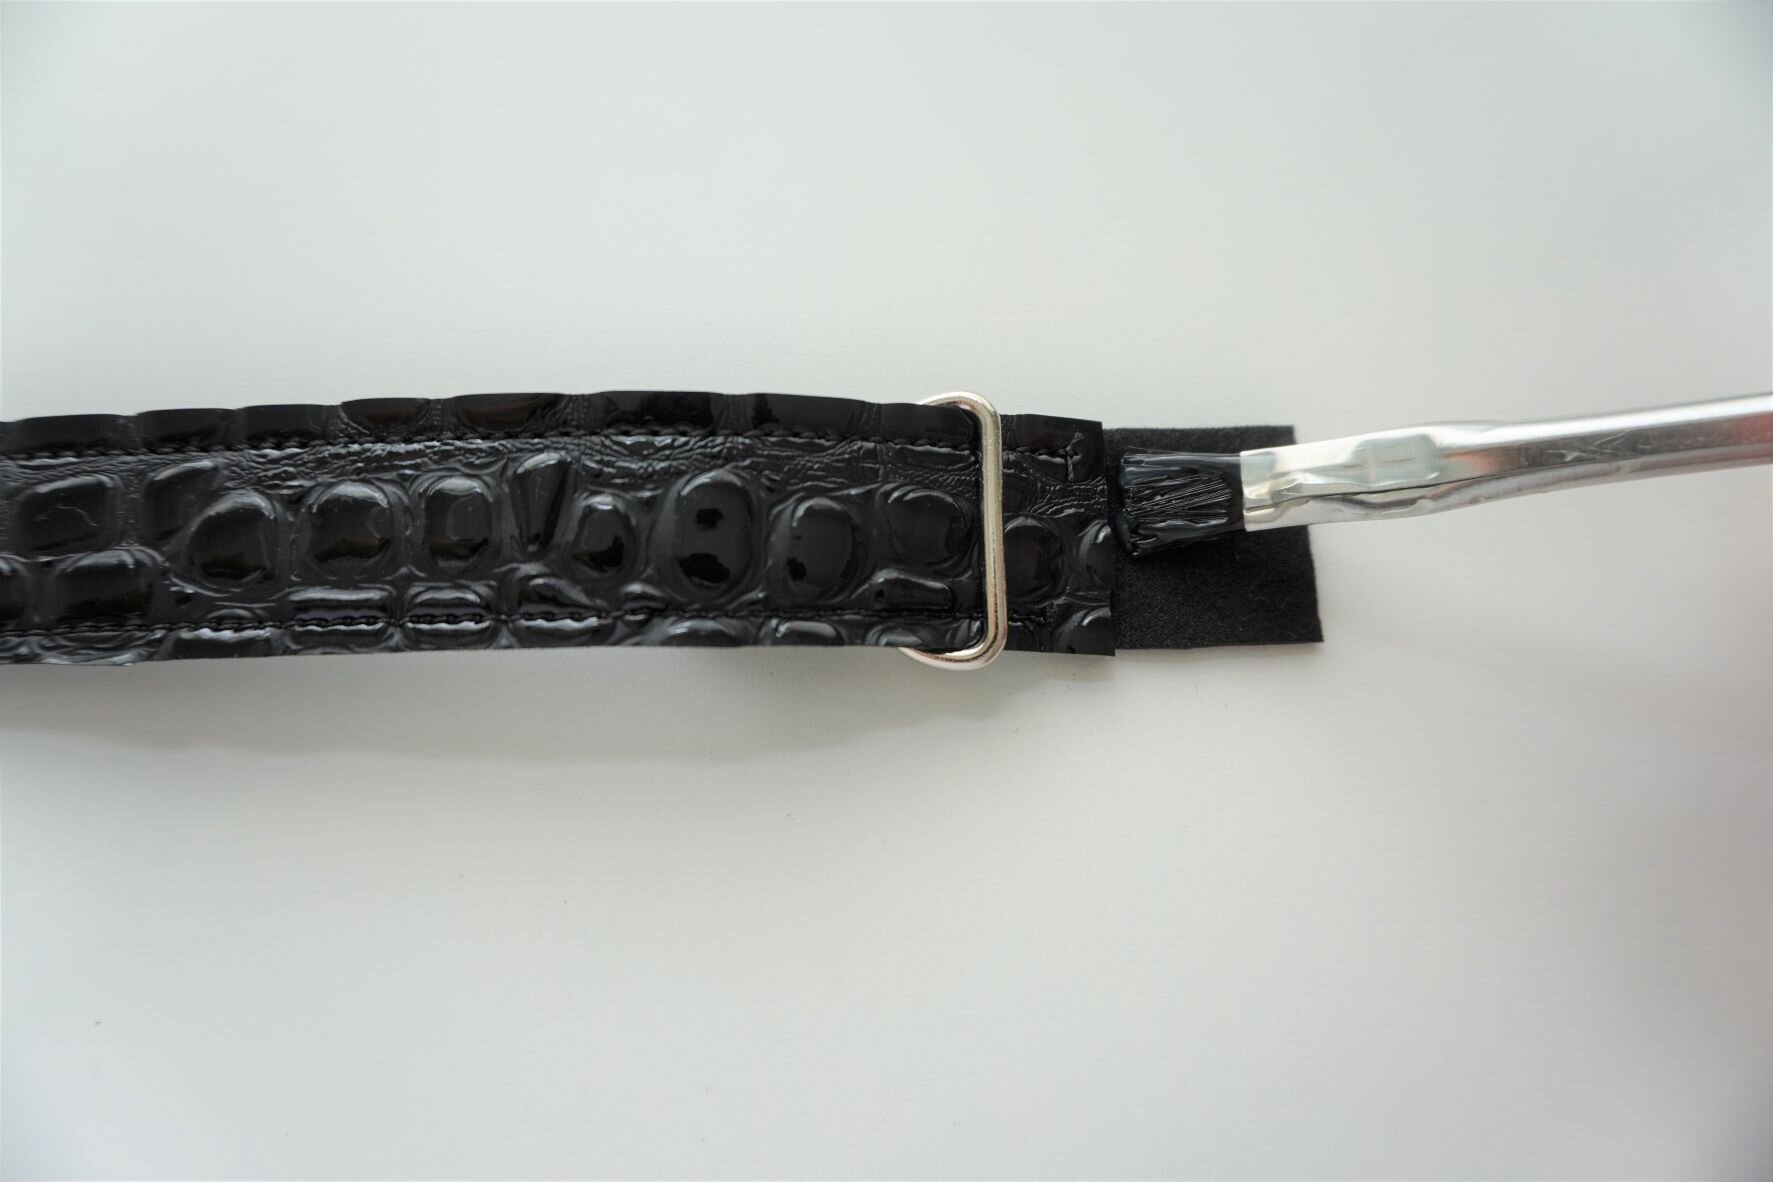
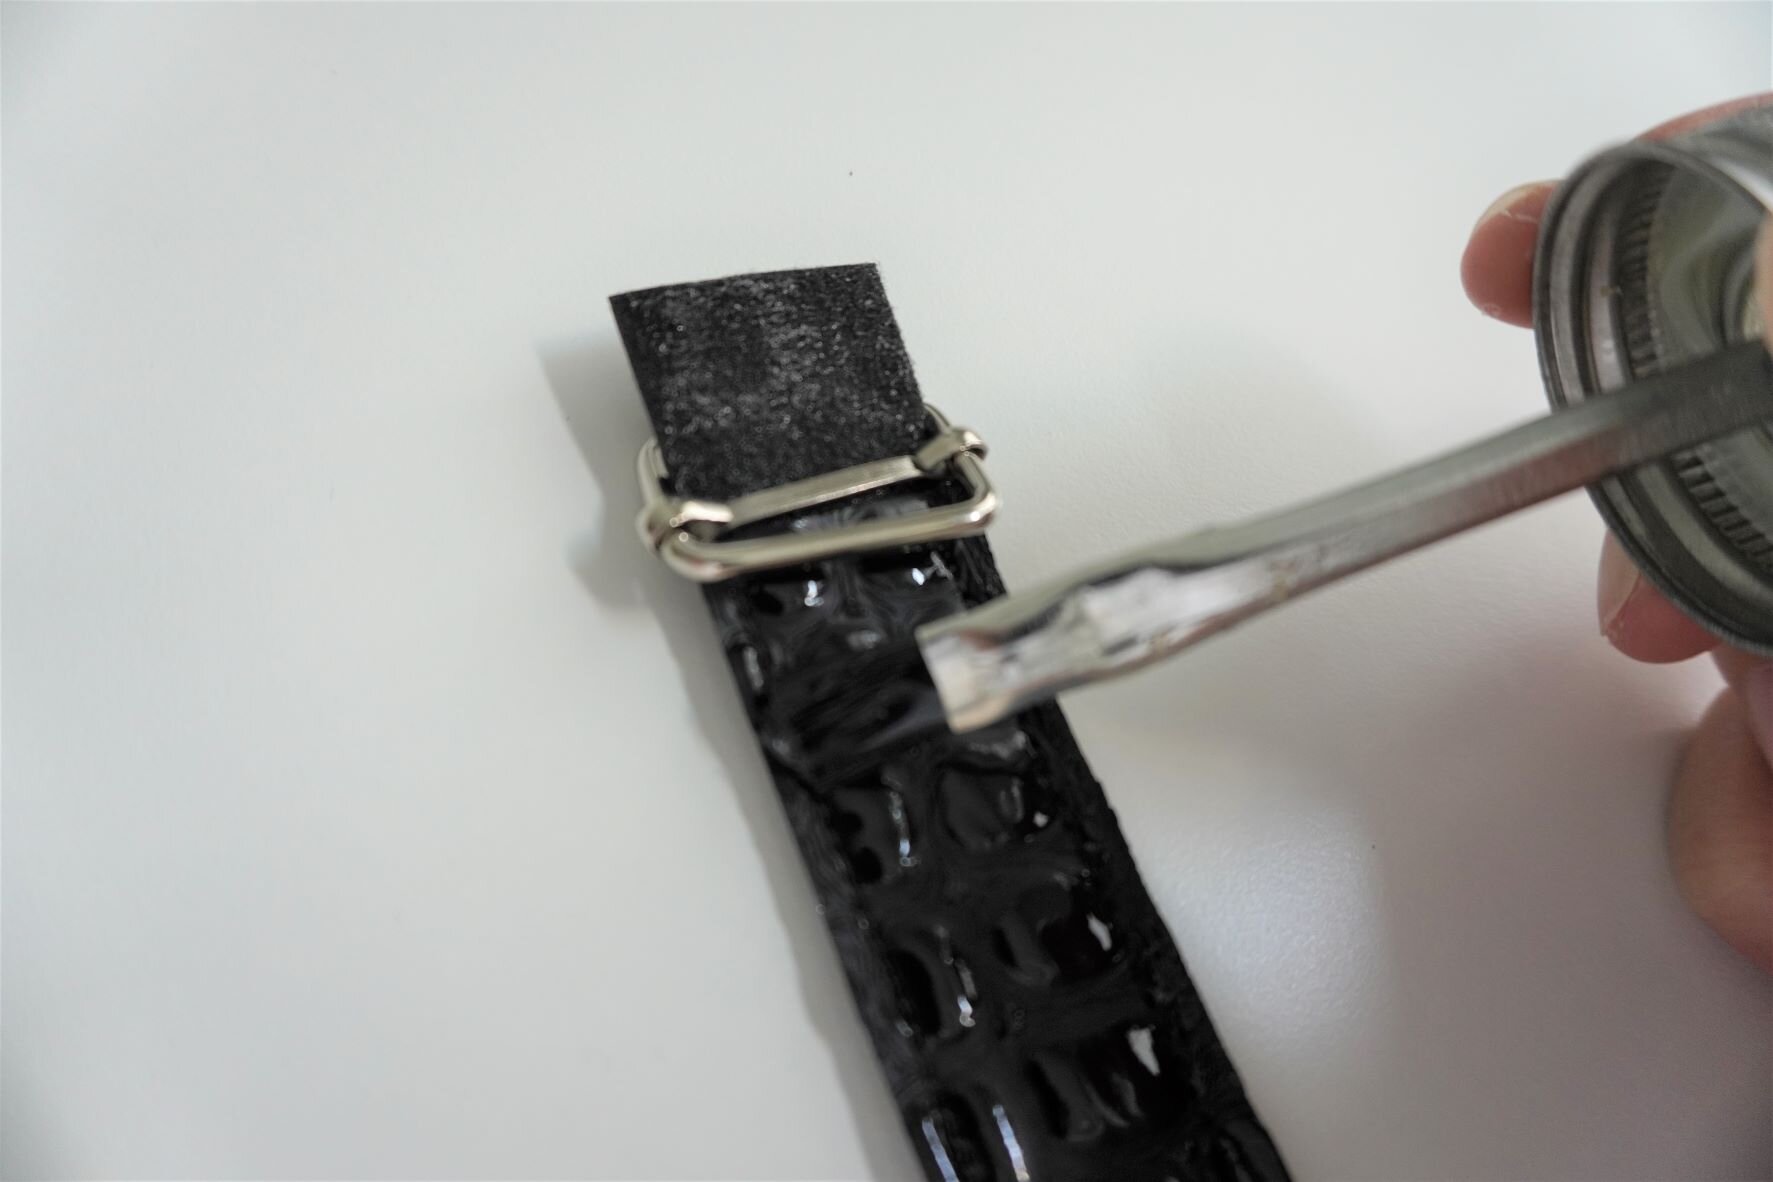
5. Insert the other end of the strap into the slider and fold the extra inch around the middle bar in the slider. Stick the end to the strap using rubber cement, then hand-stitch the strap to secure.
And with that, we’re done constructing the bag! We’re almost done with the bag – we just have a few finishing touches left to do…


